Fairy Mothra/Gallery: Difference between revisions
From Wikizilla, the kaiju encyclopedia
Jump to navigationJump to search
(→Trademarks: template renamed, replaced: TohoMonsters → Toho Monsters, Gallery Toho Monsters → Toho Monsters Gallery) |
m (Text replacement - "copyright icon" to "trademark icon") |
||
| (5 intermediate revisions by 2 users not shown) | |||
| Line 5: | Line 5: | ||
Image gallery for [[Fairy Mothra]]. | Image gallery for [[Fairy Mothra]]. | ||
{{TOC}} | {{TOC}} | ||
==Concept | ==Concept art== | ||
===''[[Rebirth of Mothra | ===''[[Rebirth of Mothra 3]]''=== | ||
<gallery widths='120' position='center' captionalign='center' spacing='small'> | <gallery widths='120' position='center' captionalign='center' spacing='small'> | ||
Concept Art - Rebirth of Mothra 3 - Fairy Mothra 1.png|Fairy Mothra concept art | Concept Art - Rebirth of Mothra 3 - Fairy Mothra 1.png|Fairy Mothra concept art | ||
| Line 18: | Line 18: | ||
Godzilla.jp_-_21_-_Fairy_Mothra.jpg | Godzilla.jp_-_21_-_Fairy_Mothra.jpg | ||
</gallery> | </gallery> | ||
===''[[Rebirth of Mothra | ===''[[Rebirth of Mothra 3]]''=== | ||
<gallery widths="120" position="center" captionalign="center" spacing="small"> | <gallery widths="120" position="center" captionalign="center" spacing="small"> | ||
Fairy_Mothra_RaishuFairy_Behind_Scenes.png | Fairy_Mothra_RaishuFairy_Behind_Scenes.png | ||
| Line 32: | Line 32: | ||
Fairymothra.jpg | Fairymothra.jpg | ||
</gallery> | </gallery> | ||
===''[[Rebirth of Mothra | ===''[[Rebirth of Mothra 2]]''=== | ||
<gallery widths='120' position='center' captionalign='center' spacing='small'> | <gallery widths='120' position='center' captionalign='center' spacing='small'> | ||
ReoFairy 2.png | ReoFairy 2.png | ||
ReoFairy-ROFM2.jpg | ReoFairy-ROFM2.jpg | ||
</gallery> | </gallery> | ||
===''[[Rebirth of Mothra | ===''[[Rebirth of Mothra 3]]''=== | ||
<gallery widths='120' position='center' captionalign='center' spacing='small'> | <gallery widths='120' position='center' captionalign='center' spacing='small'> | ||
RaishuFairy.png | RaishuFairy.png | ||
ROM3 - Fairy Scan.jpg | ROM3 - Fairy Scan.jpg | ||
ROM3 - Elias Sing.jpg | ROM3 - Elias Sing.jpg | ||
</gallery> | |||
==Anatomy== | |||
<gallery widths="120" position="center" captionalign="center" spacing="small"> | |||
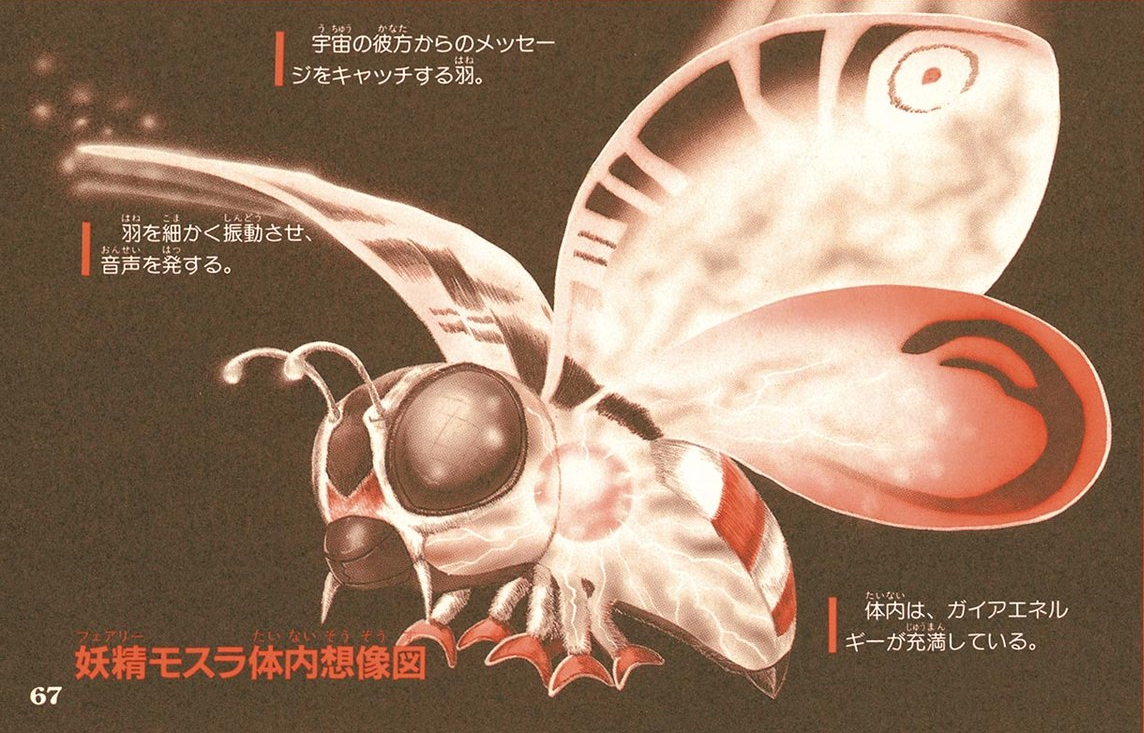
GvSGSCW_Fairy_Mothra_Anatomy.png|Anatomy of Fairy Mothra from [[Godzilla vs. SpaceGodzilla Super Complete Works]] | |||
</gallery> | </gallery> | ||
==Trademarks== | ==Trademarks== | ||
<gallery widths= | <gallery widths="120" position='center' captionalign='center' spacing='small'> | ||
Monster Icons - Fairy Mothra.png|Fairy Mothra's | Monster Icons - Fairy Mothra.png|Fairy Mothra's trademark icon | ||
Copyright Icon - Fairy Mothra Blu-ray.png|Fairy Mothra's | Copyright Icon - Fairy Mothra Blu-ray.png|Fairy Mothra's trademark icon | ||
</gallery> | </gallery> | ||
{{Toho Monsters Gallery}} | {{Toho Monsters Gallery}} | ||
Latest revision as of 06:11, 7 May 2022
Image gallery for Fairy Mothra.
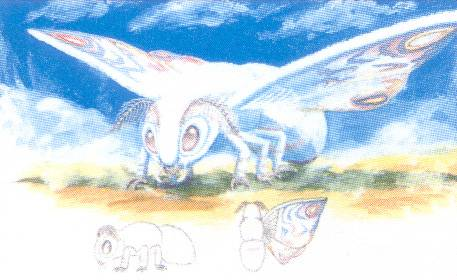
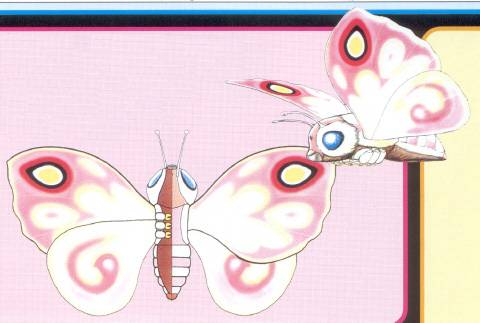
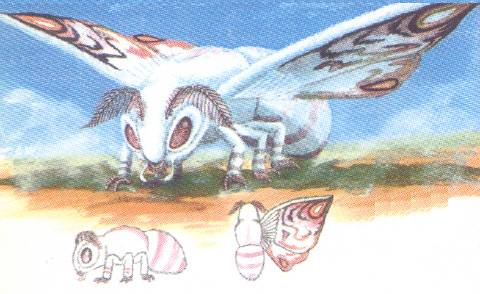
Concept art
Rebirth of Mothra 3

Fairy Mothra concept art
Fairy Mothra concept art
Fairy Mothra concept art
Production
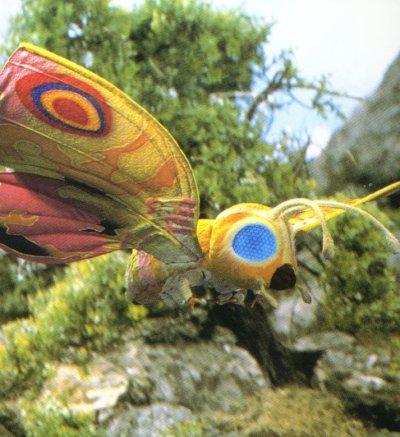
Godzilla vs. SpaceGodzilla

Rebirth of Mothra 3
Screenshots
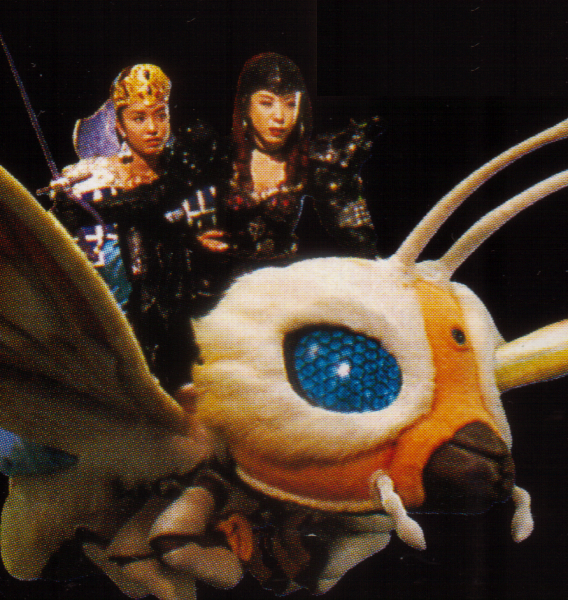
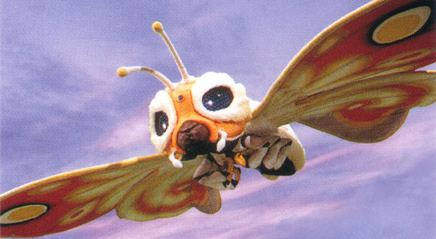
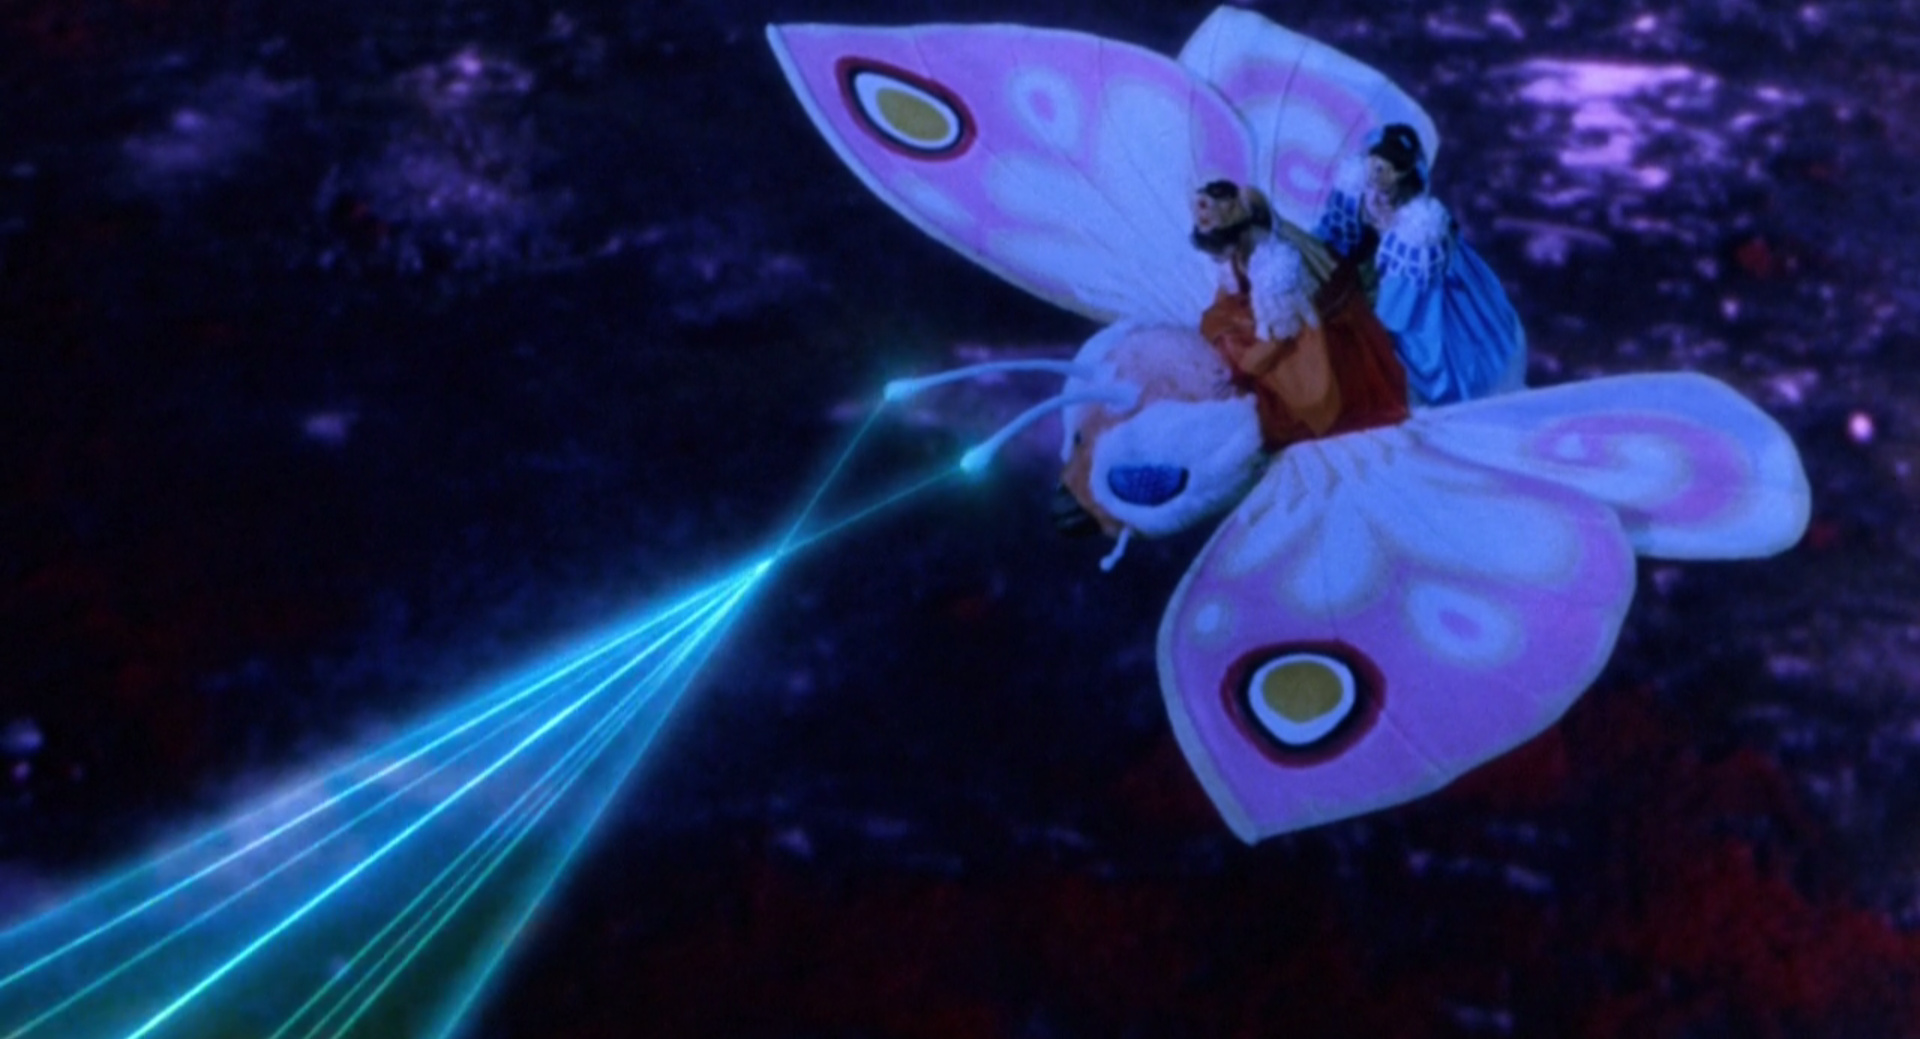
Rebirth of Mothra
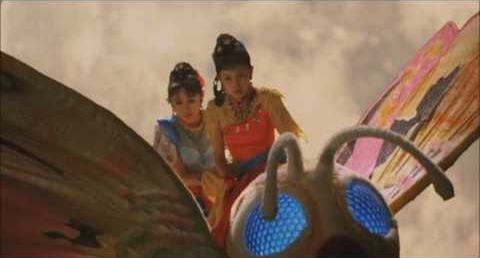
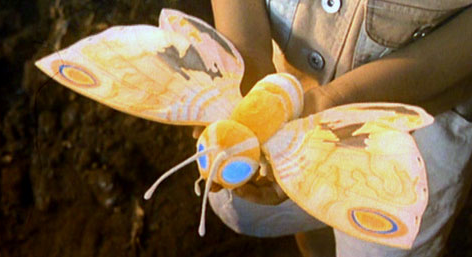
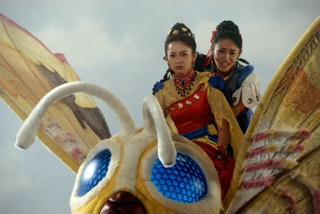
Rebirth of Mothra 2
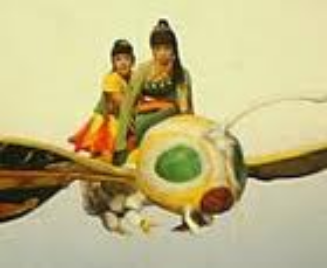

Rebirth of Mothra 3

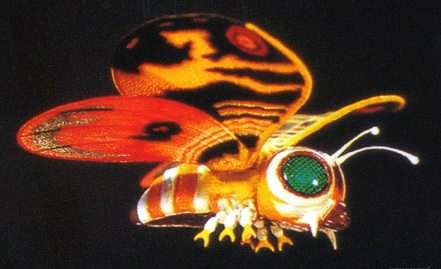
Anatomy
Anatomy of Fairy Mothra from Godzilla vs. SpaceGodzilla Super Complete Works
Trademarks
Fairy Mothra's trademark icon
Fairy Mothra's trademark icon
Comments
Showing 2 comments. When commenting, please remain respectful of other users, stay on topic, and avoid role-playing and excessive punctuation. Comments which violate these guidelines may be removed by administrators.
Loading comments...