Godzilla/Gallery: Difference between revisions
No edit summary |
m (Text replacement - "==Video Games==" to "==Video games==") |
||
| (38 intermediate revisions by 11 users not shown) | |||
| Line 1: | Line 1: | ||
{{ | {{ktabI | ||
|name=Godzilla | |name=Godzilla | ||
|dt =Godzilla | |dt =Godzilla image gallery | ||
}} | }} | ||
{{Center|See many pictures of specific Godzilla designs by visiting the '''[[:Category:Godzilla Designs|Godzilla designs]]''' articles.}} | {{Center|See many pictures of specific Godzilla designs by visiting the '''[[:Category:Godzilla Designs|Godzilla designs]]''' articles.}} | ||
Image gallery for [[Godzilla]]. | |||
{{TOC}} | {{TOC}} | ||
==Concept | ==Concept art== | ||
===[[Godzilla (1954 film)|''Godzilla'' (1954)]]=== | ===[[Godzilla (1954 film)|''Godzilla'' (1954)]]=== | ||
<gallery widths="120" position="center" captionalign="center" spacing="small"> | <gallery widths="120" position="center" captionalign="center" spacing="small"> | ||
| Line 273: | Line 274: | ||
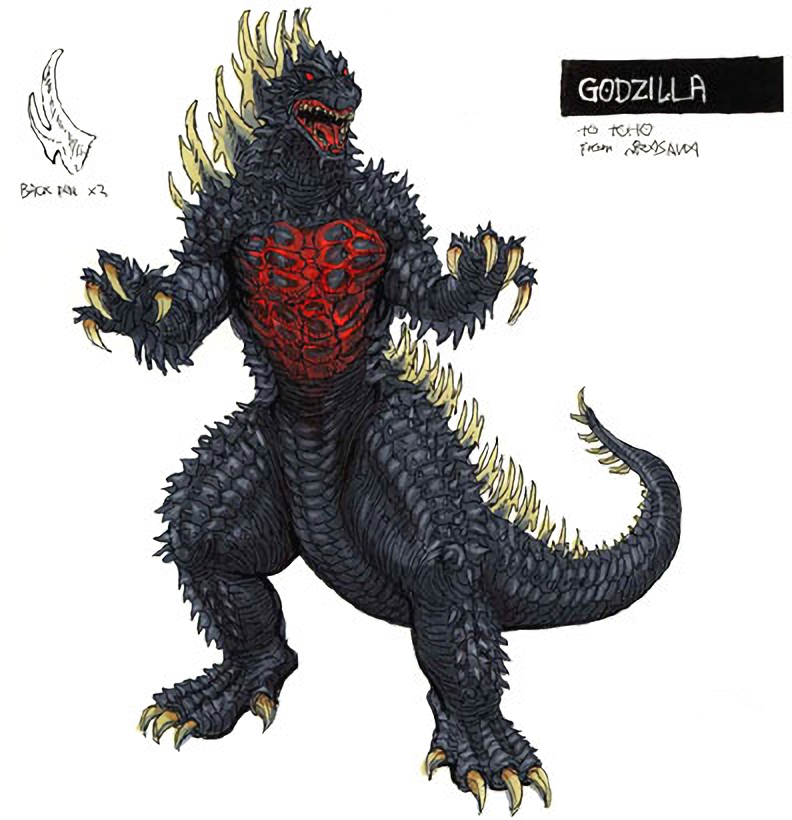
498573746363.jpg|[[Godzilla/2016|Godzilla]] evolving concept art | 498573746363.jpg|[[Godzilla/2016|Godzilla]] evolving concept art | ||
Head44858845.jpg|[[Godzilla/2016|Godzilla]] evolving concept art | Head44858845.jpg|[[Godzilla/2016|Godzilla]] evolving concept art | ||
485857747574.jpg|[[Godzilla/2016|Godzilla's]] atomic breath concept art | |||
485847577374.jpg|[[Godzilla/2016|Godzilla's]] atomic breath concept art | |||
485847577374.jpg|[[Godzilla]] | |||
59485838.jpeg|[[Godzilla/2016|Godzilla]] cell concept art | 59485838.jpeg|[[Godzilla/2016|Godzilla]] cell concept art | ||
Shin Godzilla Concept Art 4.jpg|[[Godzilla/2016|Godzilla's]] footprint concept art | Shin Godzilla Concept Art 4.jpg|[[Godzilla/2016|Godzilla's]] footprint concept art | ||
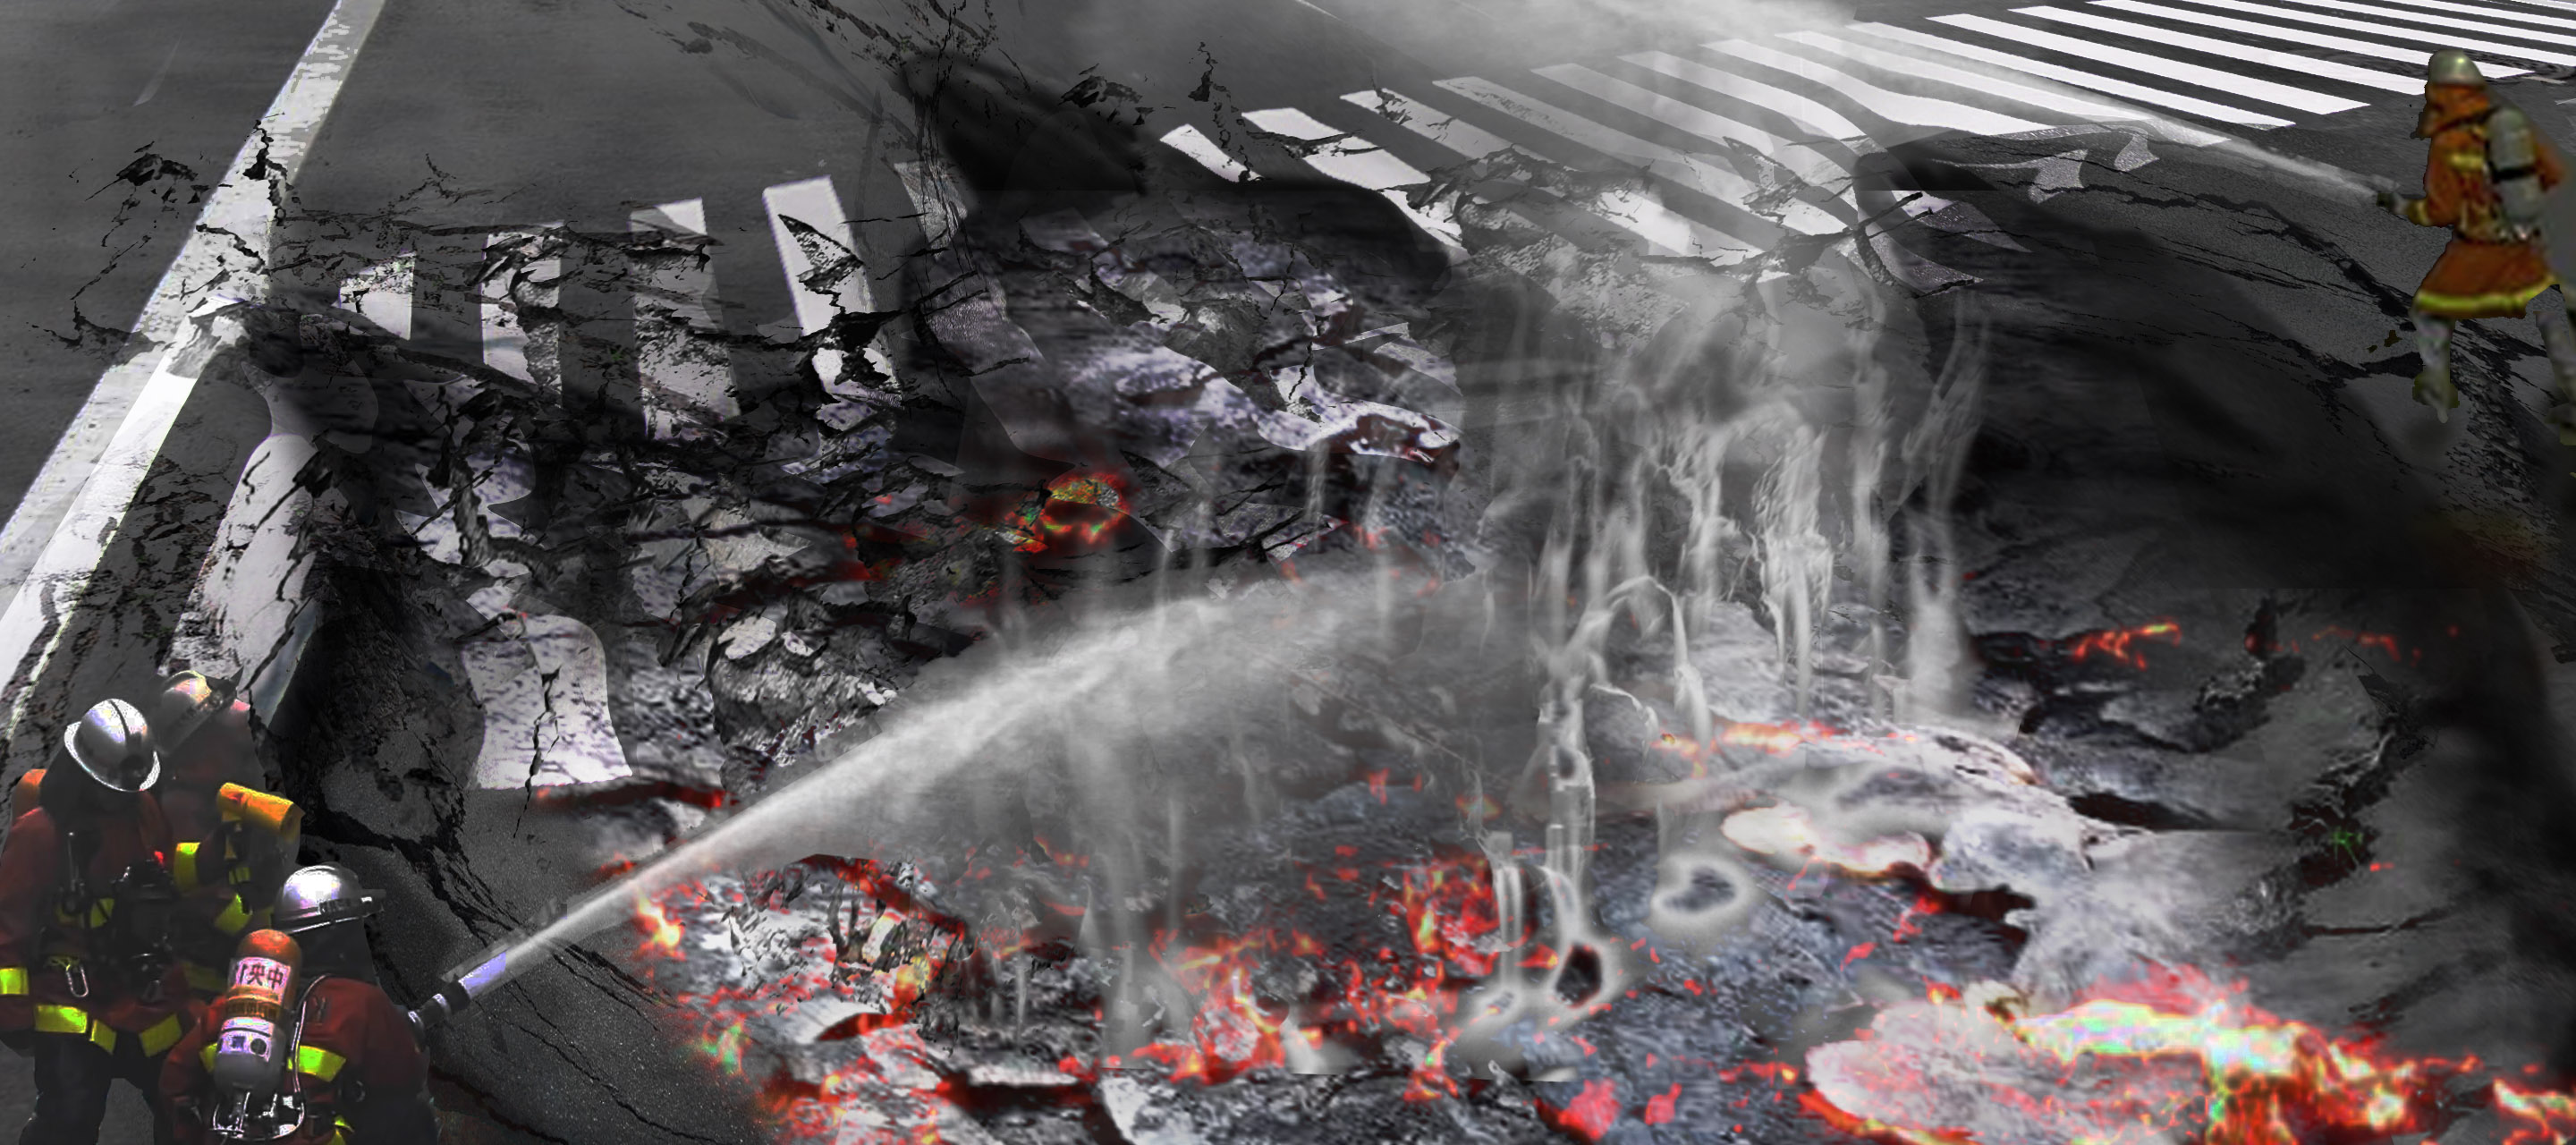
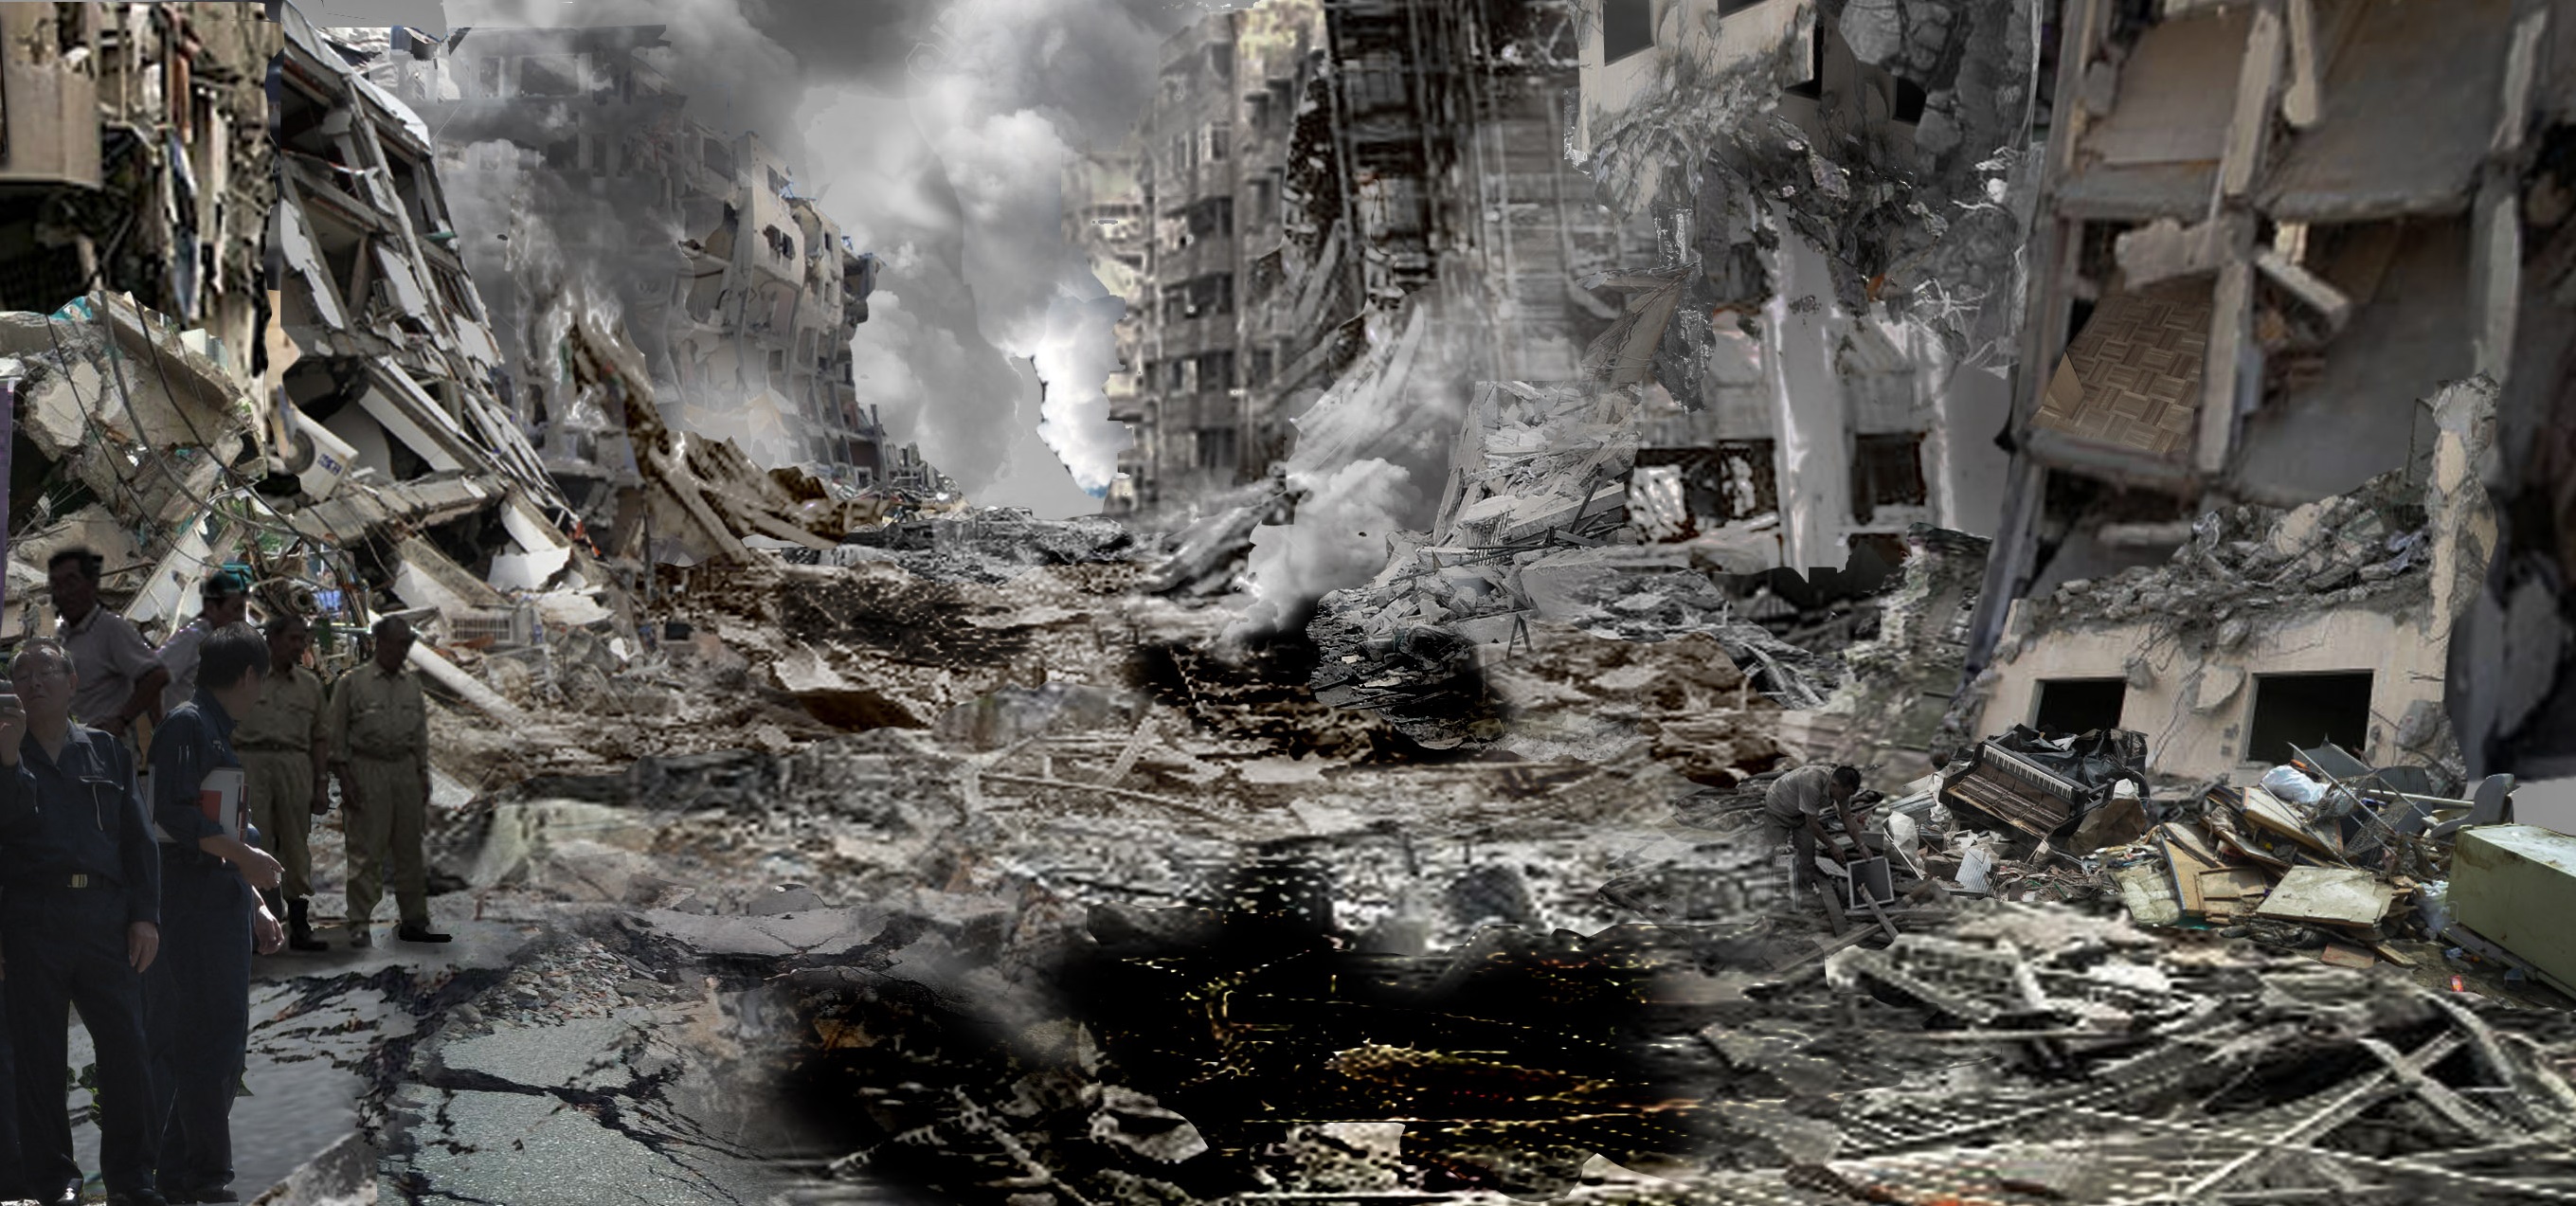
Shin Godzilla Concept Art 5.jpg|[[Godzilla/2016|Godzilla's]] trail of destruction concept art | Shin Godzilla Concept Art 5.jpg|[[Godzilla/2016|Godzilla's]] trail of destruction concept art | ||
</gallery> | </gallery> | ||
===''[[Godzilla: Planet of the Monsters|GODZILLA: Planet of the Monsters]]''=== | |||
<gallery widths="120" position="center" captionalign="center" spacing="small"> | |||
Godzilla_2017_head_concepts.JPG|Godzilla head concept art | |||
Godzilla_2017_3_concept_art.JPG|Godzilla concept art | |||
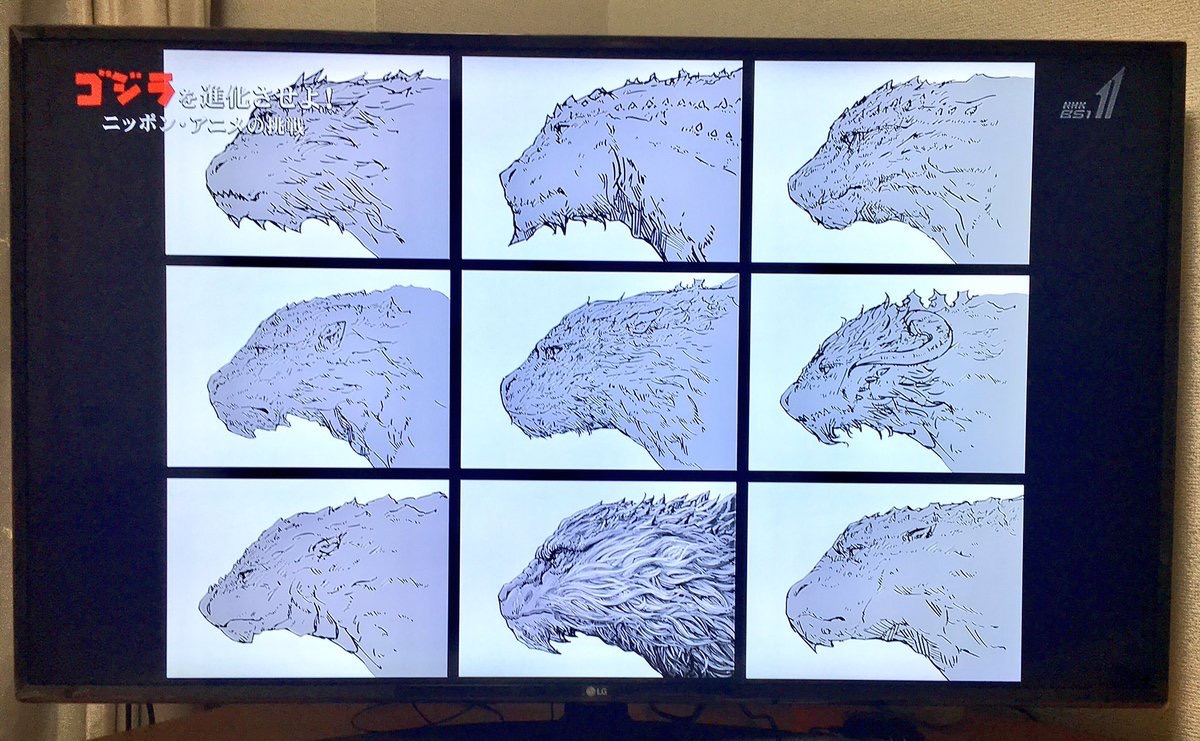
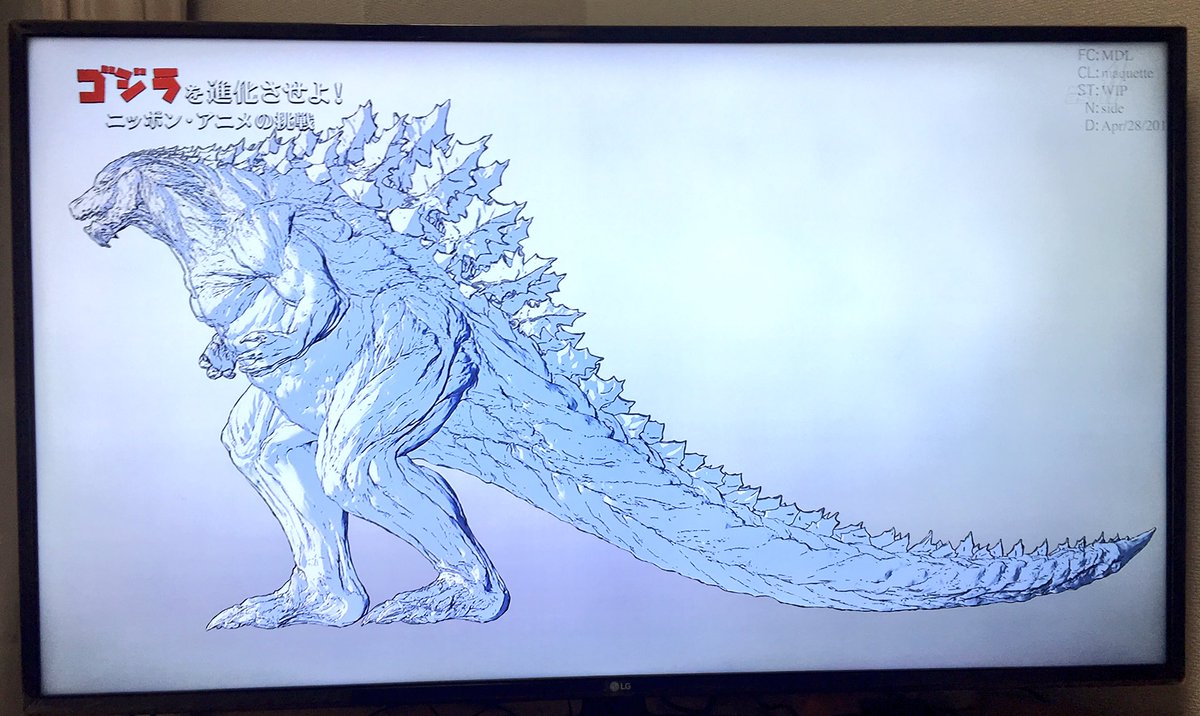
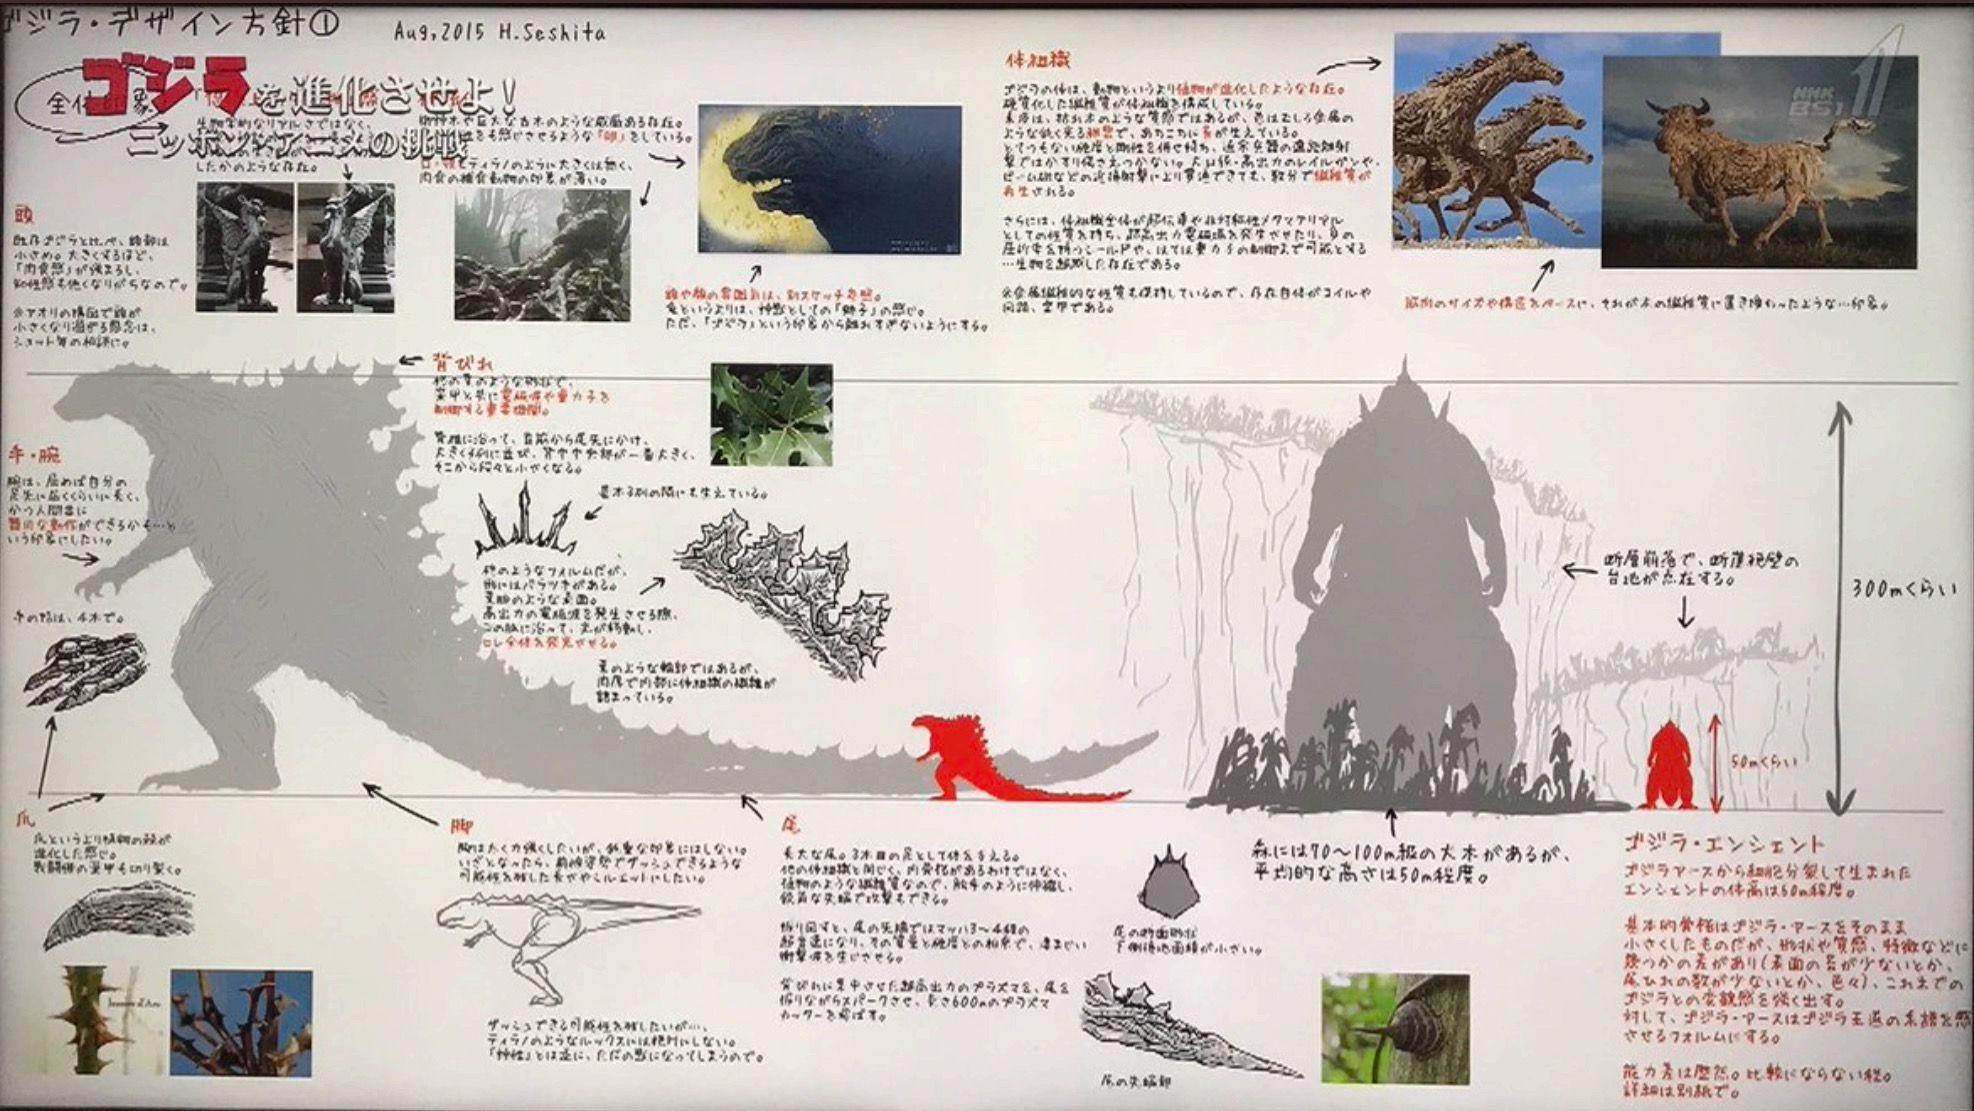
NHK_special_Godzilla_concept_art_and_Info.jpeg|Godzilla concept art | |||
File:GPOTM - Godzilla Concept Art.png|Godzilla concept art | |||
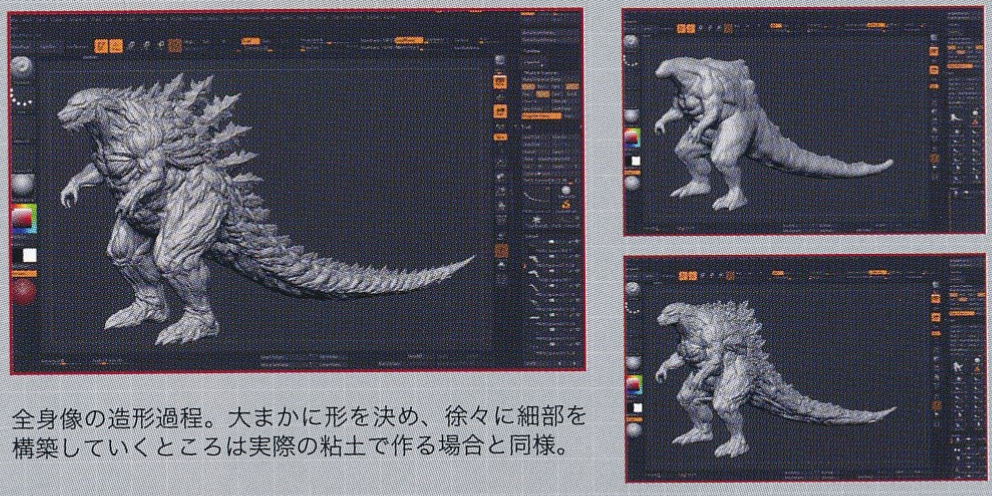
GPOTM_-_3DCG_Sculpting_Godzilla.png|Sculpting a 3D maquette for Godzilla | |||
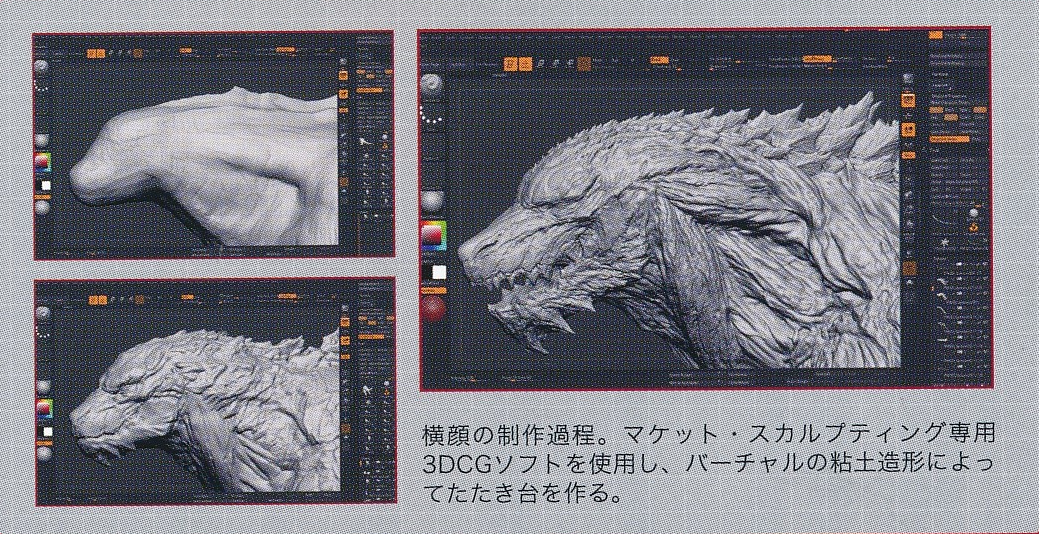
File:GPOTM - 3DCG Sculting Godzilla Face.png|Sculpting Godzilla's face in a 3D maquette | |||
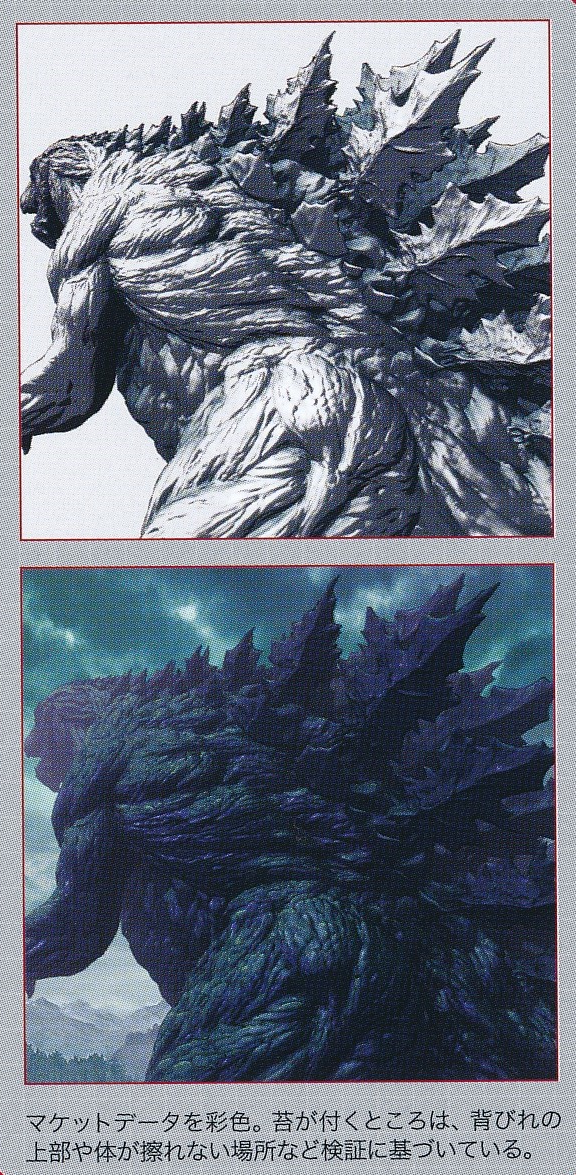
File:GPOTM - 3DCG Godzilla Texturing Maquette.png|Texturing the 3D maquette | |||
</gallery> | |||
===''[[Godzilla: King of the Monsters]]''=== | |||
<gallery widths="120" position="center" captionalign="center" spacing="small"> | |||
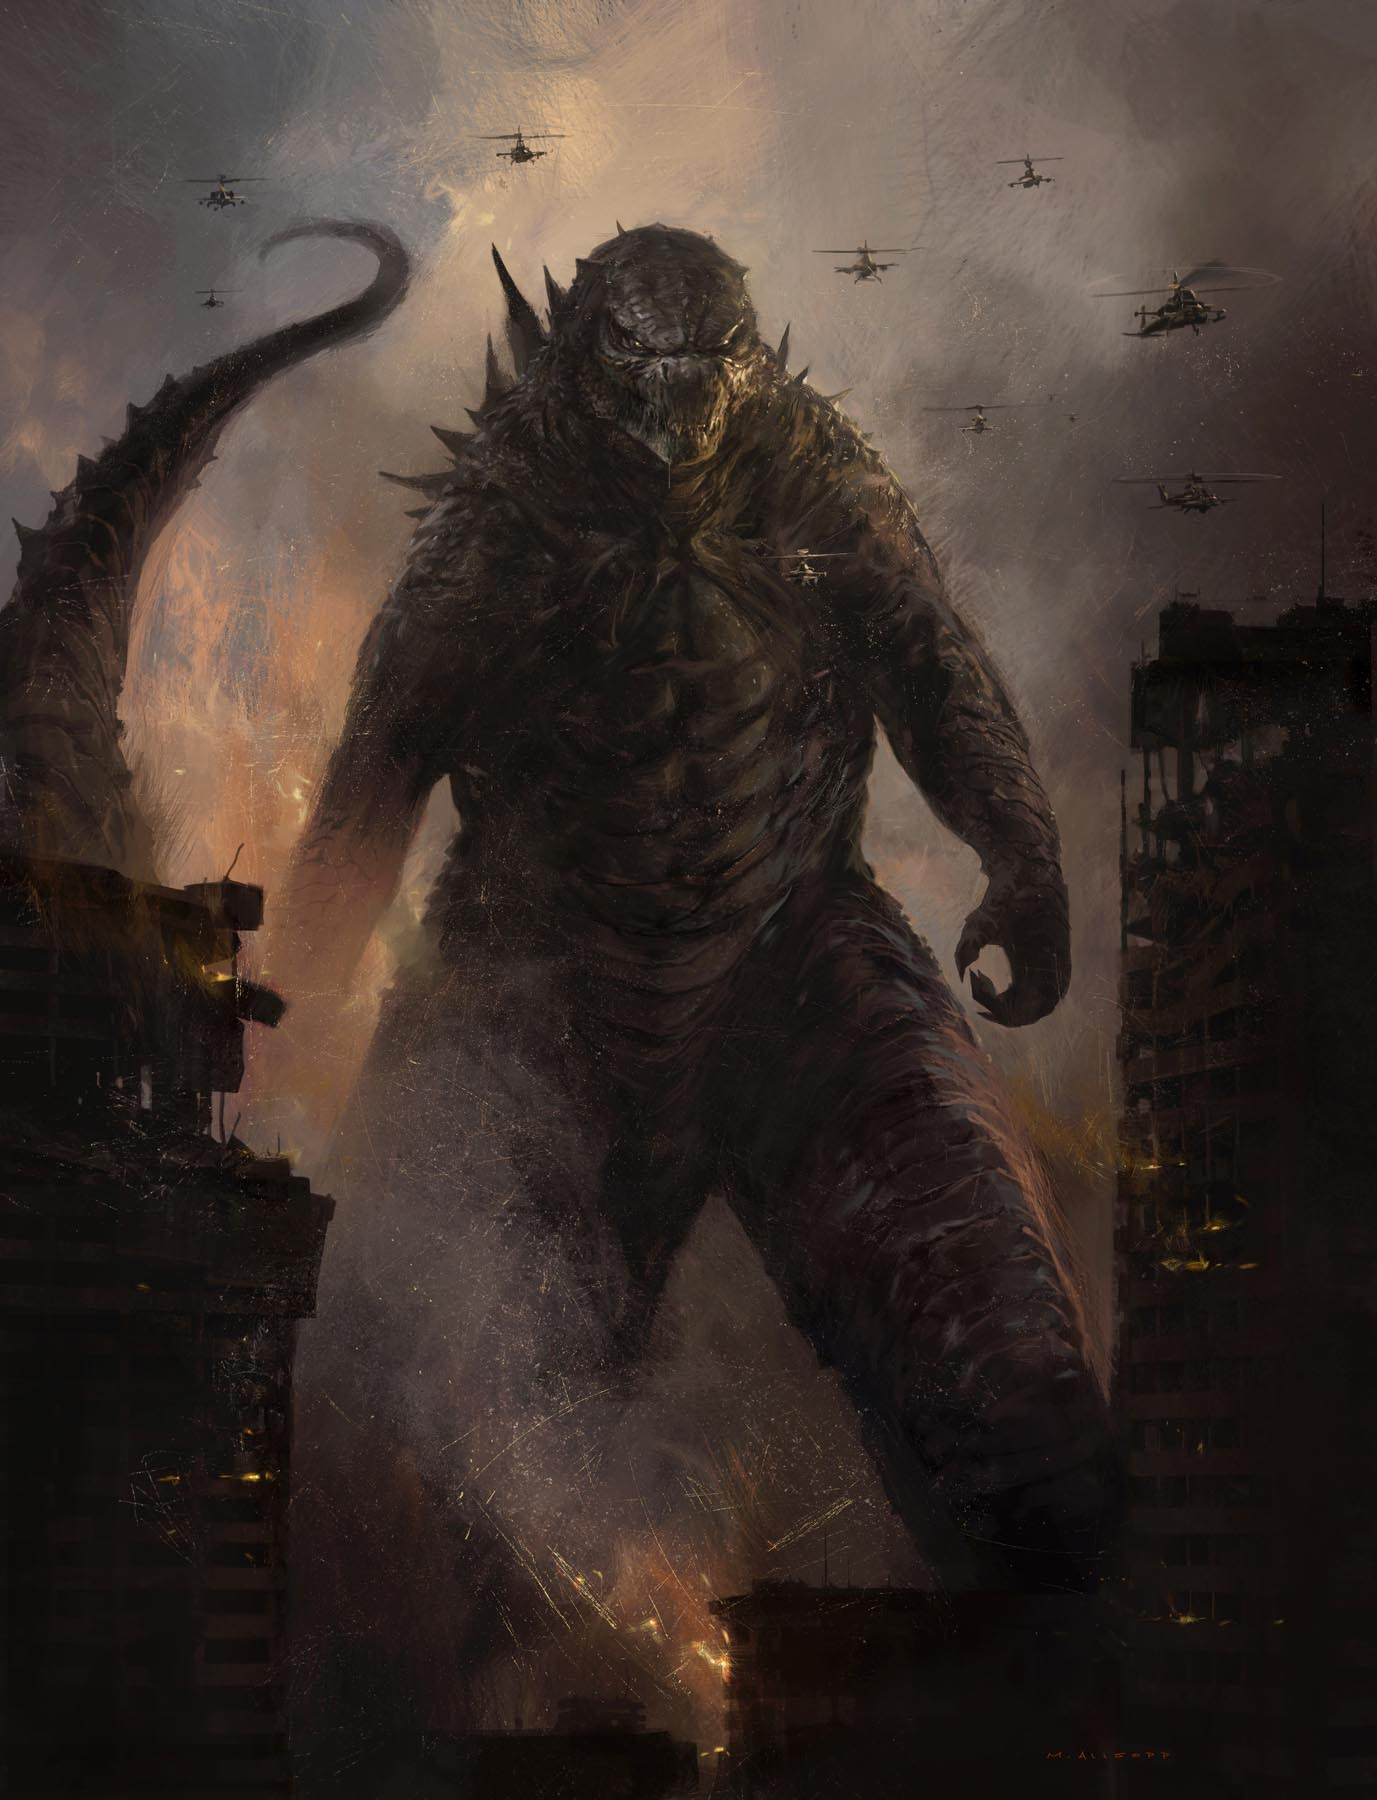
Godzilla King of the Monsters - Godzilla and helicopter squadron concept art.png | |||
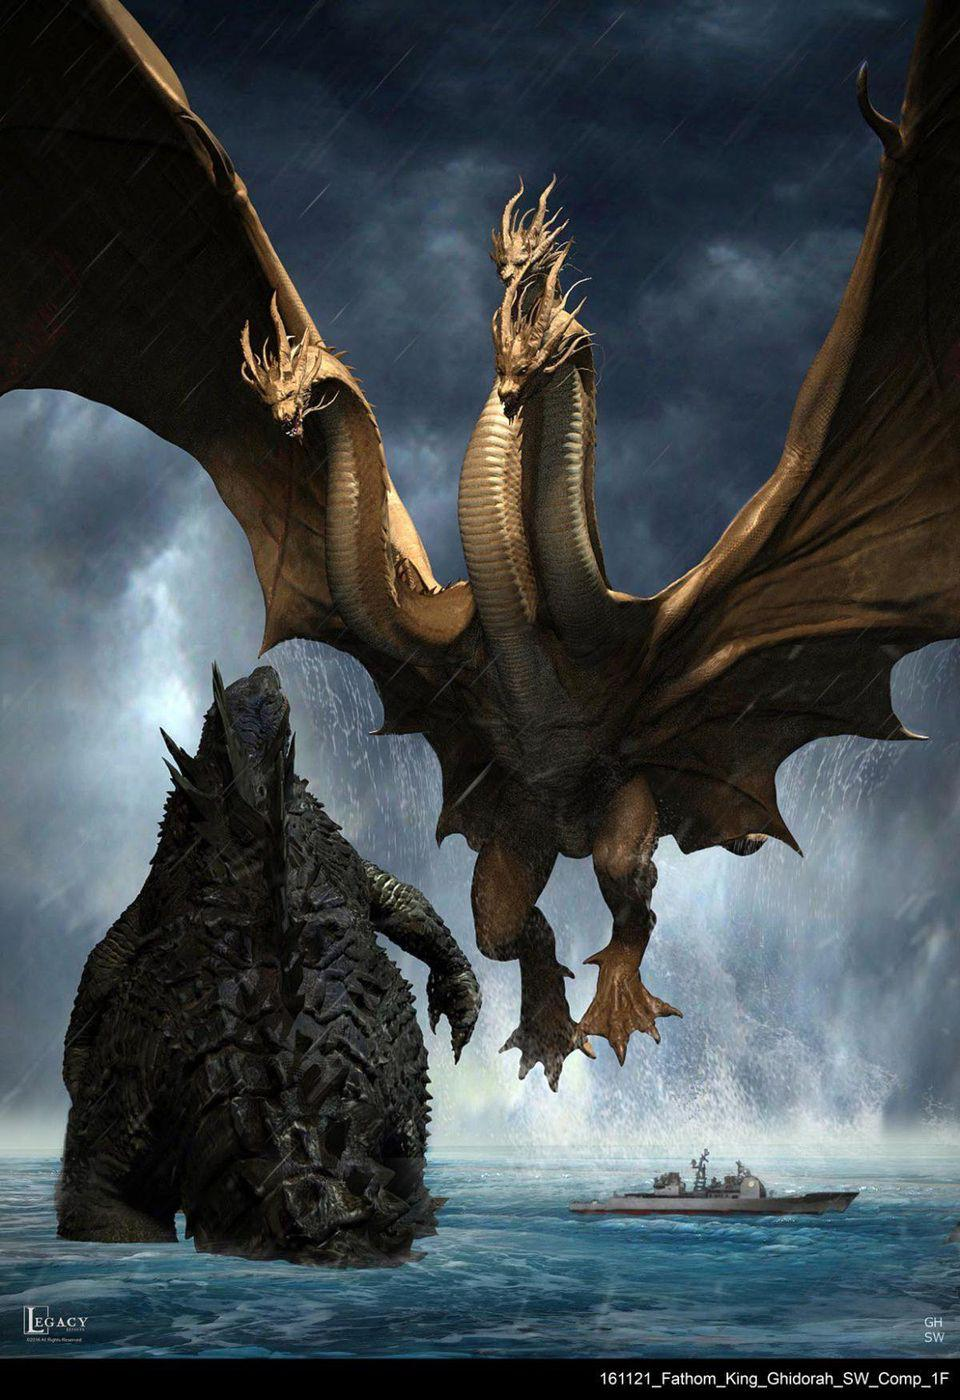
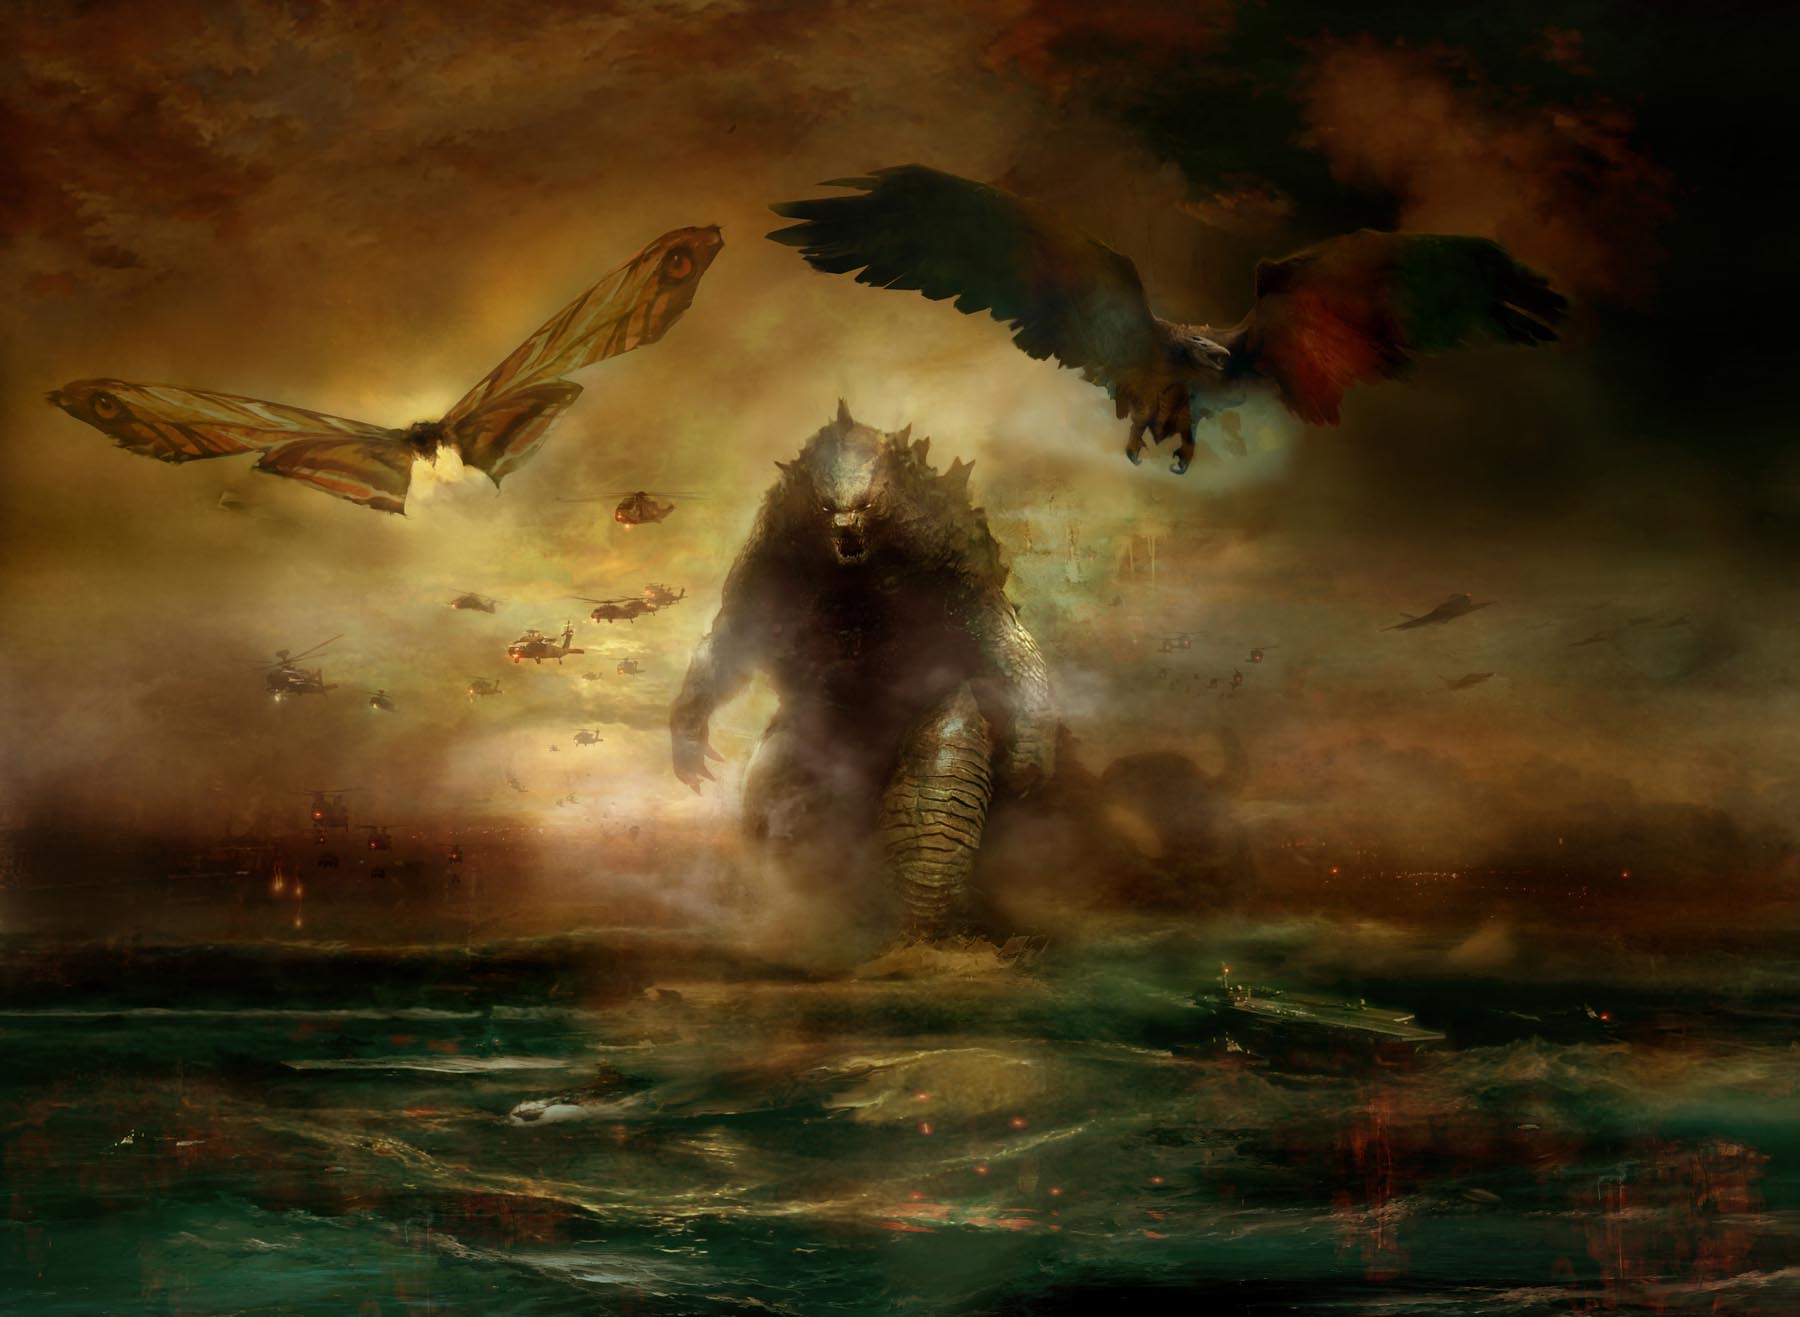
Godzilla King of the Monsters - Godzilla, a ship, and a hovering King Ghidorah in the ocean concept art.png | |||
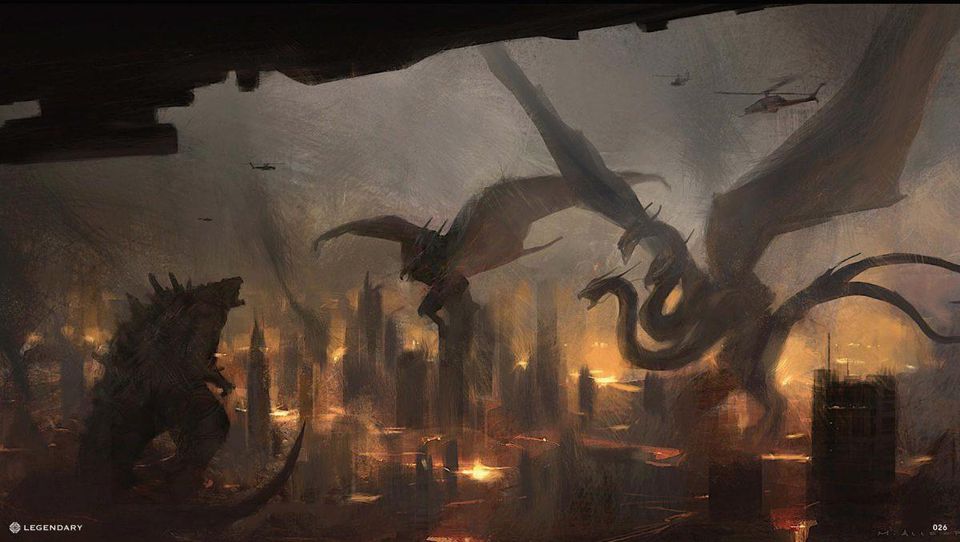
Godzilla King of the Monsters - Godzilla and King Ghidorah battle in a city.png | |||
Godzilla King of the Monsters - Godzilla and King Ghidorah's thunderstorm.png | |||
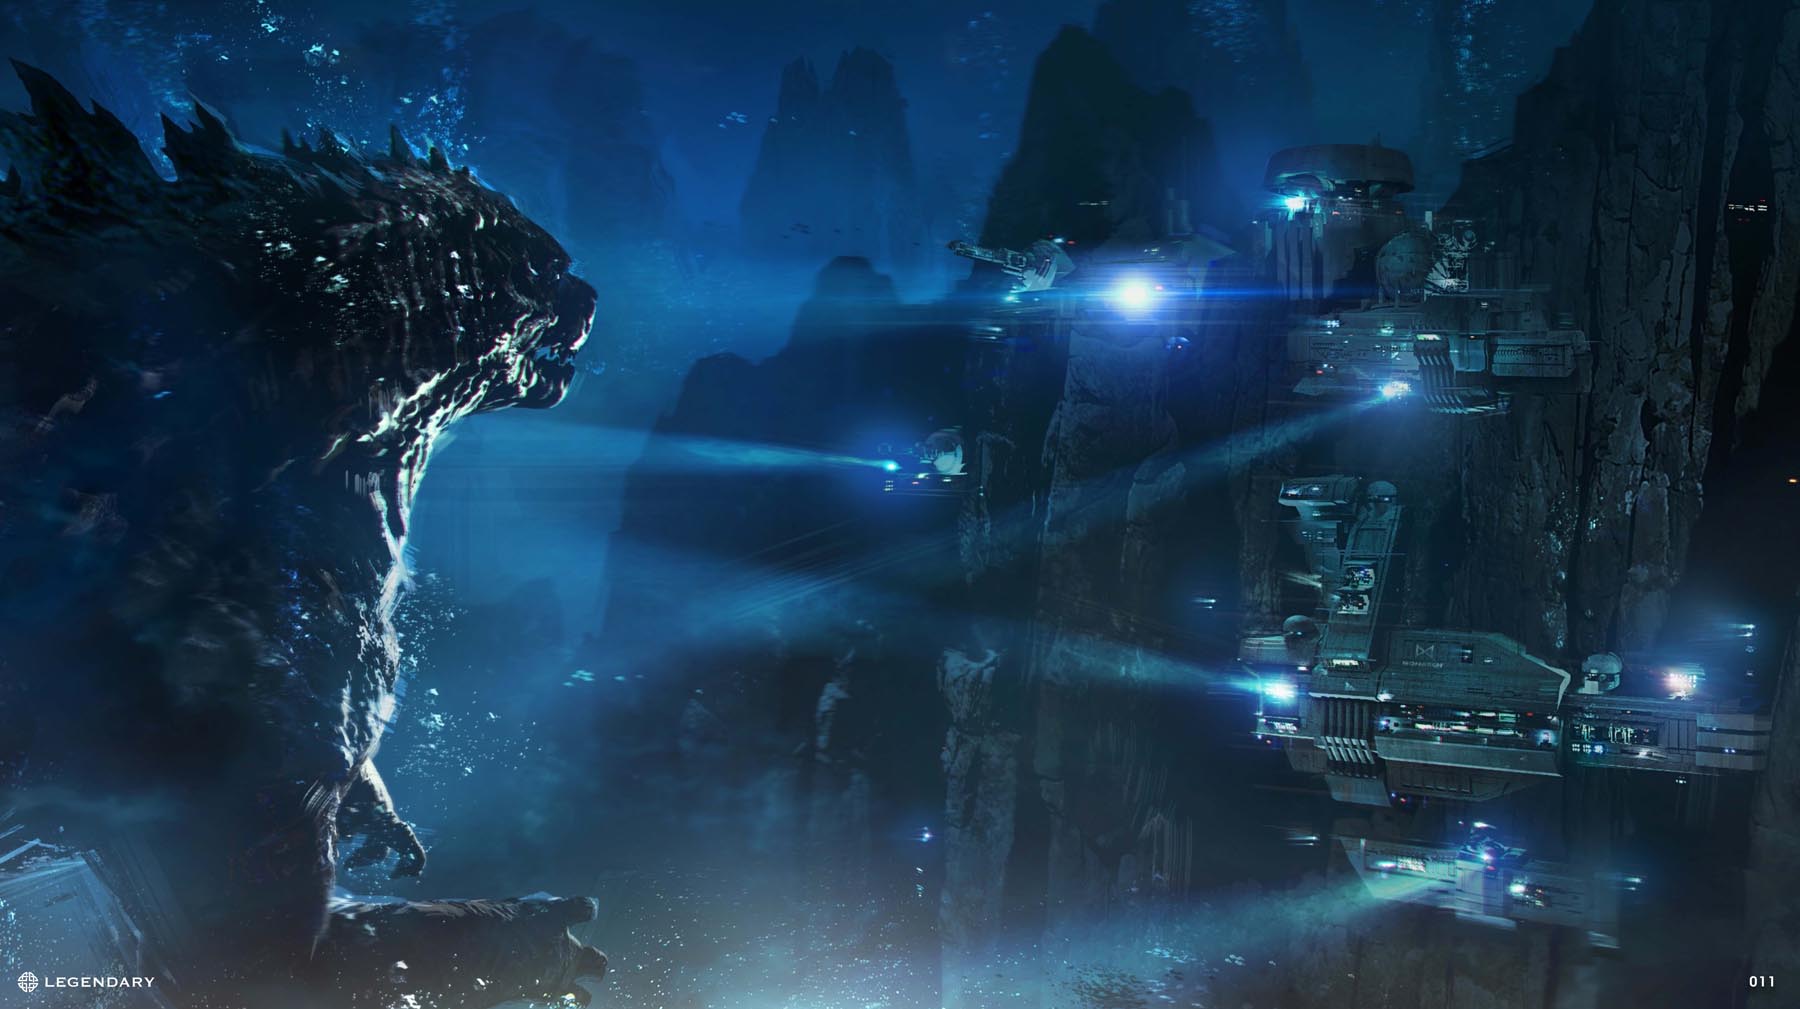
KOTM Concept Art - Castle Bravo.jpg | |||
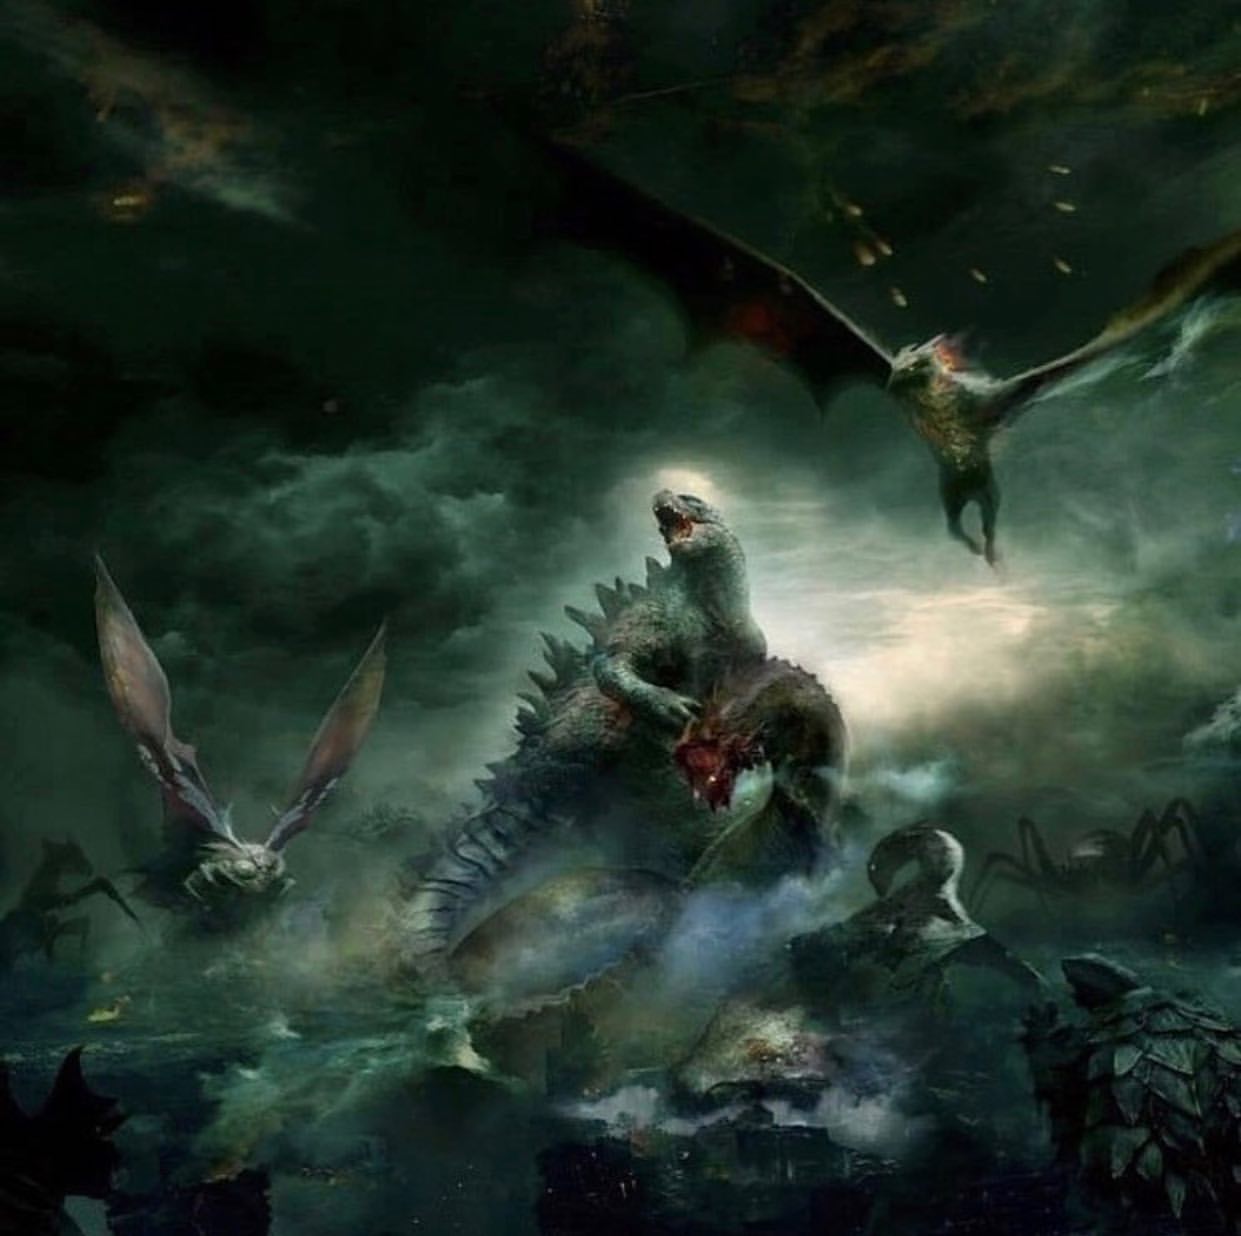
KOTM Concept Art - Rodan and Ghidorah vs. Godzilla.jpg | |||
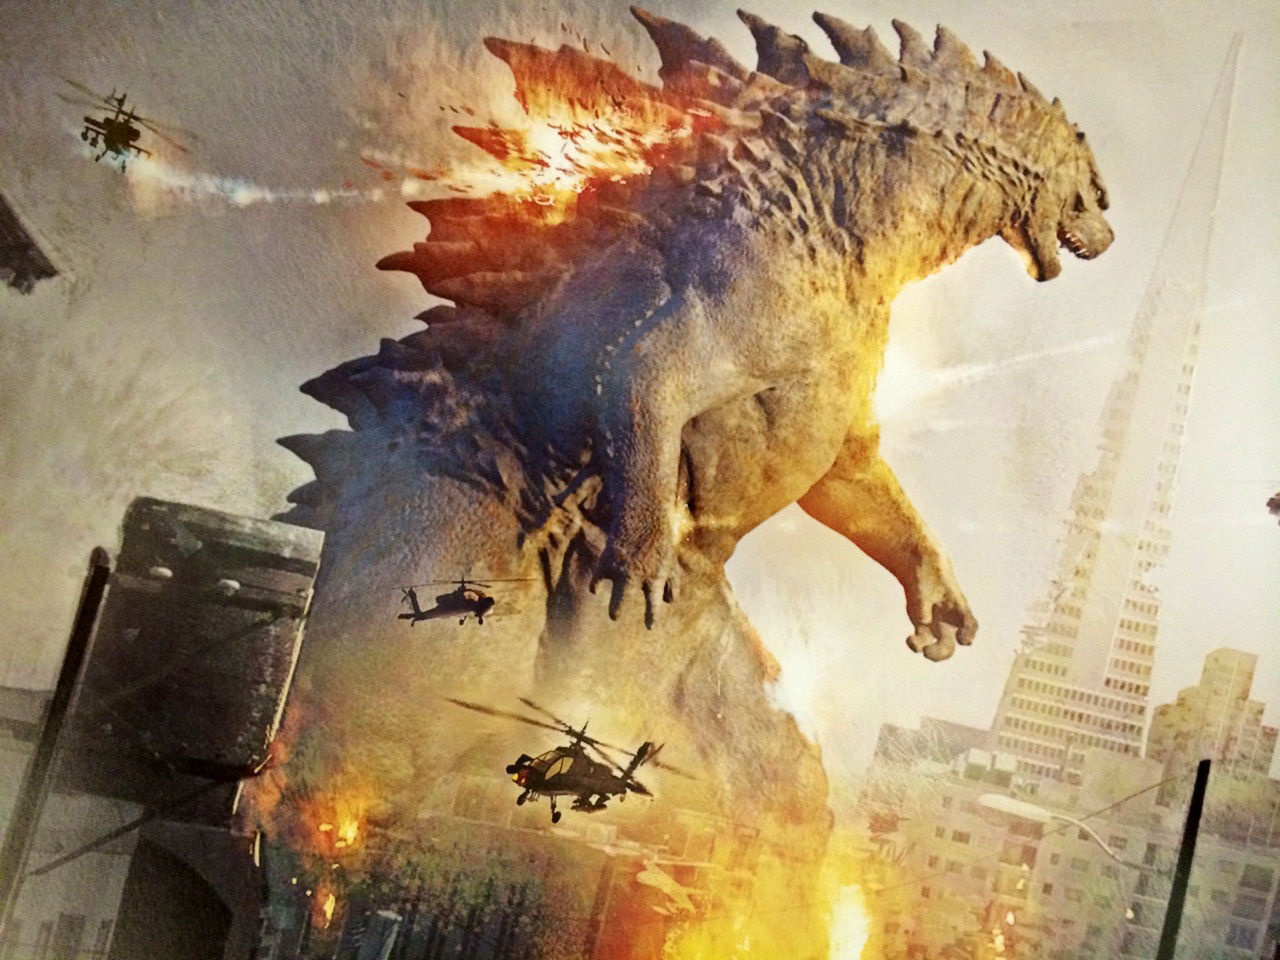
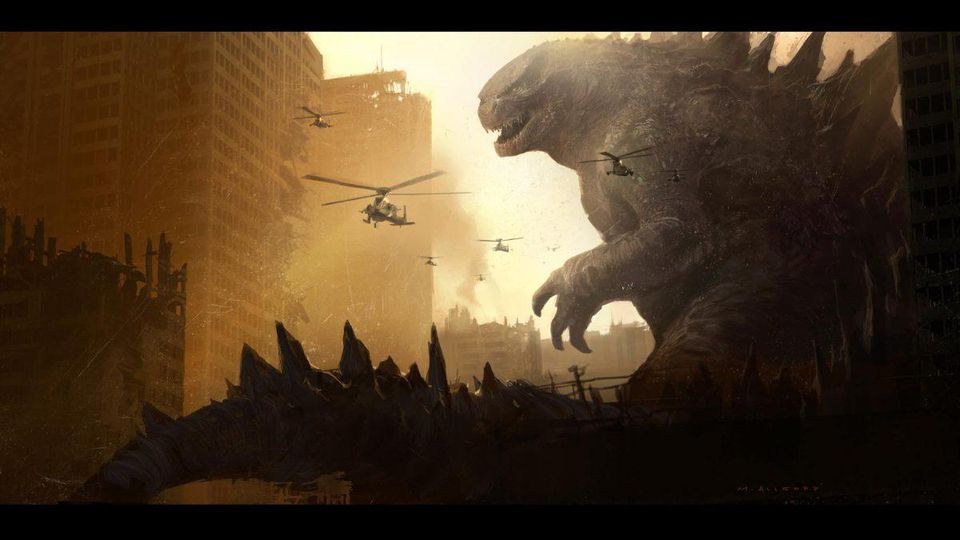
KOTM Concept Art - Godzilla and Helicopters.jpg | |||
KOTM Concept Art - Like The Old Titan Said, Together.jpg | |||
G2KotM.jpg | |||
</gallery> | |||
==Screenshots== | ==Screenshots== | ||
===[[Godzilla (1954 film)|''Godzilla'' (1954)]]=== | ===[[Godzilla (1954 film)|''Godzilla'' (1954)]]=== | ||
| Line 325: | Line 350: | ||
===''[[Godzilla vs. Destoroyah]]''=== | ===''[[Godzilla vs. Destoroyah]]''=== | ||
{{Main|MogeGoji}} | {{Main|MogeGoji}} | ||
===''[[Godzilla Island ( | ===''[[Godzilla Island (series)|Godzilla Island]]''=== | ||
<gallery widths='120' position='center' captionalign='center' spacing='small'> | <gallery widths='120' position='center' captionalign='center' spacing='small'> | ||
Godzillaislandstory2014.jpg|Lucas chases | Godzillaislandstory2014.jpg|Lucas chases Cameron towards Godzilla | ||
Godzillaislandstory1917.jpg|Godzilla & Fire Rodan killing Neo Hedorah | Godzillaislandstory1917.jpg|Godzilla & Fire Rodan killing Neo Hedorah | ||
Godzillaislandstory1711.jpg|Godzilla getting attacked by Gororin | Godzillaislandstory1711.jpg|Godzilla getting attacked by Gororin | ||
| Line 429: | Line 454: | ||
{{Main|ToraGoji}} | {{Main|ToraGoji}} | ||
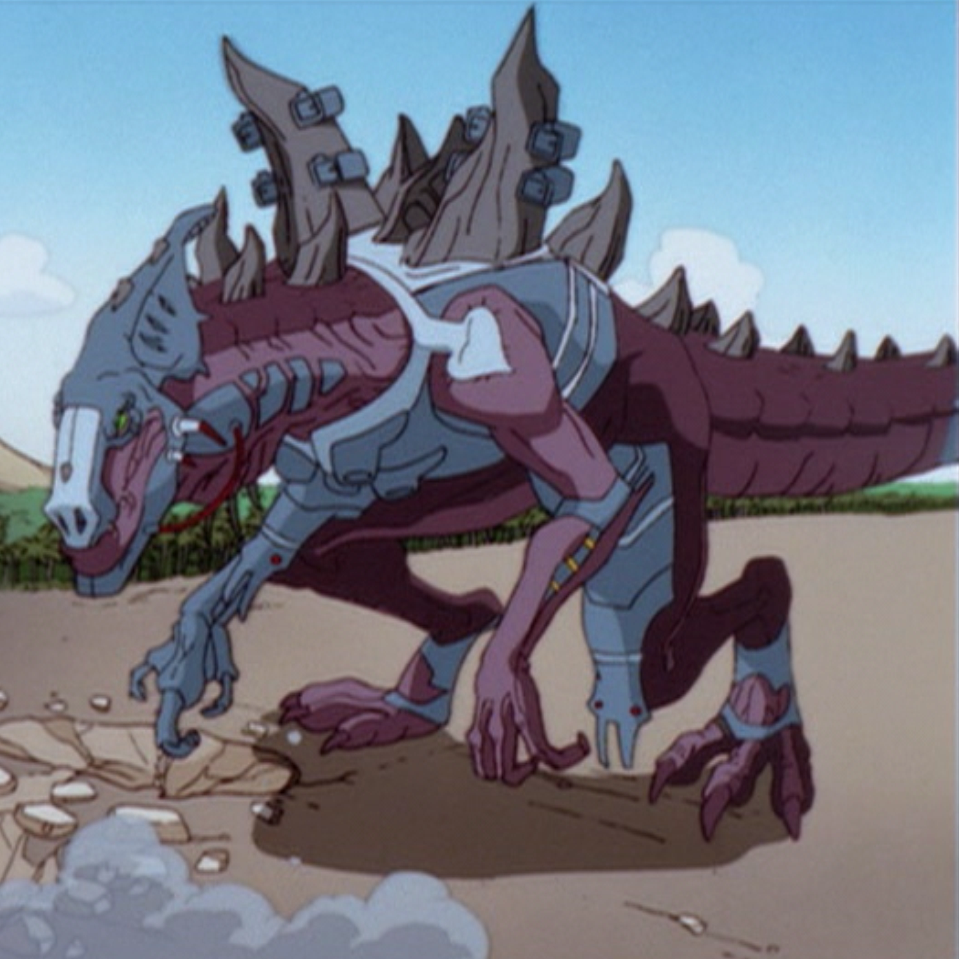
===''[[Godzilla: The Series]]''=== | ===''[[Godzilla: The Series]]''=== | ||
{{Main | {{Main|Godzilla/Godzilla: The Series/Gallery|Cyber Godzilla/Gallery}} | ||
<gallery widths="120" position="center" captionalign="center" spacing="small"> | <gallery widths="120" position="center" captionalign="center" spacing="small"> | ||
Zilla Animated 1.png|[[Godzilla/TriStar|Godzilla]] in the [[New Family: Part 1|first episode]] of ''[[Godzilla: The Series]]'' | Zilla Animated 1.png|[[Godzilla/TriStar|Godzilla]] in the [[New Family: Part 1|first episode]] of ''[[Godzilla: The Series]]'' | ||
| Line 462: | Line 487: | ||
{{Main|FinalGoji}} | {{Main|FinalGoji}} | ||
===''Always: Sunset on Third Street 2''=== | ===''Always: Sunset on Third Street 2''=== | ||
{{Main| | {{Main|Third Street Godzilla}} | ||
===[[Godzilla (2014 film)|''Godzilla'' (2014)]]=== | ===[[Godzilla (2014 film)|''Godzilla'' (2014)]]=== | ||
{{Main| | {{Main|GareGoji}} | ||
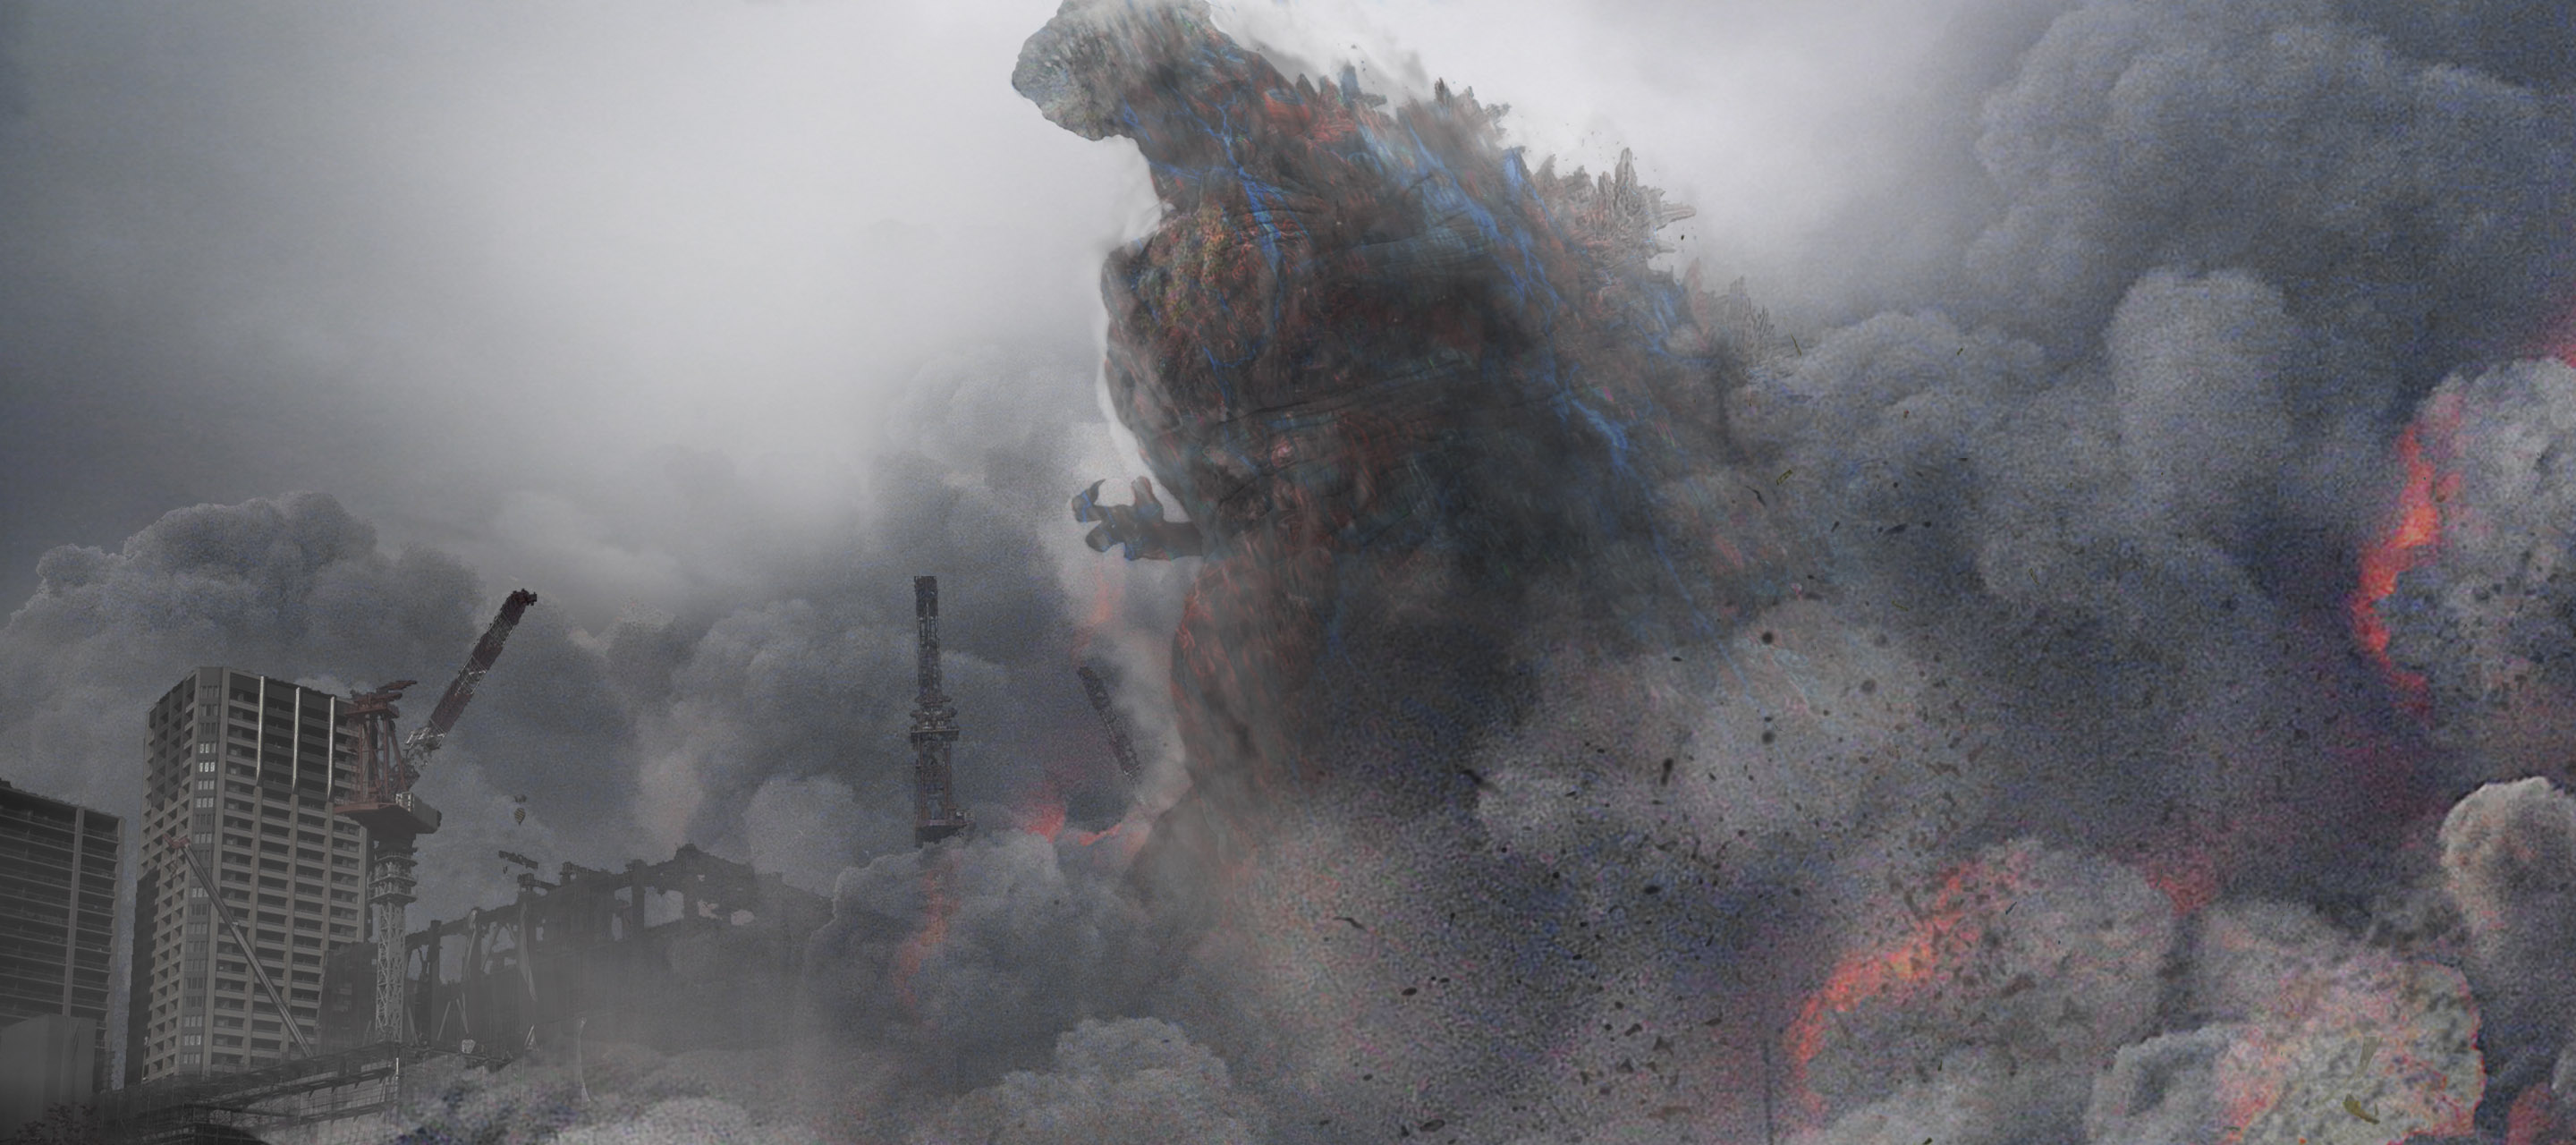
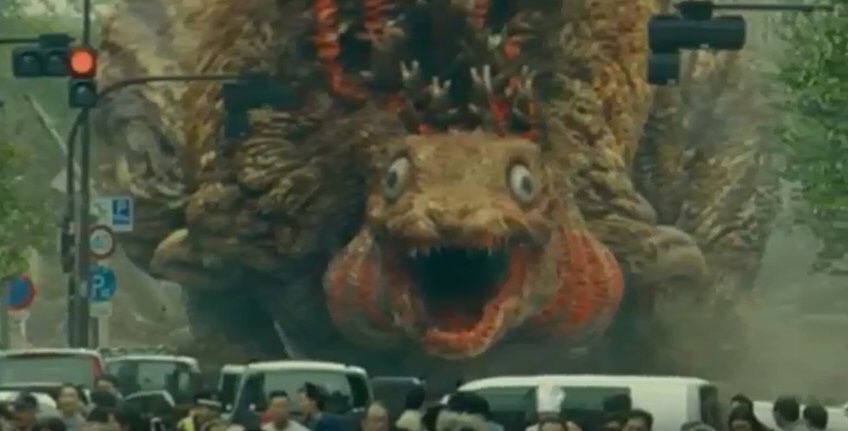
===''[[Shin Godzilla]]''=== | ===''[[Shin Godzilla]]''=== | ||
{{Main|ShinGoji}} | {{Main|ShinGoji}} | ||
===''[[GODZILLA: Planet of the Monsters]]''=== | ===''[[Godzilla: Planet of the Monsters|GODZILLA: Planet of the Monsters]]''=== | ||
{{Main| | {{Main|AniGoji}} | ||
===''[[Godzilla: City on the Edge of Battle|GODZILLA: City on the Edge of Battle]]''=== | |||
{{Main|AniGoji}} | |||
===''[[Godzilla: The Planet Eater|GODZILLA: The Planet Eater]]''=== | |||
{{Main|AniGoji}} | |||
===''[[Godzilla: King of the Monsters]]''=== | |||
{{Main|DougheGoji}} | |||
==Designs== | ==Designs== | ||
:Click on a specific [[:Category:Godzilla Designs|Godzilla design]] to go to its article and view pictures associated with that specific suit, like screenshots, behind the scenes pictures, post-production photos, toys, and more. | :Click on a specific [[:Category:Godzilla Designs|Godzilla design]] to go to its article and view pictures associated with that specific suit, like screenshots, behind the scenes pictures, post-production photos, toys, and more. | ||
| Line 491: | Line 522: | ||
NewGFilms-Ghidogoji.jpg|[[BioGoji|GhidoGoji]] (BioGoji)|link=BioGoji | NewGFilms-Ghidogoji.jpg|[[BioGoji|GhidoGoji]] (BioGoji)|link=BioGoji | ||
92Godzilla2.jpg|[[BatoGoji]]|link=BatoGoji | 92Godzilla2.jpg|[[BatoGoji]]|link=BatoGoji | ||
Godzilla 1993.jpg|[[RadoGoji]]|link=RadoGoji | |||
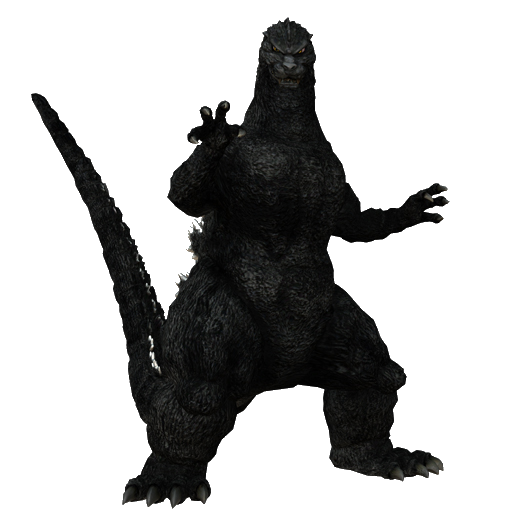
Godzilla.jpg|[[MogeGoji]]|link=MogeGoji | Godzilla.jpg|[[MogeGoji]]|link=MogeGoji | ||
95Godzilla.jpg|[[MogeGoji|DesuGoji]] (MogeGoji)|link=MogeGoji | 95Godzilla.jpg|[[MogeGoji|DesuGoji]] (MogeGoji)|link=MogeGoji | ||
| Line 500: | Line 531: | ||
Godzilla 2002.jpg|[[KiryuGoji]]|link=KiryuGoji | Godzilla 2002.jpg|[[KiryuGoji]]|link=KiryuGoji | ||
Godzilla.jp - Godzilla 2003.jpg|[[KiryuGoji|SOSGoji]] (KiryuGoji)|link=KiryuGoji | Godzilla.jp - Godzilla 2003.jpg|[[KiryuGoji|SOSGoji]] (KiryuGoji)|link=KiryuGoji | ||
9a44e8806651464e42702fa783a5568d.png|[[FinalGoji]]|link=FinalGoji | |||
AlwaysGoji.jpg|[[ | AlwaysGoji.jpg|[[Third Street Godzilla]]|link=Third Street Godzilla | ||
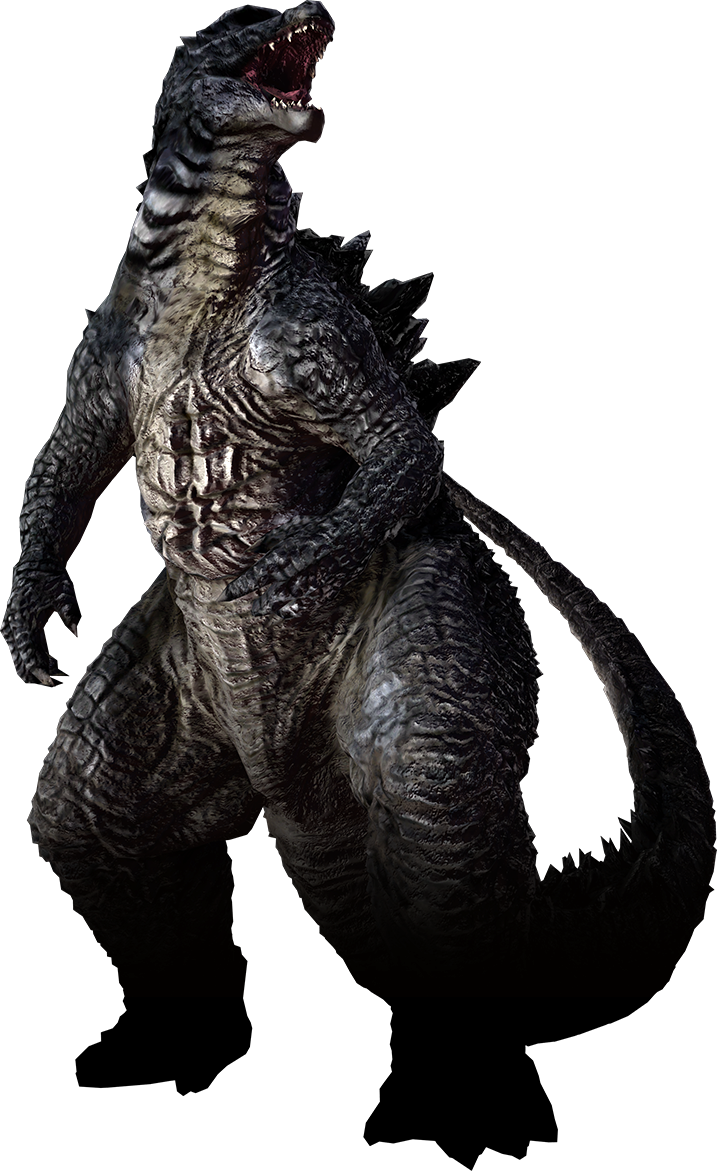
Legendary_Godzilla.png|[[ | Legendary_Godzilla.png|[[GareGoji]]|link=GareGoji | ||
ShinGoji Trailer.jpg|[[ShinGoji]]|link=ShinGoji | ShinGoji Trailer.jpg|[[ShinGoji]]|link=ShinGoji | ||
Godzilla Earth infobox.png|[[AniGoji]]|link=AniGoji | |||
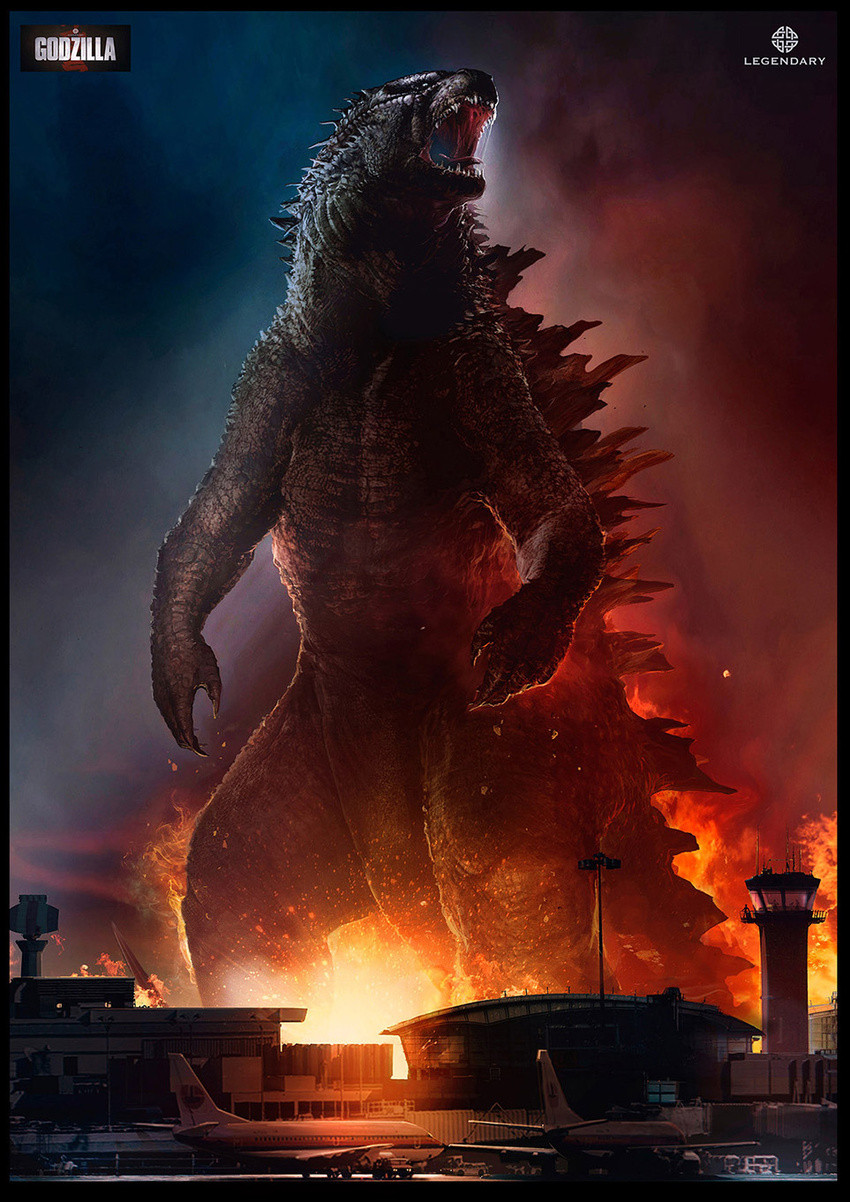
GKotM - Textless poster art.png|[[DougheGoji]]|link=DougheGoji | |||
</gallery> | </gallery> | ||
---- | ---- | ||
| Line 519: | Line 551: | ||
File:All Toho Monsters Pictorial Book p 232.jpg|''[[All Toho Monsters Pictorial Book]]'' page 232 | File:All Toho Monsters Pictorial Book p 232.jpg|''[[All Toho Monsters Pictorial Book]]'' page 232 | ||
</gallery> | </gallery> | ||
==Video games== | |||
==Video | <gallery widths="120" position="center" captionalign="center" spacing="small"> | ||
<gallery widths= | |||
Commodore_64_Godzilla_Sprite.png|Godzilla's first ever sprite from the [[Godzilla (Commodore 64)|Commodore 64 game]] | Commodore_64_Godzilla_Sprite.png|Godzilla's first ever sprite from the [[Godzilla (Commodore 64)|Commodore 64 game]] | ||
Monster's_Fair_-_Godzilla.png|Godzilla in ''[[Monster's Fair]]'' | |||
Gojira-Kun - Godzilla.png|Godzilla's Sprite in ''[[Gojira-Kun]]'' | Gojira-Kun - Godzilla.png|Godzilla's Sprite in ''[[Gojira-Kun]]'' | ||
Godzilla_vs._3_Major_Monsters_-_Godzilla.png|Godzilla in ''[[Godzilla vs. 3 Major Monsters]]'' | |||
Godzilla MMG avatar.jpg|Godzilla in ''[[The Movie Monster Game]]'' | Godzilla MMG avatar.jpg|Godzilla in ''[[The Movie Monster Game]]'' | ||
Godzilla_GMoM.gif|Godzilla in ''[[Godzilla: Monster of Monsters]]'' | |||
Godzilla_GMoM.gif|Godzilla in ''[[Godzilla: Monster of Monsters | |||
Godzilla_Exercises.gif|Godzilla in ''Circus Caper'' | Godzilla_Exercises.gif|Godzilla in ''Circus Caper'' | ||
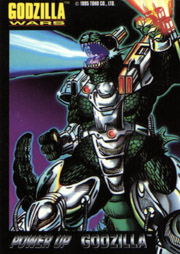
Godzilla 2 - Godzilla Sprite.png|Godzilla in ''[[Godzilla 2: War of the Monsters]]'' | Godzilla 2 - Godzilla Sprite.png|Godzilla in ''[[Godzilla 2: War of the Monsters]]'' | ||
Godzilla_Arcade_Game_-_Godzilla.png|Godzilla in the [[Godzilla (arcade)|''Godzilla'' arcade game]] | |||
Godzilla_Arcade_Game_-_Godzilla.png|Godzilla in the [[Godzilla ( | |||
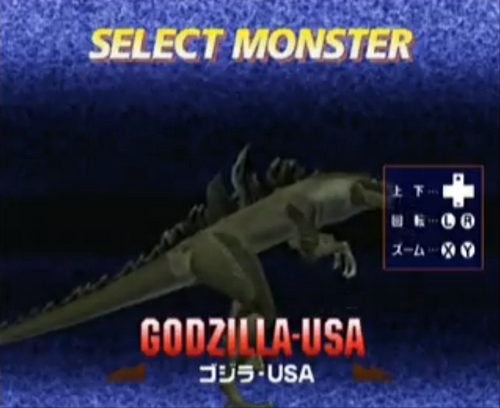
Zilla USA 1.png|Godzilla-USA in ''[[Godzilla Generations]]'' | Zilla USA 1.png|Godzilla-USA in ''[[Godzilla Generations]]'' | ||
ZILLA USA 2.jpg | ZILLA USA 2.jpg | ||
GODZILLA_USA.png | GODZILLA_USA.png | ||
AMERICAN_GODZILLA_USA.png|GODZILLA in ''[[Godzilla: Trading Battle]]'' | |||
GDAMM_-_Godzilla_90s.png|Godzilla 90's in ''[[Godzilla: Destroy All Monsters Melee]]'' | GDAMM_-_Godzilla_90s.png|Godzilla 90's in ''[[Godzilla: Destroy All Monsters Melee]]'' | ||
GDAMM_-_Godzilla_2000.png|Godzilla 2000 in ''[[Godzilla: Destroy All Monsters Melee]]'' | GDAMM_-_Godzilla_2000.png|Godzilla 2000 in ''[[Godzilla: Destroy All Monsters Melee]]'' | ||
GDAMM Artwork - Godzilla 2000 (2).png|Godzilla 2000 in ''[[Godzilla: Destroy All Monsters Melee]]'' | GDAMM Artwork - Godzilla 2000 (2).png|Godzilla 2000 in ''[[Godzilla: Destroy All Monsters Melee]]'' | ||
GDAMM godzilla90s_icon.png|Godzilla 90's character select screen icon in ''[[Godzilla: Destroy All Monsters Melee]]'' | GDAMM godzilla90s_icon.png|Godzilla 90's character select screen icon in ''[[Godzilla: Destroy All Monsters Melee]]'' | ||
GDAMM g2k_icon.png|Godzilla 2000 character select screen icon in ''[[Godzilla: Destroy All Monsters Melee]]'' | GDAMM g2k_icon.png|Godzilla 2000's character select screen icon in ''[[Godzilla: Destroy All Monsters Melee]]'' | ||
Gojira_Godzilla_Domination_-_Character_Icons_-_Godzilla.png|Godzilla's icon in ''[[Godzilla: Domination!]]'' | Gojira_Godzilla_Domination_-_Character_Icons_-_Godzilla.png|Godzilla's icon in ''[[Godzilla: Domination!]]'' | ||
Gojira_Godzilla_Domination_-_Character_Sprites_-_Godzilla.png|Godzilla's sprite in ''[[Godzilla: Domination!]]'' | Gojira_Godzilla_Domination_-_Character_Sprites_-_Godzilla.png|Godzilla's sprite in ''[[Godzilla: Domination!]]'' | ||
| Line 651: | Line 576: | ||
Gojira_Godzilla_Domination_-_Battle_Sprites_-_Godzilla.png|Godzilla's battle sprite in ''[[Godzilla: Domination!]]'' | Gojira_Godzilla_Domination_-_Battle_Sprites_-_Godzilla.png|Godzilla's battle sprite in ''[[Godzilla: Domination!]]'' | ||
Gojira Kaiju Dairantou Advance - Character Icons - Godzilla.png|Godzilla's Japanese icon in ''[[Godzilla: Domination!]]'' | Gojira Kaiju Dairantou Advance - Character Icons - Godzilla.png|Godzilla's Japanese icon in ''[[Godzilla: Domination!]]'' | ||
Gojira Kaiju Dairantou Advance - Character Sprites - Godzilla.png|Godzilla's Japanese | Gojira Kaiju Dairantou Advance - Character Sprites - Godzilla.png|Godzilla's Japanese sprite in ''[[Godzilla: Domination!]]'' | ||
Gojira Kaiju Dairantou Advance - Character Boxes - Godzilla.png|Godzilla's Japanese character box from versus mode in ''[[Godzilla: Domination!]]'' | Gojira Kaiju Dairantou Advance - Character Boxes - Godzilla.png|Godzilla's Japanese character box from versus mode in ''[[Godzilla: Domination!]]'' | ||
Gojira Kaiju Dairantou Advance - Battle Sprites - Godzilla.png|Godzilla's Japanese Battle Sprite in ''[[Godzilla: Domination!]]'' | Gojira Kaiju Dairantou Advance - Battle Sprites - Godzilla.png|Godzilla's Japanese Battle Sprite in ''[[Godzilla: Domination!]]'' | ||
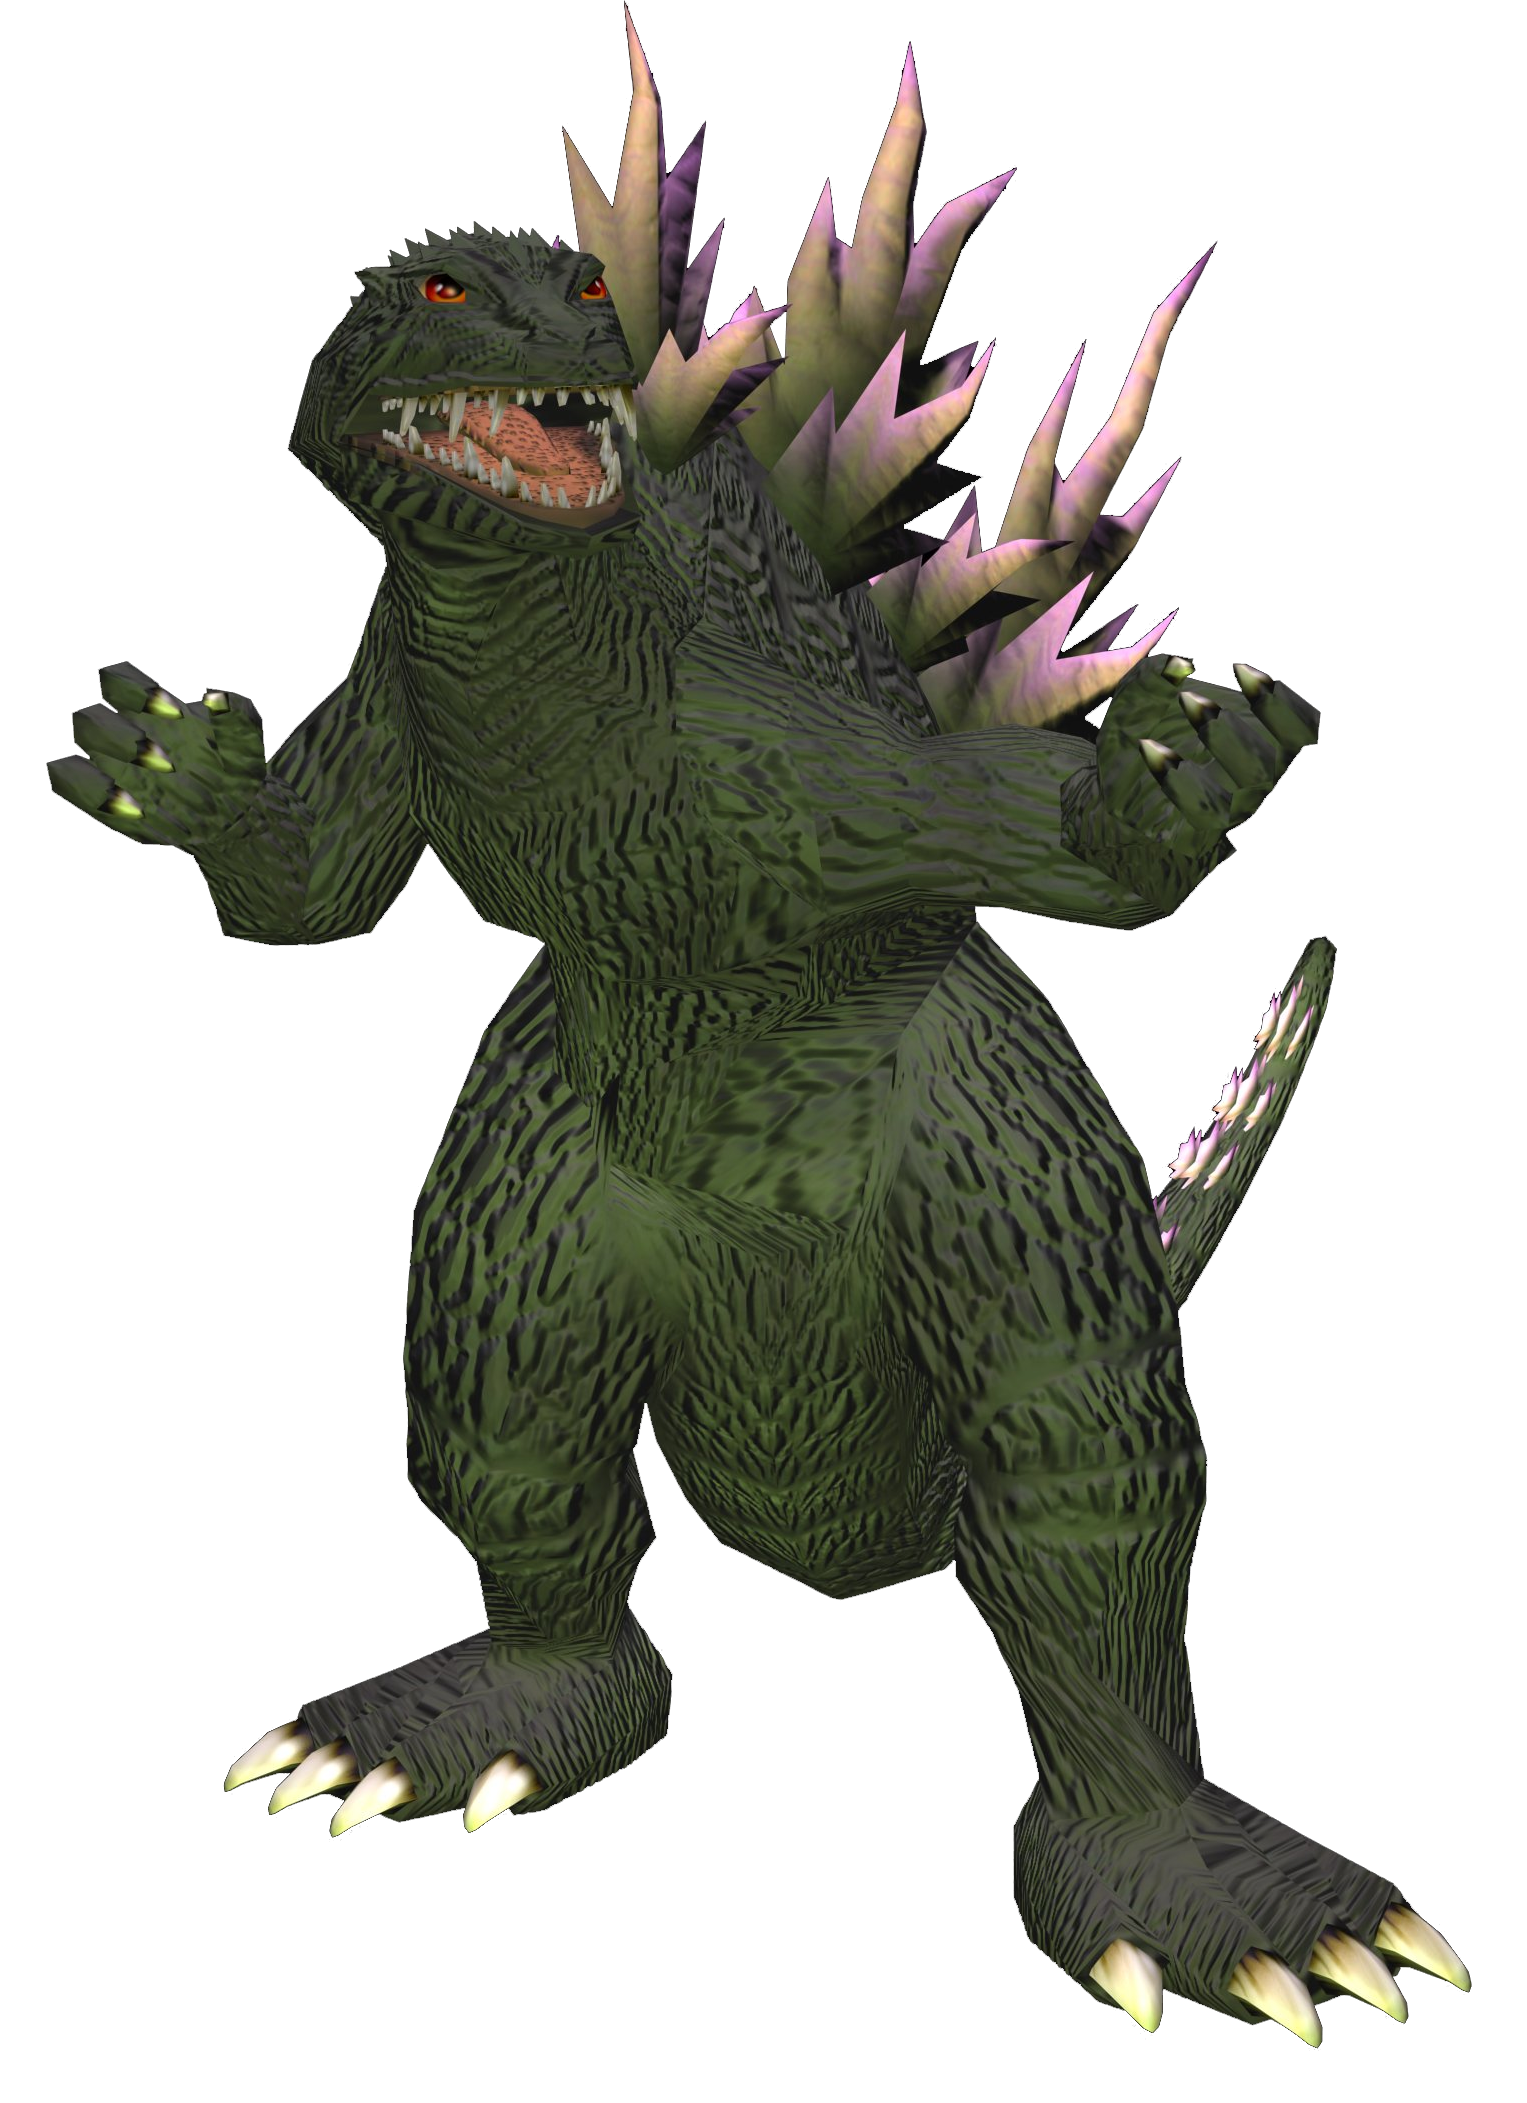
Godzilla_Save_The_Earth_GODZILLA_90s.png|Godzilla 1990's in ''[[Godzilla: Save the Earth]]'' | |||
Godzilla_Save_The_Earth_GODZILLA_90s.png|Godzilla | |||
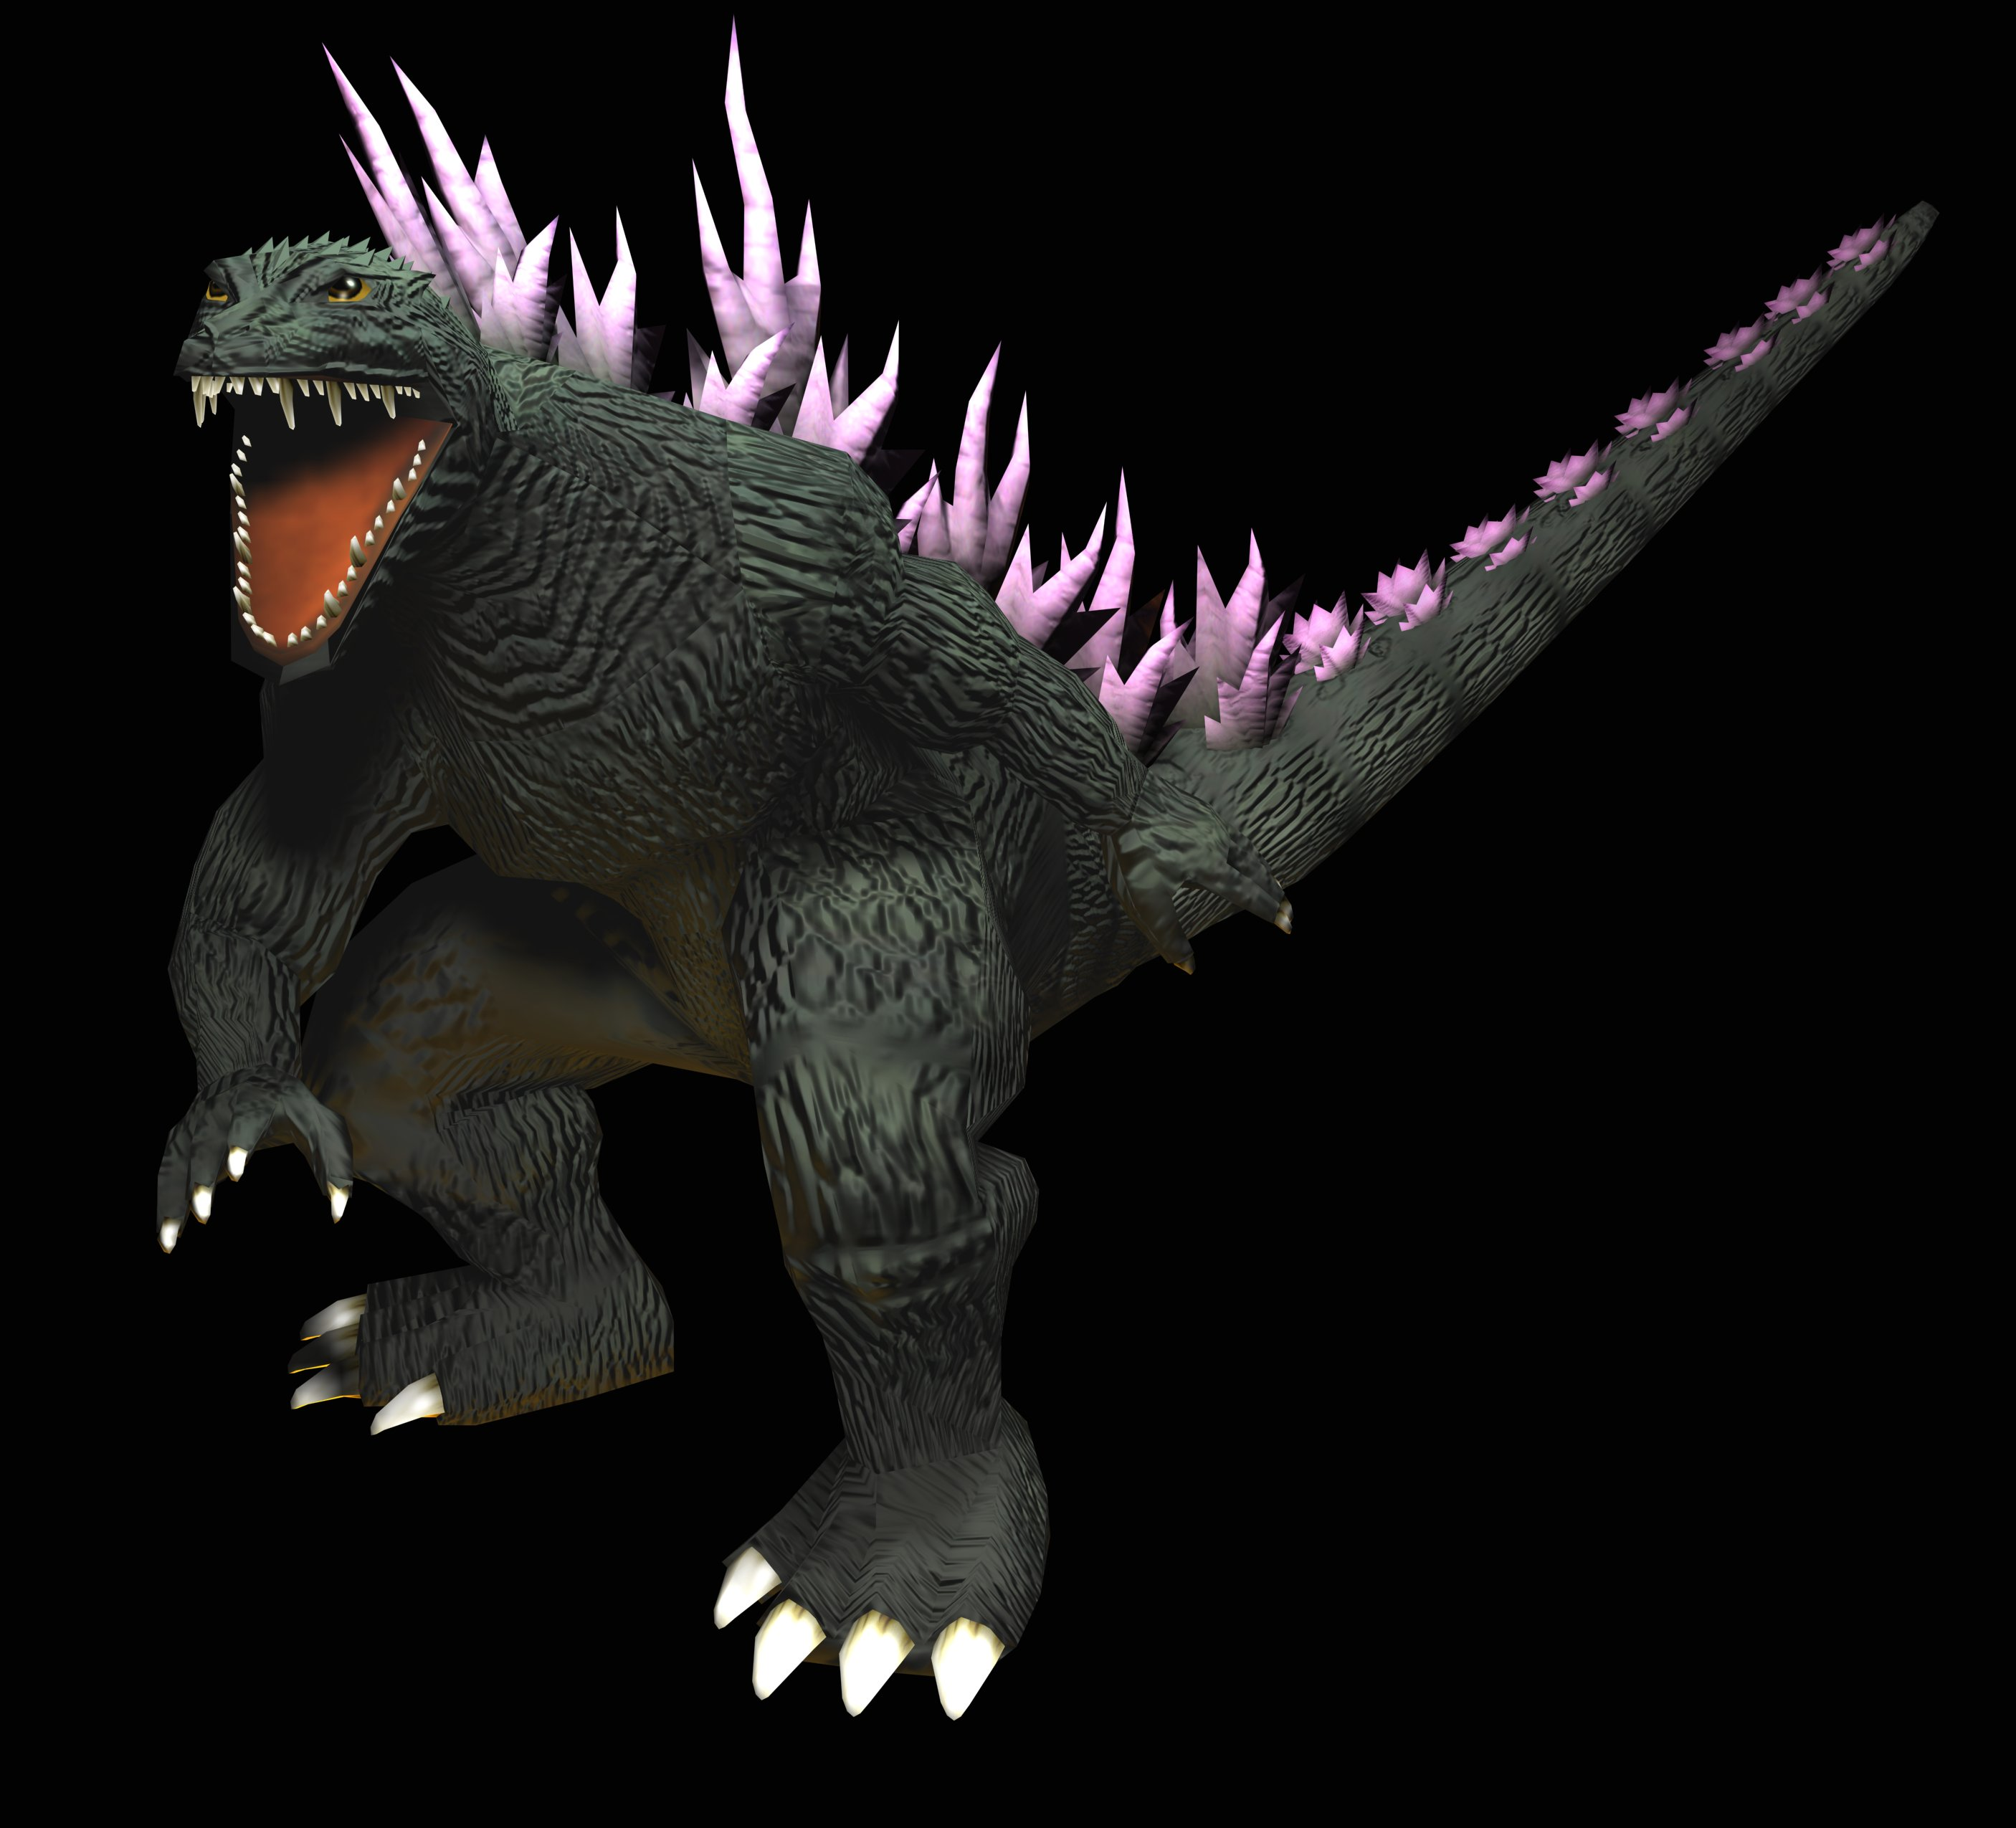
Godzilla_Save_The_Earth_GODZILLA_2000.png|Godzilla 2000 in ''[[Godzilla: Save the Earth]]'' | Godzilla_Save_The_Earth_GODZILLA_2000.png|Godzilla 2000 in ''[[Godzilla: Save the Earth]]'' | ||
Godzilla_Unleashed-_Godzilla_90s.jpg|Godzilla 1990's in ''[[Godzilla: Unleashed]]'' | Godzilla_Unleashed-_Godzilla_90s.jpg|Godzilla 1990's in ''[[Godzilla: Unleashed]]'' | ||
Godzilla_Unleashed-_Godzilla_1954.jpg|Godzilla 1954 in ''[[Godzilla: Unleashed]]'' | Godzilla_Unleashed-_Godzilla_1954.jpg|Godzilla 1954 in ''[[Godzilla: Unleashed]]'' | ||
Godness.jpg|Godzilla in ''[[Godzilla Unleashed: Double Smash]]'' | Godness.jpg|Godzilla in ''[[Godzilla Unleashed: Double Smash]]'' | ||
CR Godzilla - Godzilla Icon.png|Godzilla slot machine icon from ''[[CR Godzilla 3S-T Battle]]'' | CR Godzilla - Godzilla Icon.png|Godzilla slot machine icon from ''[[CR Godzilla 3S-T Battle]]'' | ||
Godzilla_on_Monster_Island_-_Godzilla_Slot.jpg|Godzilla's slot in ''[[Godzilla On Monster Island (video game)|Godzilla On Monster Island]]'' | |||
Godzilla_on_Monster_Island_-_Godzilla.jpg|Godzilla in ''[[Godzilla On Monster Island (video game)|Godzilla On Monster Island]]'' | |||
Godzilla_on_Monster_Island_-_Godzilla_Slot.jpg|Godzilla's slot in ''[[Godzilla On Monster Island ( | |||
Godzilla_on_Monster_Island_-_Godzilla.jpg|Godzilla in ''[[Godzilla On Monster Island ( | |||
Godzilla_in_Godzilla_Smash3.jpg|Godzilla in ''[[Godzilla: Smash3]]'' | Godzilla_in_Godzilla_Smash3.jpg|Godzilla in ''[[Godzilla: Smash3]]'' | ||
Godzilla_Strike_Zone_LegendaryGoji_iPad.jpeg|Godzilla in ''[[Godzilla: Strike Zone]]'' | Godzilla_Strike_Zone_LegendaryGoji_iPad.jpeg|Godzilla in ''[[Godzilla: Strike Zone]]'' | ||
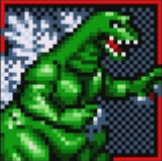
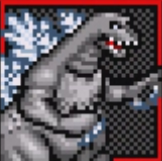
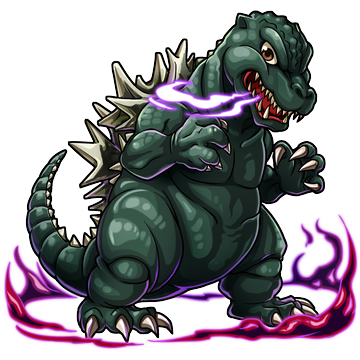
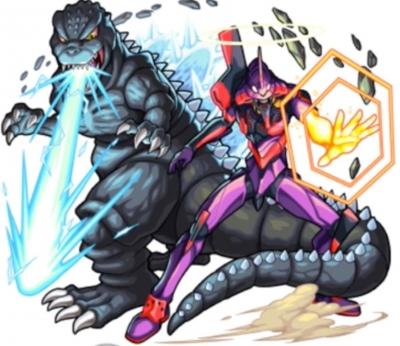
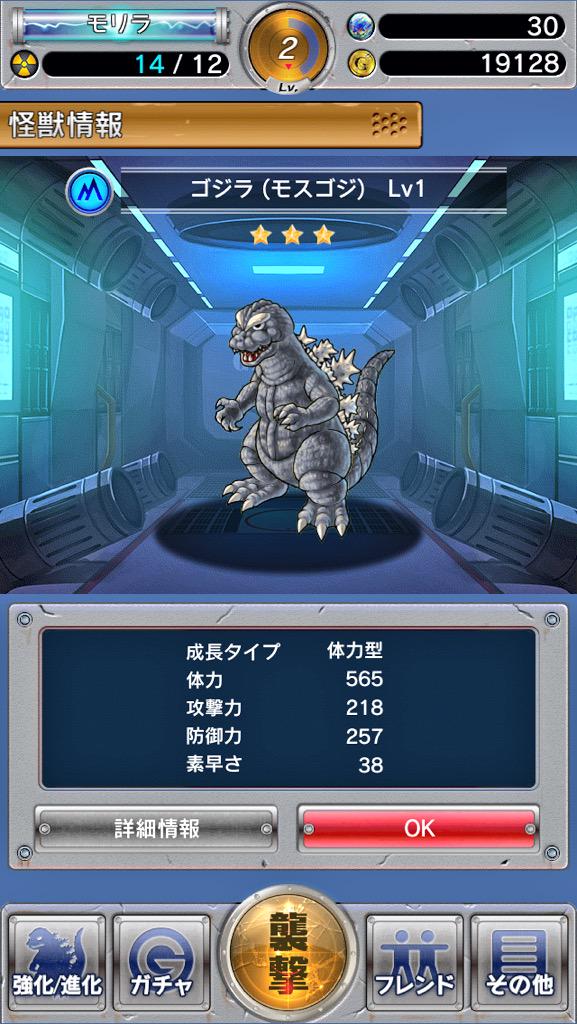
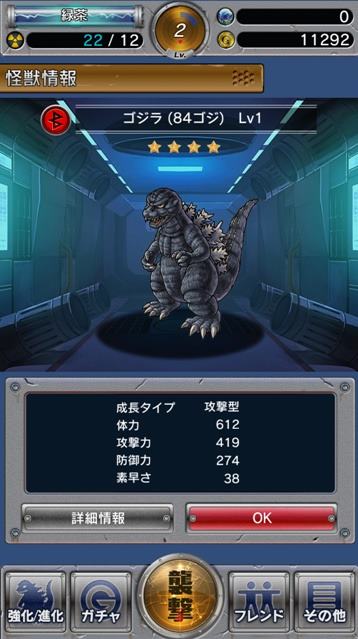
Godzilla X Monster Strike - Godzilla Showa.png|[[ShodaiGoji|Showa]] [[Godzilla]] in ''[[Monster Strike]]'' | Godzilla X Monster Strike - Godzilla Showa.png|[[ShodaiGoji|Showa]] [[Godzilla]] in ''[[Monster Strike]]'' | ||
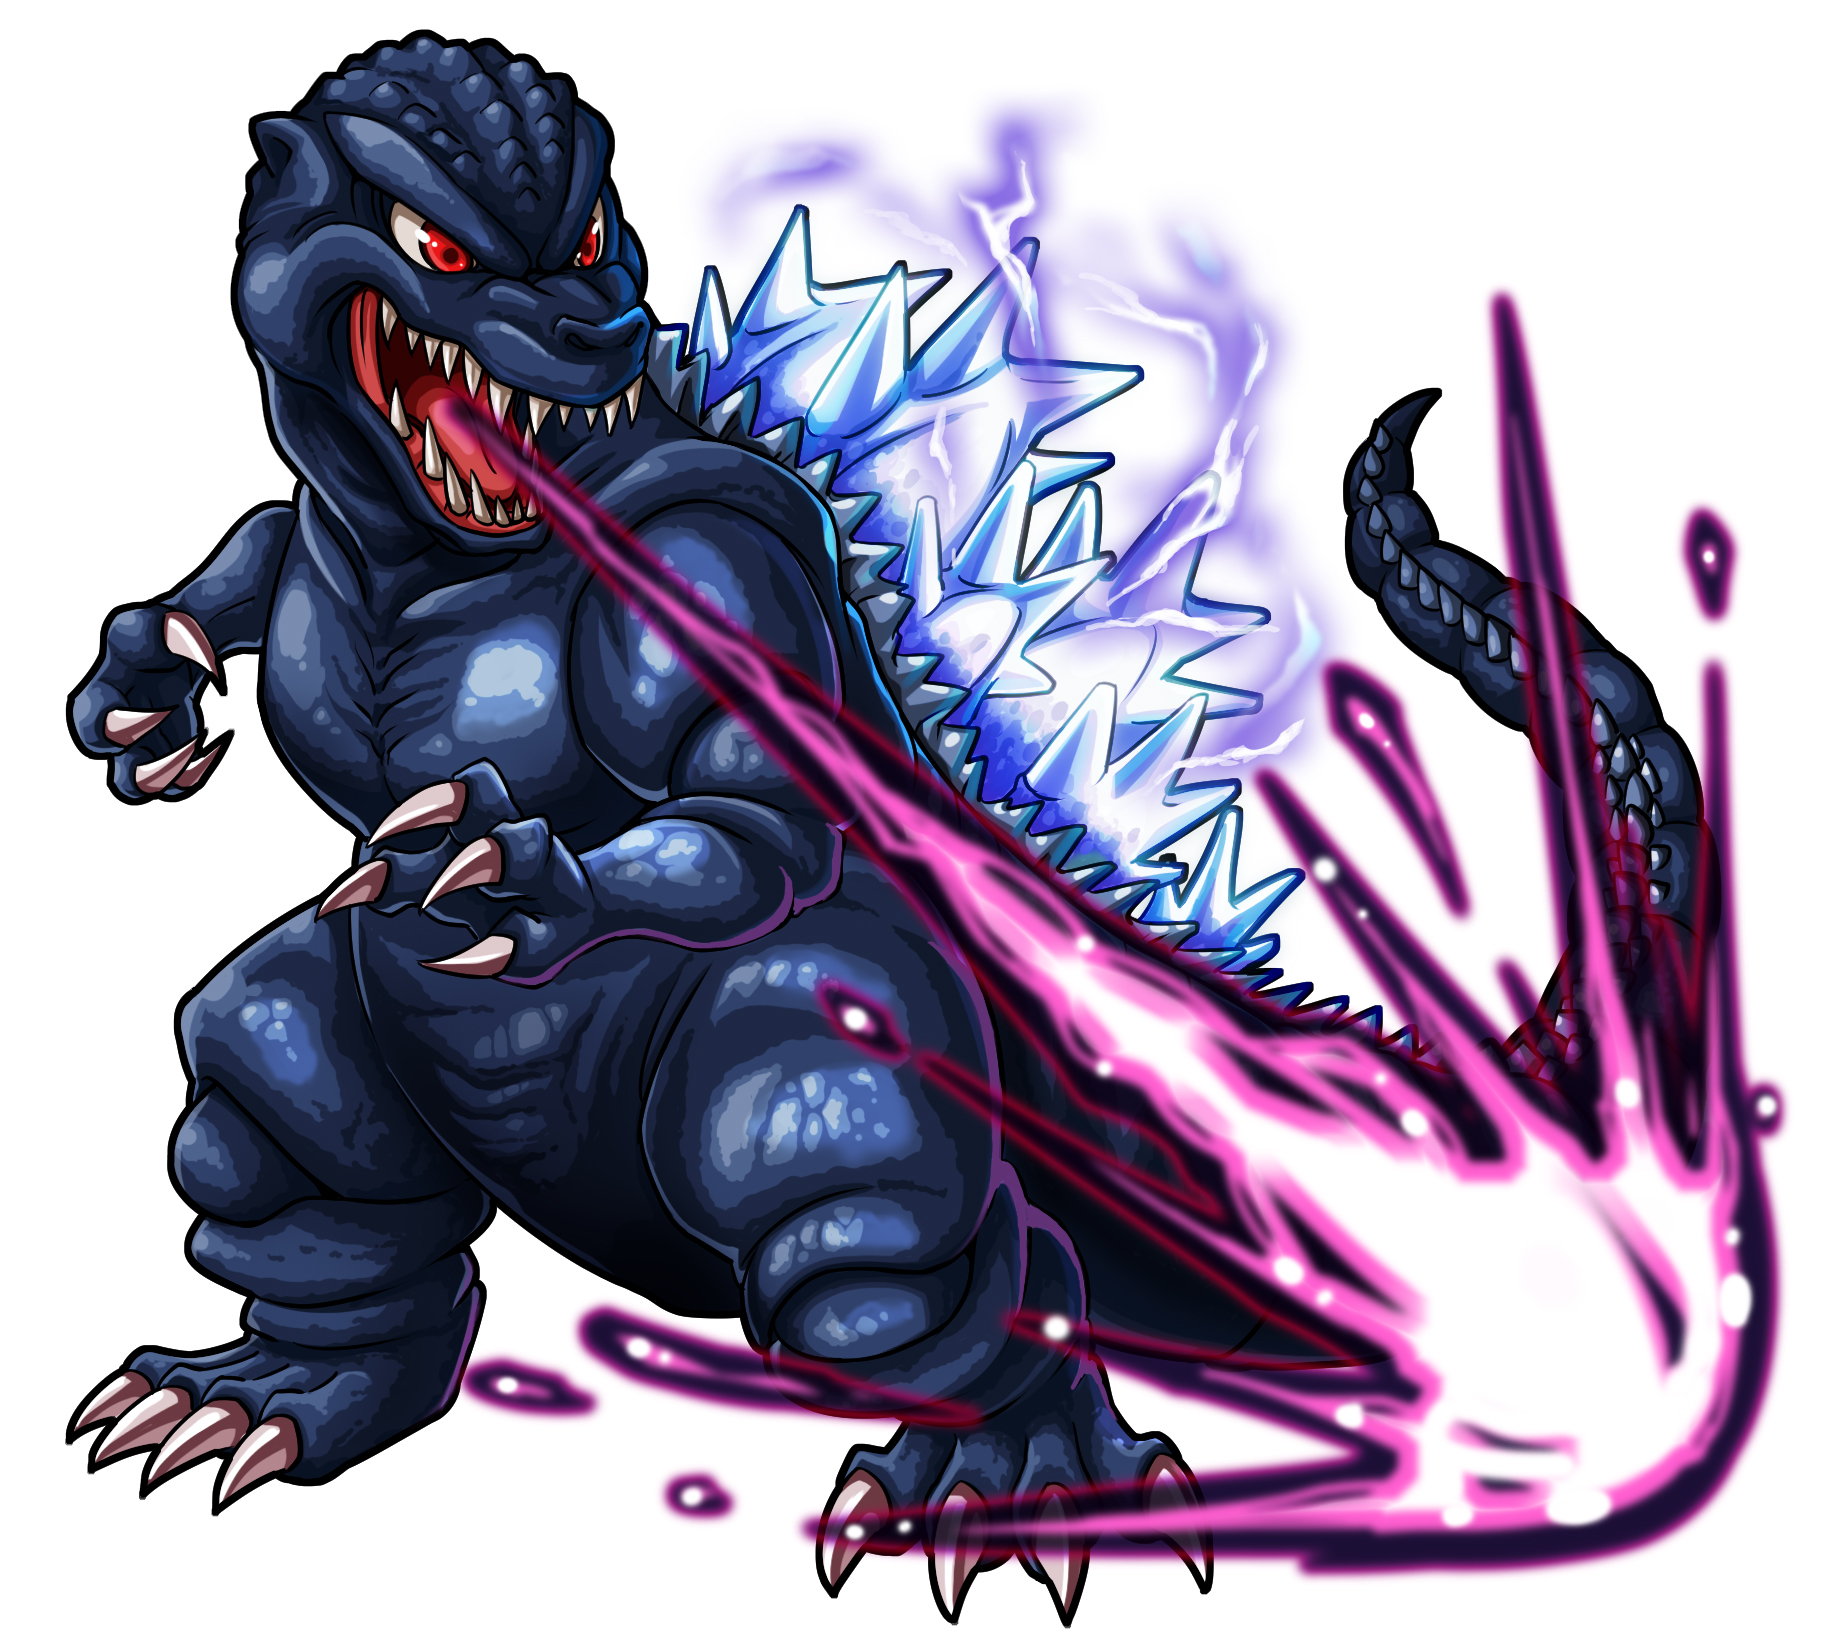
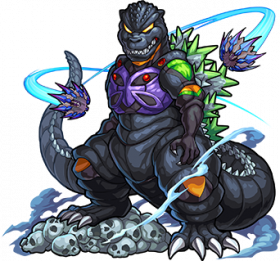
Godzilla_X_Monster_Strike_-_Godzilla_Heisei.jpg|[[MogeGoji|Heisei]] [[Godzilla]] in ''[[Monster Strike]]'' | Godzilla_X_Monster_Strike_-_Godzilla_Heisei.jpg|[[MogeGoji|Heisei]] [[Godzilla]] in ''[[Monster Strike]]'' | ||
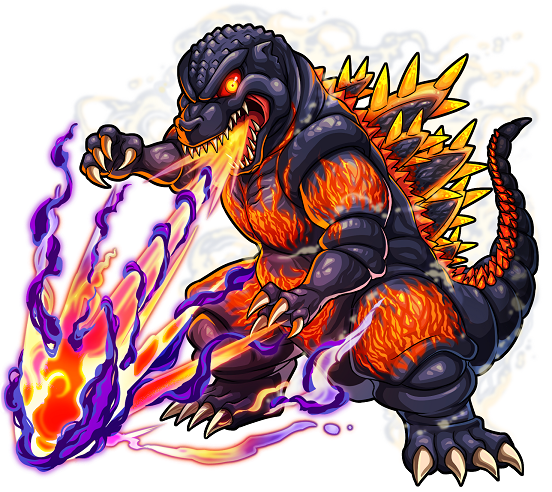
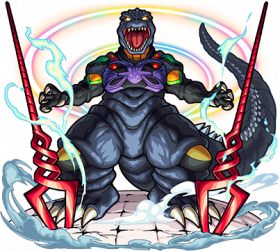
Godzilla_X_Monster_Strike_-_Burning_Godzilla.png|[[MogeGoji|Burning]] [[Godzilla]] in ''[[Monster Strike]]'' | Godzilla_X_Monster_Strike_-_Burning_Godzilla.png|[[MogeGoji|Burning]] [[Godzilla]] in ''[[Monster Strike]]'' | ||
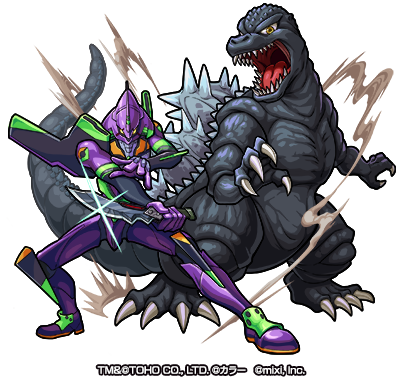
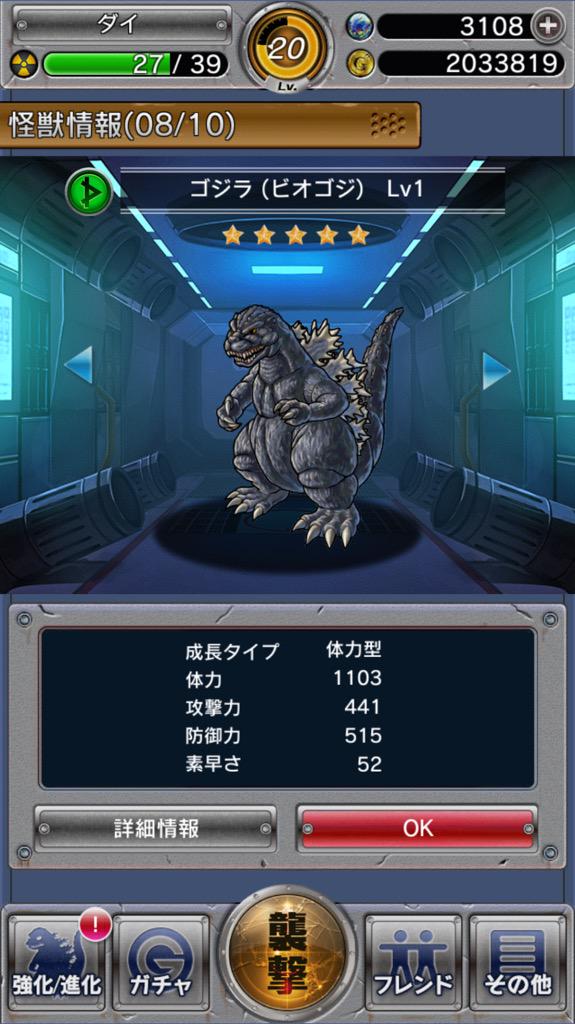
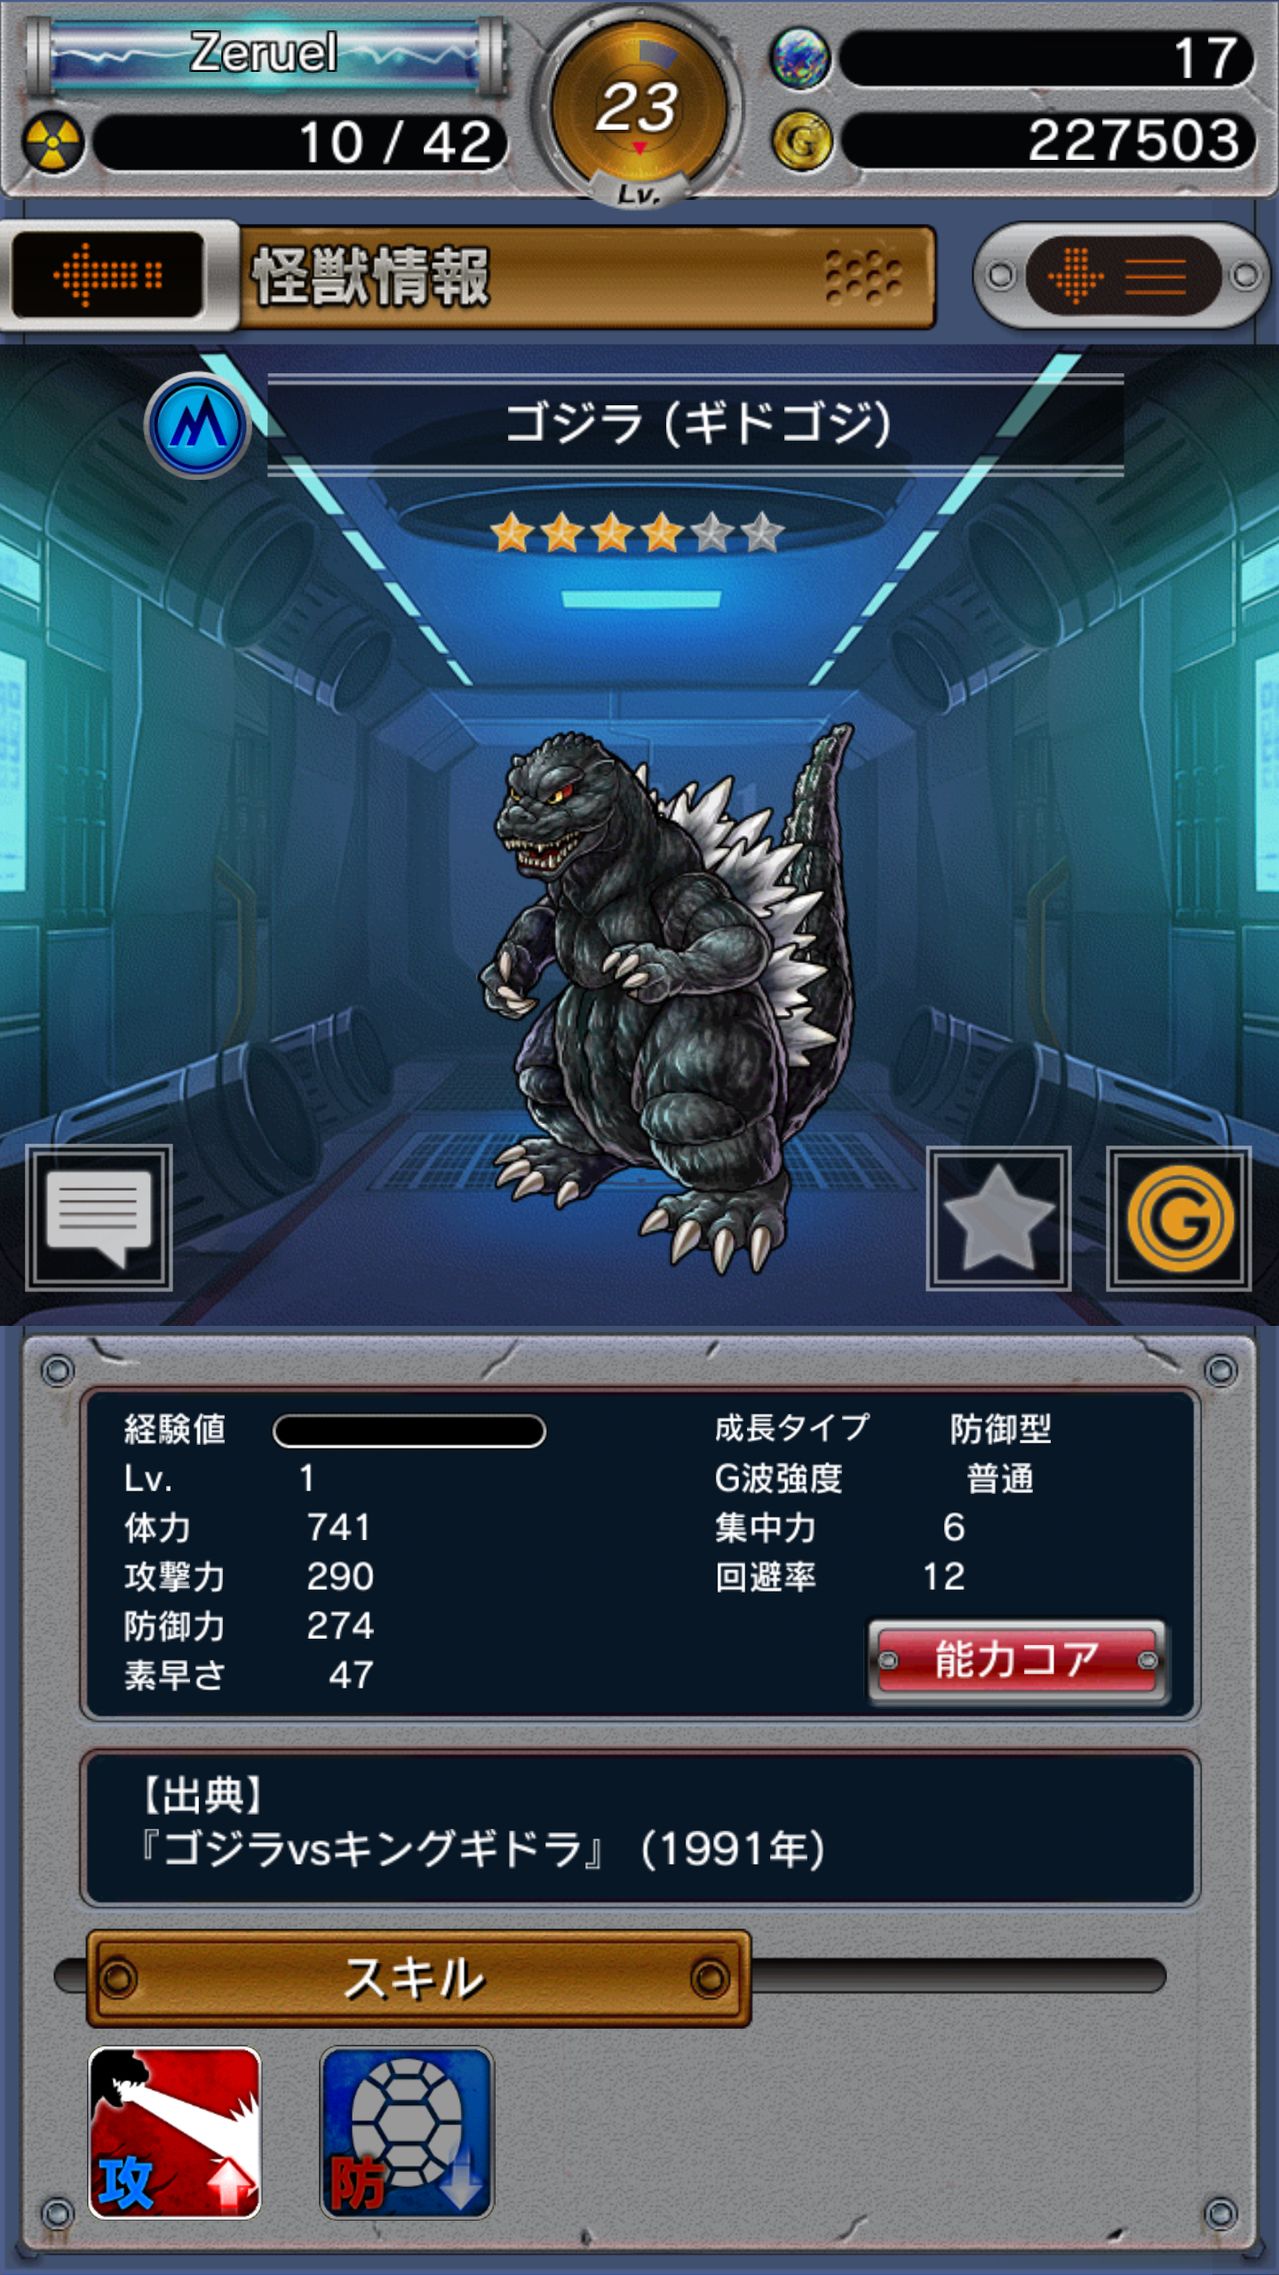
963f02d0b5a57f25110ed43dc50298b2.jpg | File:963f02d0b5a57f25110ed43dc50298b2.jpg|''[[Monster Strike]]'' | ||
4a0b881f348e39f96b7d8c0552ec6d9c.jpg | 4a0b881f348e39f96b7d8c0552ec6d9c.jpg|''[[Monster Strike]]'' | ||
2112.png | 2112.png|''[[Monster Strike]]'' | ||
2113.png | 2113.png|''[[Monster Strike]]'' | ||
55626dddcba35edaaec998fea165f234.png | 55626dddcba35edaaec998fea165f234.png|''[[Monster Strike]]'' | ||
PS3 Godzilla 1989 No Background.png|[[BioGoji|Godzilla]] in [[Godzilla (2014 video game)|''Godzilla'']] | PS3 Godzilla 1989 No Background.png|[[BioGoji|Godzilla]] in [[Godzilla (2014 video game)|''Godzilla'']] | ||
Heisei Godzilla (PS3).png | Heisei Godzilla (PS3).png | ||
PS3 Godzilla 2014 No Background.png|[[ | PS3 Godzilla 2014 No Background.png|[[GareGoji|Hollywood Godzilla]] in [[Godzilla (2014 video game)|''Godzilla'']] | ||
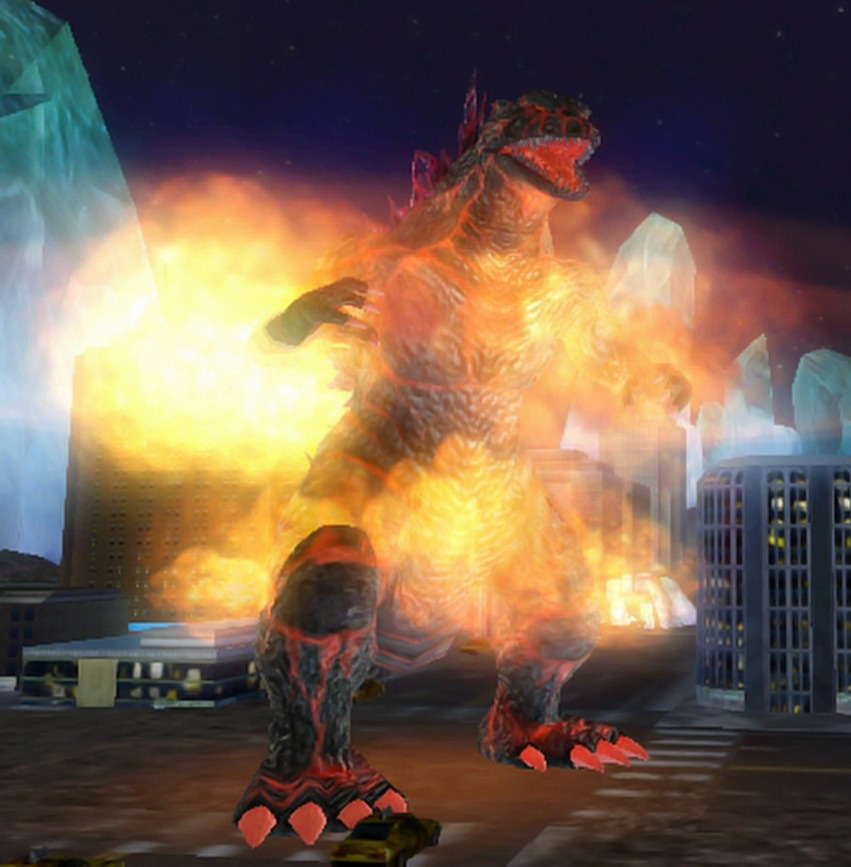
Burning Godzilla (PS3).png|[[MogeGoji|Burning Godzilla]] in [[Godzilla (2014 video game)|''Godzilla'']] | Burning Godzilla (PS3).png|[[MogeGoji|Burning Godzilla]] in [[Godzilla (2014 video game)|''Godzilla'']] | ||
Godzilla 1964 (PS4).png|[[MosuGoji|Godzilla 1964]] in [[Godzilla (2014 video game)|''Godzilla'']] | Godzilla 1964 (PS4).png|[[MosuGoji|Godzilla 1964]] in [[Godzilla (2014 video game)|''Godzilla'']] | ||
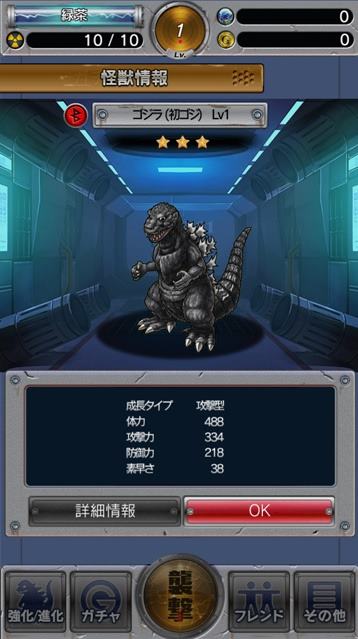
GKC Godzilla 1954 In-Game.jpg|[[ShodaiGoji|Godzilla 1954]] in ''[[Godzilla: Kaiju Collection]]'' | GKC Godzilla 1954 In-Game.jpg|[[ShodaiGoji|Godzilla 1954]] in ''[[Godzilla: Kaiju Collection]]'' | ||
GKC Godzilla 1964.jpg|[[MosuGoji|Godzilla 1964]] in ''[[Godzilla: Kaiju Collection]]'' | GKC Godzilla 1964.jpg|[[MosuGoji|Godzilla 1964]] in ''[[Godzilla: Kaiju Collection]]'' | ||
| Line 776: | Line 616: | ||
GKC Godzilla 2003.jpg|[[KiryuGoji|Godzilla 2003]] in ''[[Godzilla: Kaiju Collection]]'' | GKC Godzilla 2003.jpg|[[KiryuGoji|Godzilla 2003]] in ''[[Godzilla: Kaiju Collection]]'' | ||
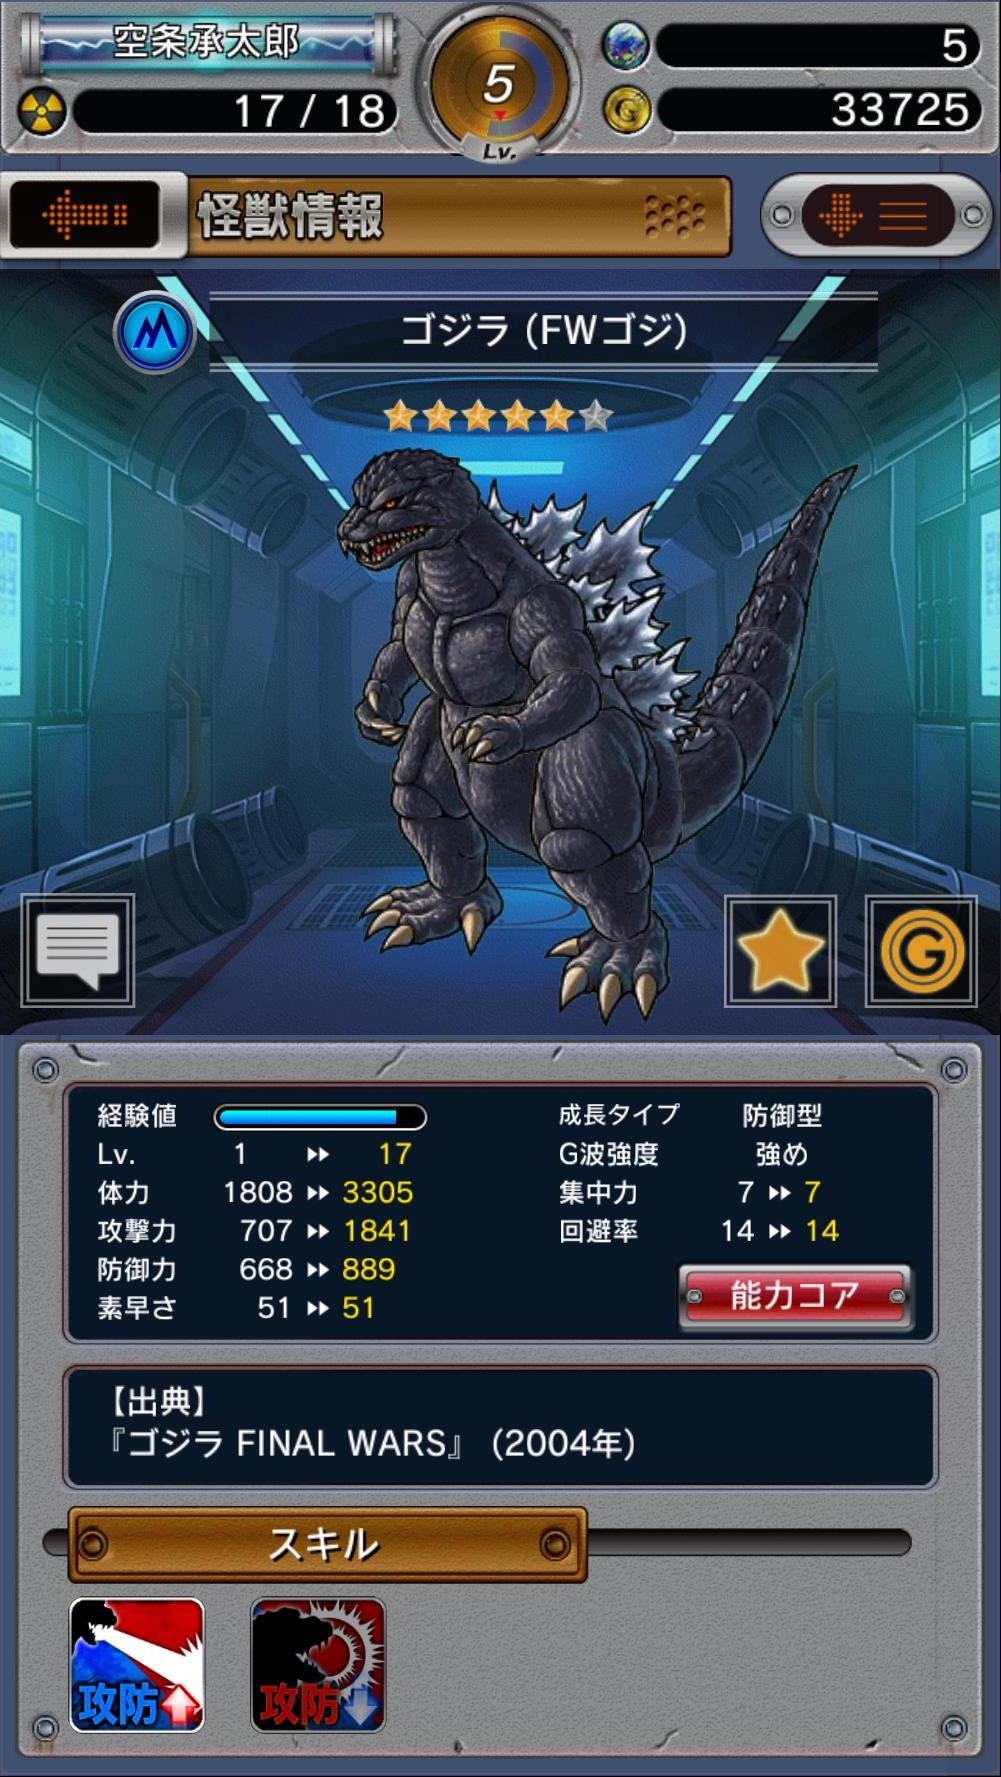
GKC Godzilla 2004.jpg|[[FinalGoji|Godzilla 2004]] in ''[[Godzilla: Kaiju Collection]]'' | GKC Godzilla 2004.jpg|[[FinalGoji|Godzilla 2004]] in ''[[Godzilla: Kaiju Collection]]'' | ||
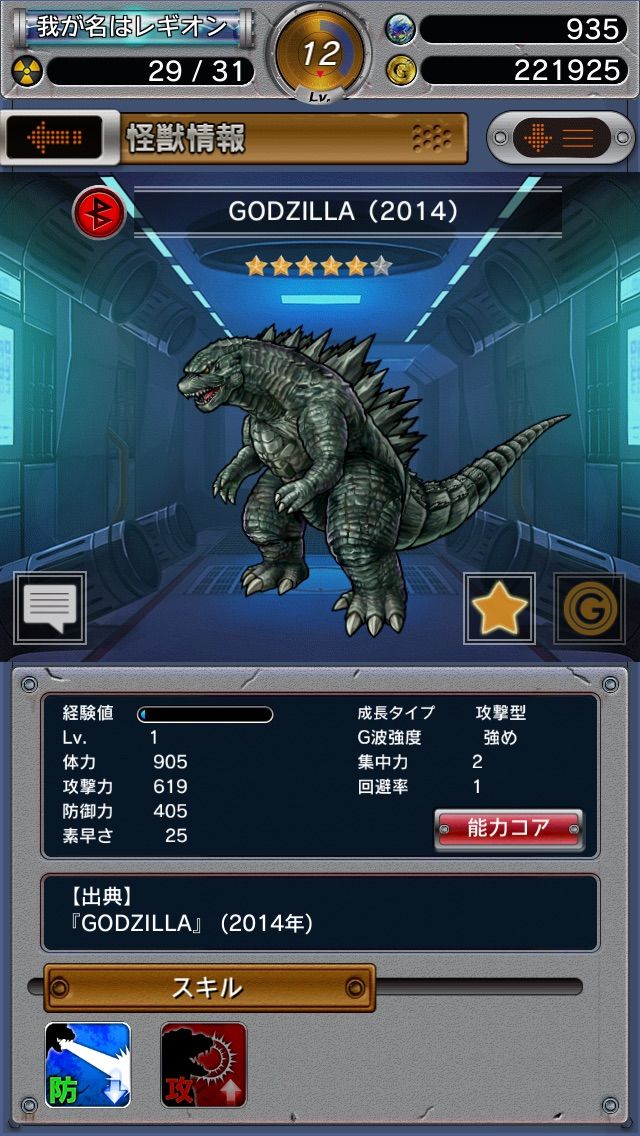
GKC Godzilla 2014 In-Game.jpg|[[ | GKC Godzilla 2014 In-Game.jpg|[[GareGoji|Godzilla 2014]] in ''[[Godzilla: Kaiju Collection]]'' | ||
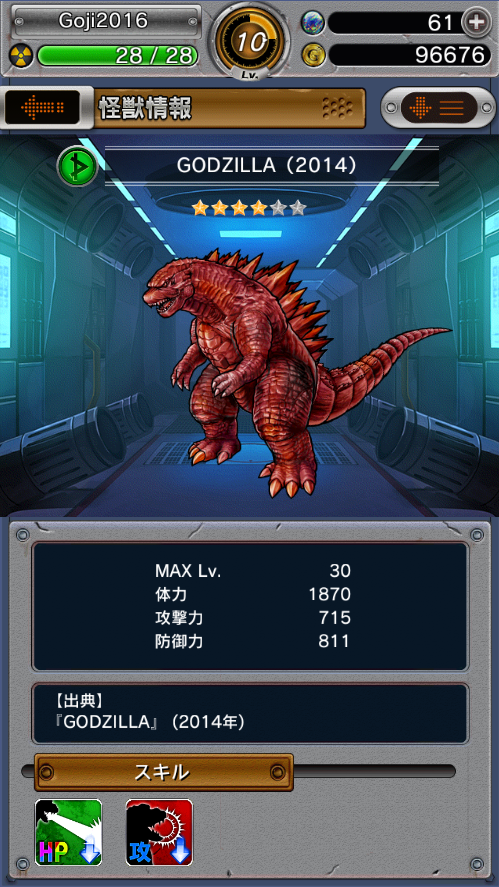
GKC Godzilla 2014 (ver. Red).png|[[ | GKC Godzilla 2014 (ver. Red).png|[[GareGoji|Godzilla 2014 (ver. Red)]] in ''[[Godzilla: Kaiju Collection]]'' | ||
CSiS_Godzilla.png|Godzilla in ''[[City Shrouded in Shadow]]'' | |||
Eternal Linkage Godzilla Filius.png|[[Godzilla Filius]] in ''Eternal Linkage'' | |||
Eternal Linkage Godzilla Earth.PNG|[[Godzilla Earth]] in ''Eternal Linkage'' | |||
Eternal Linkage Shin Godzilla.png|[[Godzilla/2016|Shin Godzilla]] in ''Eternal Linkage'' | |||
</gallery> | </gallery> | ||
==Comics== | |||
==Comics | |||
===[[Godzilla, King of the Monsters (Marvel)|Marvel Comics]]=== | ===[[Godzilla, King of the Monsters (Marvel)|Marvel Comics]]=== | ||
<gallery widths='120' position='center' captionalign='center' spacing='small'> | <gallery widths='120' position='center' captionalign='center' spacing='small'> | ||
Marvel Godzilla Full.jpg|Godzilla in [[Godzilla, King of the Monsters (Marvel)|Marvel's ''Godzilla, King of the Monsters'']] | |||
Godzilla_(Marvel).jpg | Godzilla_(Marvel).jpg | ||
Mutatation_Godzilla3.gif|Godzilla mutation | |||
Godzilla in the thing 31.jpg|Godzilla mutation returns in ''The Thing'' #31 | Godzilla in the thing 31.jpg|Godzilla mutation returns in ''The Thing'' #31 | ||
Marvel Godzilla in Mighty Avengers 1.jpg|Marvel Godzilla in ''Mighty Avengers'' #1, now reverted to his original form | Marvel Godzilla in Mighty Avengers 1.jpg|Marvel Godzilla in ''Mighty Avengers'' #1, now reverted to his original form | ||
Licensed contest of champions.png|Godzilla fights the [[Shogun Warriors]] in Marvel 75th Anniversary Celebration #1 | Licensed contest of champions.png|Godzilla fights the [[Shogun Warriors]] in Marvel 75th Anniversary Celebration #1 | ||
</gallery> | </gallery> | ||
===[[Godzilla, King of the Monsters (Dark Horse)|Dark Horse Comics]]=== | ===[[Godzilla, King of the Monsters (Dark Horse)|Dark Horse Comics]]=== | ||
<gallery widths='120' position='center' captionalign='center' spacing='small'> | <gallery widths='120' position='center' captionalign='center' spacing='small'> | ||
Godzilla_(Dark_Horse).JPG | |||
</gallery> | </gallery> | ||
=== | ===[[IDW Publishing|IDW Comics]]=== | ||
====''[[Godzilla: Kingdom of Monsters]]''==== | ====''[[Godzilla: Kingdom of Monsters]]''==== | ||
<gallery widths='120' position='center' captionalign='center' spacing='small'> | <gallery widths='120' position='center' captionalign='center' spacing='small'> | ||
Idw_godzilla.jpg | |||
</gallery> | </gallery> | ||
====''[[Godzilla: Rulers of Earth]]''==== | ====''[[Godzilla: Rulers of Earth]]''==== | ||
<gallery widths='120' position='center' captionalign='center' spacing='small'> | <gallery widths='120' position='center' captionalign='center' spacing='small'> | ||
Godzilla_rulers_preview_1_by_kaijusamurai-d67obzg.jpg|Godzilla in ''[[Godzilla: Rulers of Earth]]'' [[Godzilla: Rulers of Earth Issue 1|#1]] | Godzilla_rulers_preview_1_by_kaijusamurai-d67obzg.jpg|Godzilla in ''[[Godzilla: Rulers of Earth]]'' [[Godzilla: Rulers of Earth Issue 1|#1]] | ||
Godzilla_rulers_preview_4_by_kaijusamurai-d67ocsu.jpg|Godzilla in ''[[Godzilla: Rulers of Earth]]'' [[Godzilla: Rulers of Earth Issue 1|#1]] | Godzilla_rulers_preview_4_by_kaijusamurai-d67ocsu.jpg|Godzilla in ''[[Godzilla: Rulers of Earth]]'' [[Godzilla: Rulers of Earth Issue 1|#1]] | ||
</gallery> | </gallery> | ||
====''[[Godzilla: Cataclysm]]''==== | ====''[[Godzilla: Cataclysm]]''==== | ||
<gallery widths='120' position='center' captionalign='center' spacing='small'> | <gallery widths='120' position='center' captionalign='center' spacing='small'> | ||
Godzilla_Cataclysm_Issue_1_-_Godzilla.png|Godzilla in [[Godzilla: Cataclysm Issue 1|''Godzilla: Cataclysm'' #1]] | Godzilla_Cataclysm_Issue_1_-_Godzilla.png|Godzilla in [[Godzilla: Cataclysm Issue 1|''Godzilla: Cataclysm'' #1]] | ||
</gallery> | </gallery> | ||
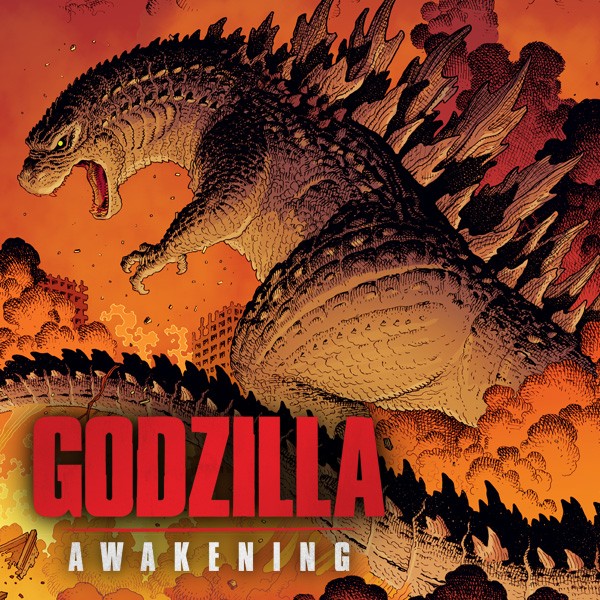
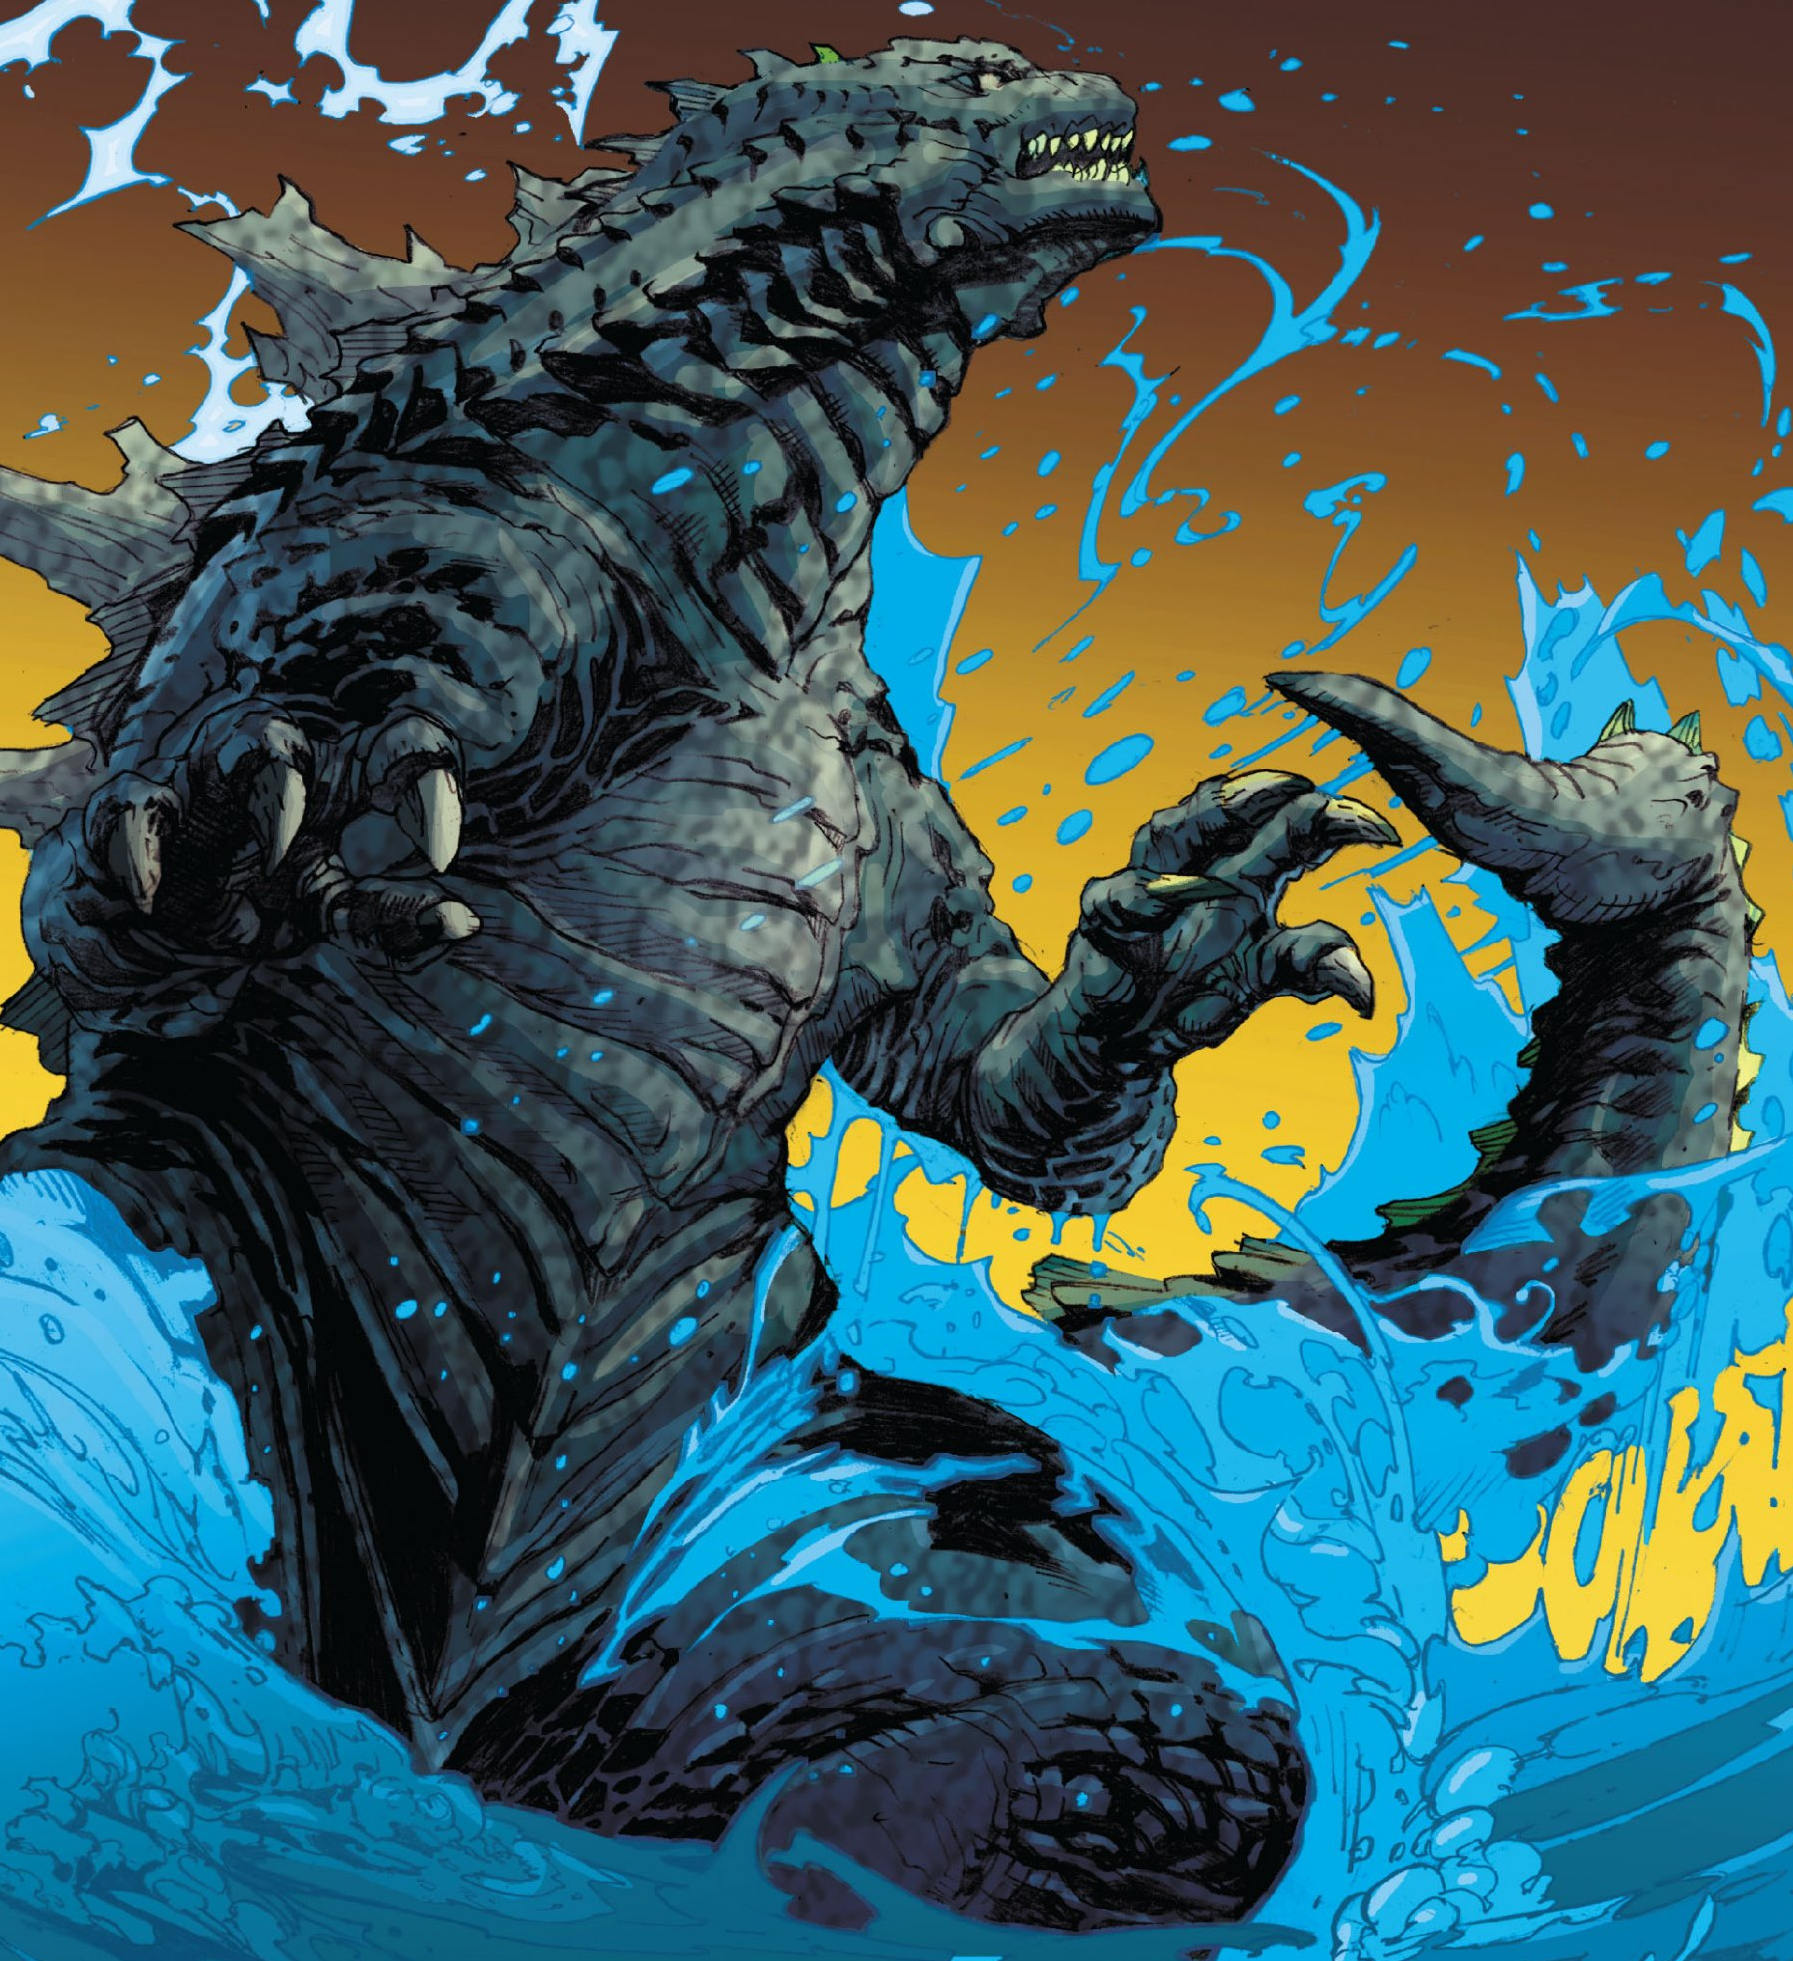
===''[[Godzilla: Awakening]]''=== | |||
<gallery widths= | <gallery widths="120" position="center" captionalign="center" spacing="small"> | ||
Godzilla_Awakening_ComiXology.jpg | Godzilla_Awakening_ComiXology.jpg | ||
Godzilla_Awakening_-_Godzilla | Godzilla_Awakening_-_Godzilla.png | ||
</gallery> | </gallery> | ||
==Anatomy== | ==Anatomy== | ||
| Line 1,660: | Line 681: | ||
Godzilla 2014 anatomy.JPG | Godzilla 2014 anatomy.JPG | ||
2014 Godzilla Anatomy closeup.jpeg | 2014 Godzilla Anatomy closeup.jpeg | ||
Heisei Godzilla anatomy.JPG | |||
Showa Godzilla anatomy.JPG | |||
Another Showa Godzilla anatomy.jpeg | |||
Millennium Godzilla anatomy .jpeg | |||
</gallery> | </gallery> | ||
===Size Comparisons=== | ===Size Comparisons=== | ||
| Line 1,666: | Line 691: | ||
Godzilla compendium size comparison.png | Godzilla compendium size comparison.png | ||
Godzilla sizes2.jpg|Godzillas of various eras, with Godzillasaurus and human for comparison | Godzilla sizes2.jpg|Godzillas of various eras, with Godzillasaurus and human for comparison | ||
Monster Size Comparison.jpg|Several versions of Godzilla along with several Godzilla [[:Category:Monsters|{{tt|kaiju| | Monster Size Comparison.jpg|Several versions of Godzilla along with several Godzilla [[:Category:Monsters|{{tt|kaiju|monsters}}]] | ||
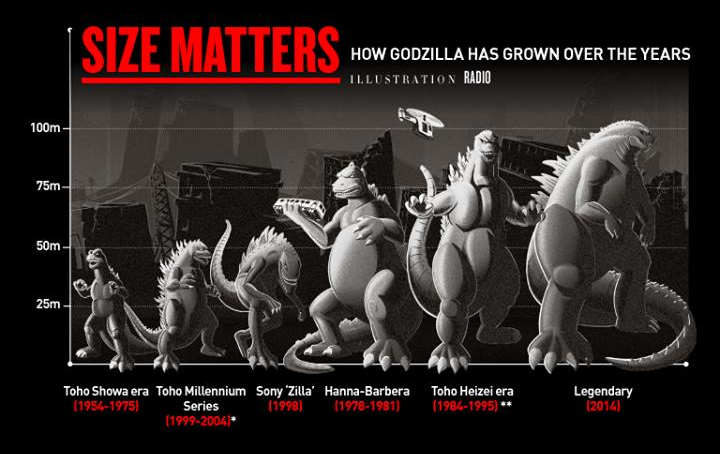
SIZE MATTERS - HOW GODZILLA HAS GROWN OVER THE YEARS -Plus Zilla Name Change Evidence-.png|[[Godzilla/Showa|Showa]], [[Godzilla/Godzilla 2000|Millennium]], [[Sony]] [[Godzilla/TriStar|'Zilla']] 1998, [[Godzilla (Hanna-Barbera series)|Hanna-Barbera]] (incorrect height - the Hanna-Barbera Godzilla is [[Godzilla 1954-1999 Super Complete Works#Gallery|actually 122 meters]]), [[Godzilla/Heisei|Heisei]], and [[Godzilla/Legendary|Legendary]] Godzillas | SIZE MATTERS - HOW GODZILLA HAS GROWN OVER THE YEARS -Plus Zilla Name Change Evidence-.png|[[Godzilla/Showa|Showa]], [[Godzilla/Godzilla 2000|Millennium]], [[Sony]] [[Godzilla/TriStar|'Zilla']] 1998, [[Godzilla (Hanna-Barbera series)|Hanna-Barbera]] (incorrect height - the Hanna-Barbera Godzilla is [[Godzilla 1954-1999 Super Complete Works#Gallery|actually 122 meters]]), [[Godzilla/Heisei|Heisei]], and [[Godzilla/Legendary|Legendary]] Godzillas | ||
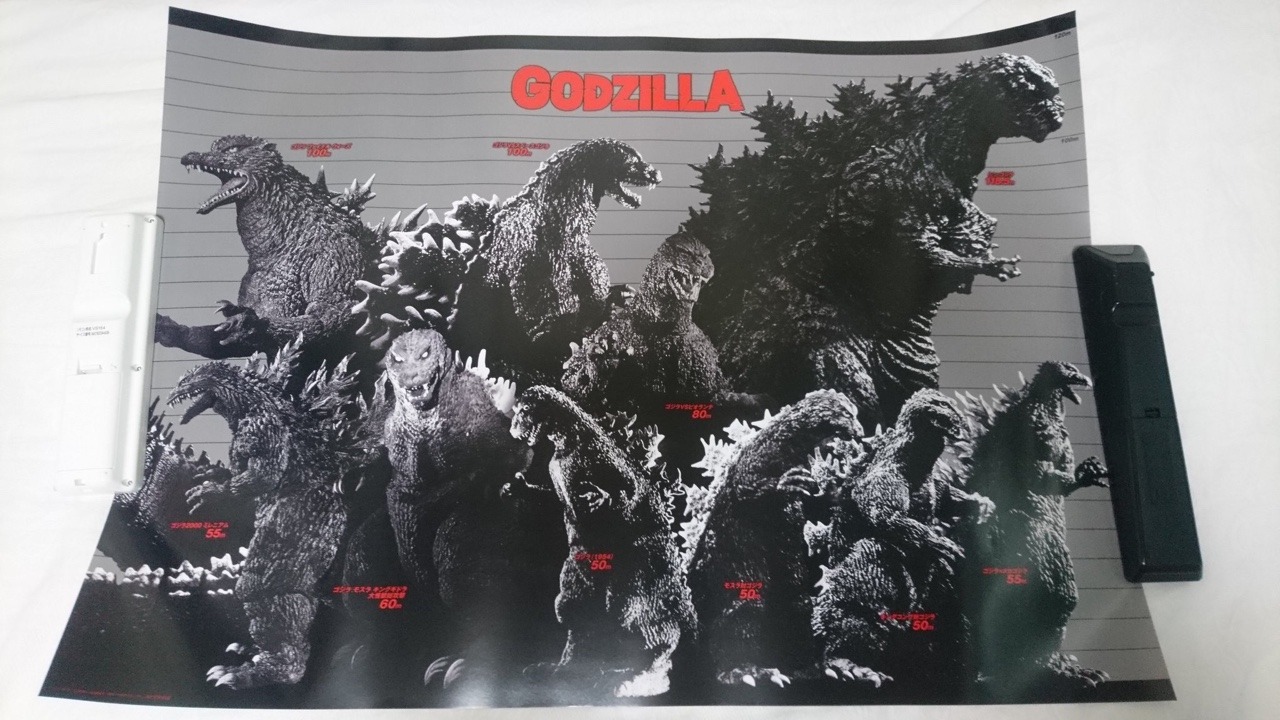
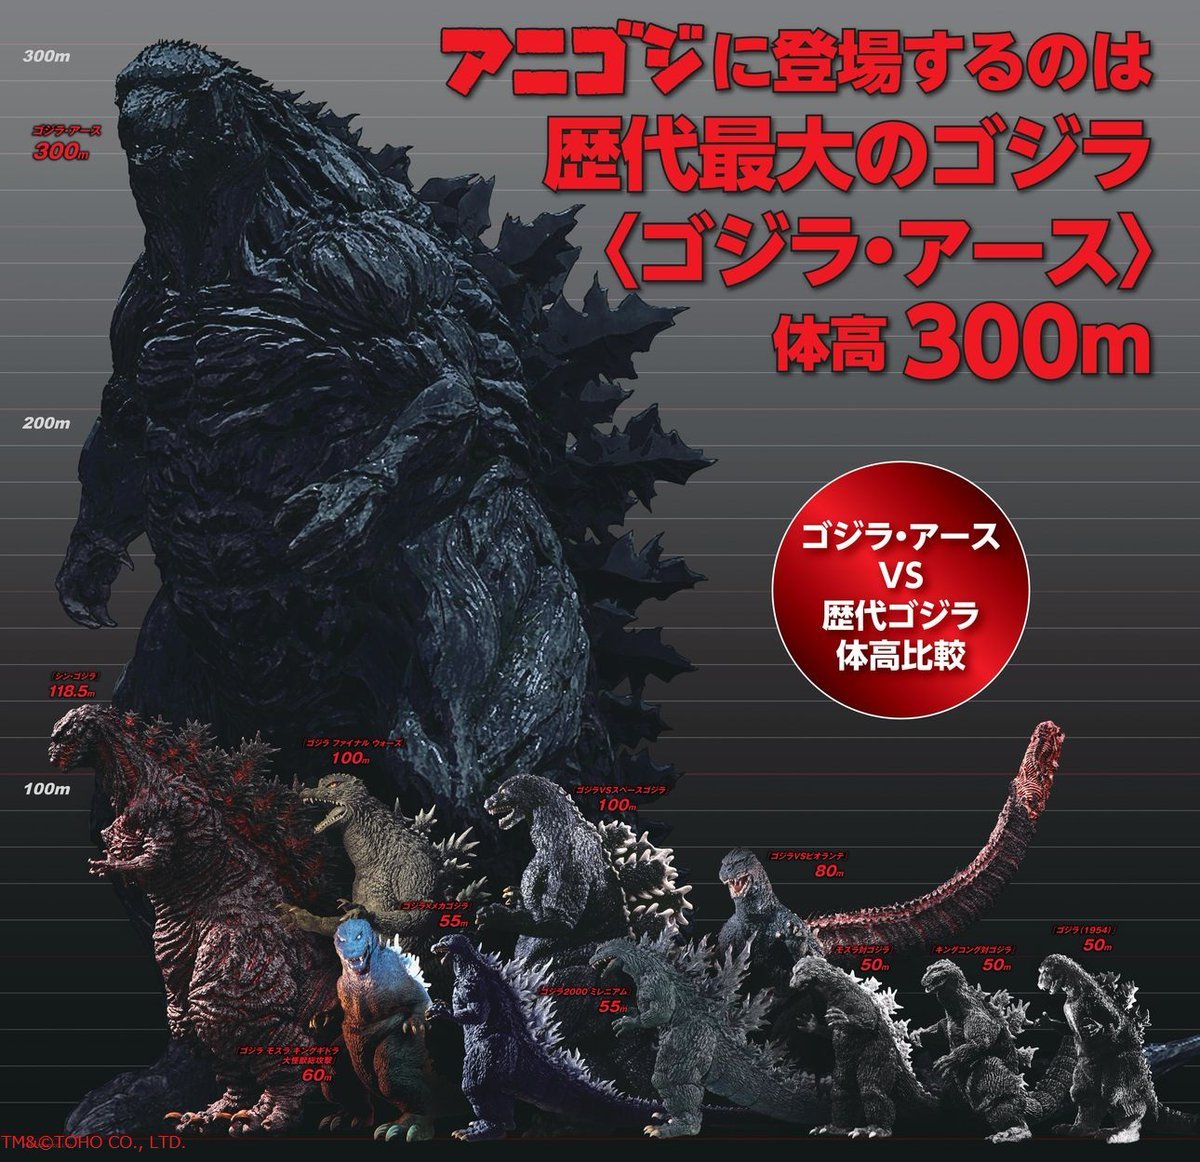
Yamada_Denki_Prize Poster_Godzilla size chart.JPG | Yamada_Denki_Prize Poster_Godzilla size chart.JPG | ||
tumblr_nes49pRX6P1qcqjsdo1_1280.jpg | tumblr_nes49pRX6P1qcqjsdo1_1280.jpg | ||
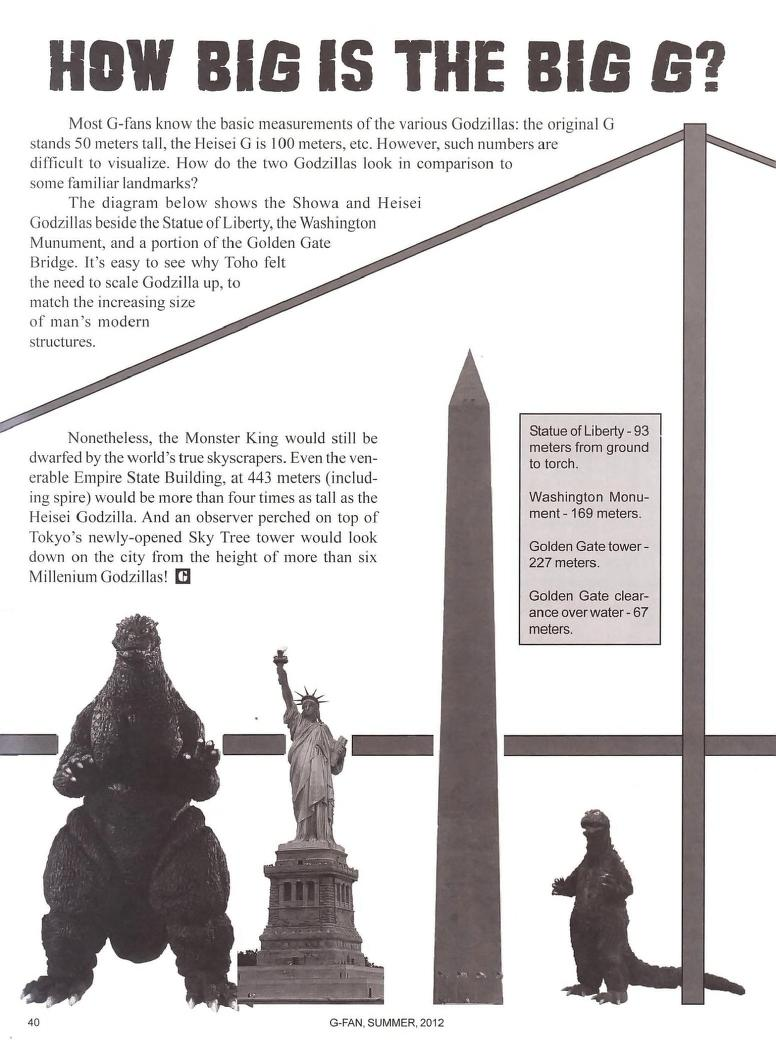
Godzilla height comparison g fan 99.png|Size comparison of Godzilla with famous landmarks from page 40 of ''[[G-FAN]]'' [[G-FAN Issue 99|#99]]. | |||
Godzilla store Godzilla size chart.JPG | |||
</gallery> | </gallery> | ||
| Line 1,679: | Line 706: | ||
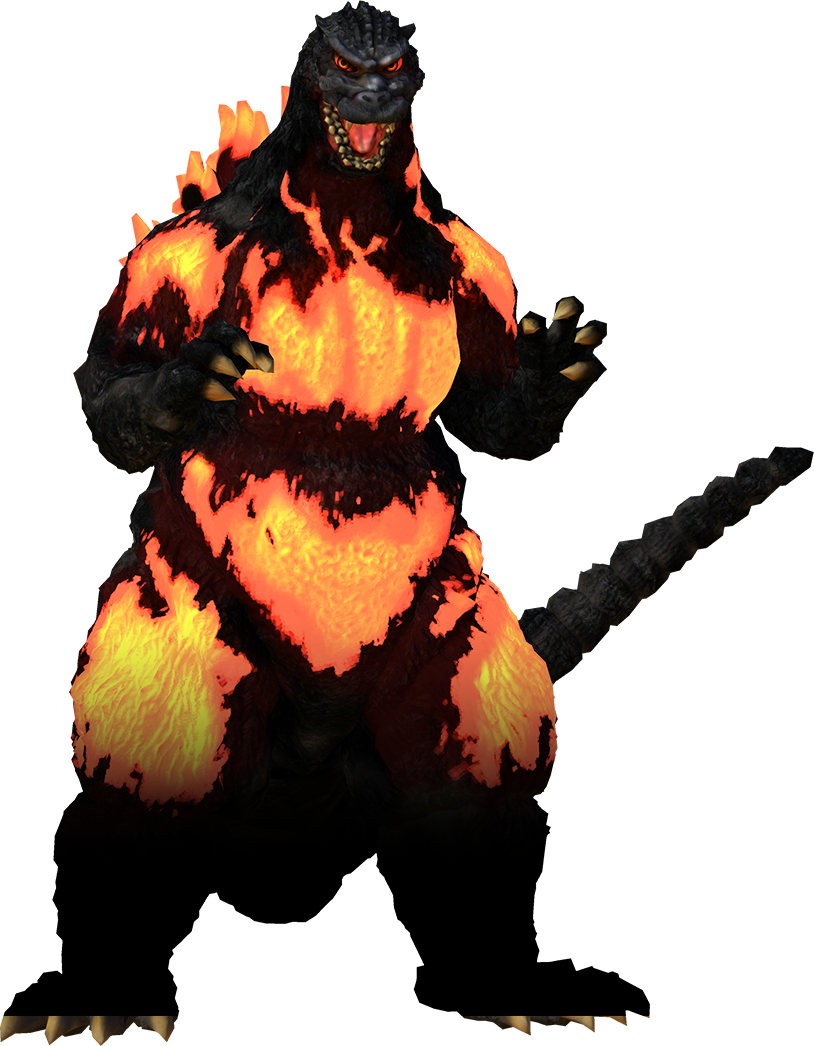
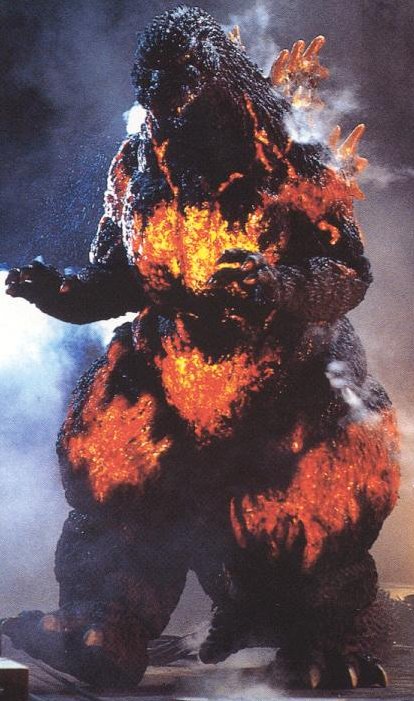
95Godzilla.jpg|[[MogeGoji|Burning]] [[Godzilla/Heisei|Godzilla]] | 95Godzilla.jpg|[[MogeGoji|Burning]] [[Godzilla/Heisei|Godzilla]] | ||
PowerUp Godzilla card.png|Power Up Godzilla from the [[Godzilla (Trendmasters Toy Line)|Trendmasters Toy Line]] | PowerUp Godzilla card.png|Power Up Godzilla from the [[Godzilla (Trendmasters Toy Line)|Trendmasters Toy Line]] | ||
Cyber-Godzilla.png|[[Cyber | Cyber-Godzilla.png|[[Cyber Godzilla]] from ''[[Godzilla: The Series]]'' | ||
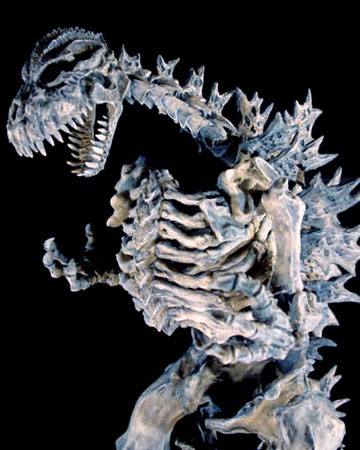
Godzilla's Skeleton.jpg|The [[ShodaiGoji|Original]] [[Godzilla/1954|Godzilla]]'s Skeleton from ''[[Godzilla Against Mechagodzilla]]'' | Godzilla's Skeleton.jpg|The [[ShodaiGoji|Original]] [[Godzilla/1954|Godzilla]]'s Skeleton from ''[[Godzilla Against Mechagodzilla]]'' | ||
Godzilla_2000_-MireGoji-_Unleashed_Critical_Mass.png|Critical Mass [[MireGoji|Godzilla]] from ''[[Godzilla: Unleashed]]'' | Godzilla_2000_-MireGoji-_Unleashed_Critical_Mass.png|Critical Mass [[MireGoji|Godzilla]] from ''[[Godzilla: Unleashed]]'' | ||
| Line 1,689: | Line 716: | ||
DarkHorse Godzilla's Evolution.jpeg|Godzilla's evolution in [[Godzilla, King of the Monsters (Dark Horse)|Dark Horse Comics]] | DarkHorse Godzilla's Evolution.jpeg|Godzilla's evolution in [[Godzilla, King of the Monsters (Dark Horse)|Dark Horse Comics]] | ||
</gallery> | </gallery> | ||
==Merchandise== | ==Merchandise== | ||
===Toys=== | ===Toys=== | ||
| Line 1,695: | Line 721: | ||
==Trademarks== | ==Trademarks== | ||
<gallery widths="120" position="center" captionalign="center" spacing="small"> | <gallery widths="120" position="center" captionalign="center" spacing="small"> | ||
Original_Godzilla_Trademark_Icon.png|Old [[ | Original_Godzilla_Trademark_Icon.png|Old Godzilla [[copyright icons|copyright icon]] used in [[Japan]]ese products before the current icon became standard | ||
Monster_Icons_-_Marvel_Godzilla.png|Marvel Godzilla copyright icon | Monster_Icons_-_Marvel_Godzilla.png|Marvel Godzilla copyright icon | ||
Monster_Icons_-_Godzilla_IN_COLOR.png|Godzilla's copyright icon in color, from Marvel's [[Godzilla, King of the Monsters (Marvel)|Essential Series: Godzilla]] | Monster_Icons_-_Godzilla_IN_COLOR.png|Godzilla's copyright icon in color, from Marvel's [[Godzilla, King of the Monsters (Marvel)|Essential Series: Godzilla]] | ||
| Line 1,706: | Line 732: | ||
1488946716638.png|2015 icon | 1488946716638.png|2015 icon | ||
1488946691668.png|2016 icon | 1488946691668.png|2016 icon | ||
Trademarkia_logo-75503990_-_Cancelled_and_abandoned_GODZILLA_1998_logo.jpg|Artwork for the abandoned | Trademarkia_logo-75503990_-_Cancelled_and_abandoned_GODZILLA_1998_logo.jpg|Artwork for the abandoned [[Godzilla/TriStar|Godzilla 1998]] copyright icon | ||
GODZILLA 1998 Copyright Icon.png| | Copyright Icon - GODZILLA 1998 black and white.png|Artwork for the abandoned [[Godzilla/TriStar|Godzilla 1998]] copyright icon | ||
GODZILLA 1998 Copyright Icon.png|Abandoned [[Godzilla/TriStar|Godzilla 1998]] copyright icon | |||
1488945790957.png|[[Godzilland (Merchandise Line)|Godzilland]] copyright icon | 1488945790957.png|[[Godzilland (Merchandise Line)|Godzilland]] copyright icon | ||
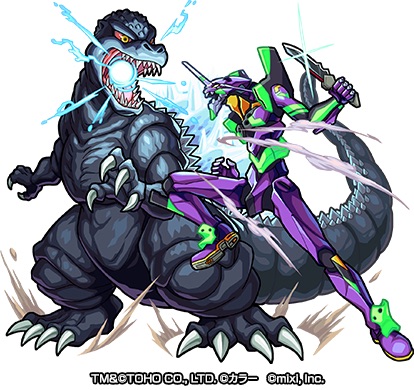
1488946825141.png|Godzilla vs. Evangelion copyright icon | 1488946825141.png|Godzilla vs. Evangelion copyright icon | ||
</gallery> | </gallery> | ||
{{Gallery | {{Toho Monsters Gallery}} | ||
{{Comments}} | |||
{{Era|TOH|SHO|HEI|MIL|KAI|GOD|GZS}} | {{Era|TOH|SHO|HEI|MIL|KAI|GOD|GZS}} | ||
[[Category:Galleries]] | [[Category:Galleries]] | ||
Revision as of 10:13, 26 January 2020
Image gallery for Godzilla.
Concept art
Godzilla (1954)

Godzilla head concept art
Godzilla concept art
Godzilla concept art
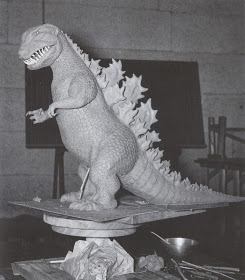
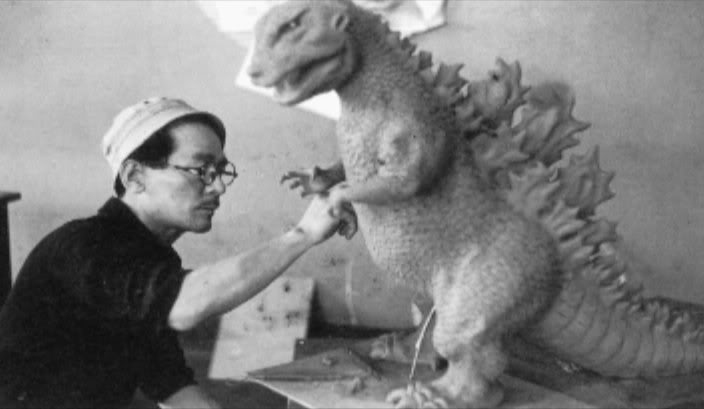
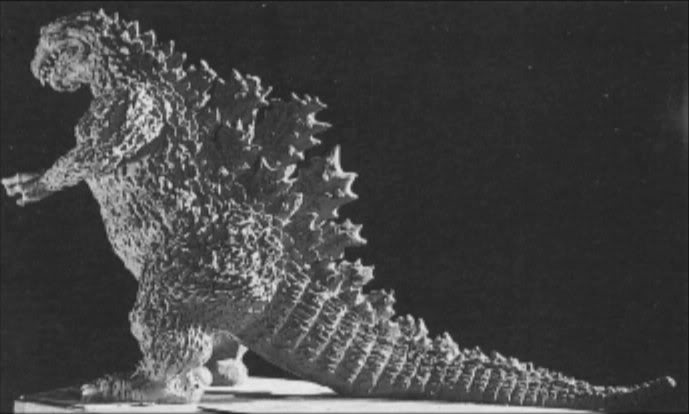
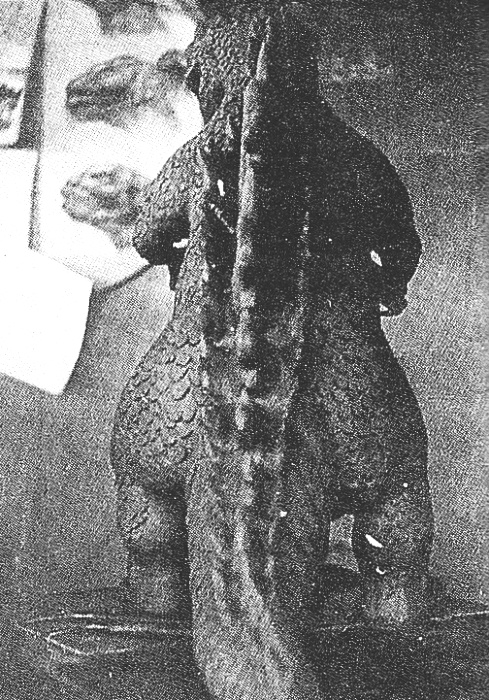
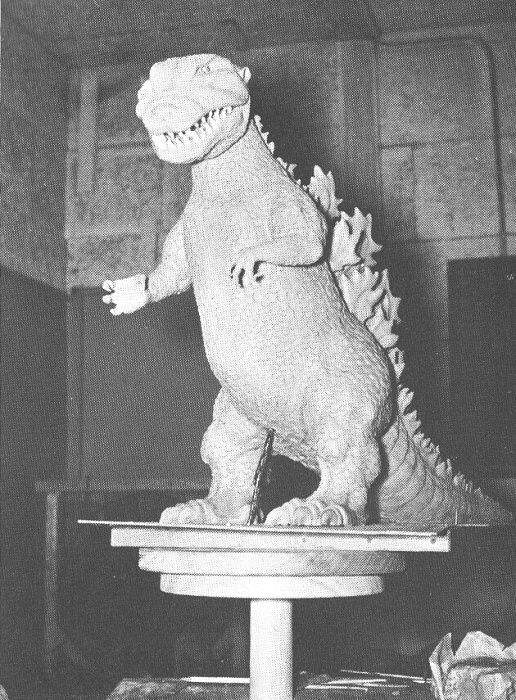
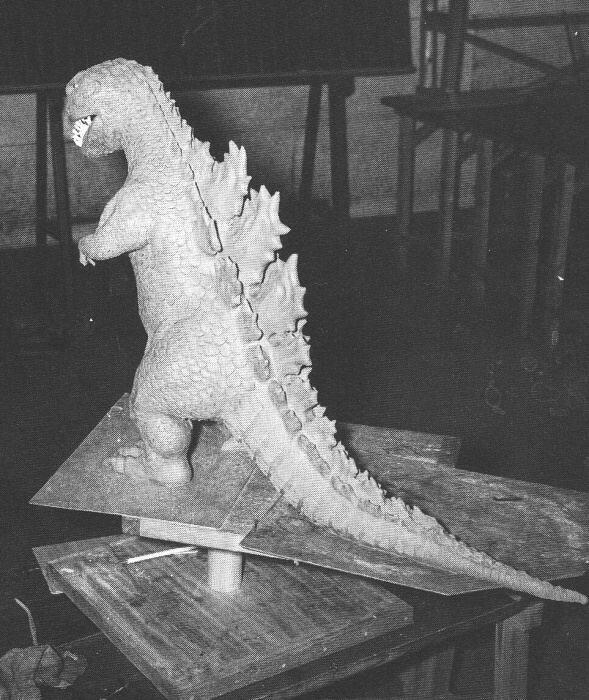
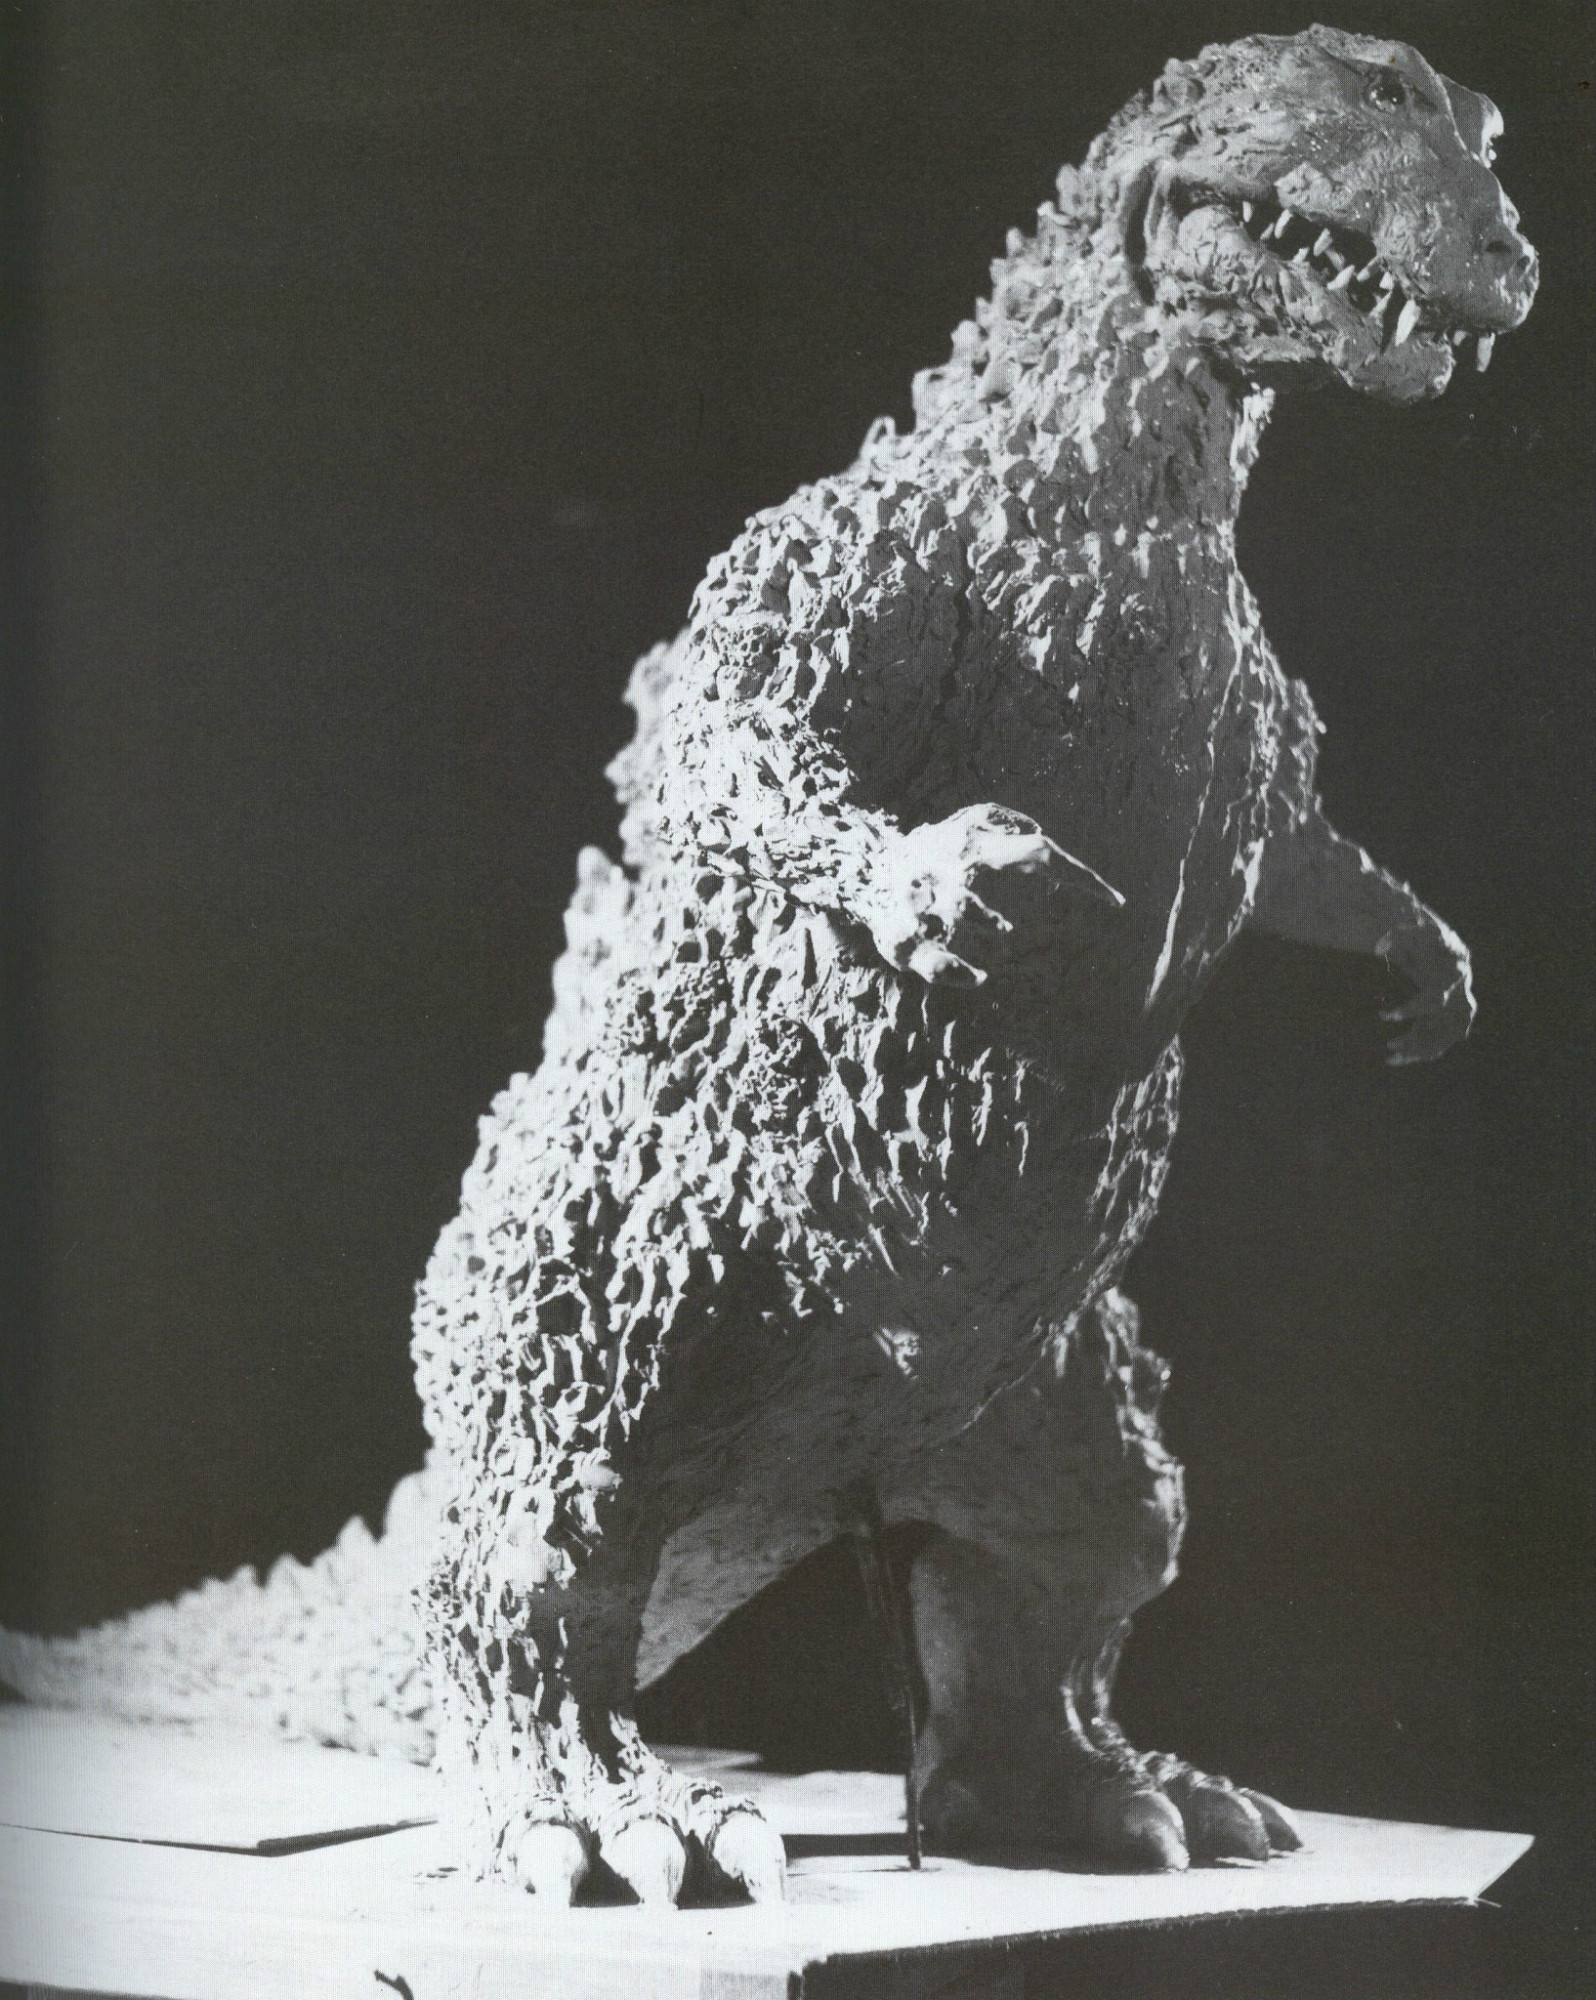
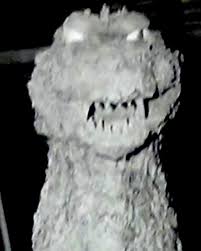
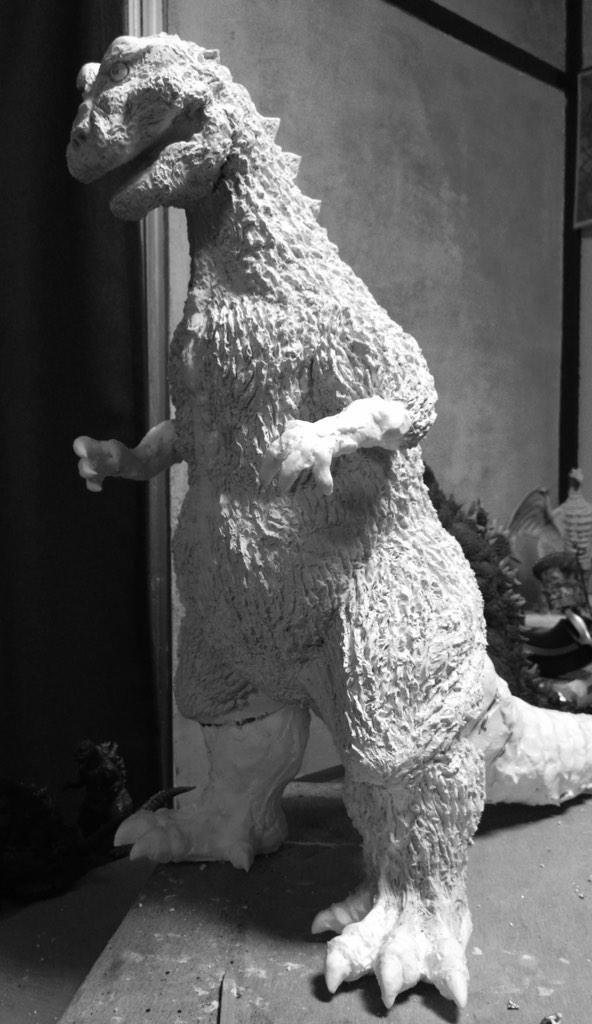
Godzilla concept statue
Godzilla concept statue
Godzilla concept statue
Godzilla concept statue
Godzilla concept statue
Godzilla concept statue
Godzilla concept statue
Godzilla concept statue
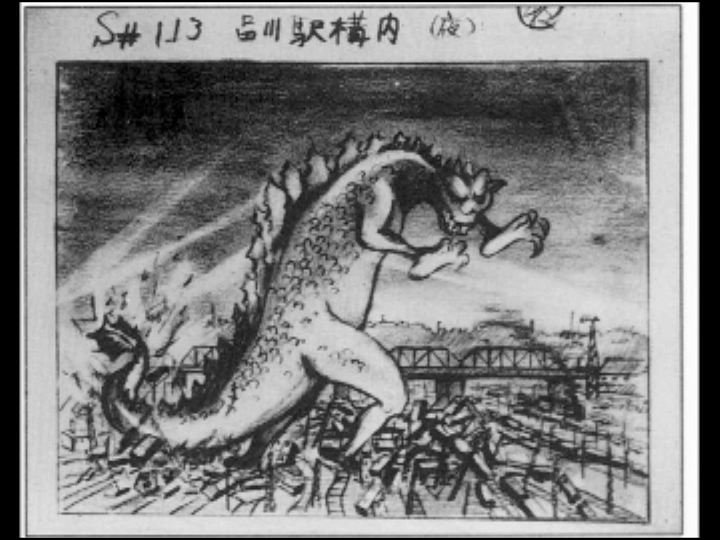
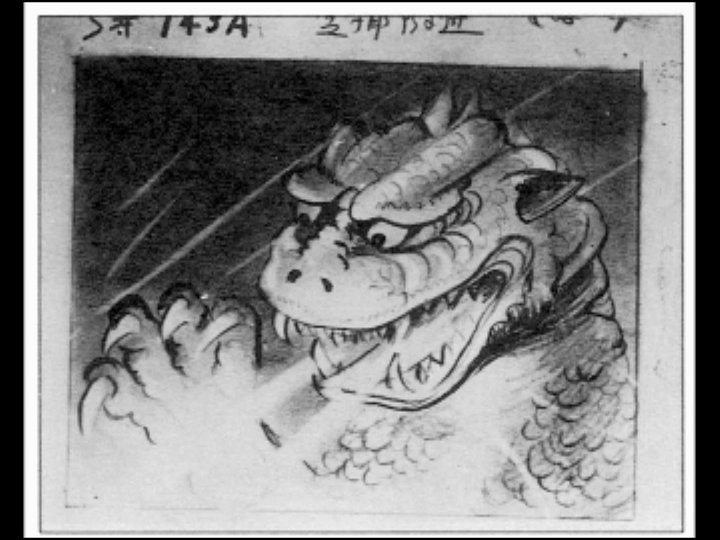
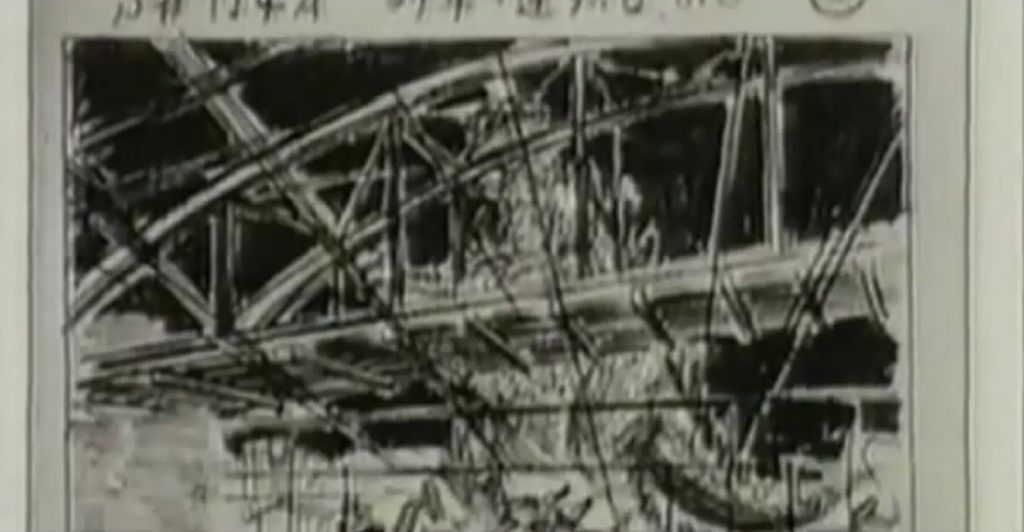
Storyboard
Storyboard
Storyboards
Storyboard
Artwork


King Kong vs. Godzilla
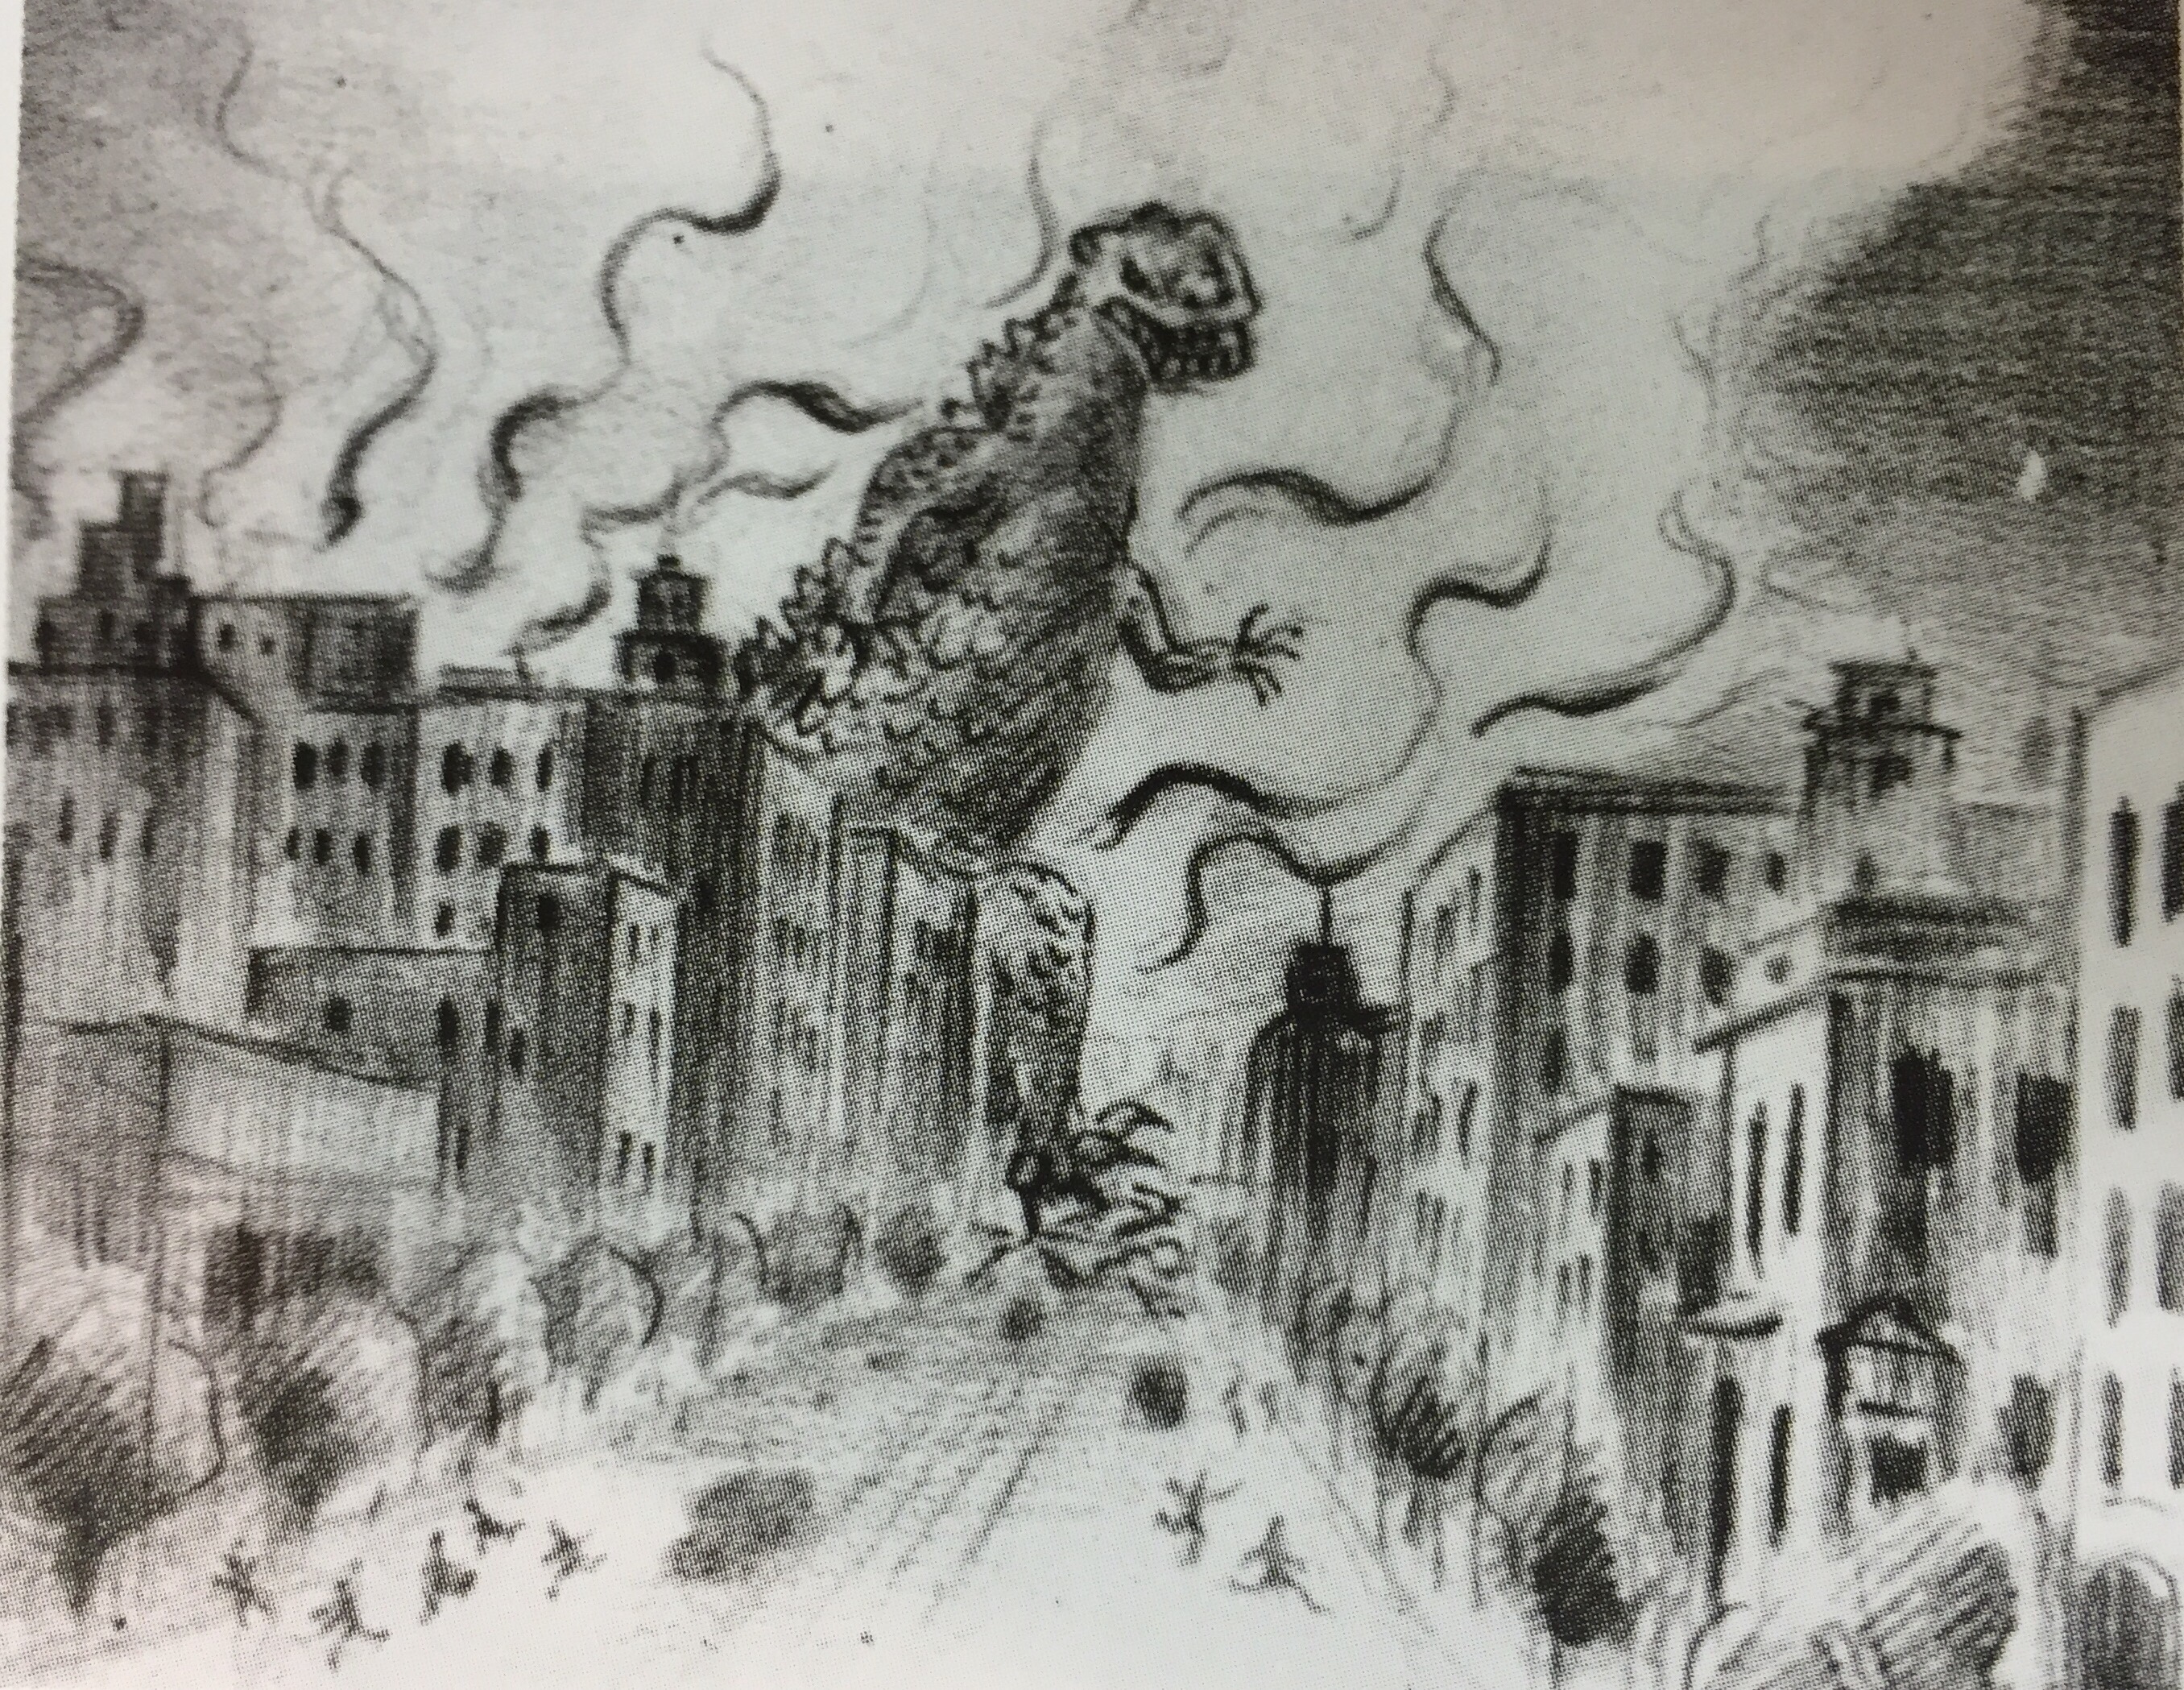
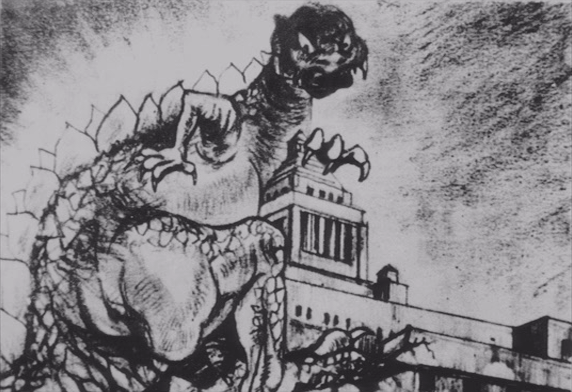
Godzilla concept art
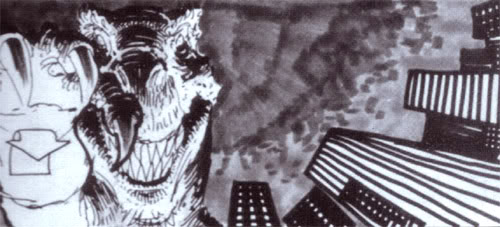
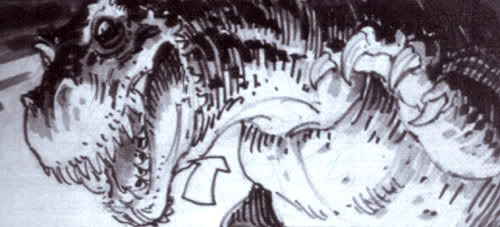
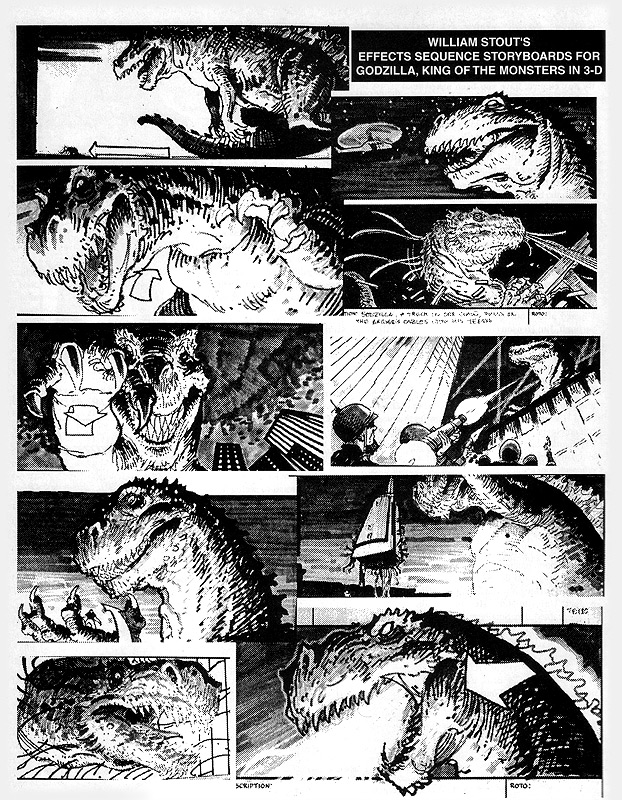
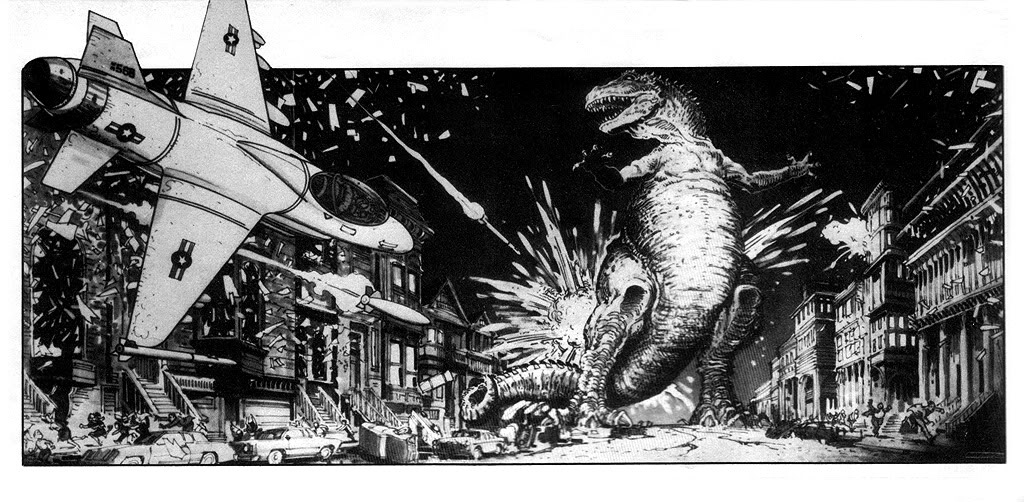
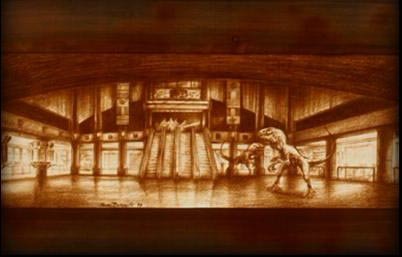
Godzilla: King of the Monsters 3-D
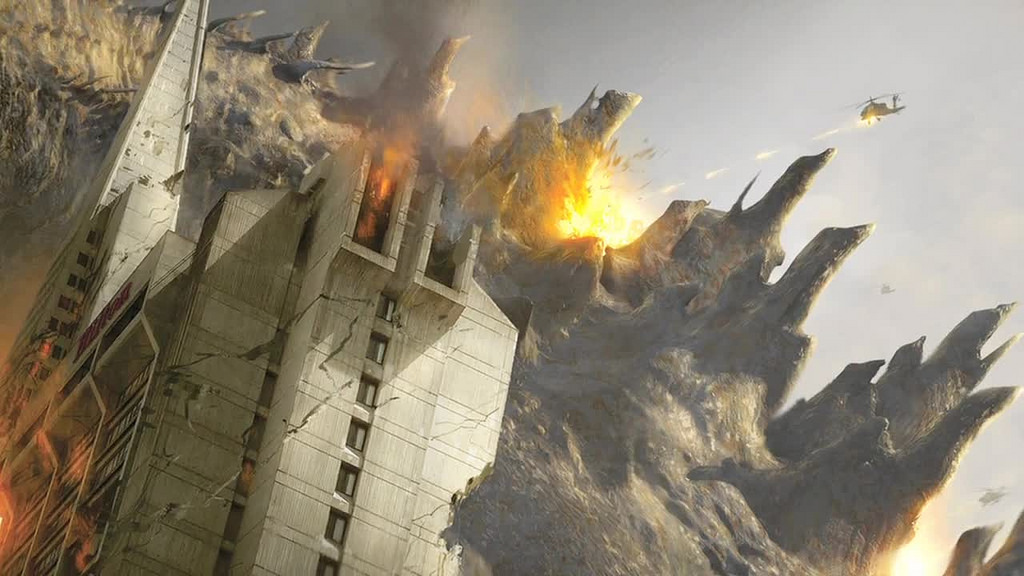
Godzilla concept art from the unmade Godzilla: King of the Monsters 3-D film
An unused stop-motion puppet created for Godzilla: King of the Monsters 3-D
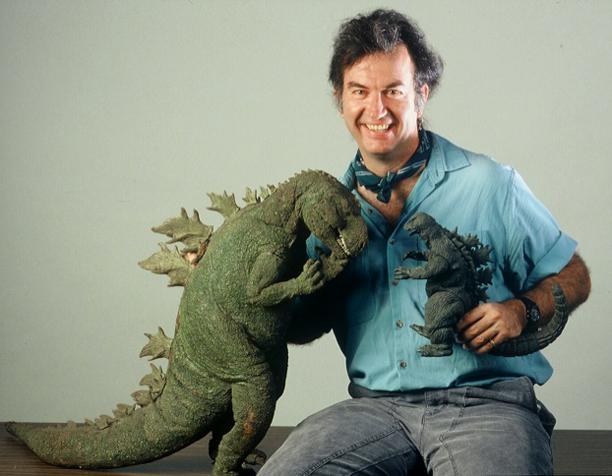
William Stout with a Godzilla concept statue and a figure of the KingGoji
Godzilla concept art from Godzilla: King of the Monsters 3-D


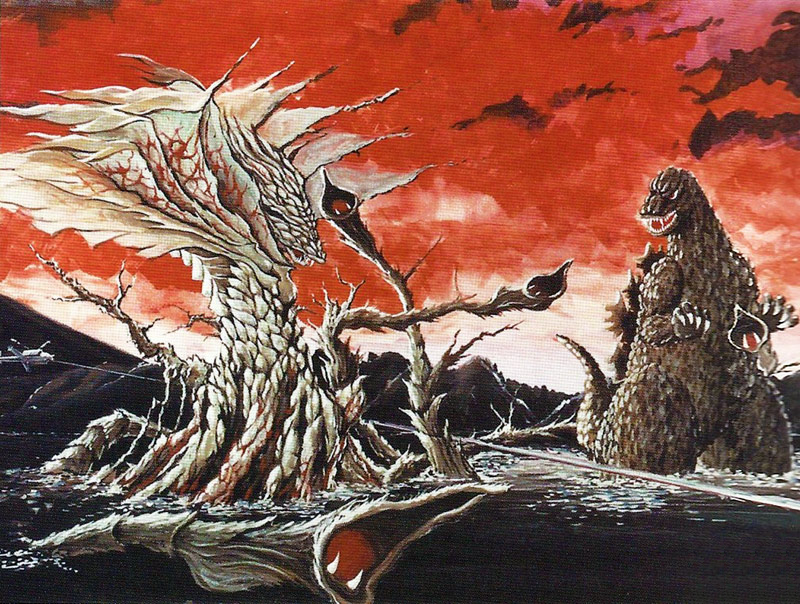
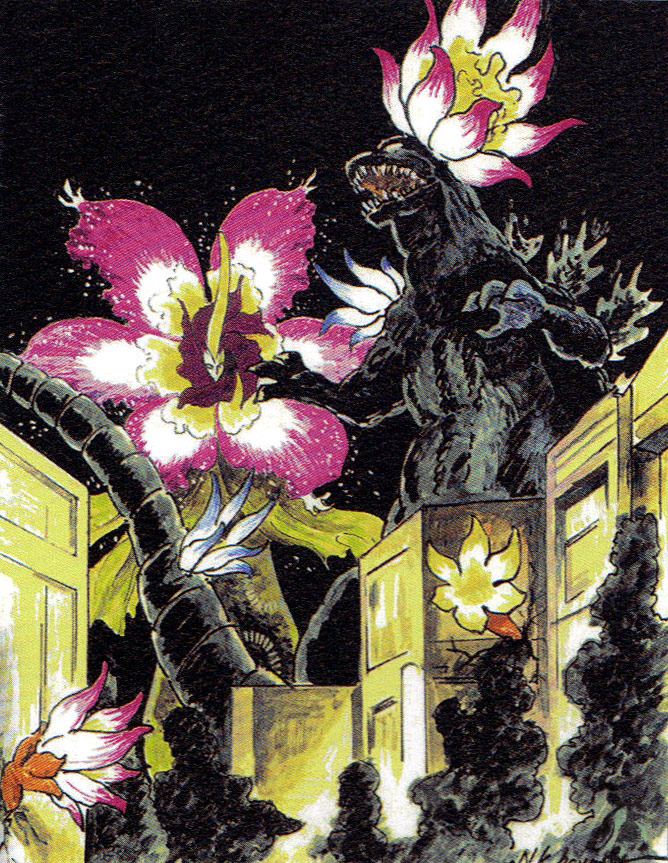
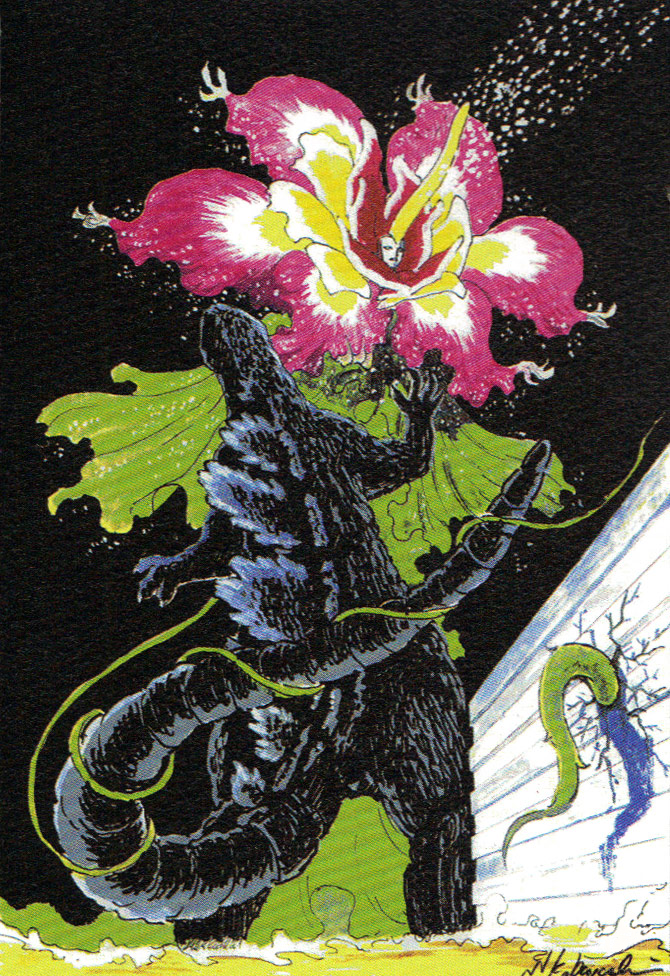
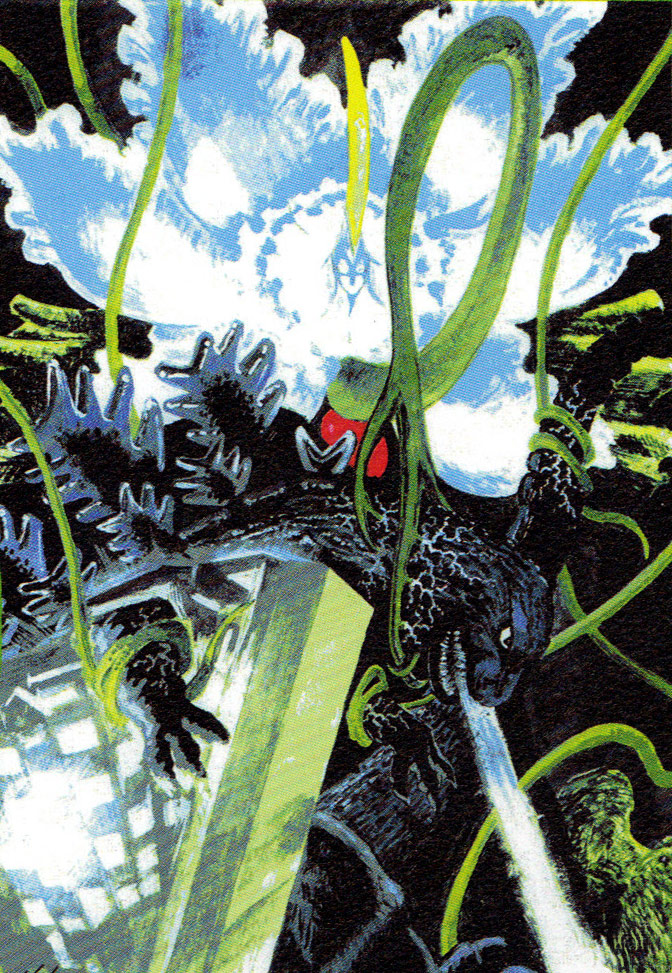
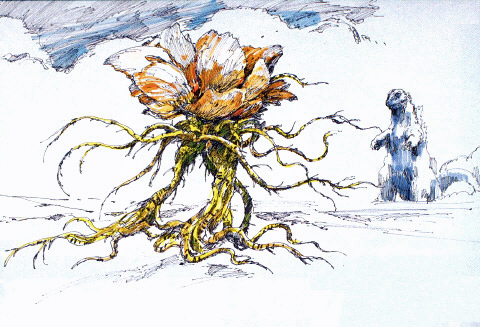
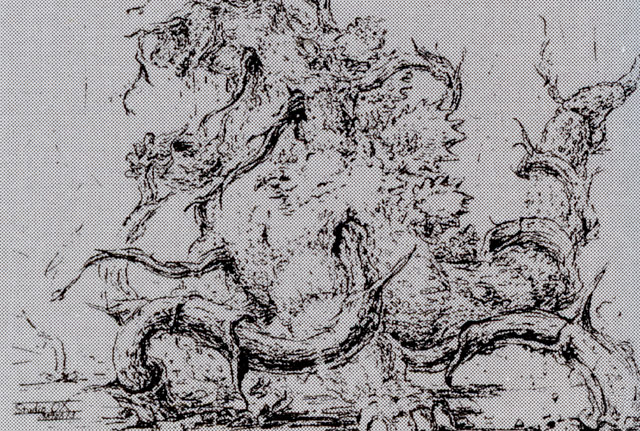
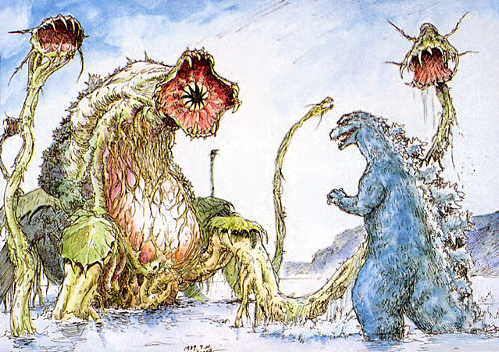
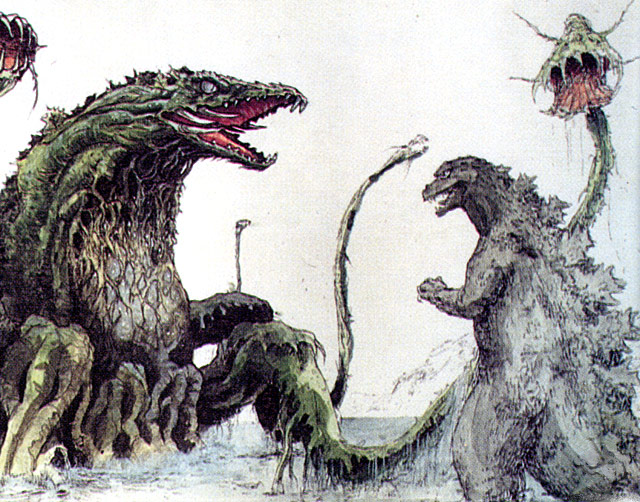
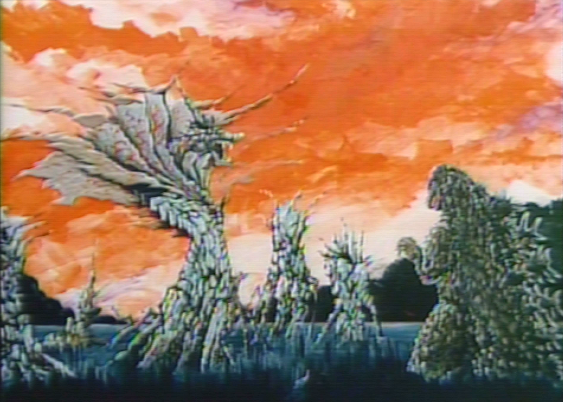
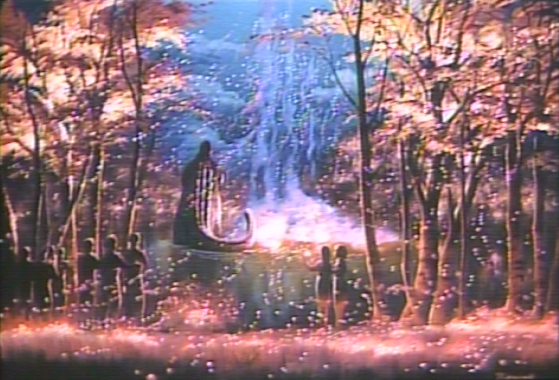
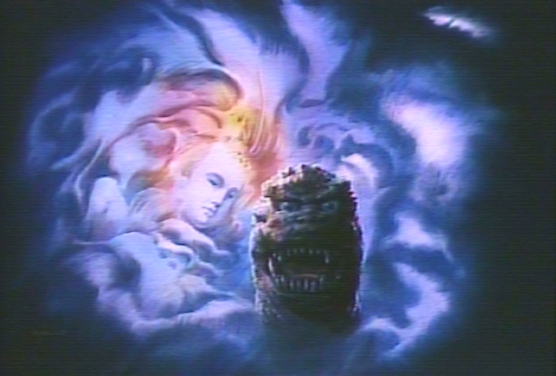
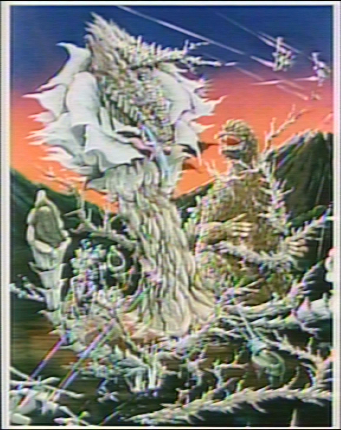
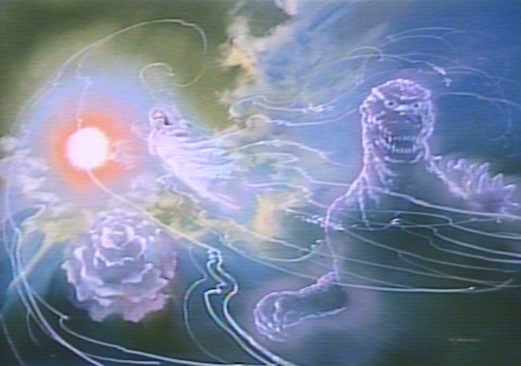
Godzilla vs. Biollante
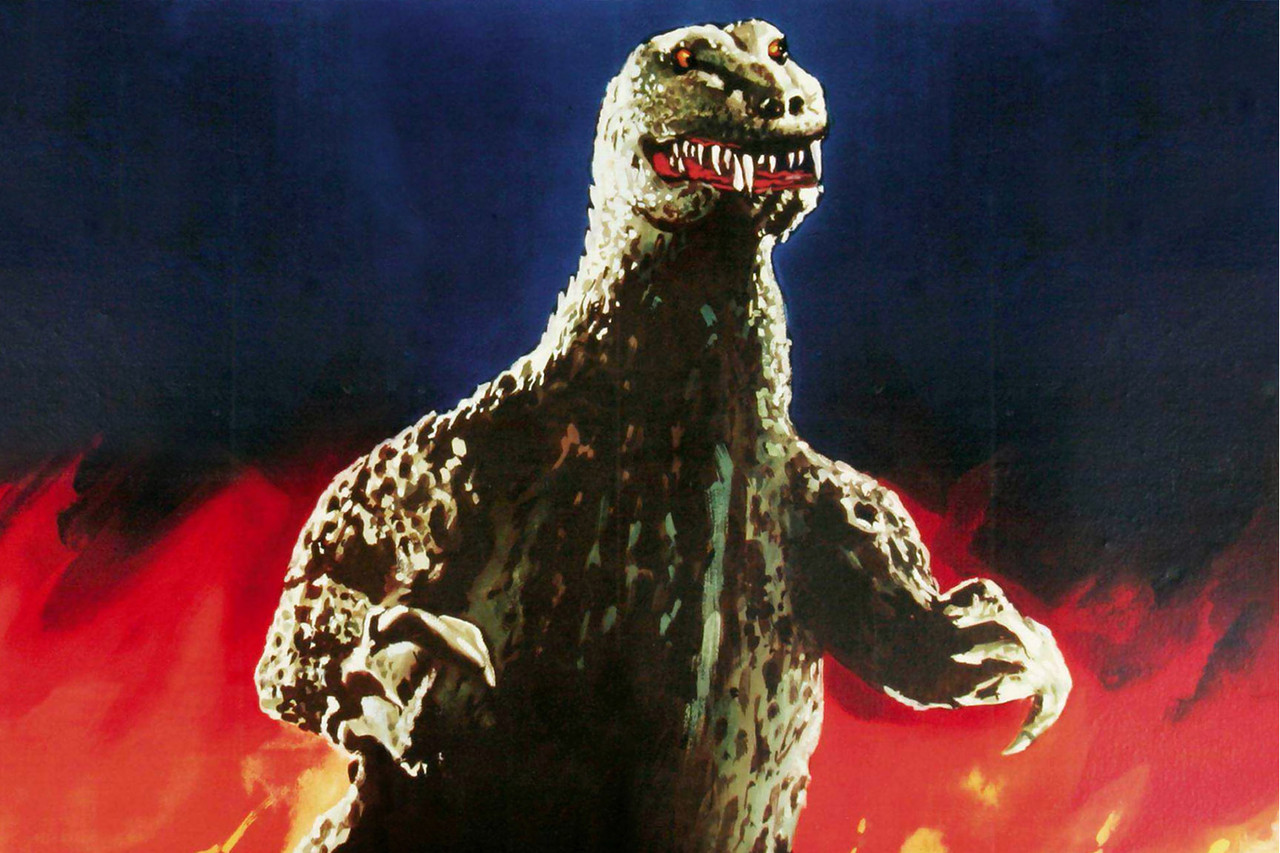
Godzilla vs. Biollante poster art by Noriyoshi Ohrai


Godzilla vs. King Ghidorah
Godzilla concept art
Godzilla concept art
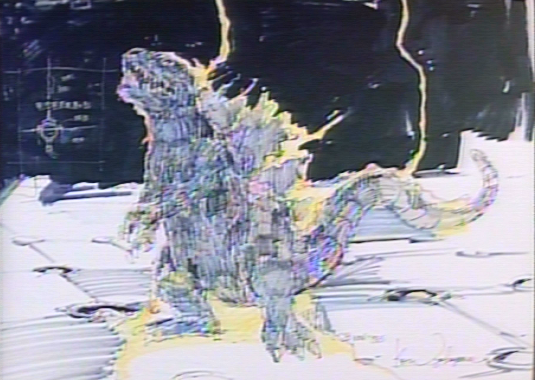
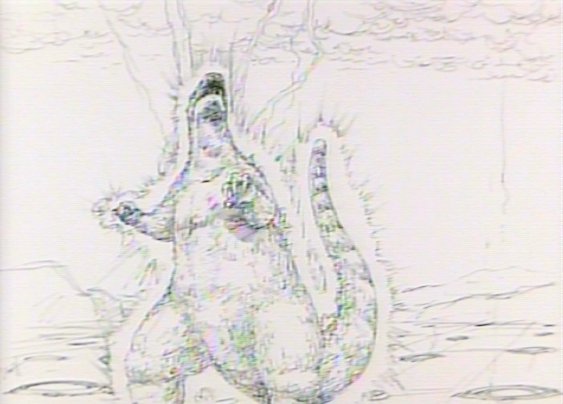
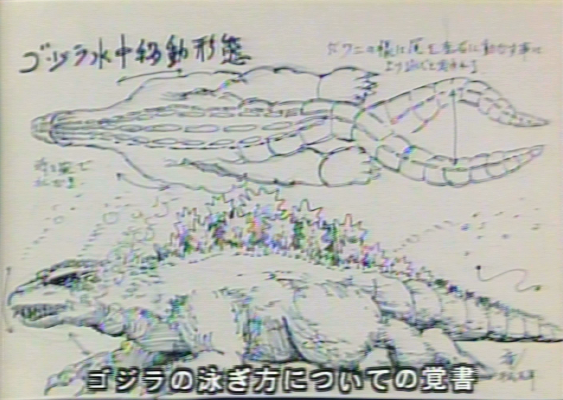
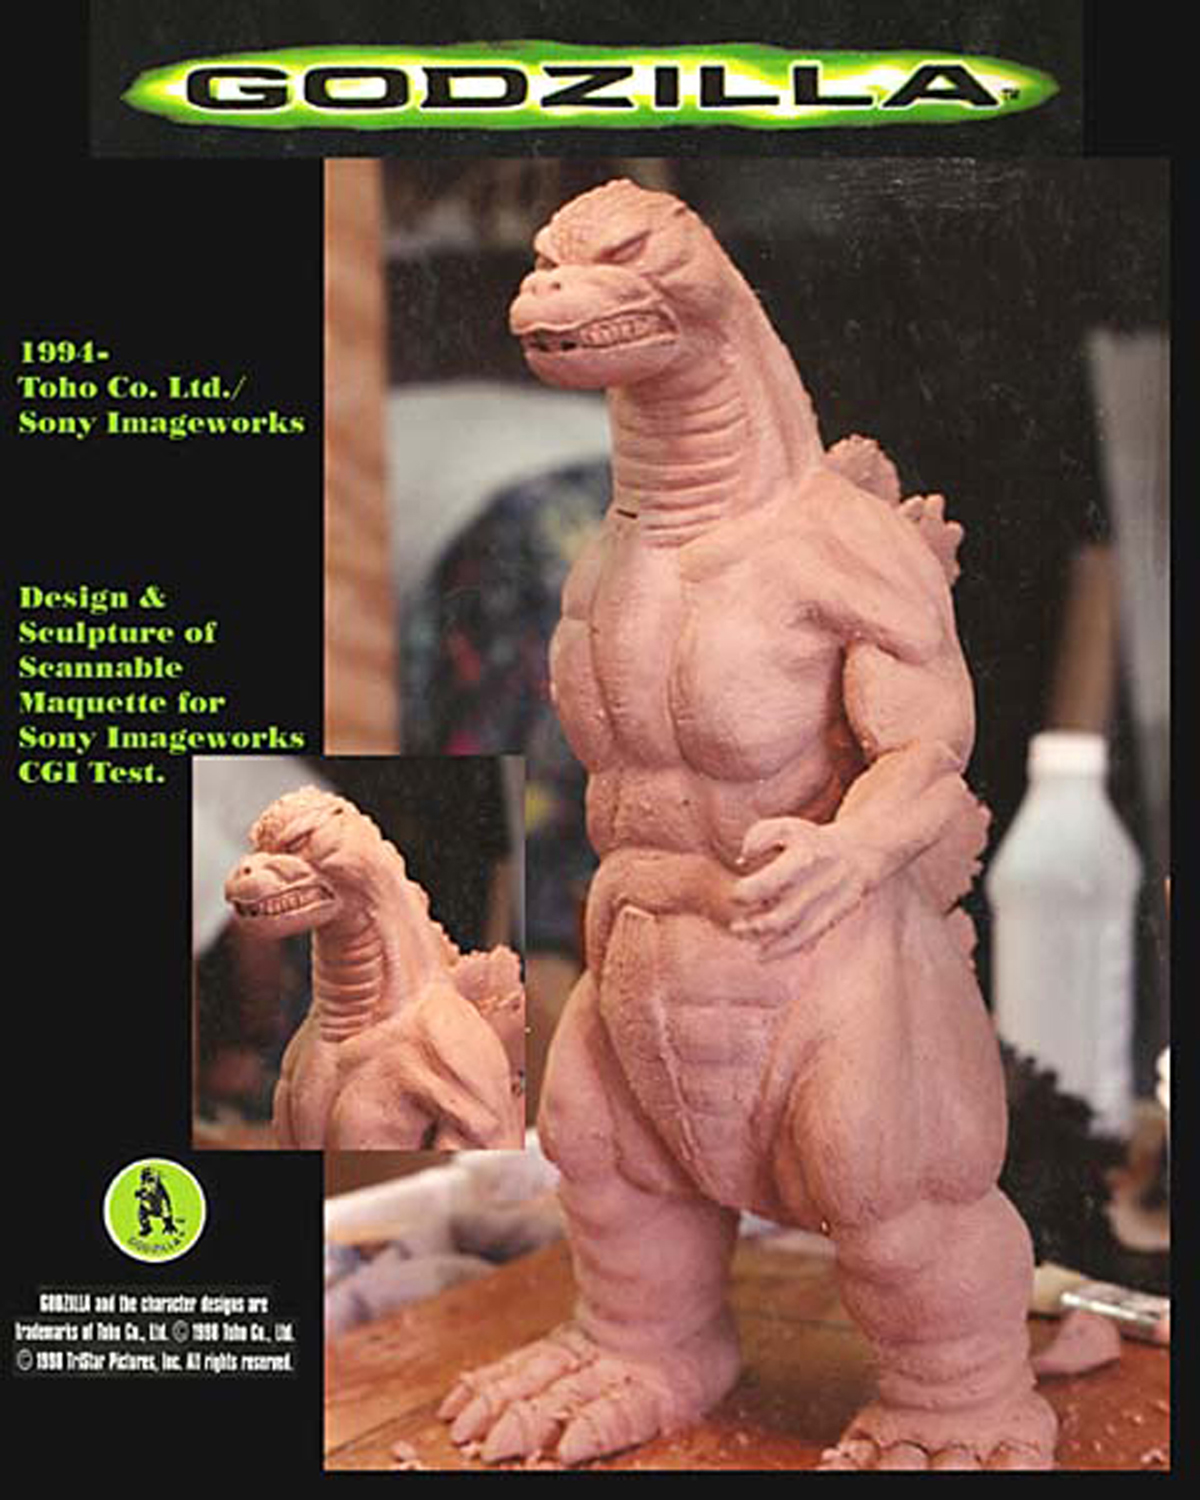
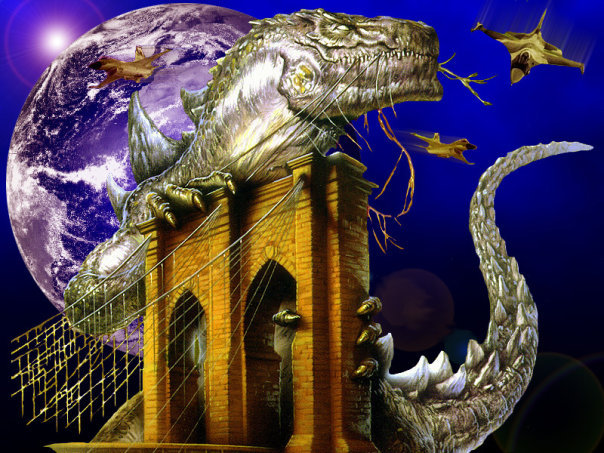
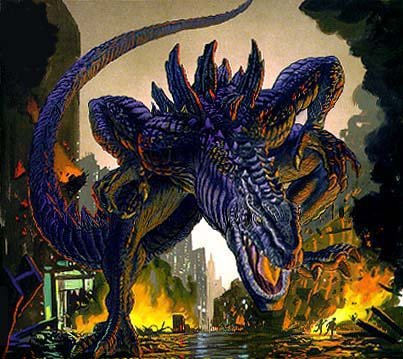
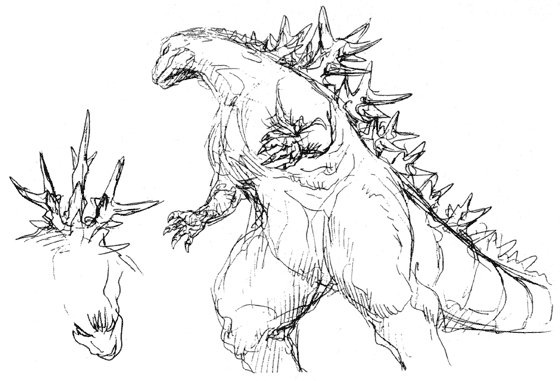
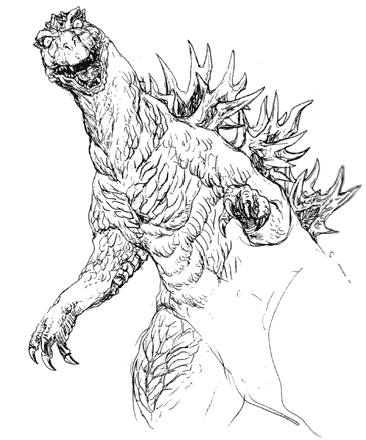
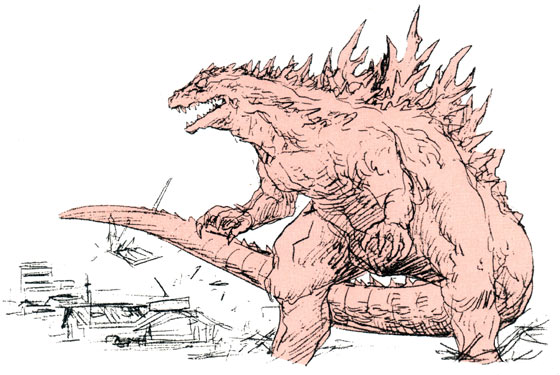
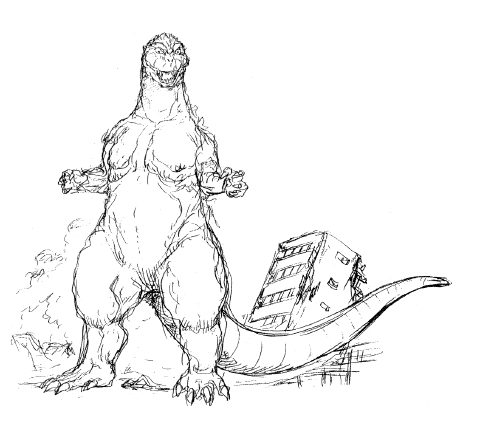
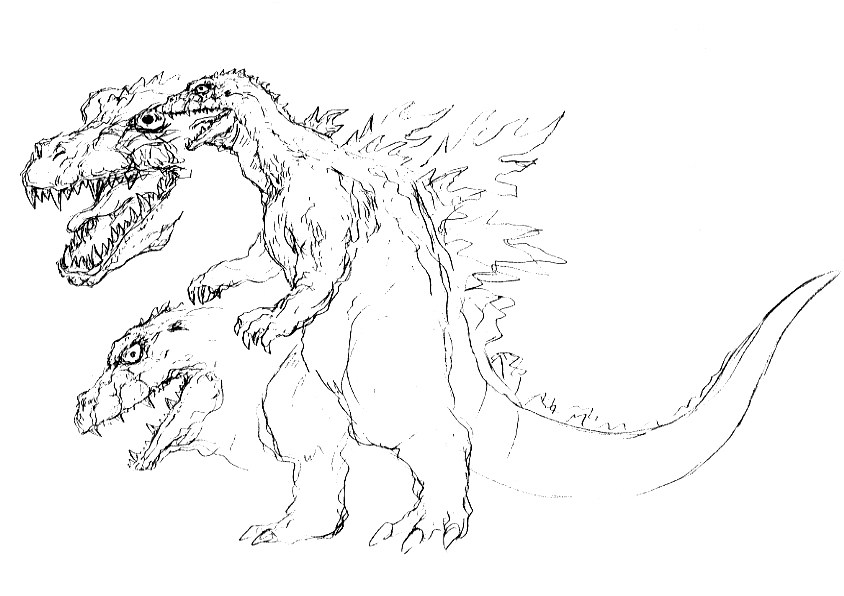
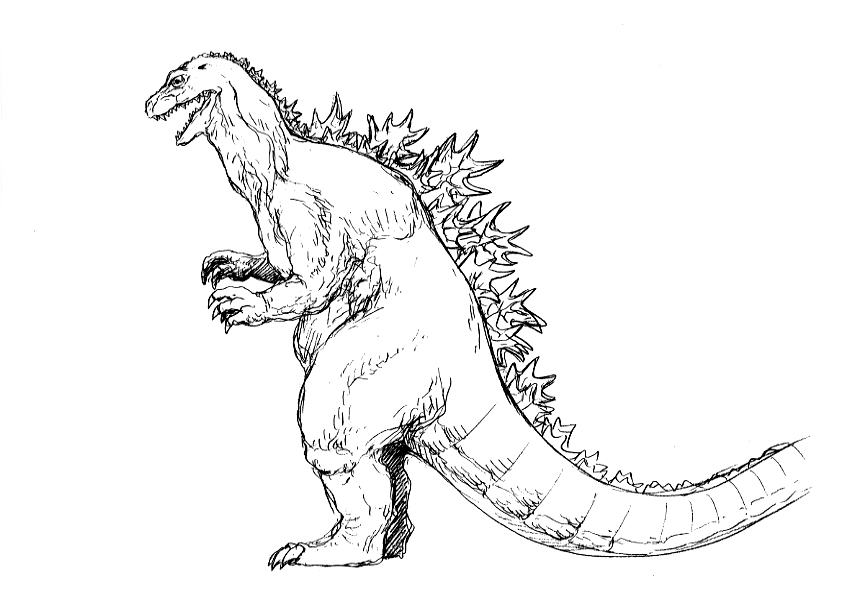
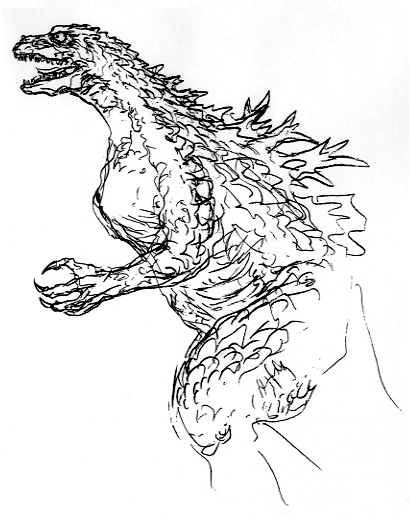
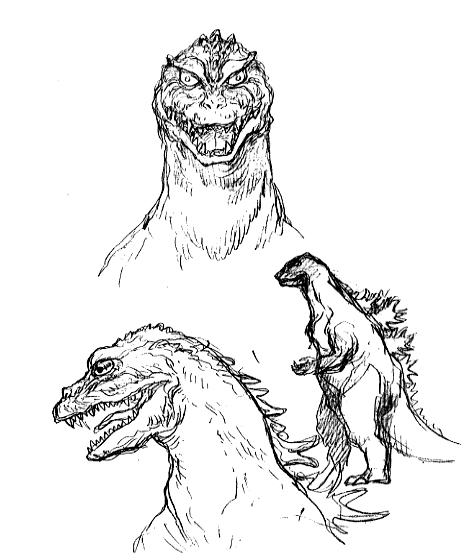
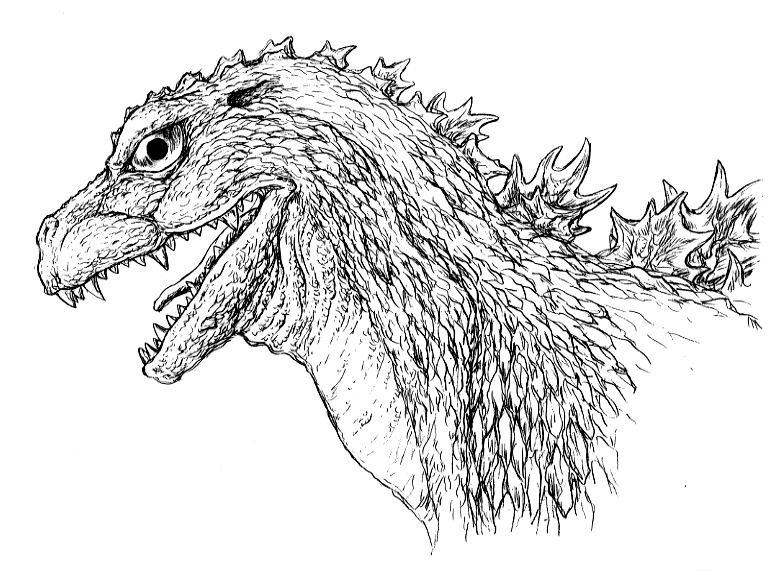
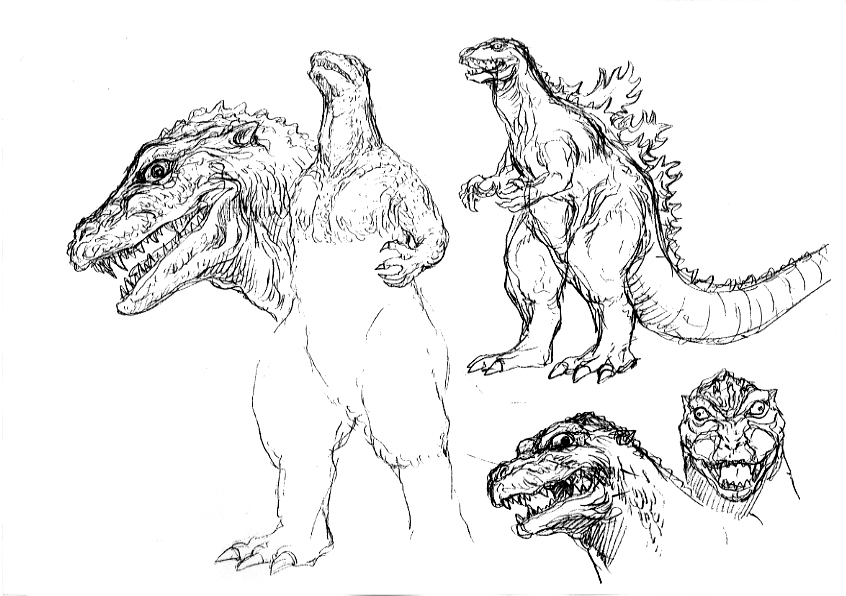
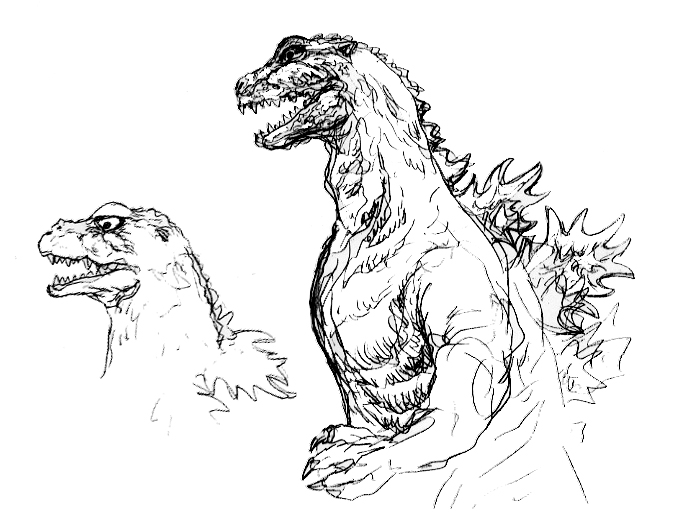
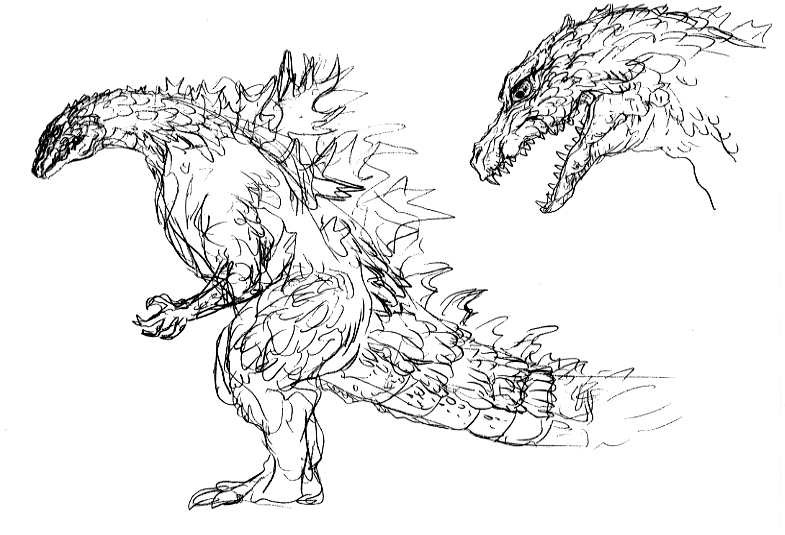
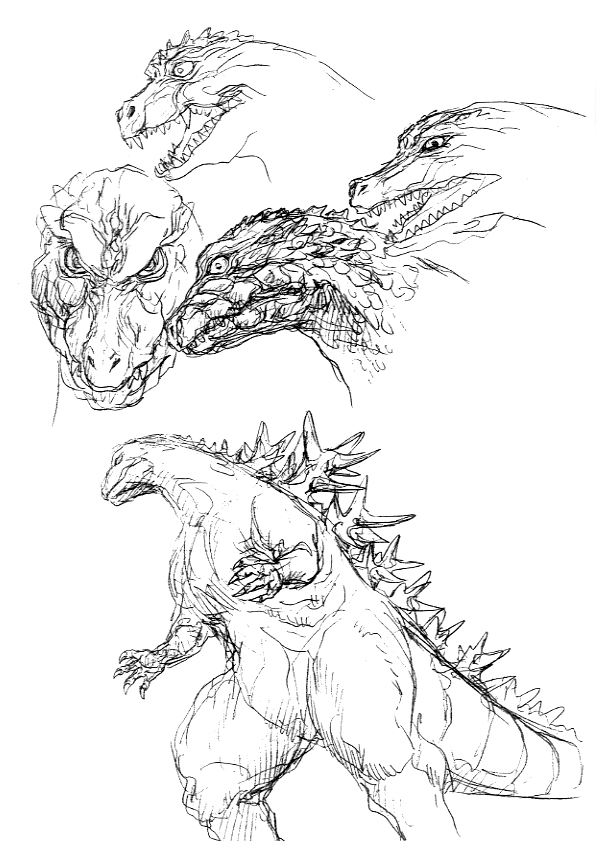
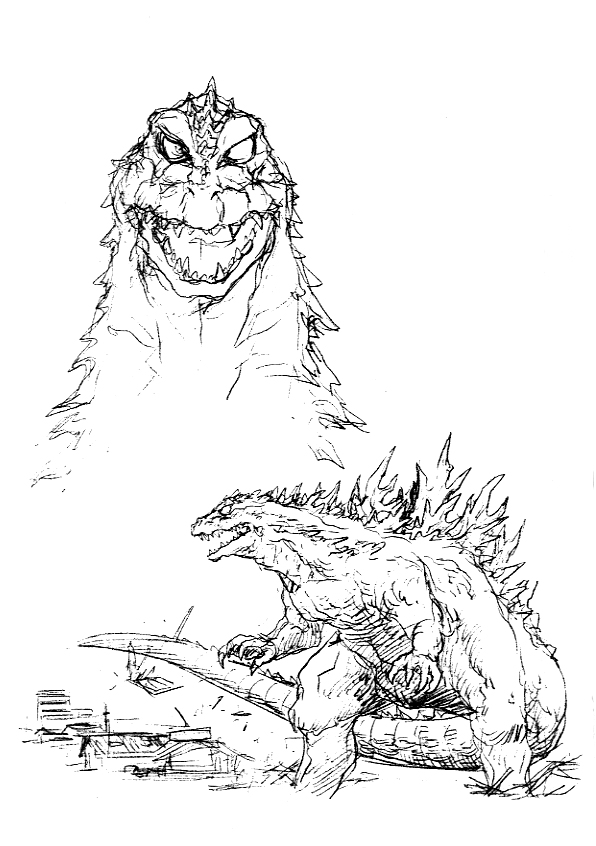
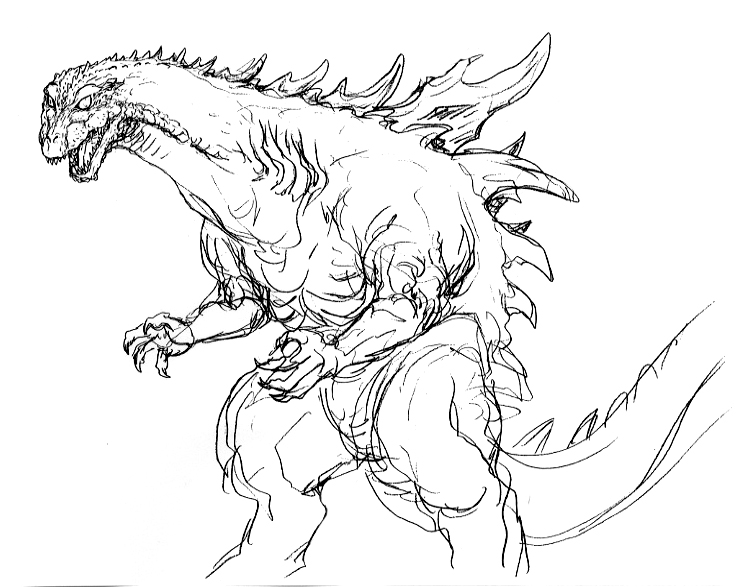
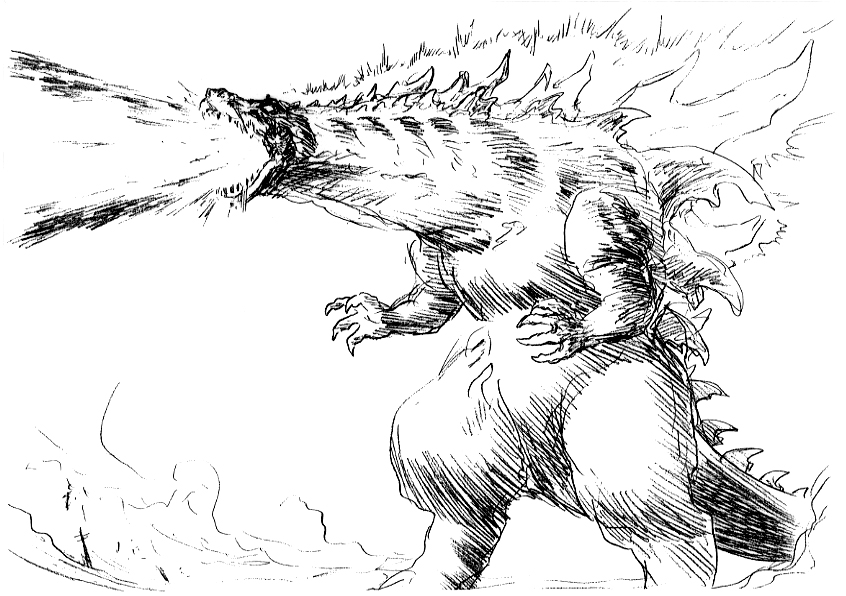
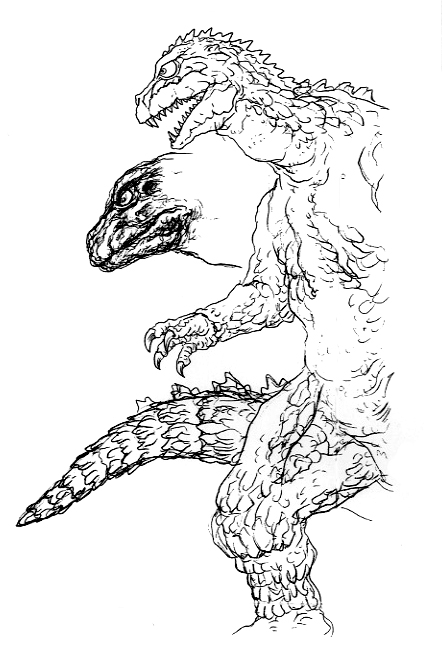
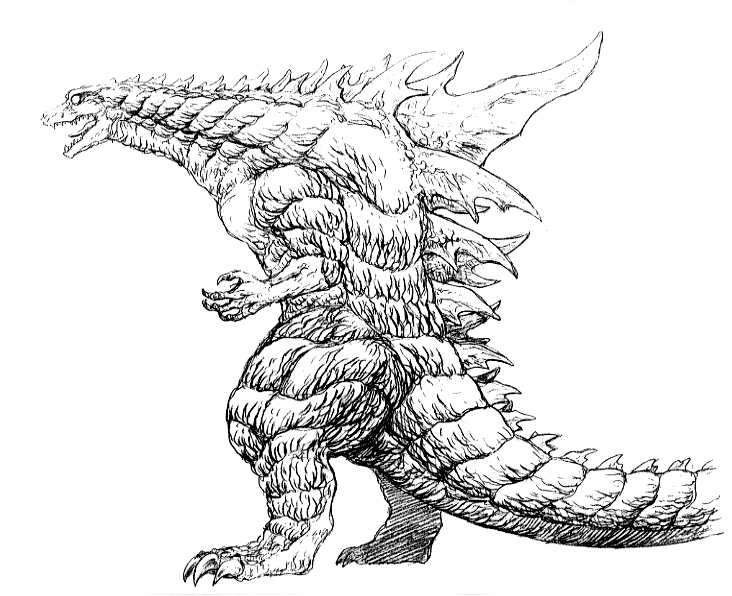
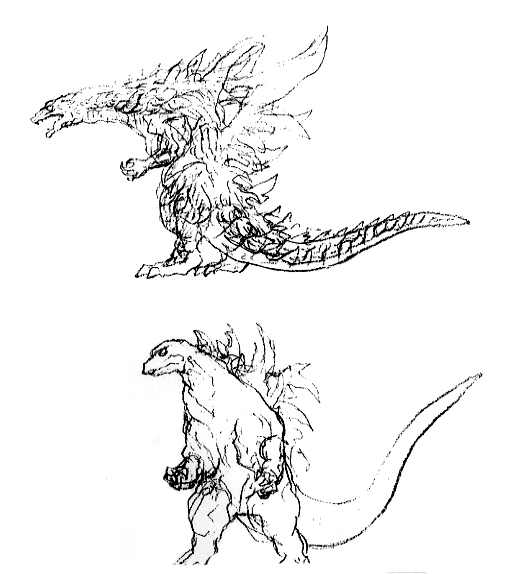
Godzilla (1994)
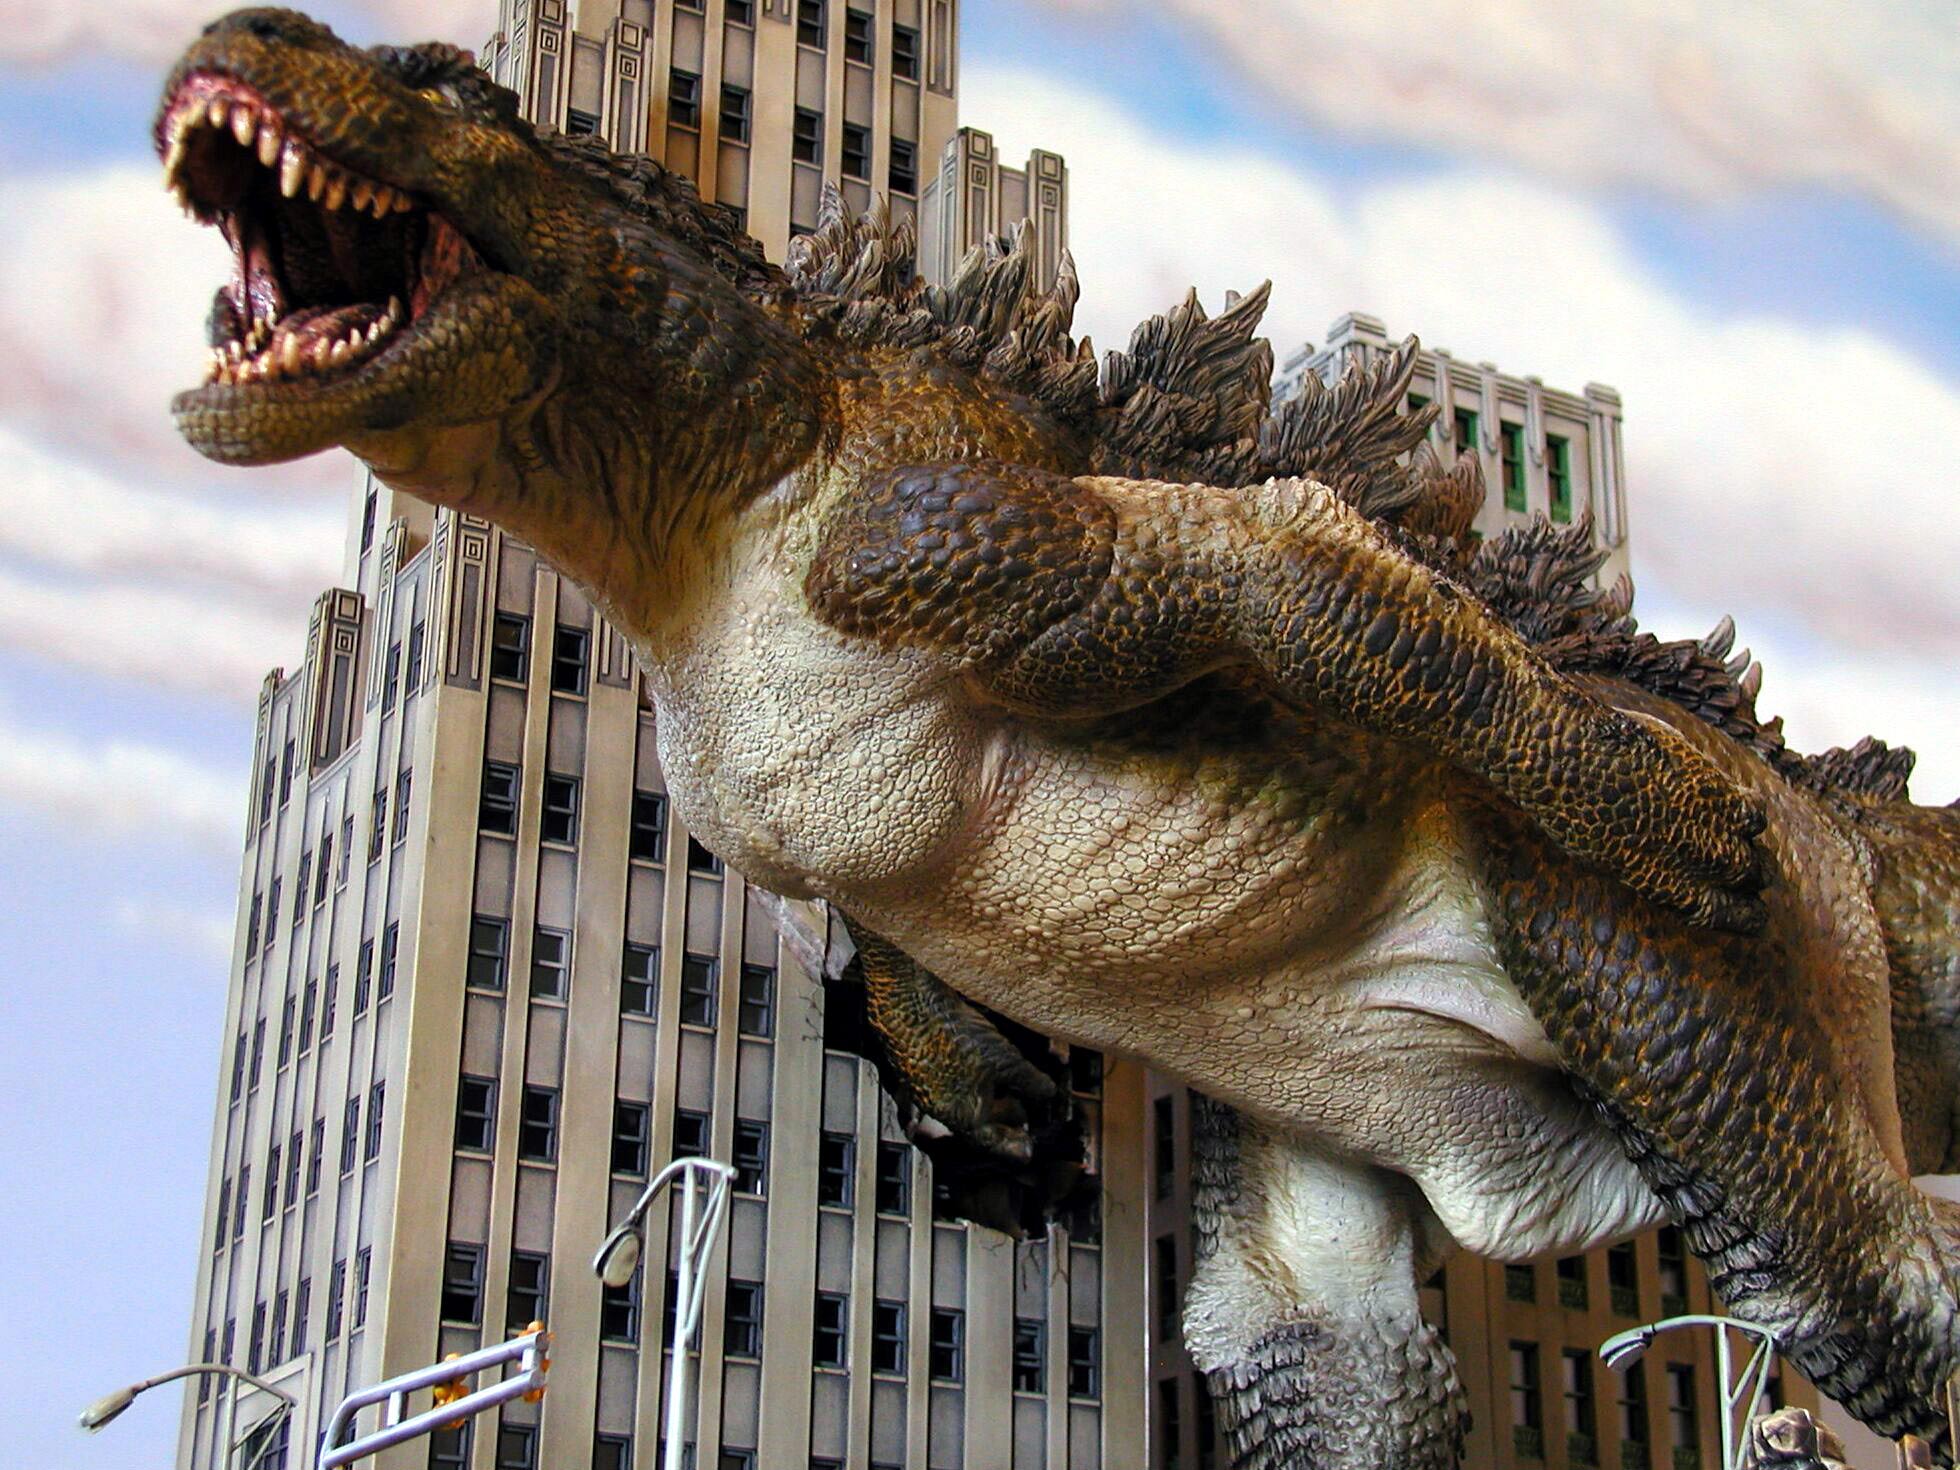
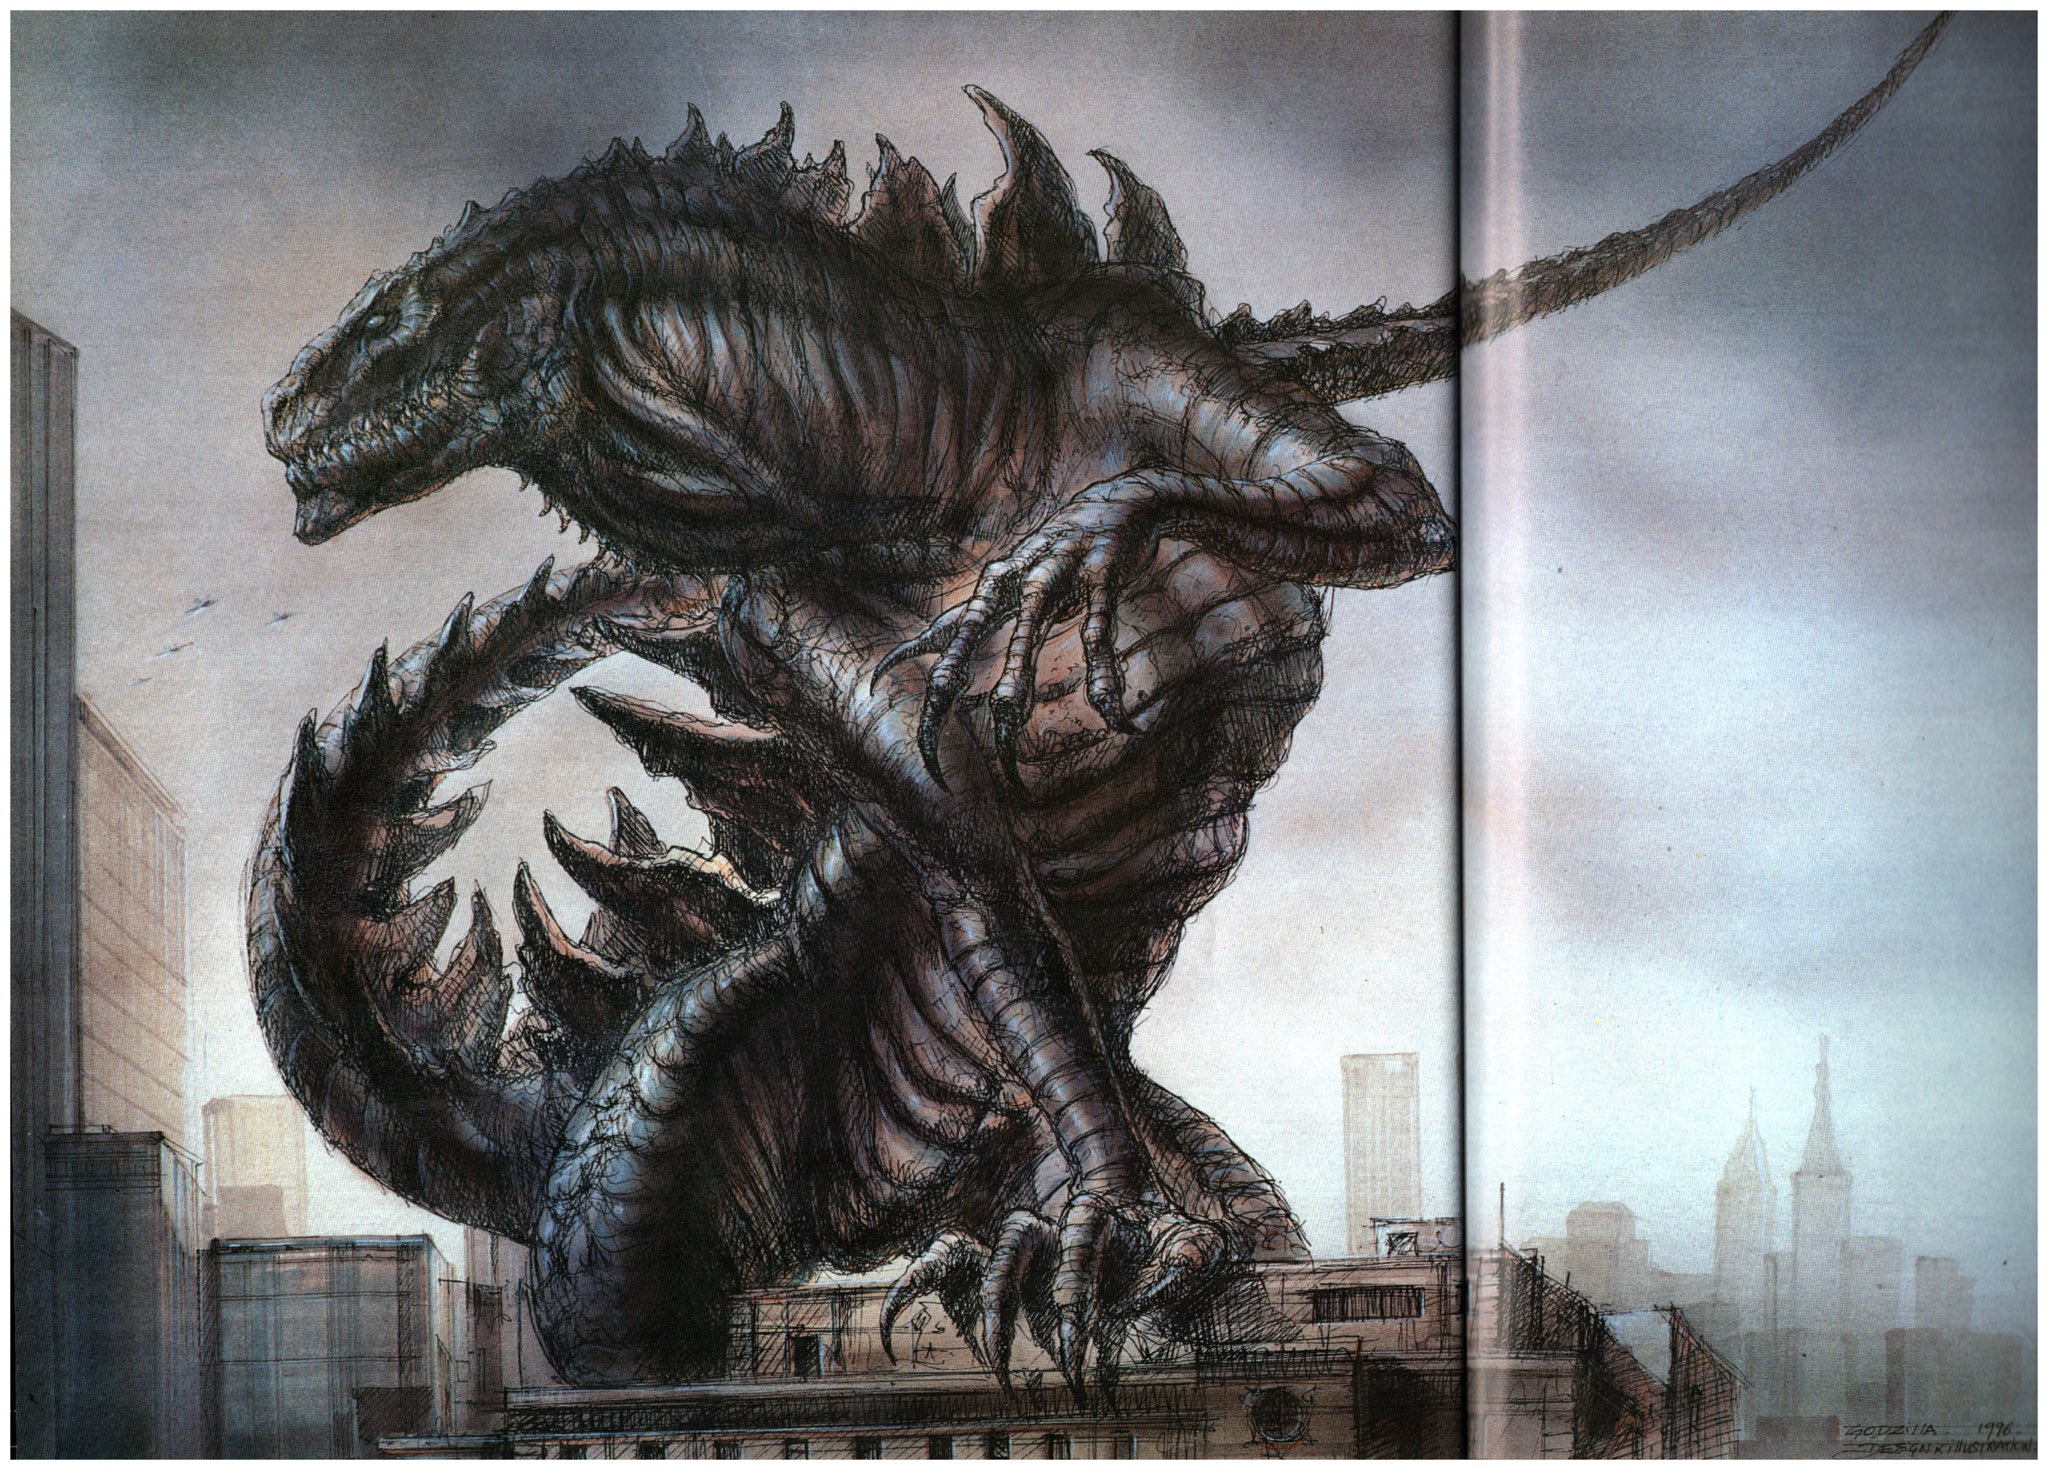
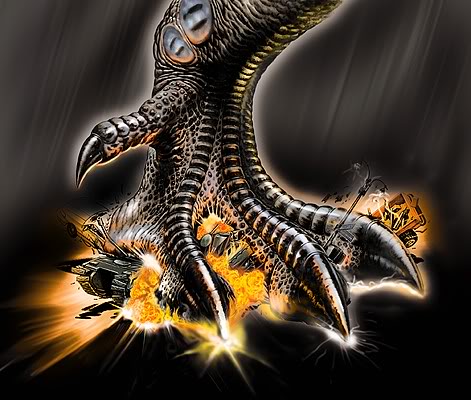
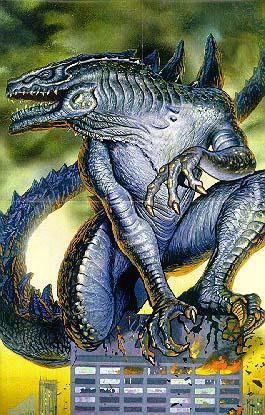
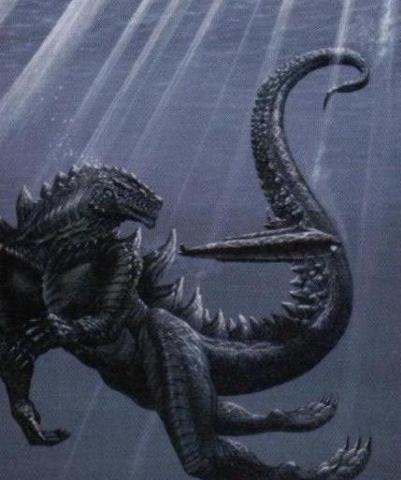
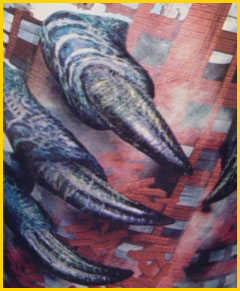
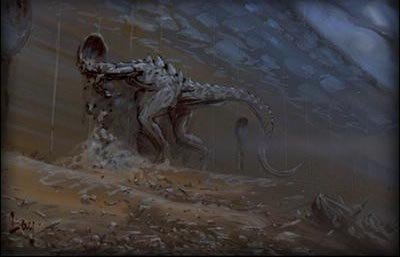
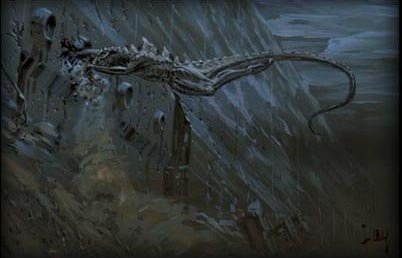
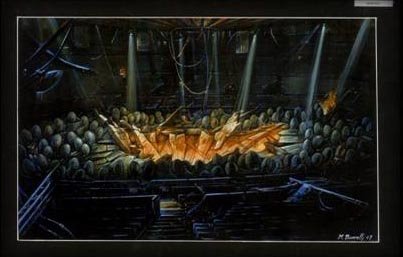
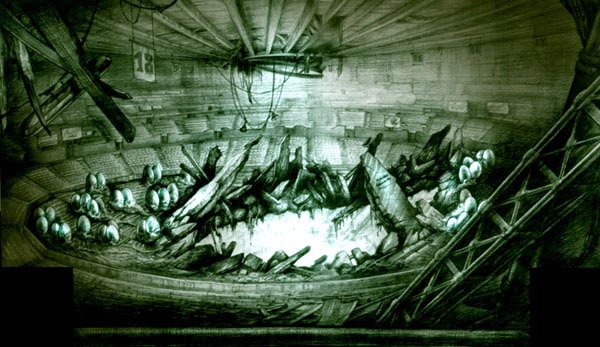
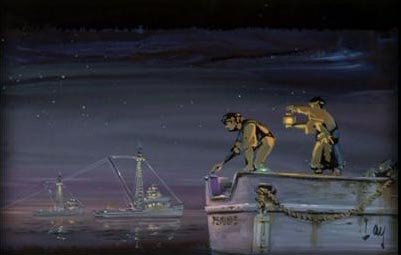
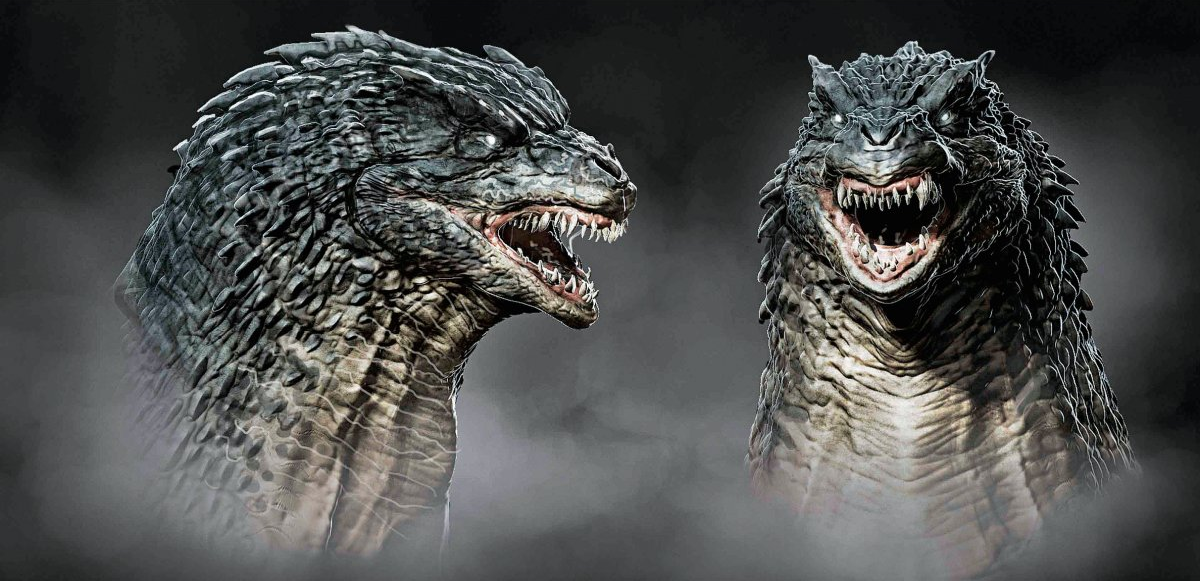
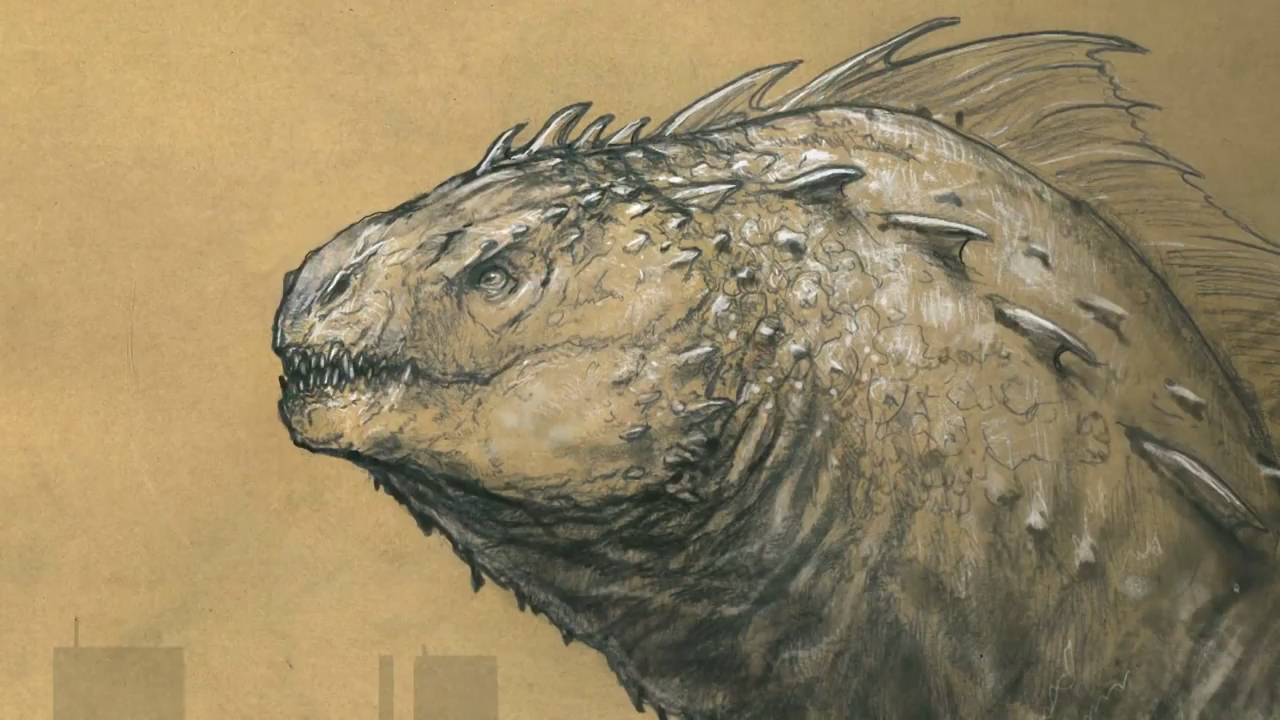
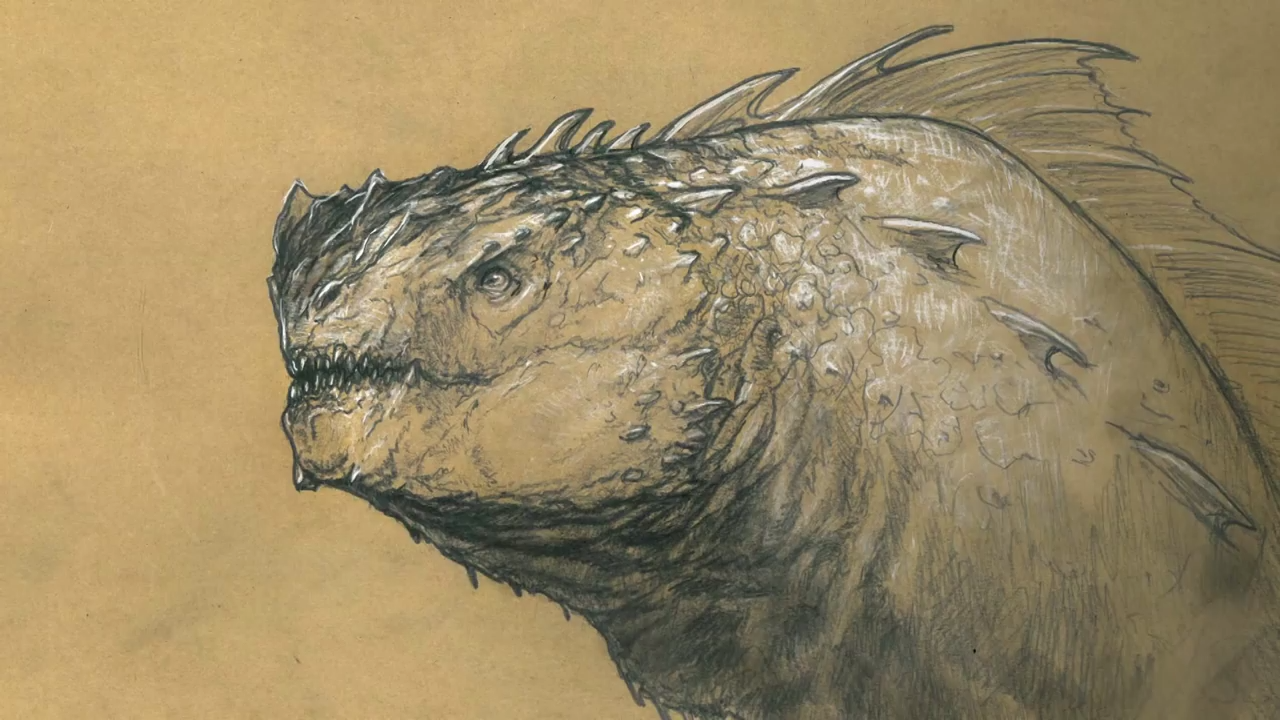
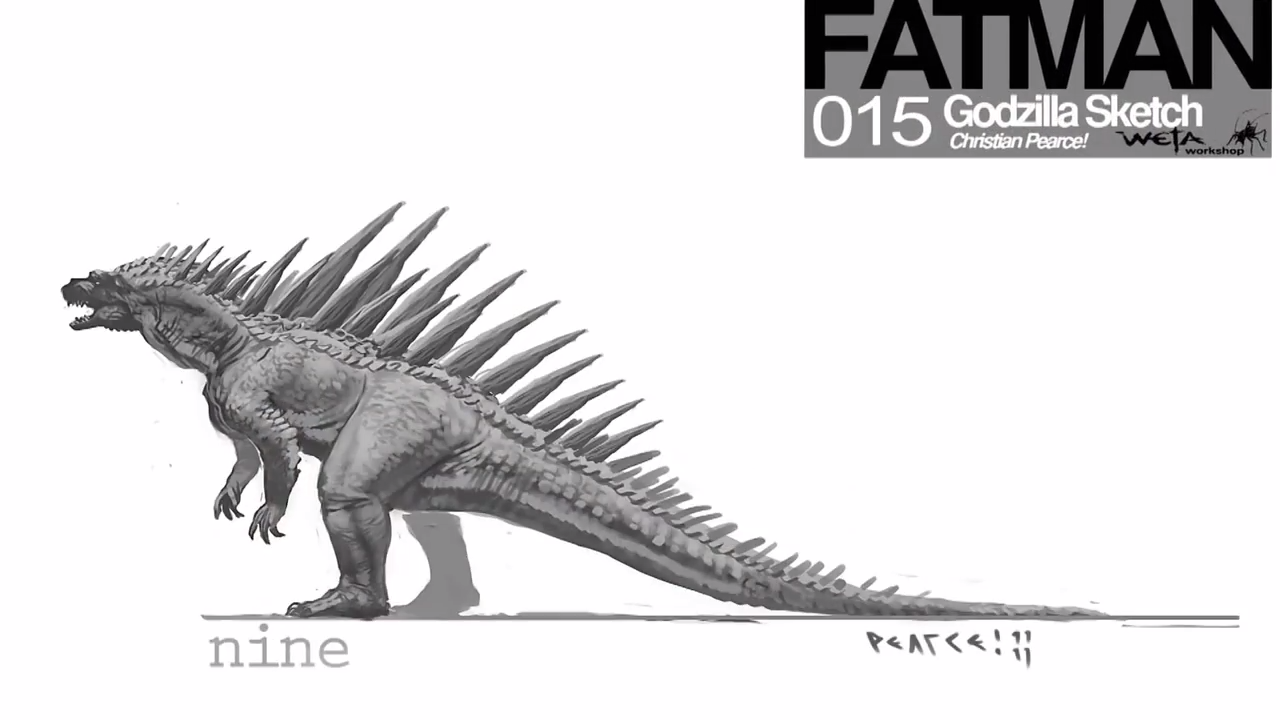
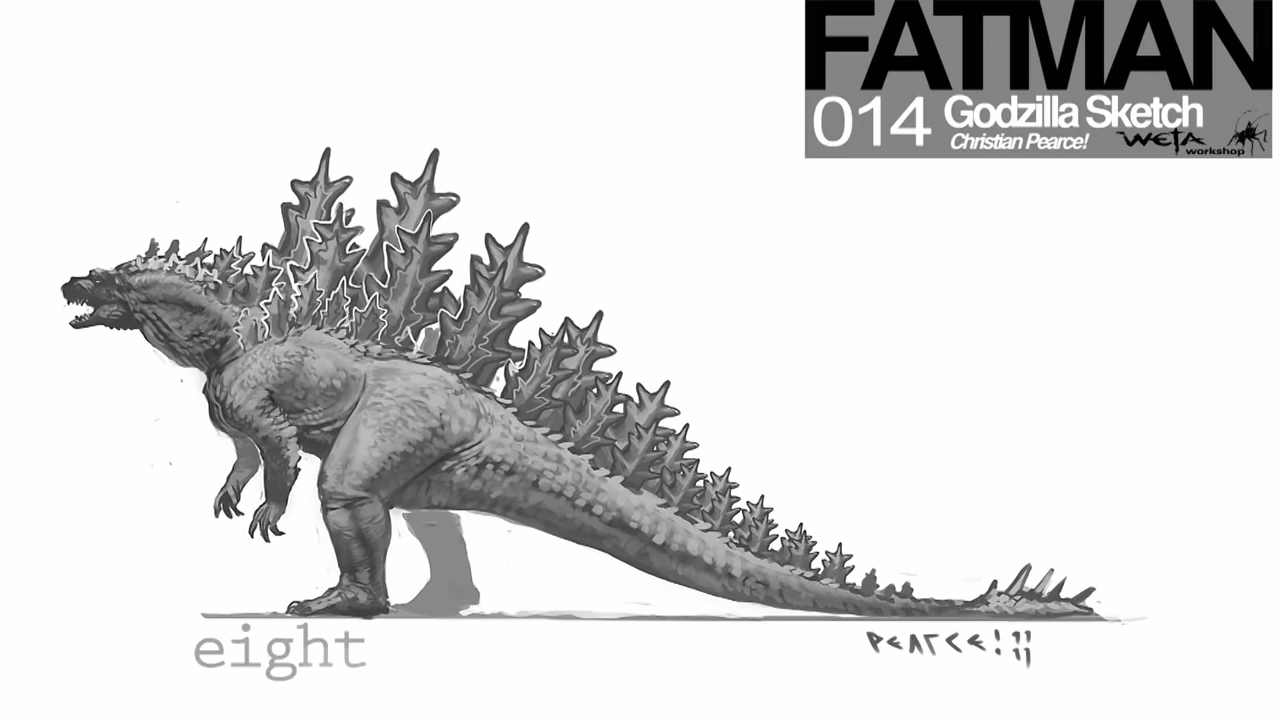
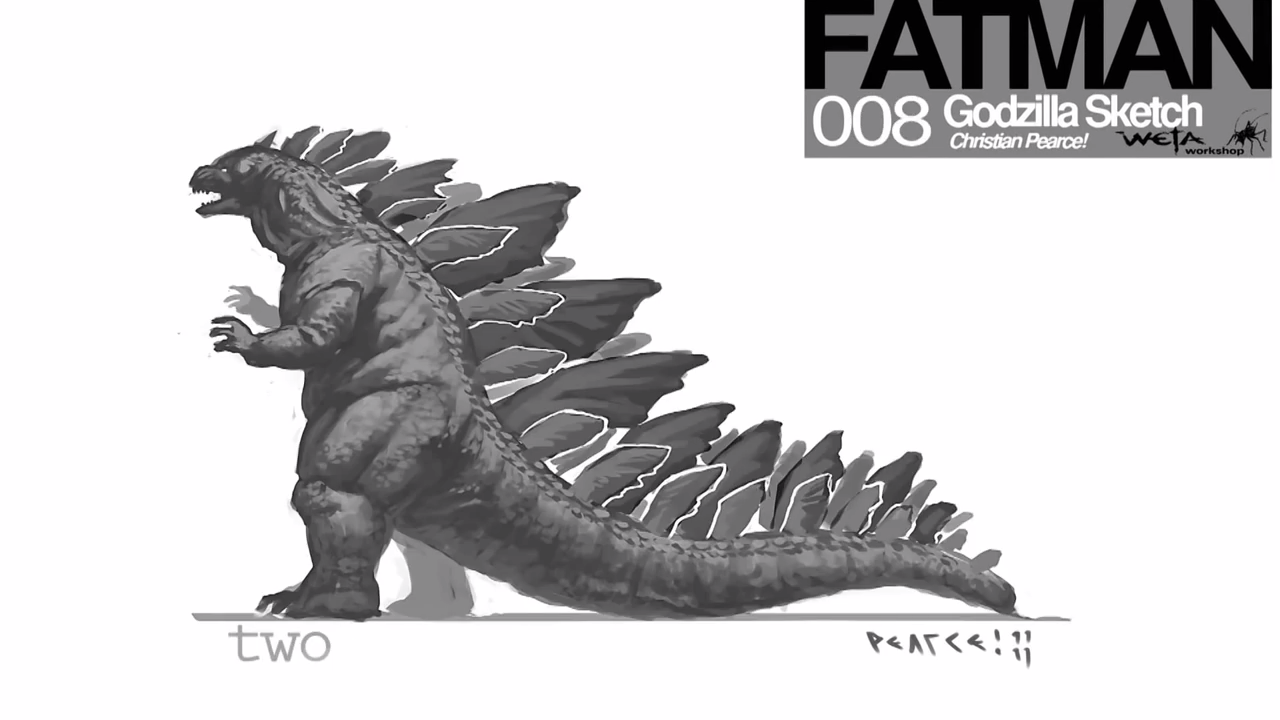
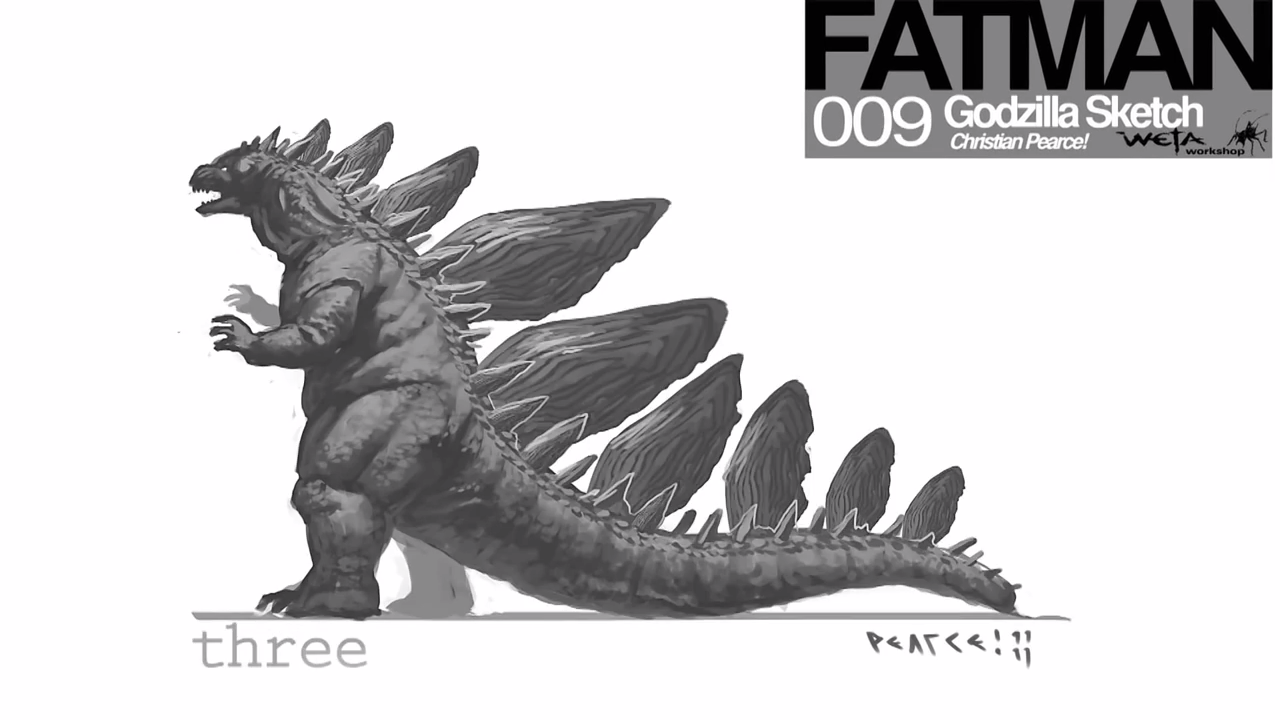
Godzilla concept art from the unmade TriStar Godzilla film
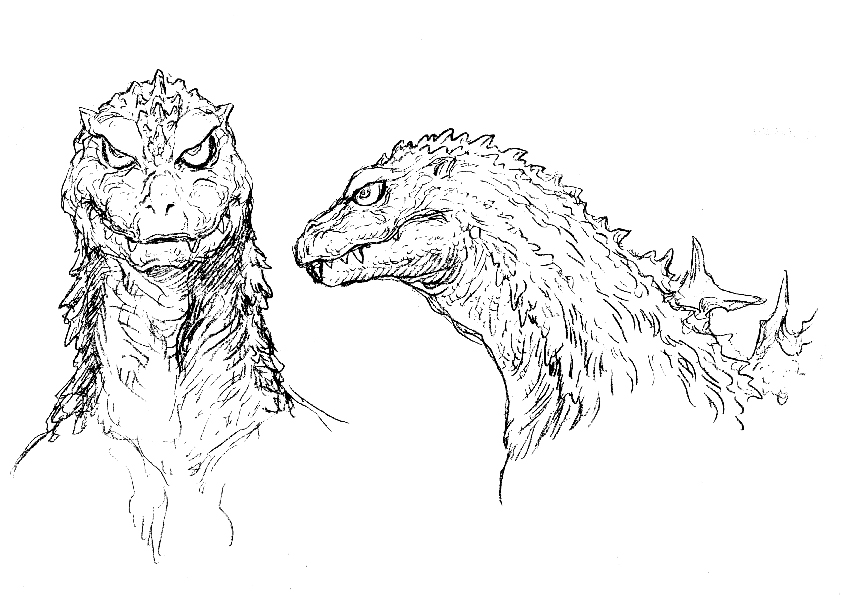
Godzilla concept art
Godzilla concept art
Godzilla concept art
Godzilla concept art
Godzilla concept art
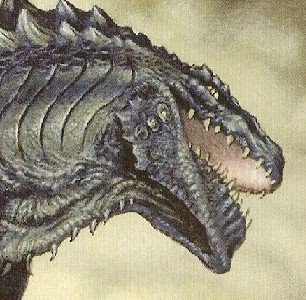
American Godzilla concept
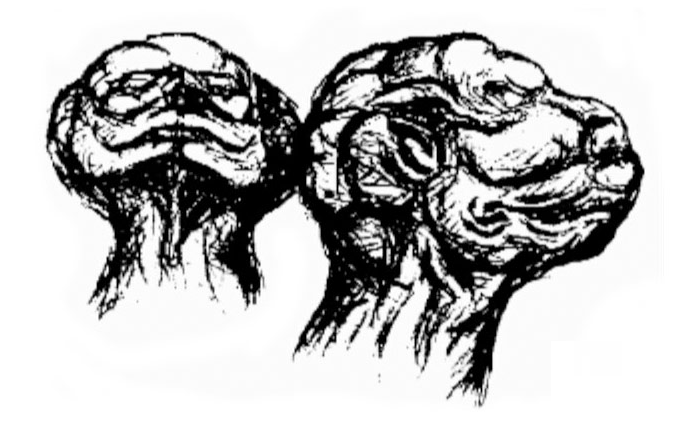
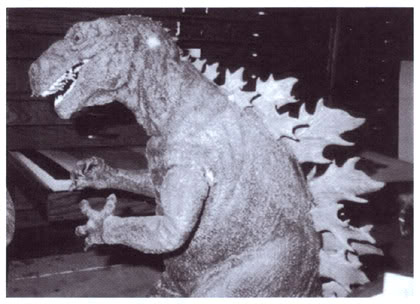
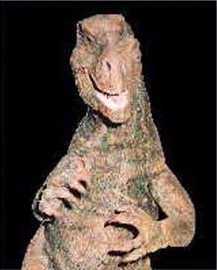
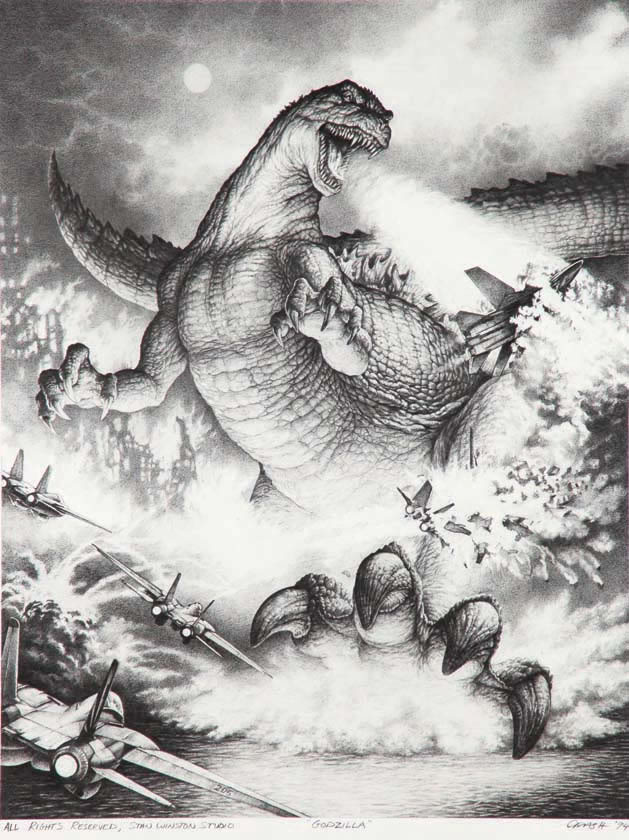
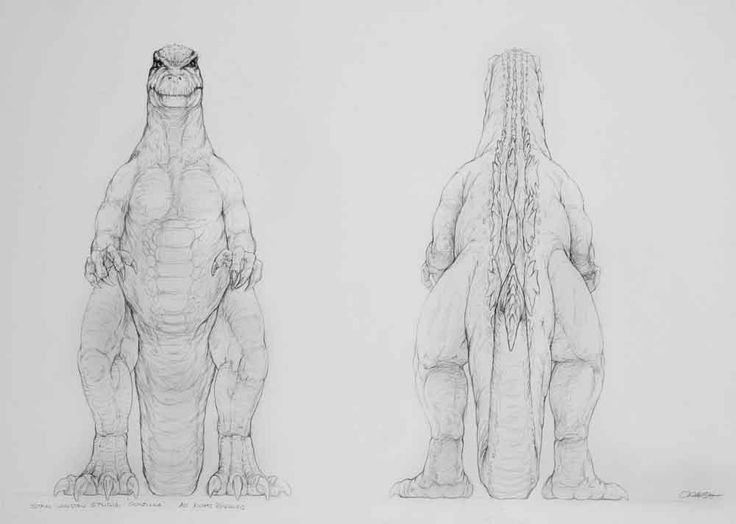
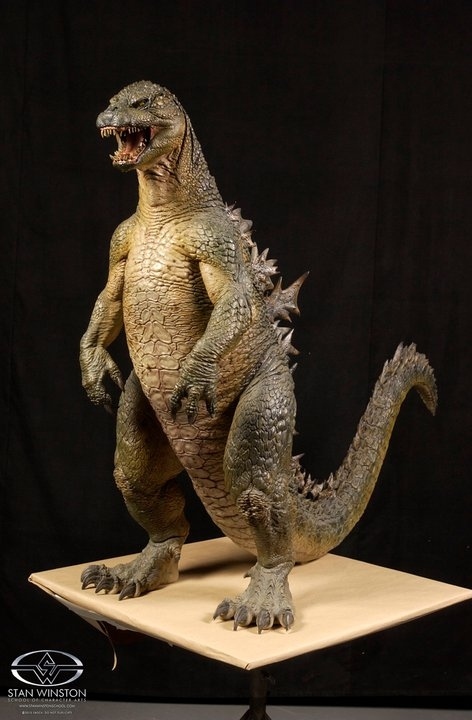
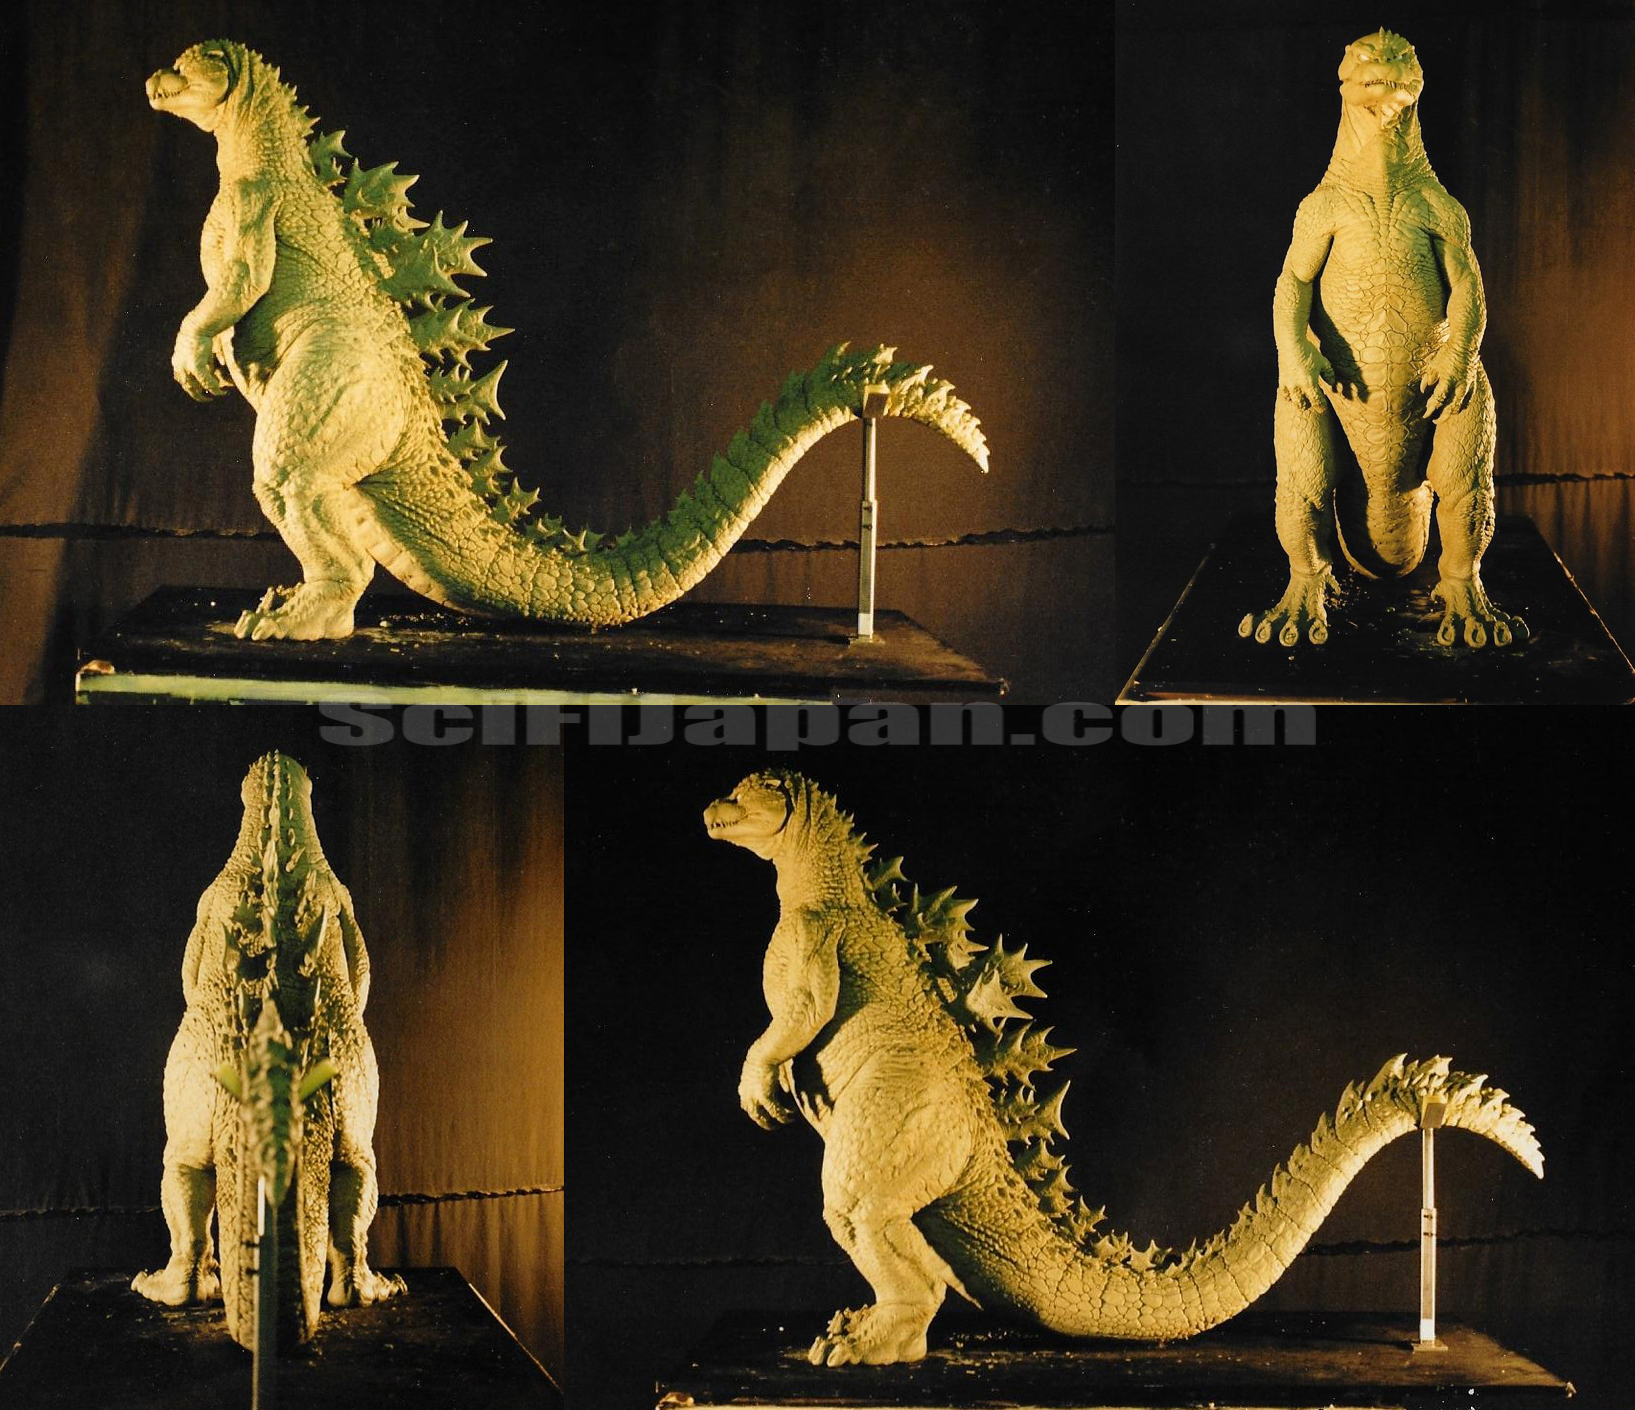
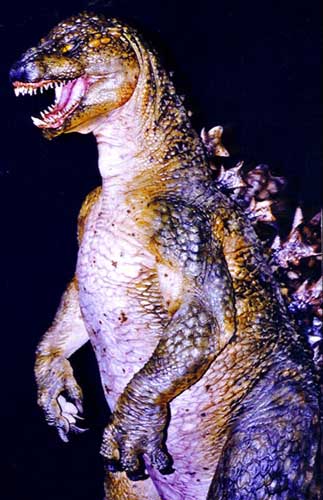
Stan Winston's unused Godzilla design
Stan Winston's unused Godzilla design head
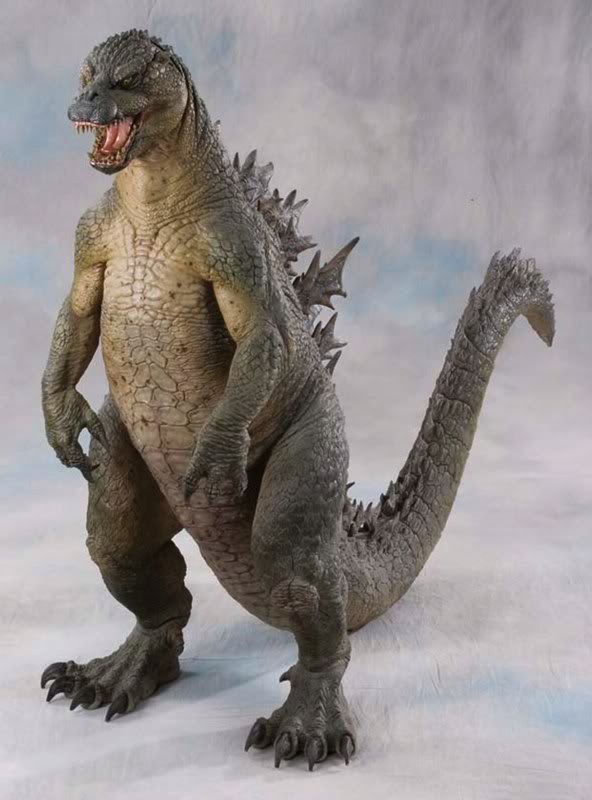
Stan Winston's Godzilla
Stan Winston's Godzilla
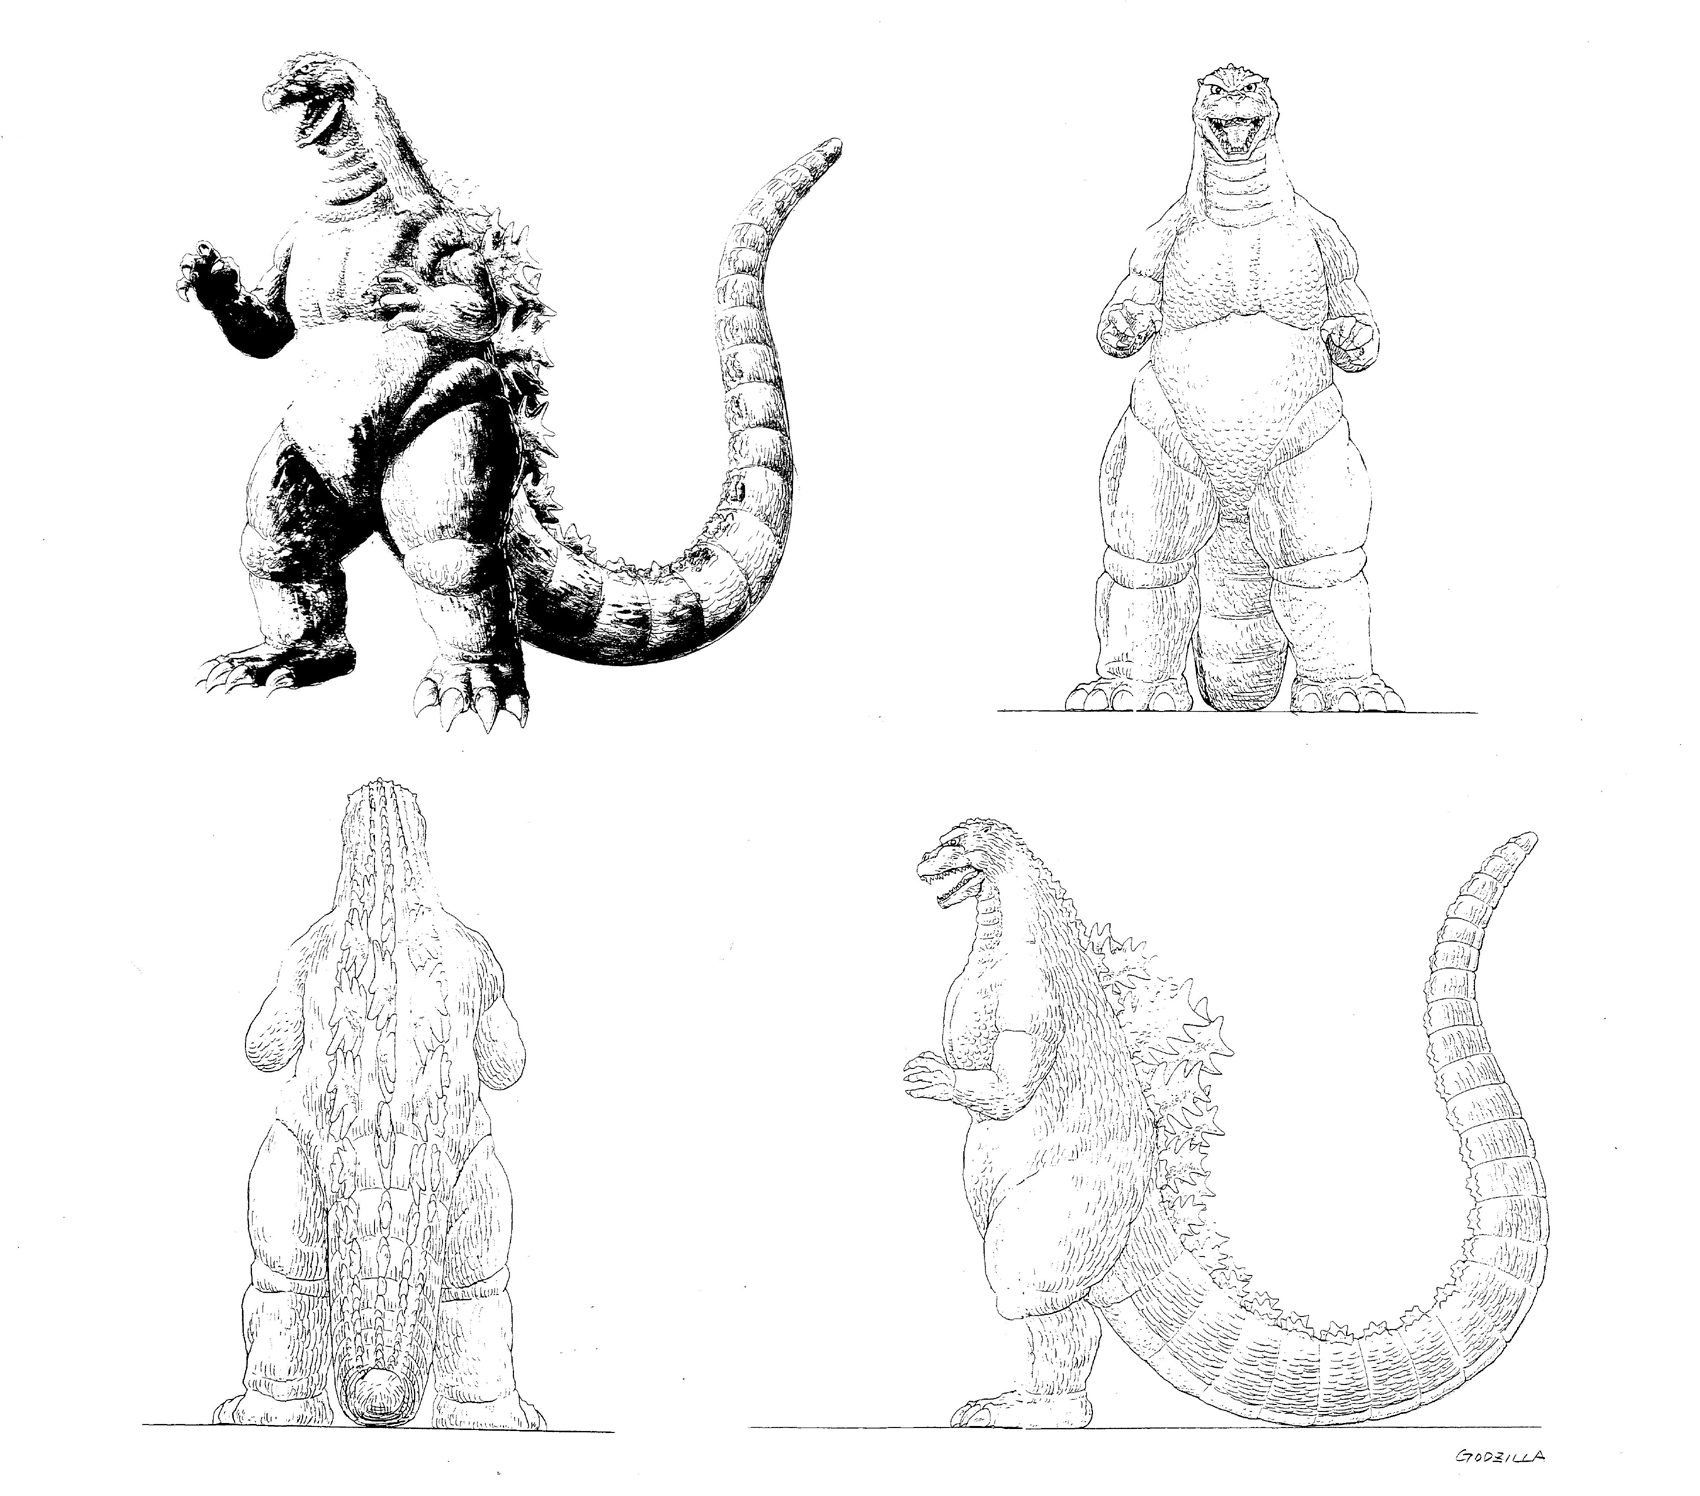
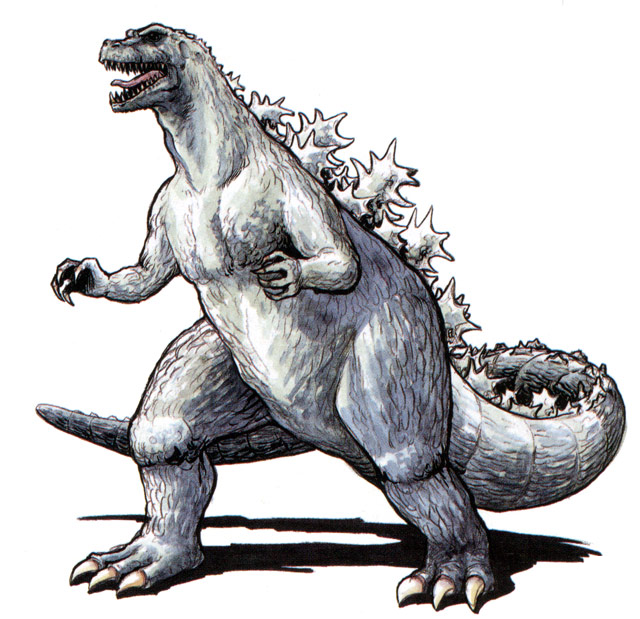
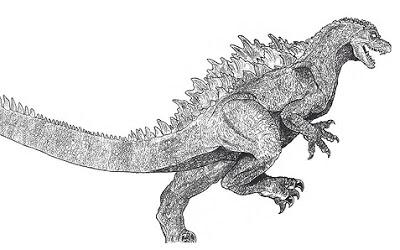
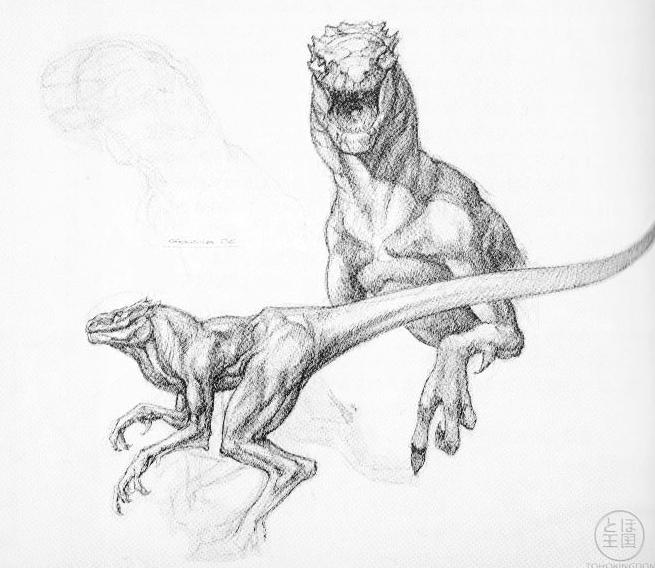
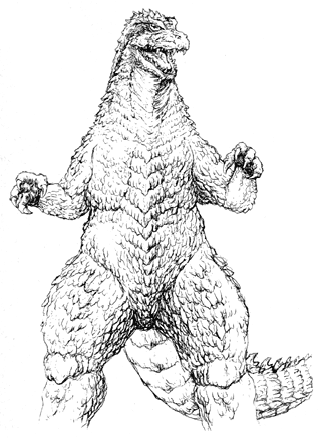
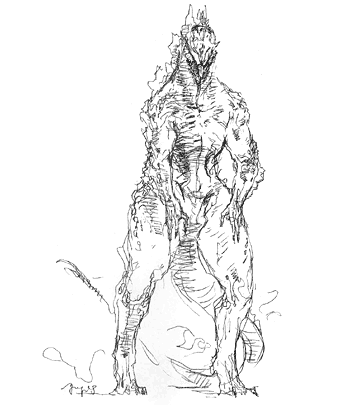
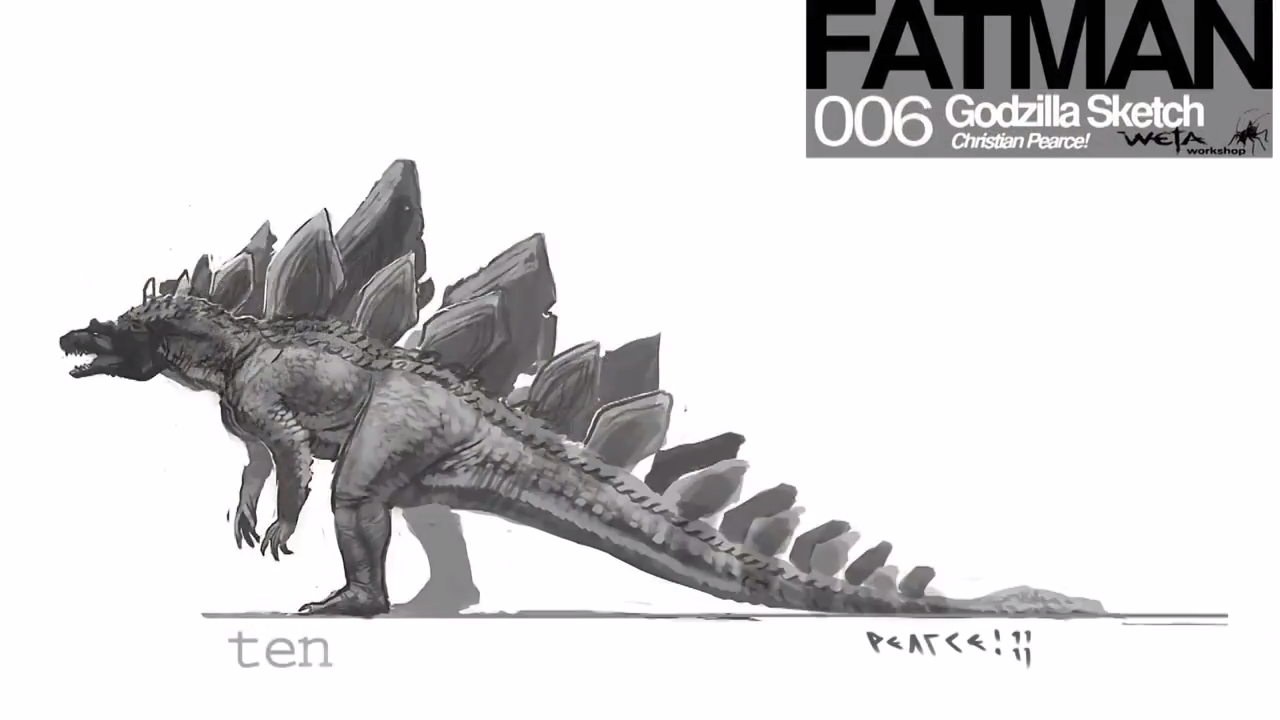
Godzilla design by Jeff Farley
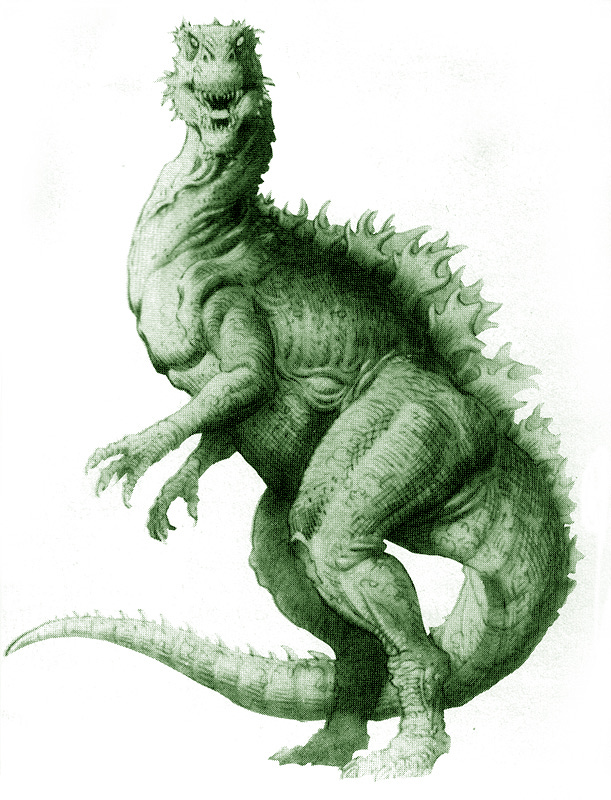
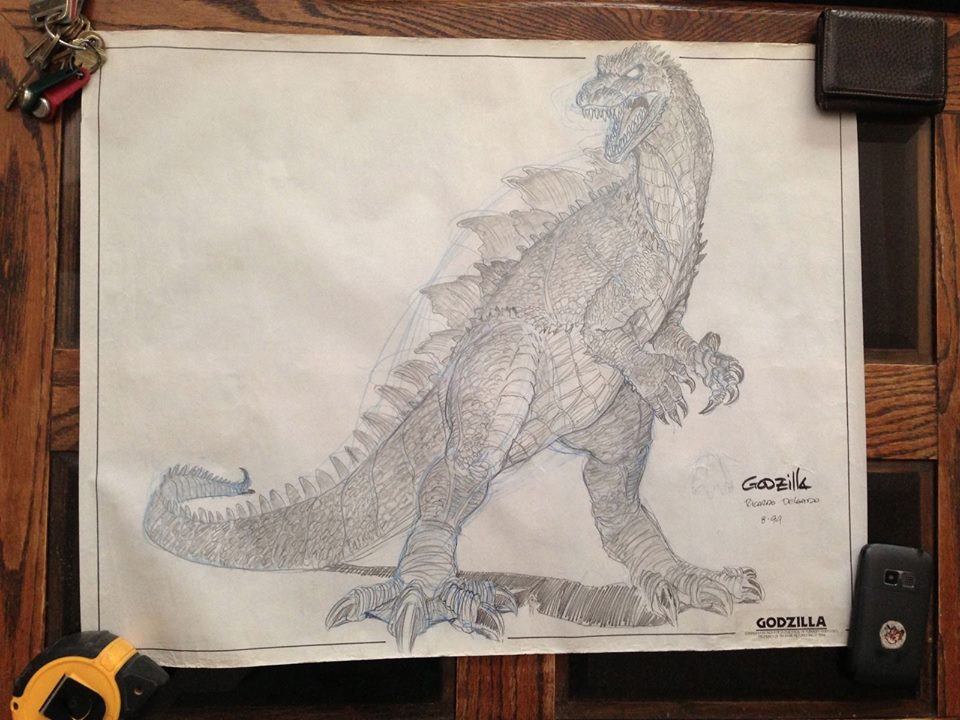
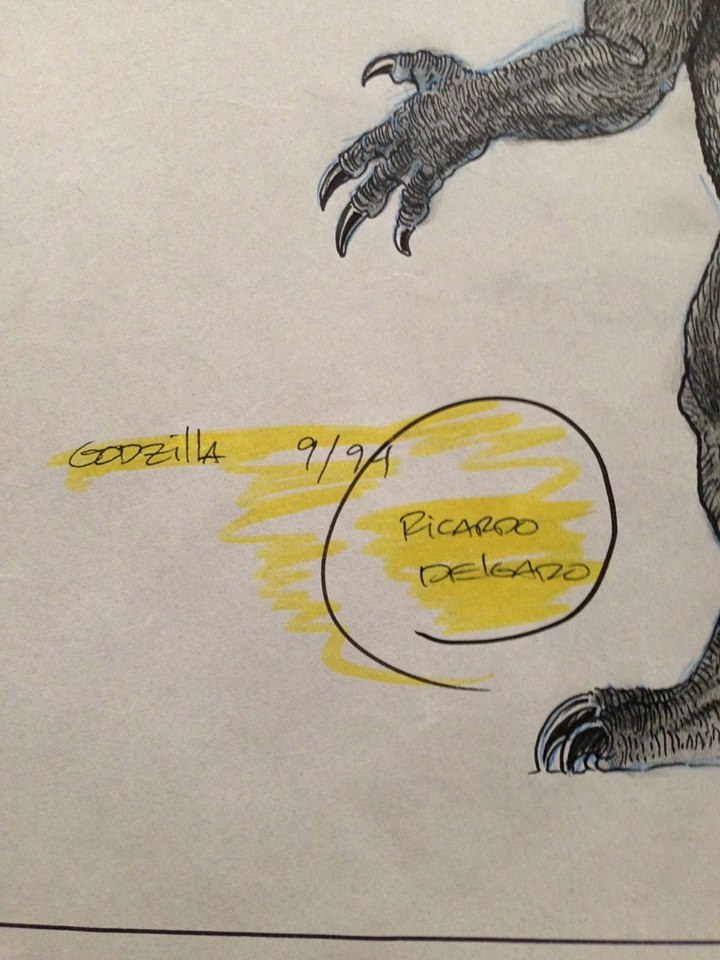
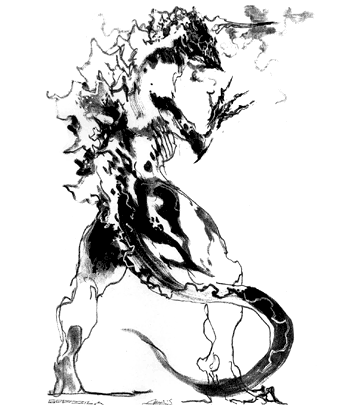
Godzilla design by Ricardo Delgado; sometimes refered to as the "Delgadosaurus"


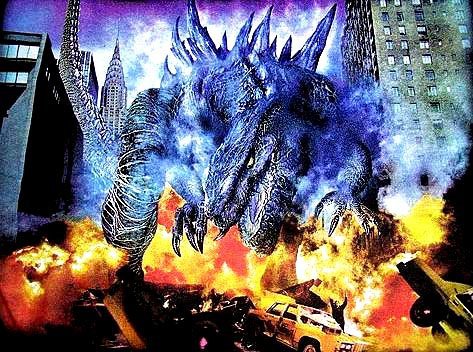
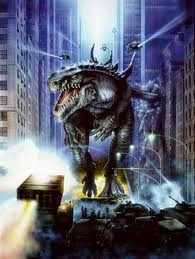
GODZILLA (1998)
Godzilla concept art
Godzilla concept art
Godzilla concept art
Godzilla concept art
Godzilla concept art
Godzilla concept art
Godzilla concept art
Godzilla concept art
Godzilla concept art
Godzilla concept art
Godzilla concept art


Godzilla 2000: Millennium
Godzilla concept art
Godzilla concept art
Godzilla concept art
Godzilla concept art
Godzilla concept art
Godzilla concept art
Godzilla concept art by Yuji Sakai
Godzilla concept art by Yuji Sakai
Godzilla concept art by Yuji Sakai
Godzilla concept art
Godzilla concept art
Godzilla concept art
Godzilla concept art
Godzilla concept art
Godzilla concept art
Godzilla concept art
Godzilla concept art
Godzilla concept art
Godzilla concept art
Godzilla concept art
Godzilla concept art
Godzilla concept art
Godzilla concept art
Godzilla concept art
Godzilla concept art
Godzilla concept art
Godzilla concept art
Godzilla concept art
Godzilla concept art
Godzilla concept art
Godzilla concept art
Godzilla concept art
Godzilla concept art
Godzilla concept art
Godzilla concept art
Godzilla concept art
Godzilla head concept art
Godzilla head concept art
Godzilla head concept art
Godzilla head concept art
Godzilla head concept art
Godzilla head concept art
Godzilla head concept art
Godzilla head concept art
Godzilla head concept art
Godzilla head concept art
Godzilla head concept art
Godzilla head concept art


Godzilla: Tokyo S.O.S.
Godzilla concept art
Godzilla head concept art
Godzilla: Final Wars
Godzilla concept art
Godzilla concept art
Godzilla concept art
Godzilla concept art

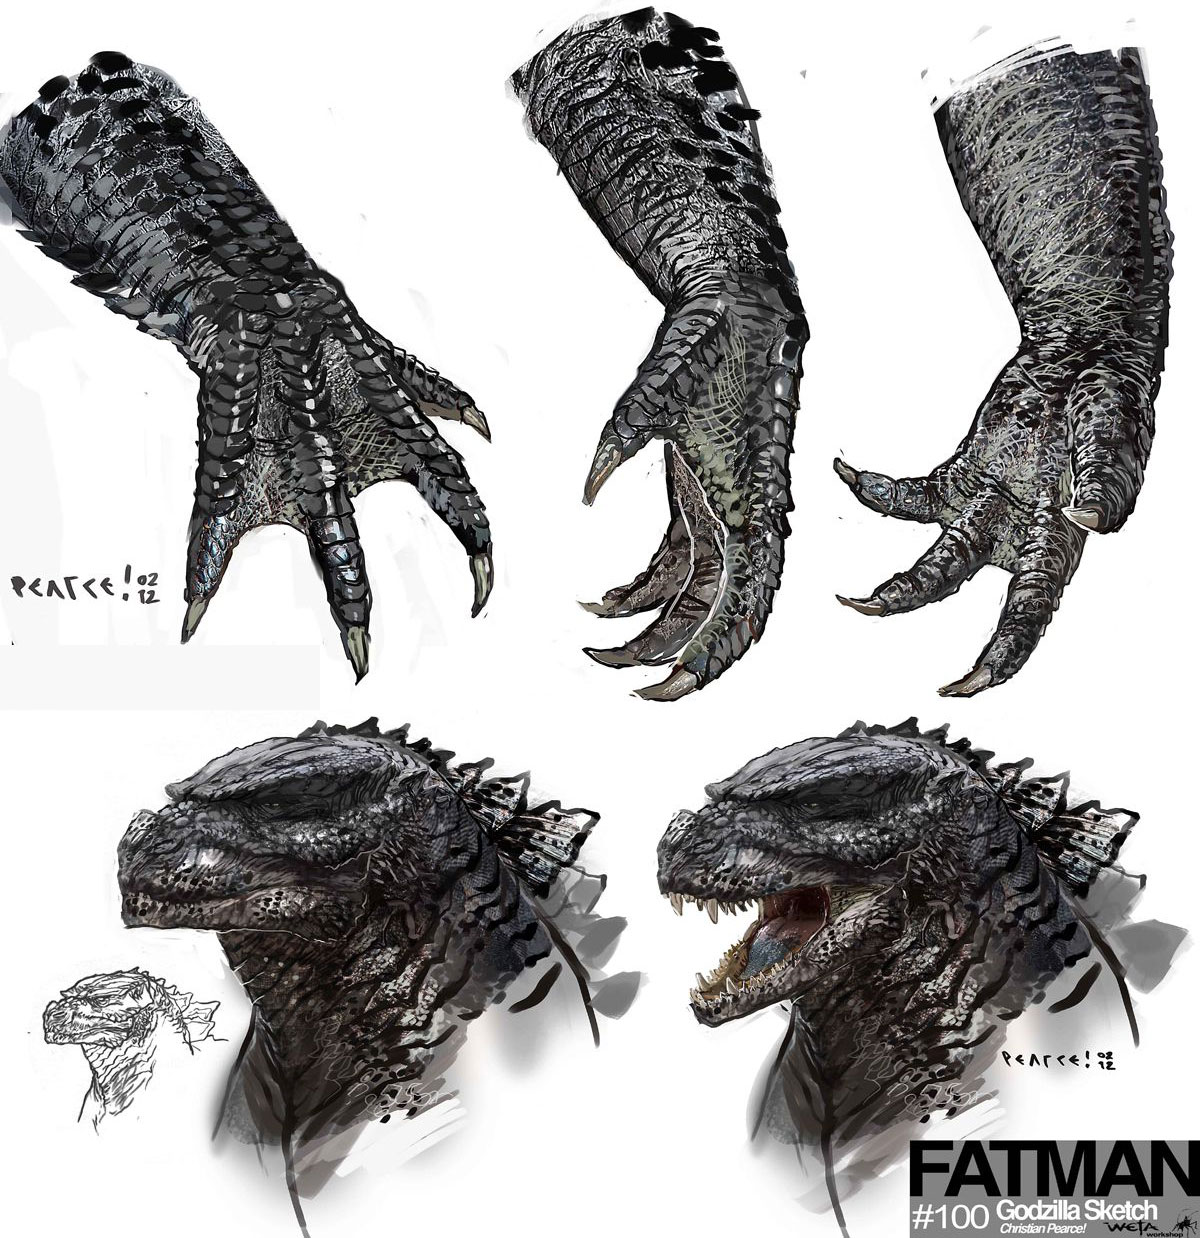
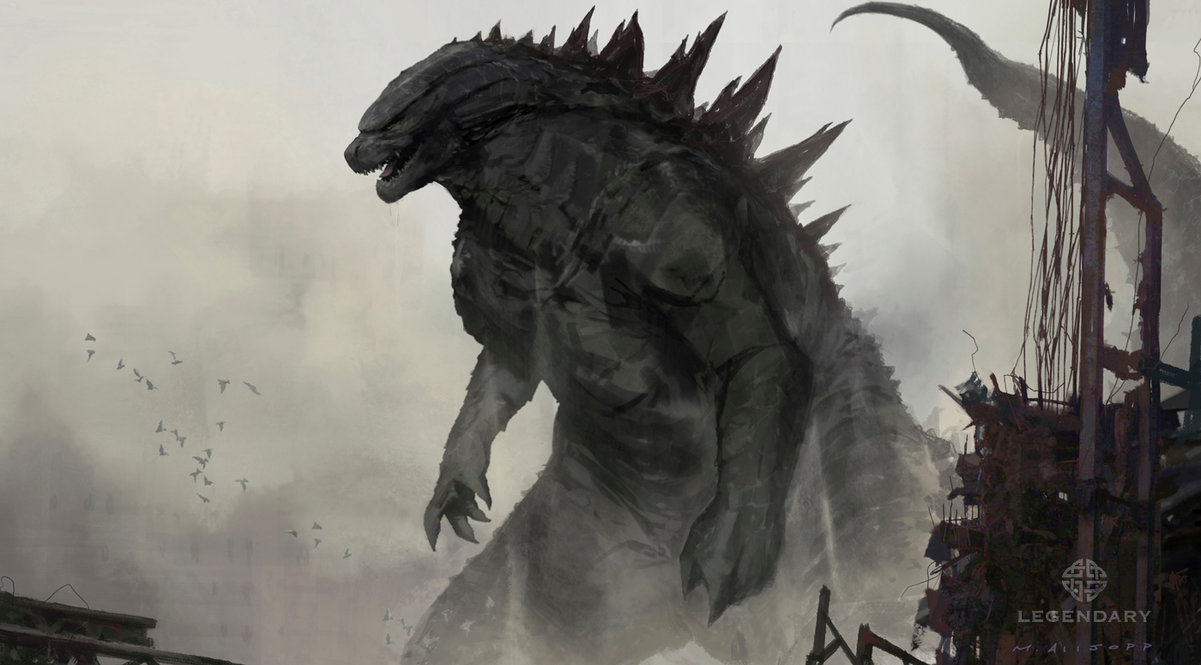
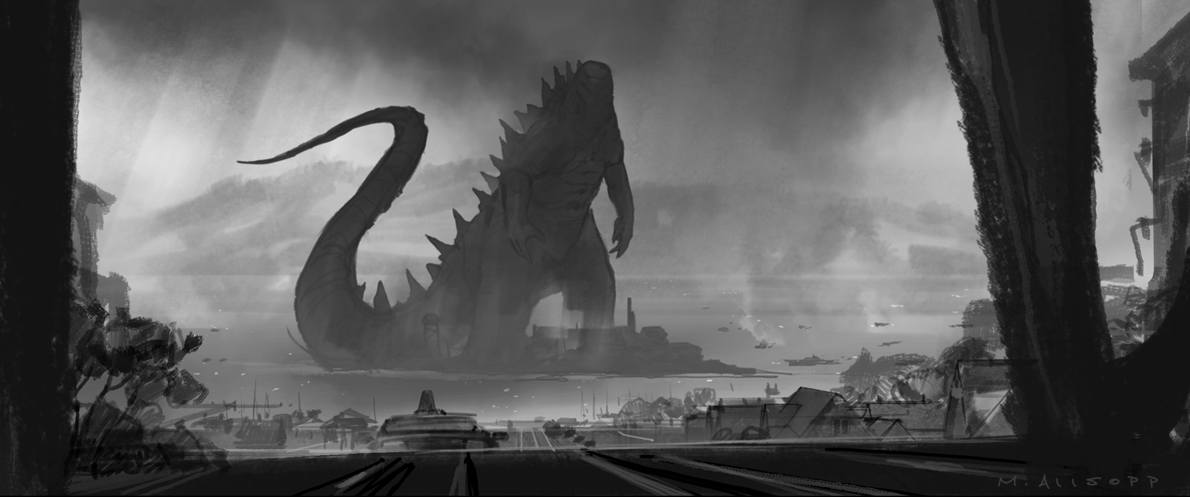
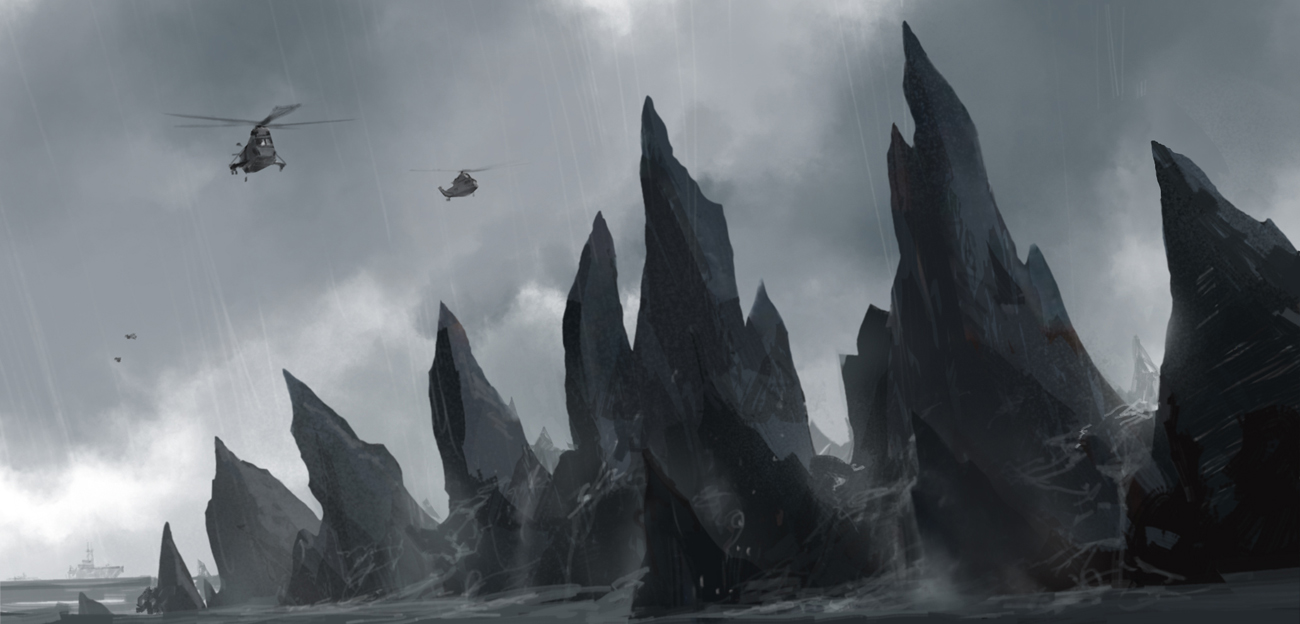
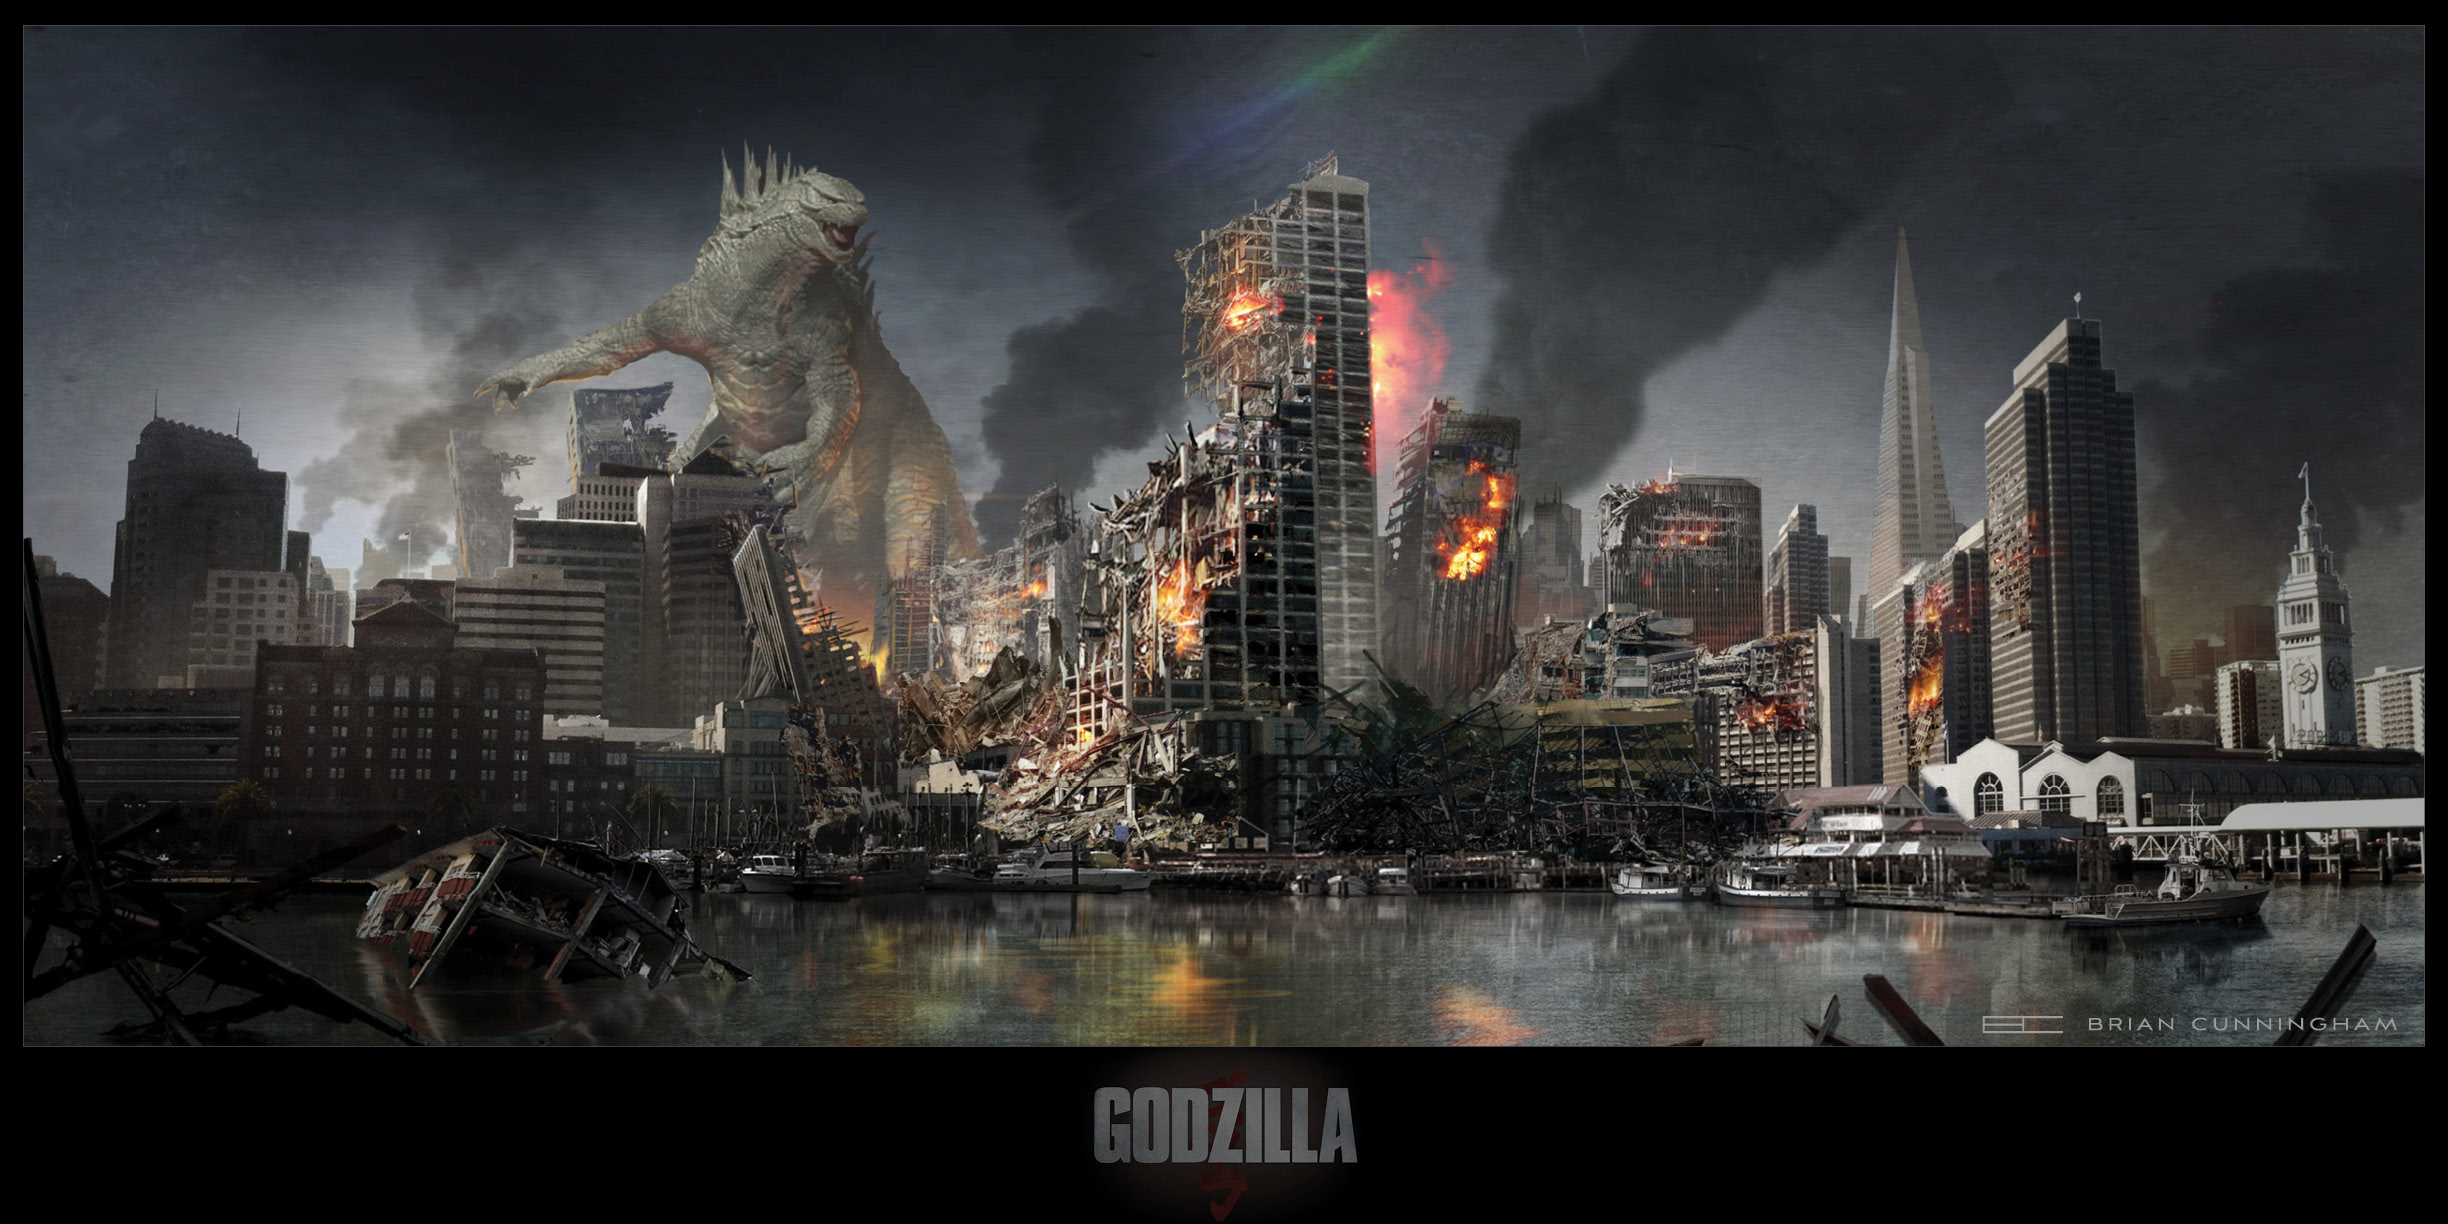
Godzilla (2014)
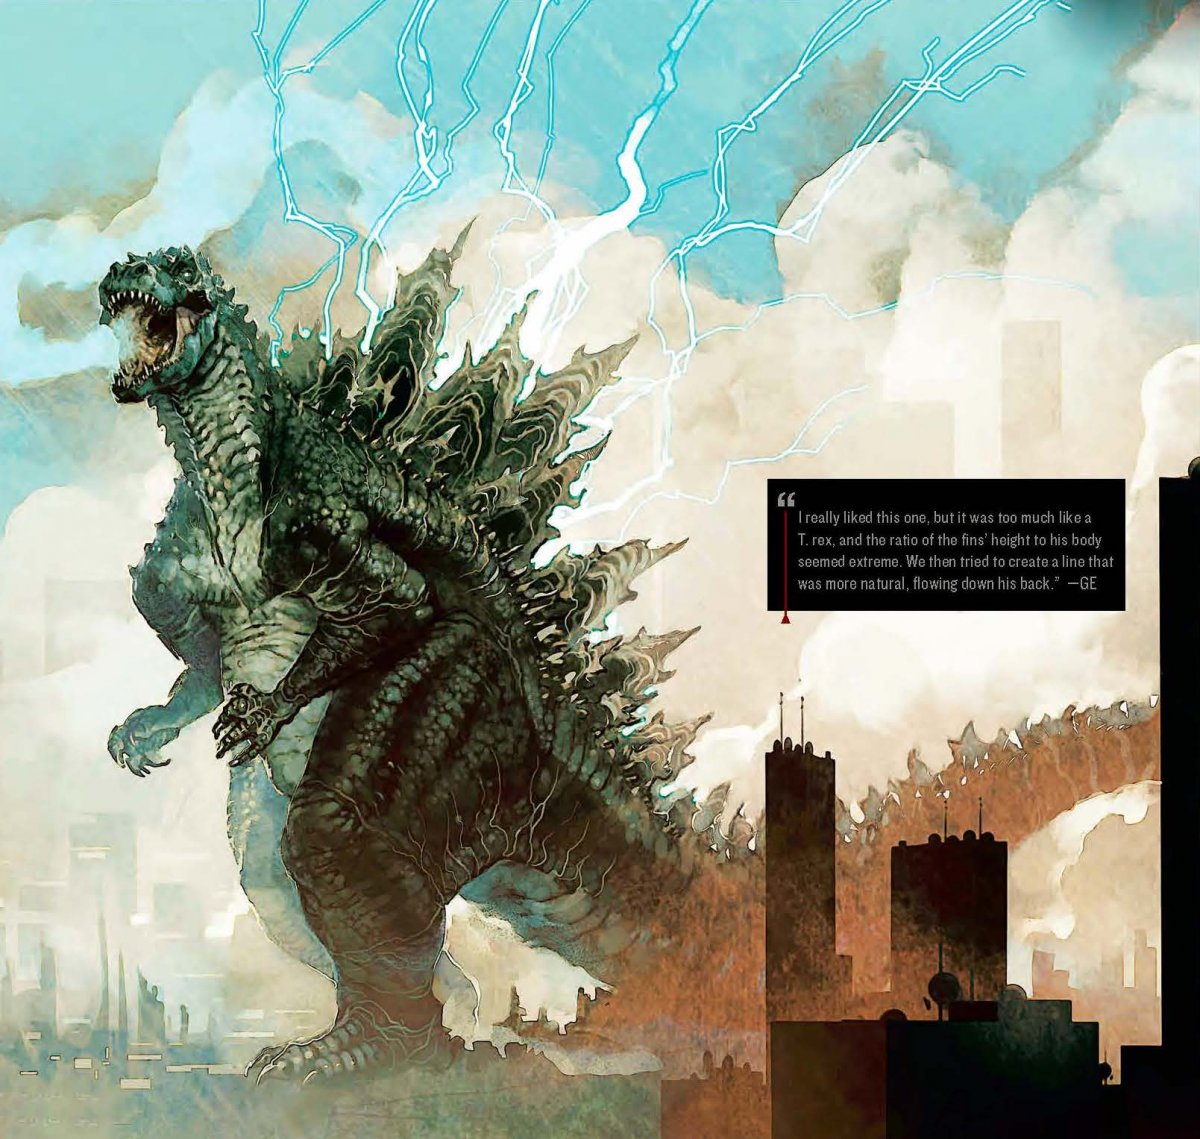
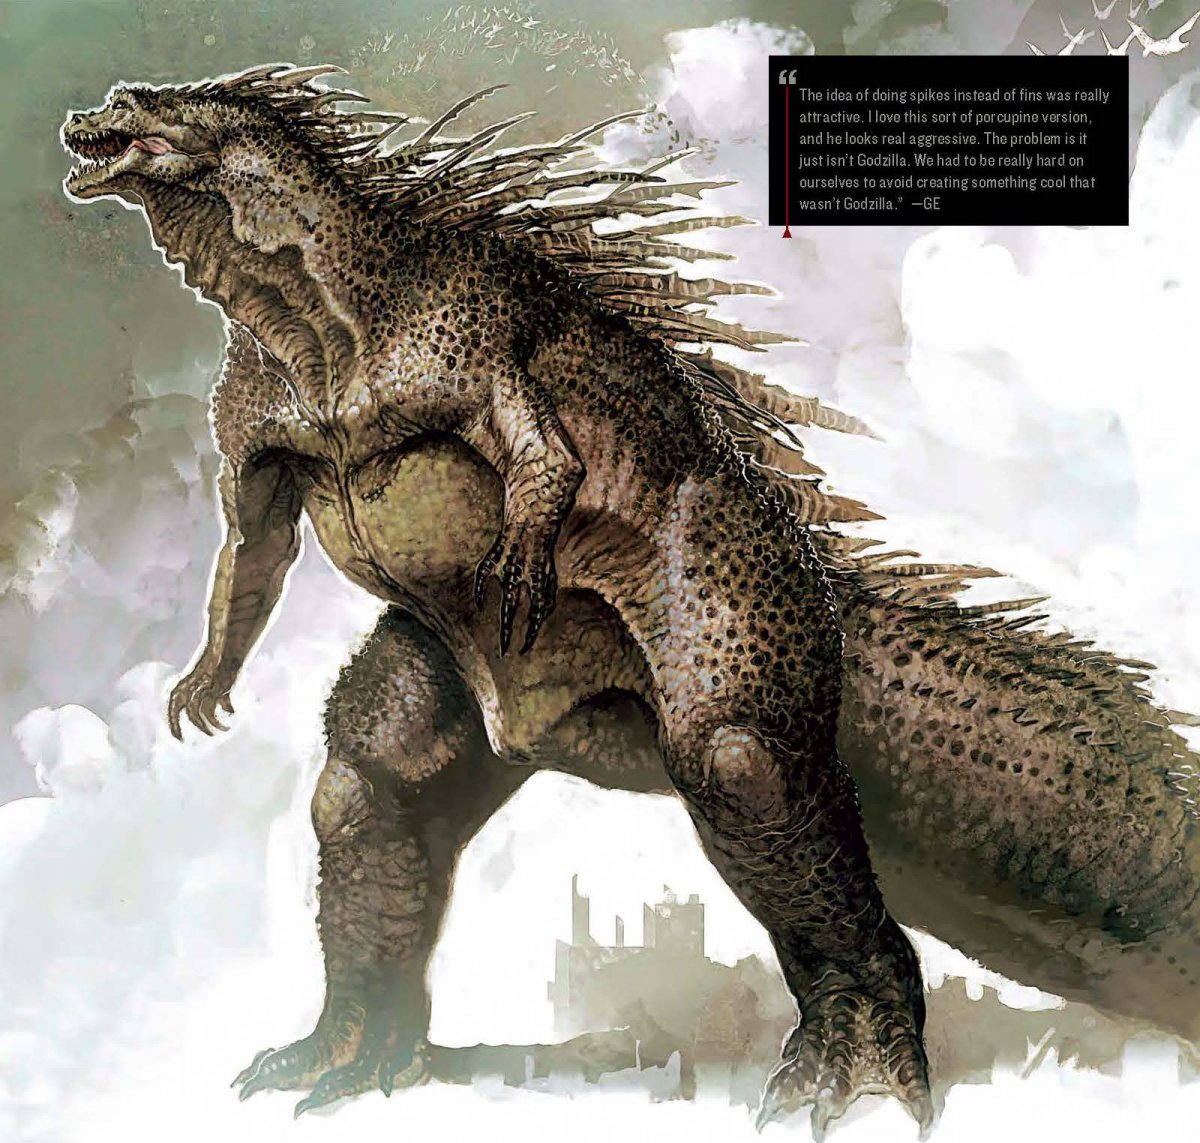
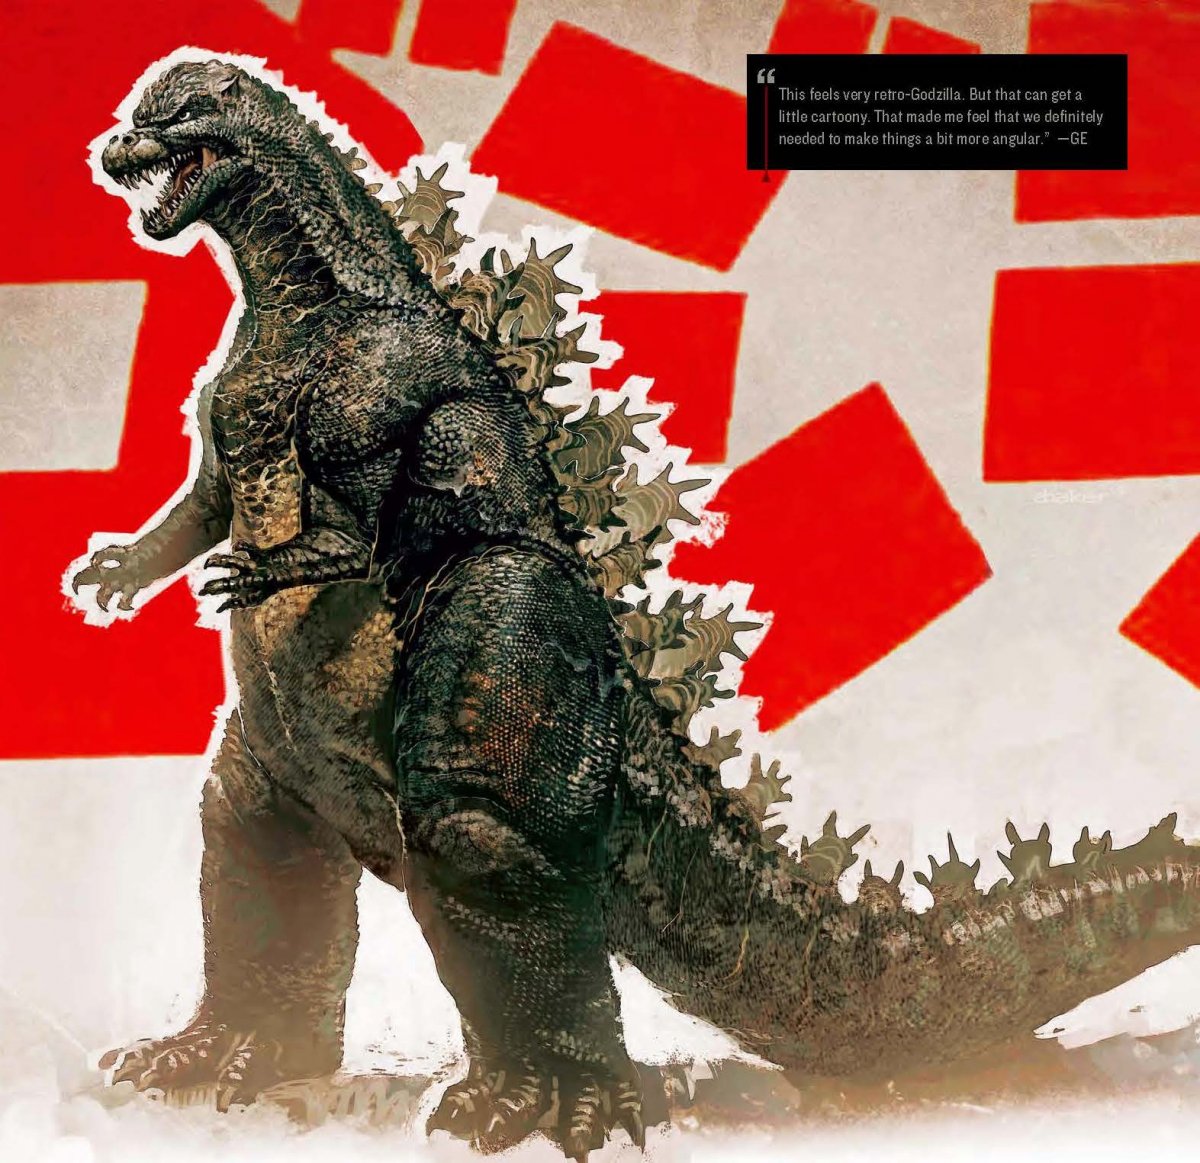
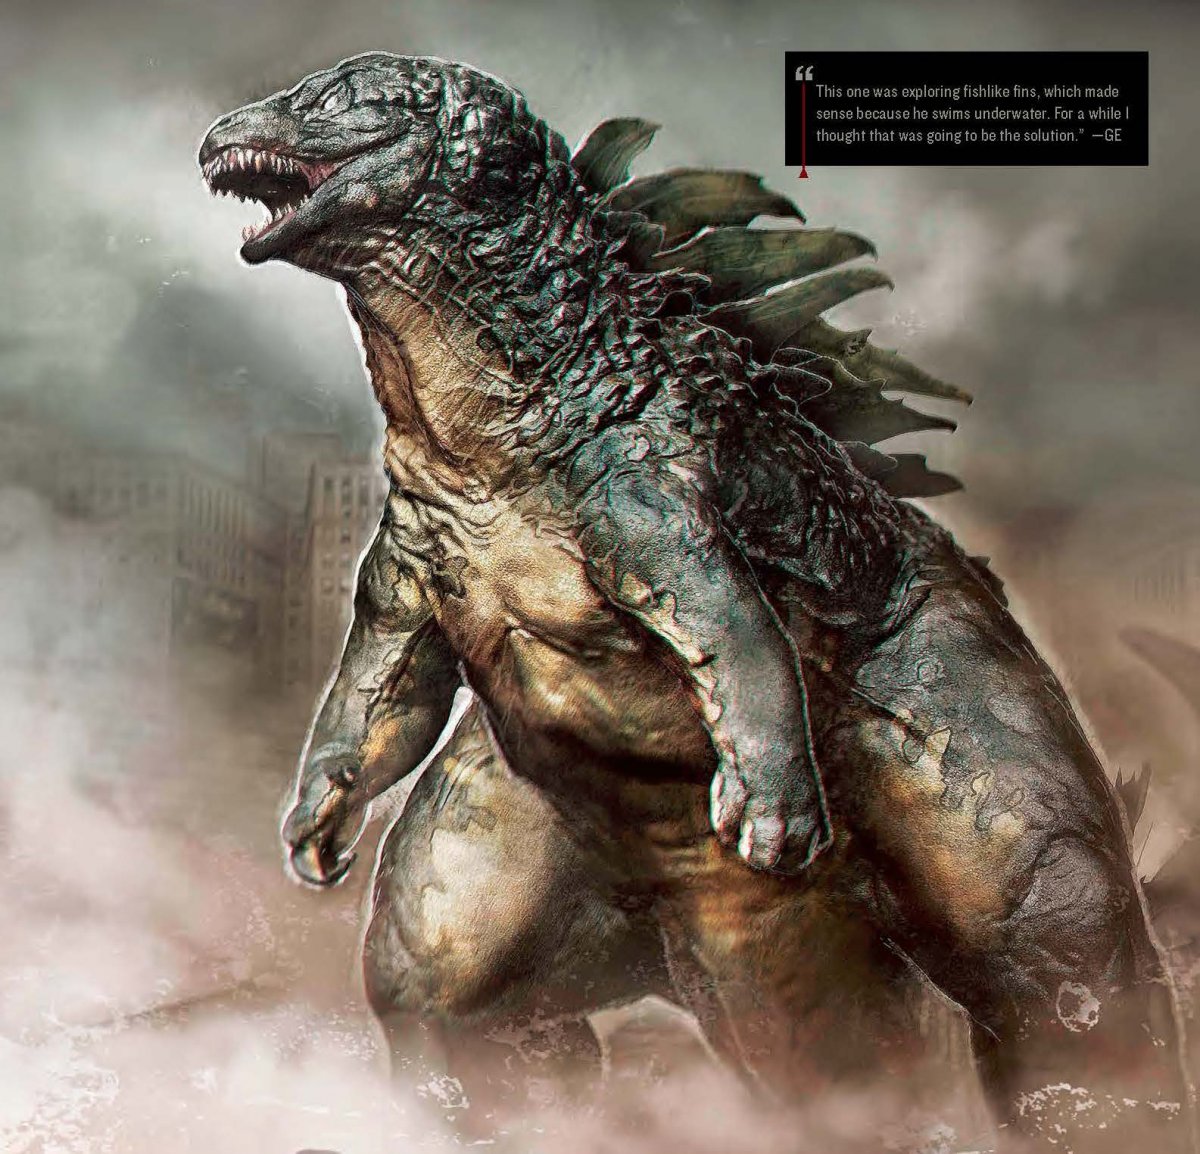
Godzilla concept art
Godzilla concept art
Godzilla concept art
Godzilla concept art
Godzilla concept art
Godzilla concept art
Godzilla concept art
Godzilla concept art
Godzilla concept art
Godzilla concept art
Godzilla concept art
Godzilla concept art
Godzilla concept art
Godzilla concept art
Godzilla concept art
Godzilla concept art
Godzilla concept art
Godzilla concept art
Godzilla concept art
Godzilla concept art
Godzilla concept art
Godzilla concept art
Godzilla concept art
Godzilla concept art
Godzilla concept art
Godzilla concept art
Godzilla concept art
Godzilla concept art
Godzilla concept art
Godzilla concept art
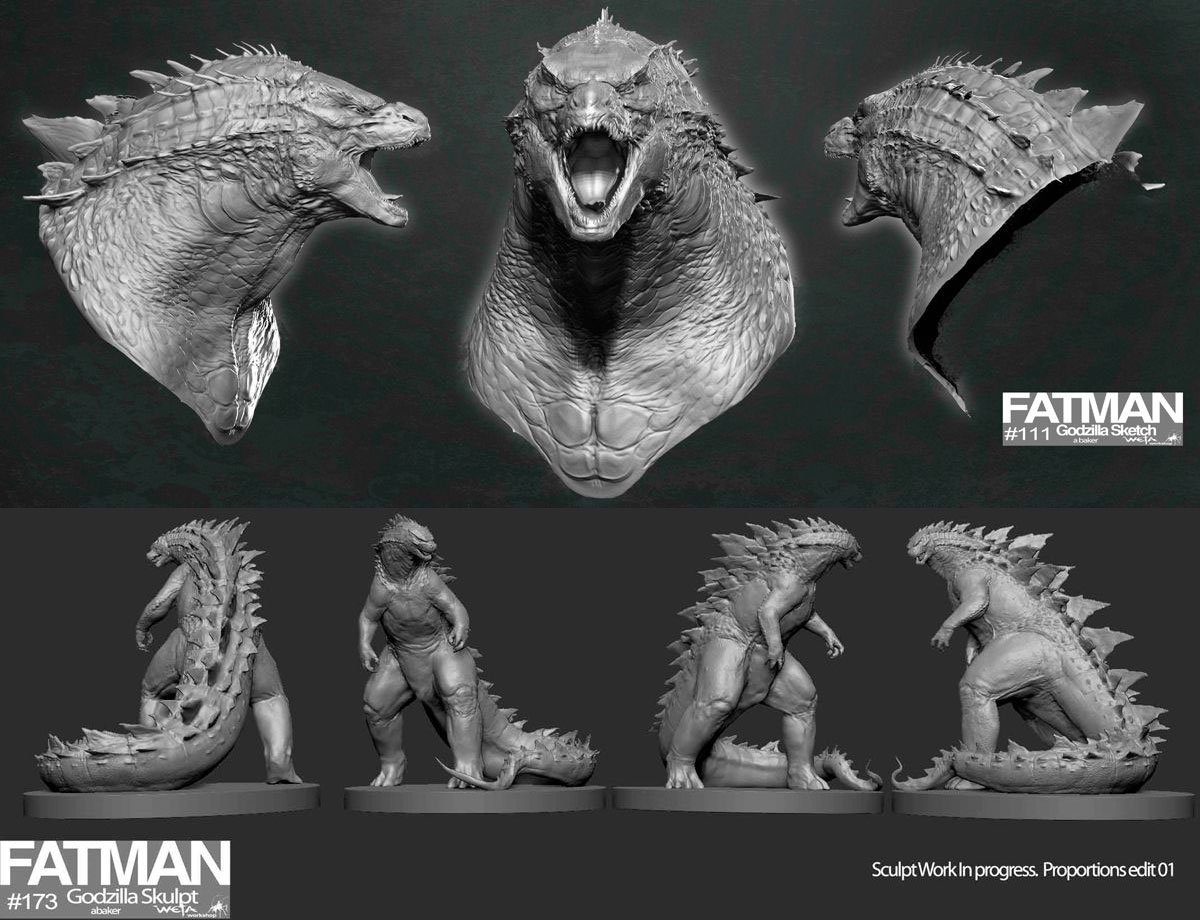
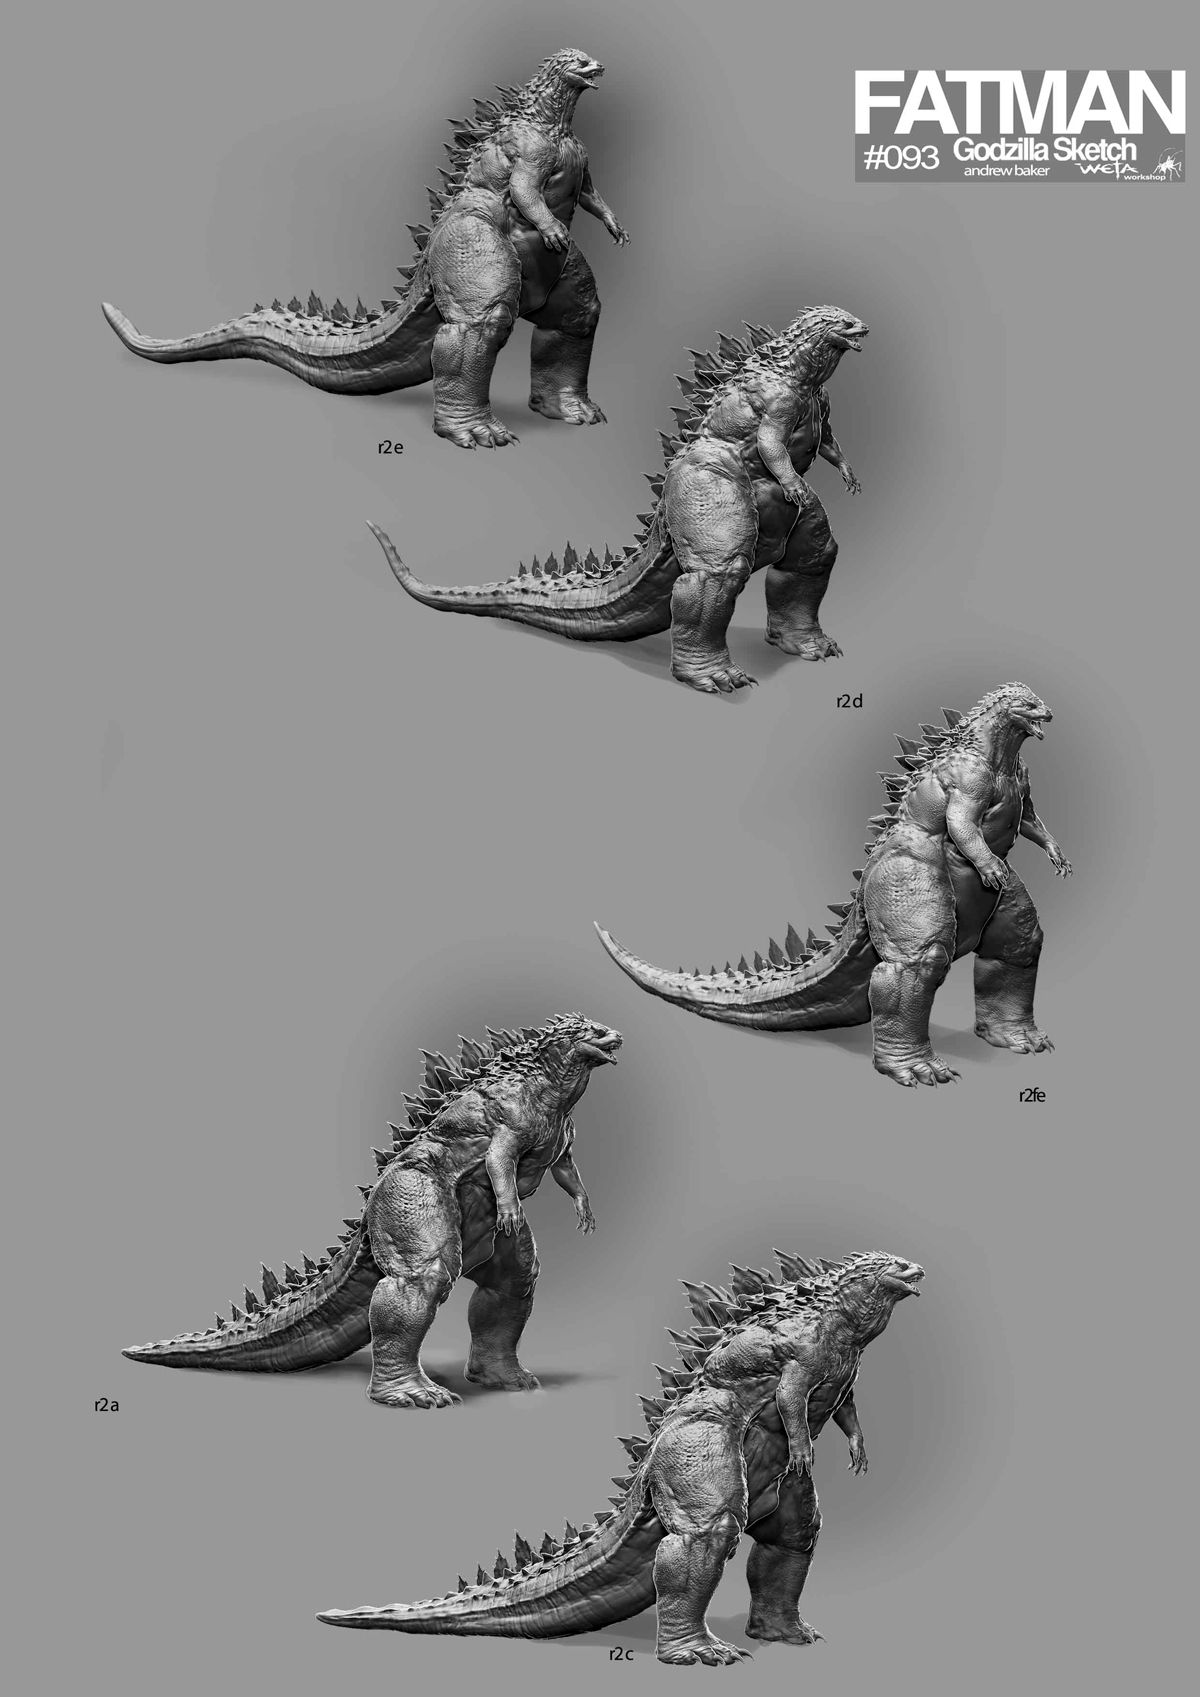
Godzilla concept models
Godzilla concept models
Godzilla concept art
Godzilla concept art
Godzilla concept art
Godzilla concept art
Godzilla concept art
Godzilla concept art
Godzilla concept art
Godzilla concept art
Godzilla concept art


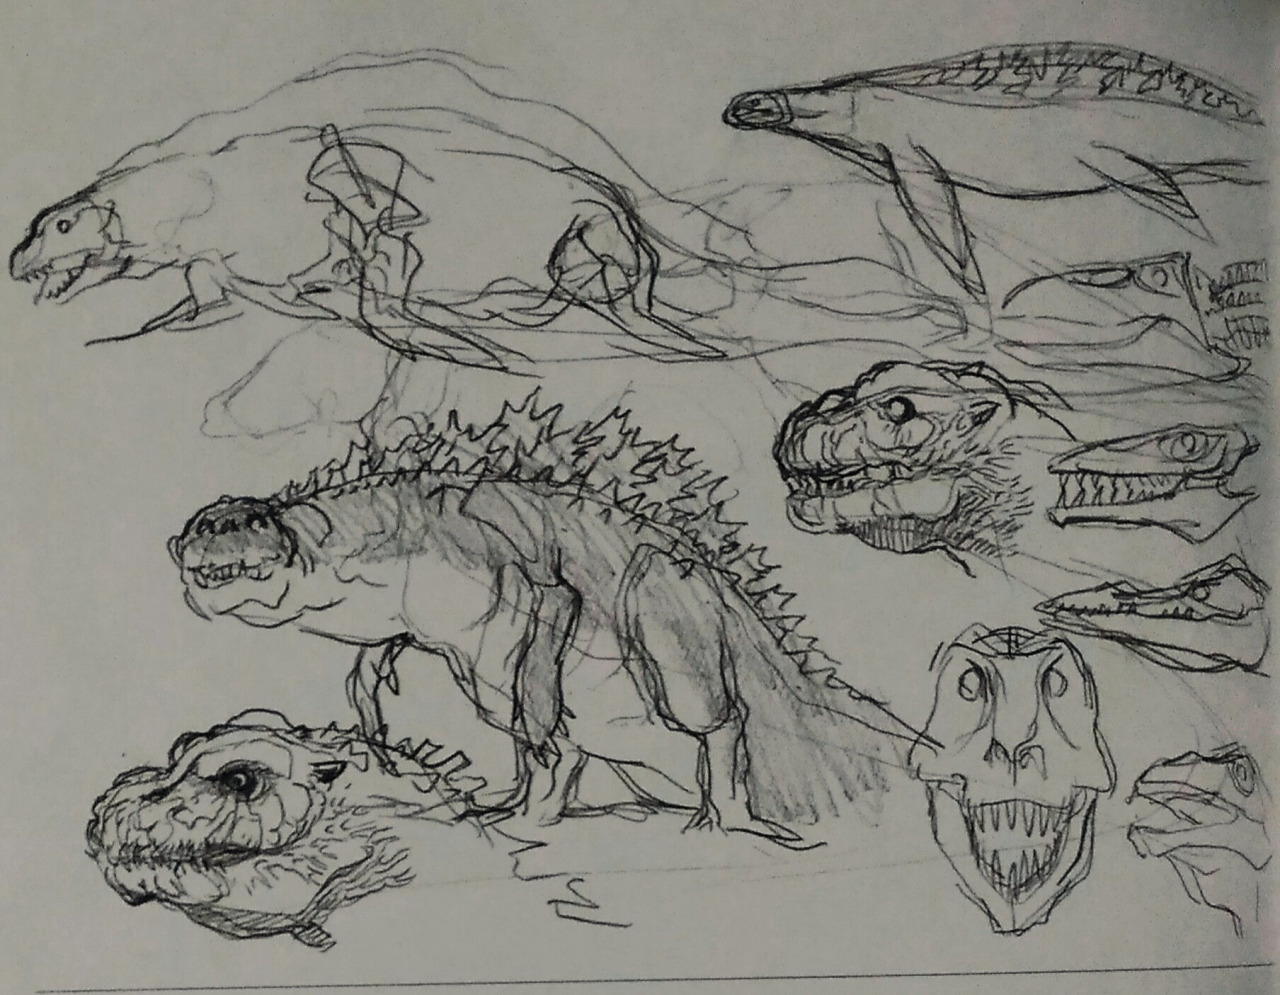
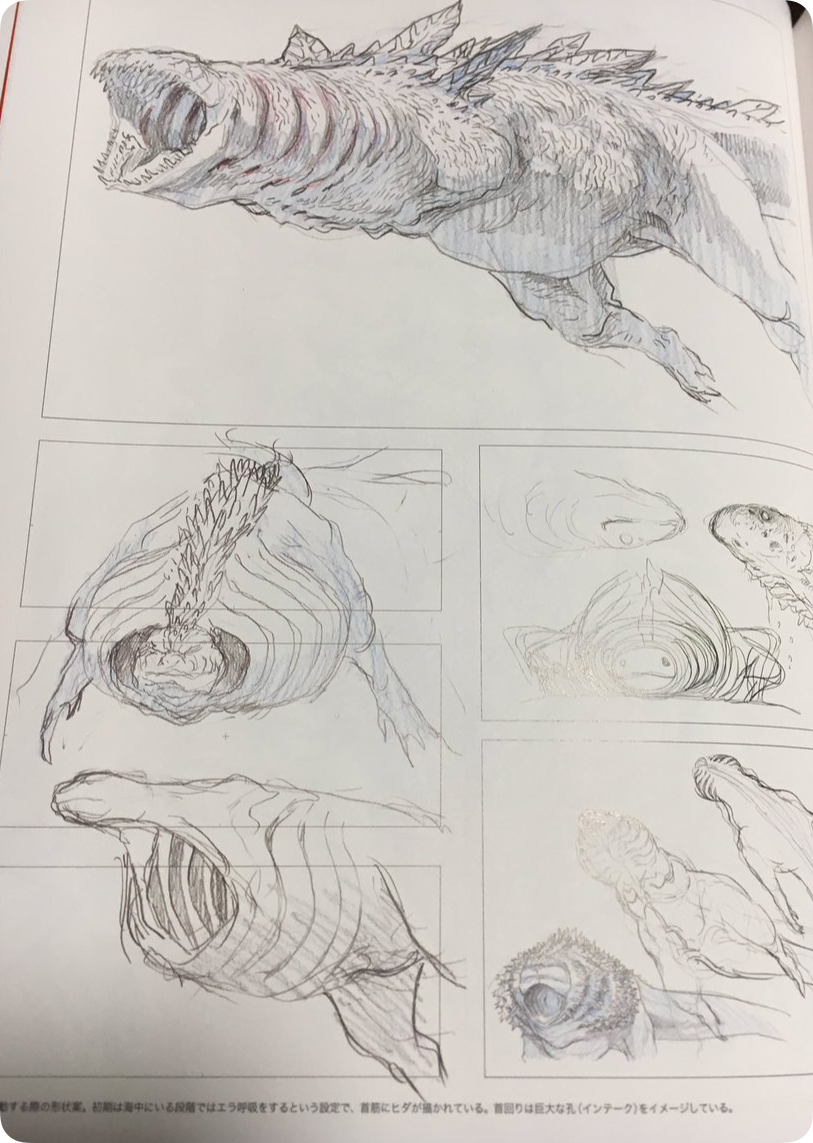
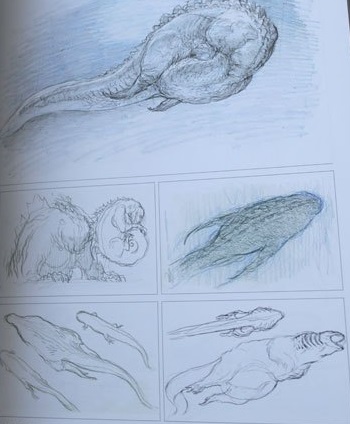
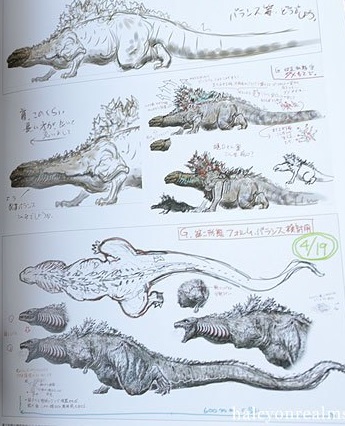
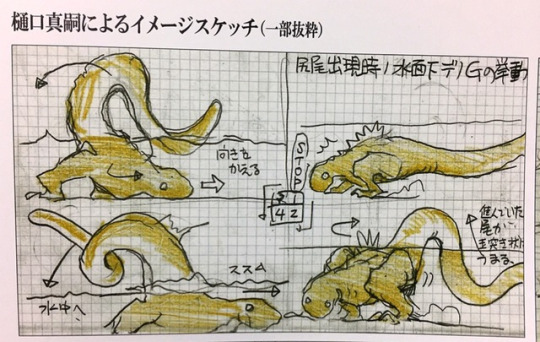
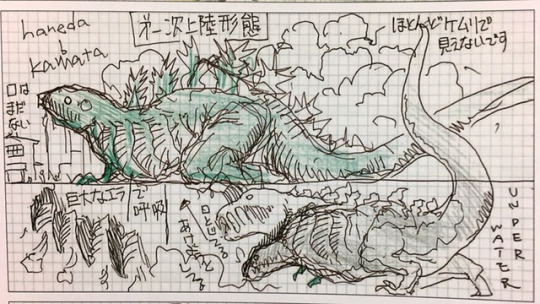
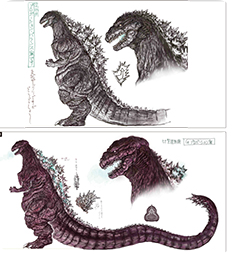
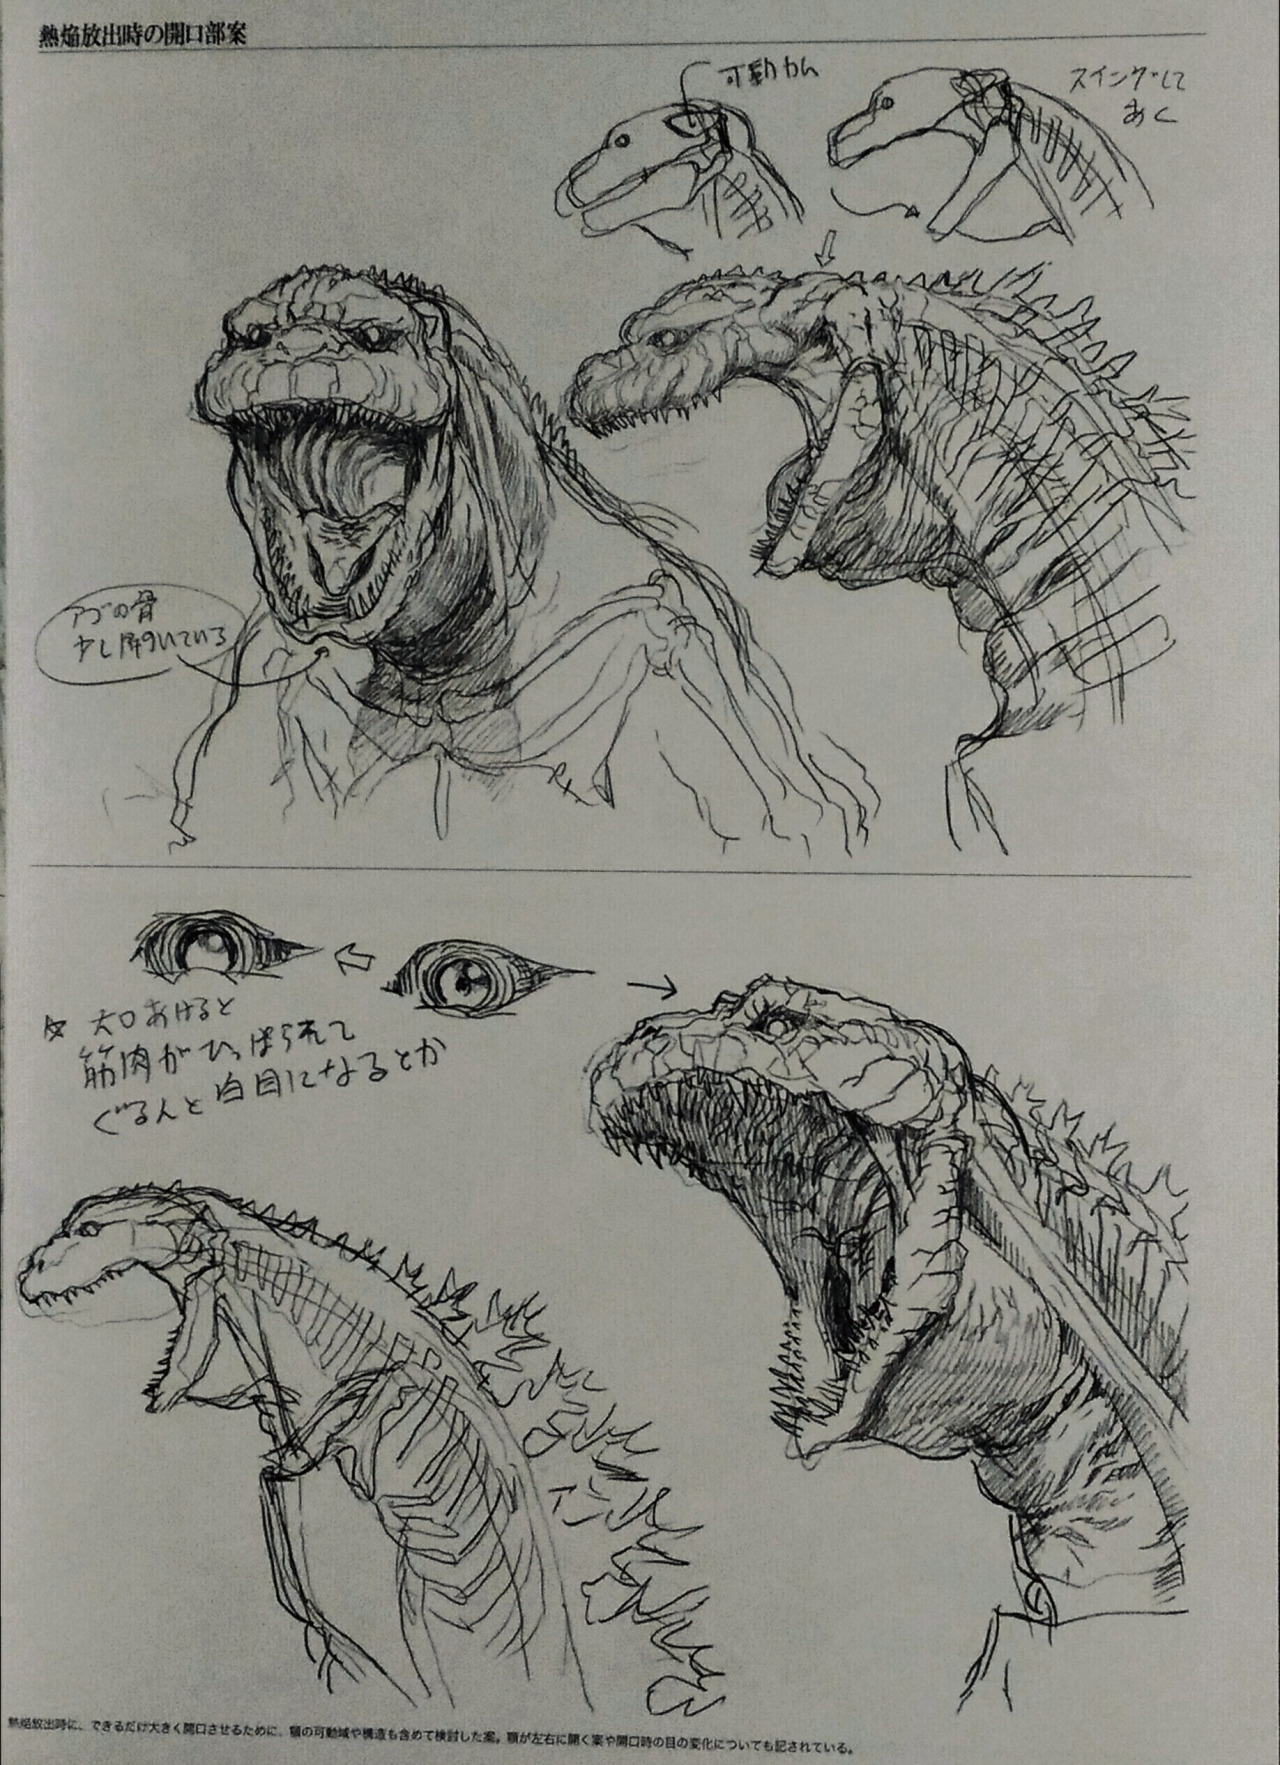
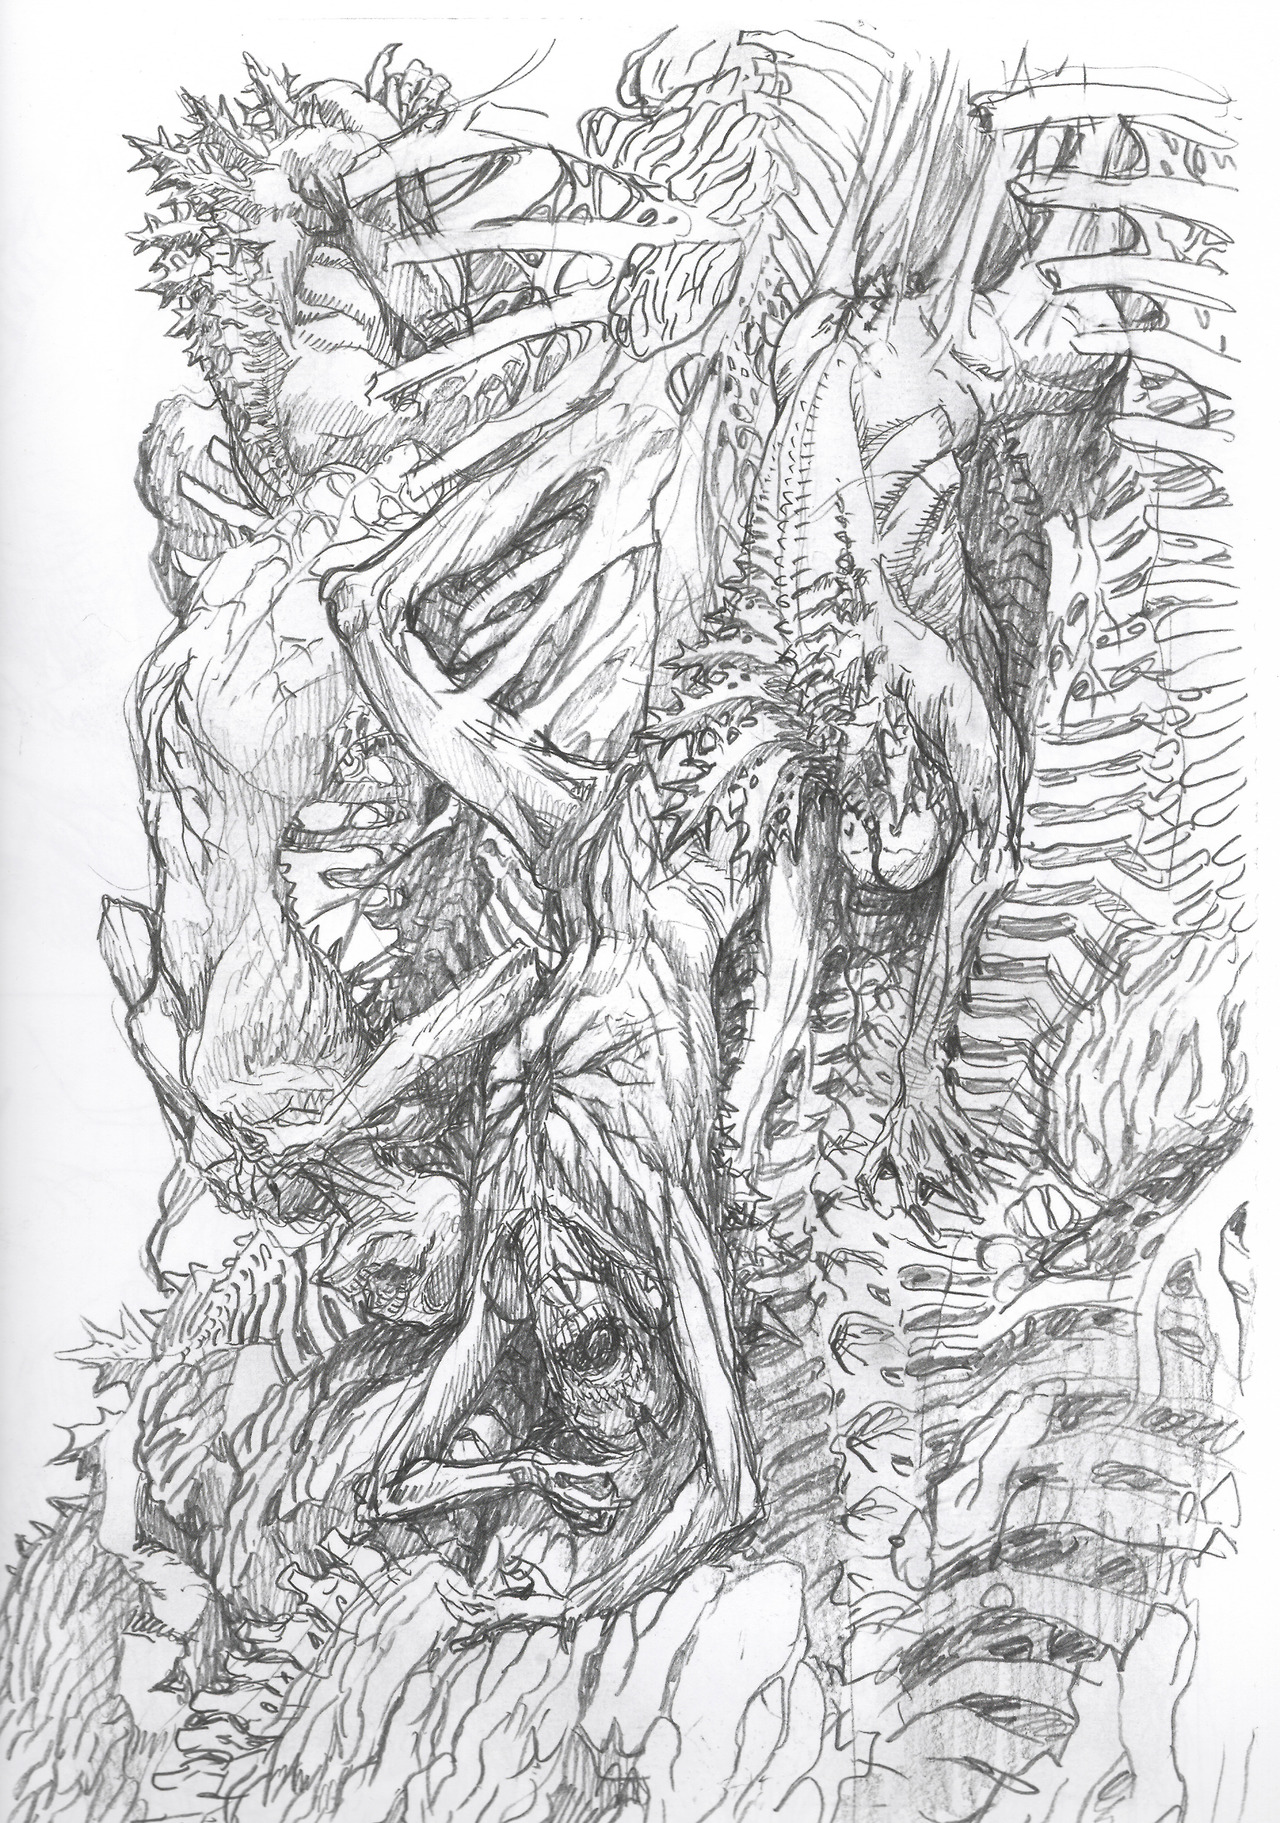
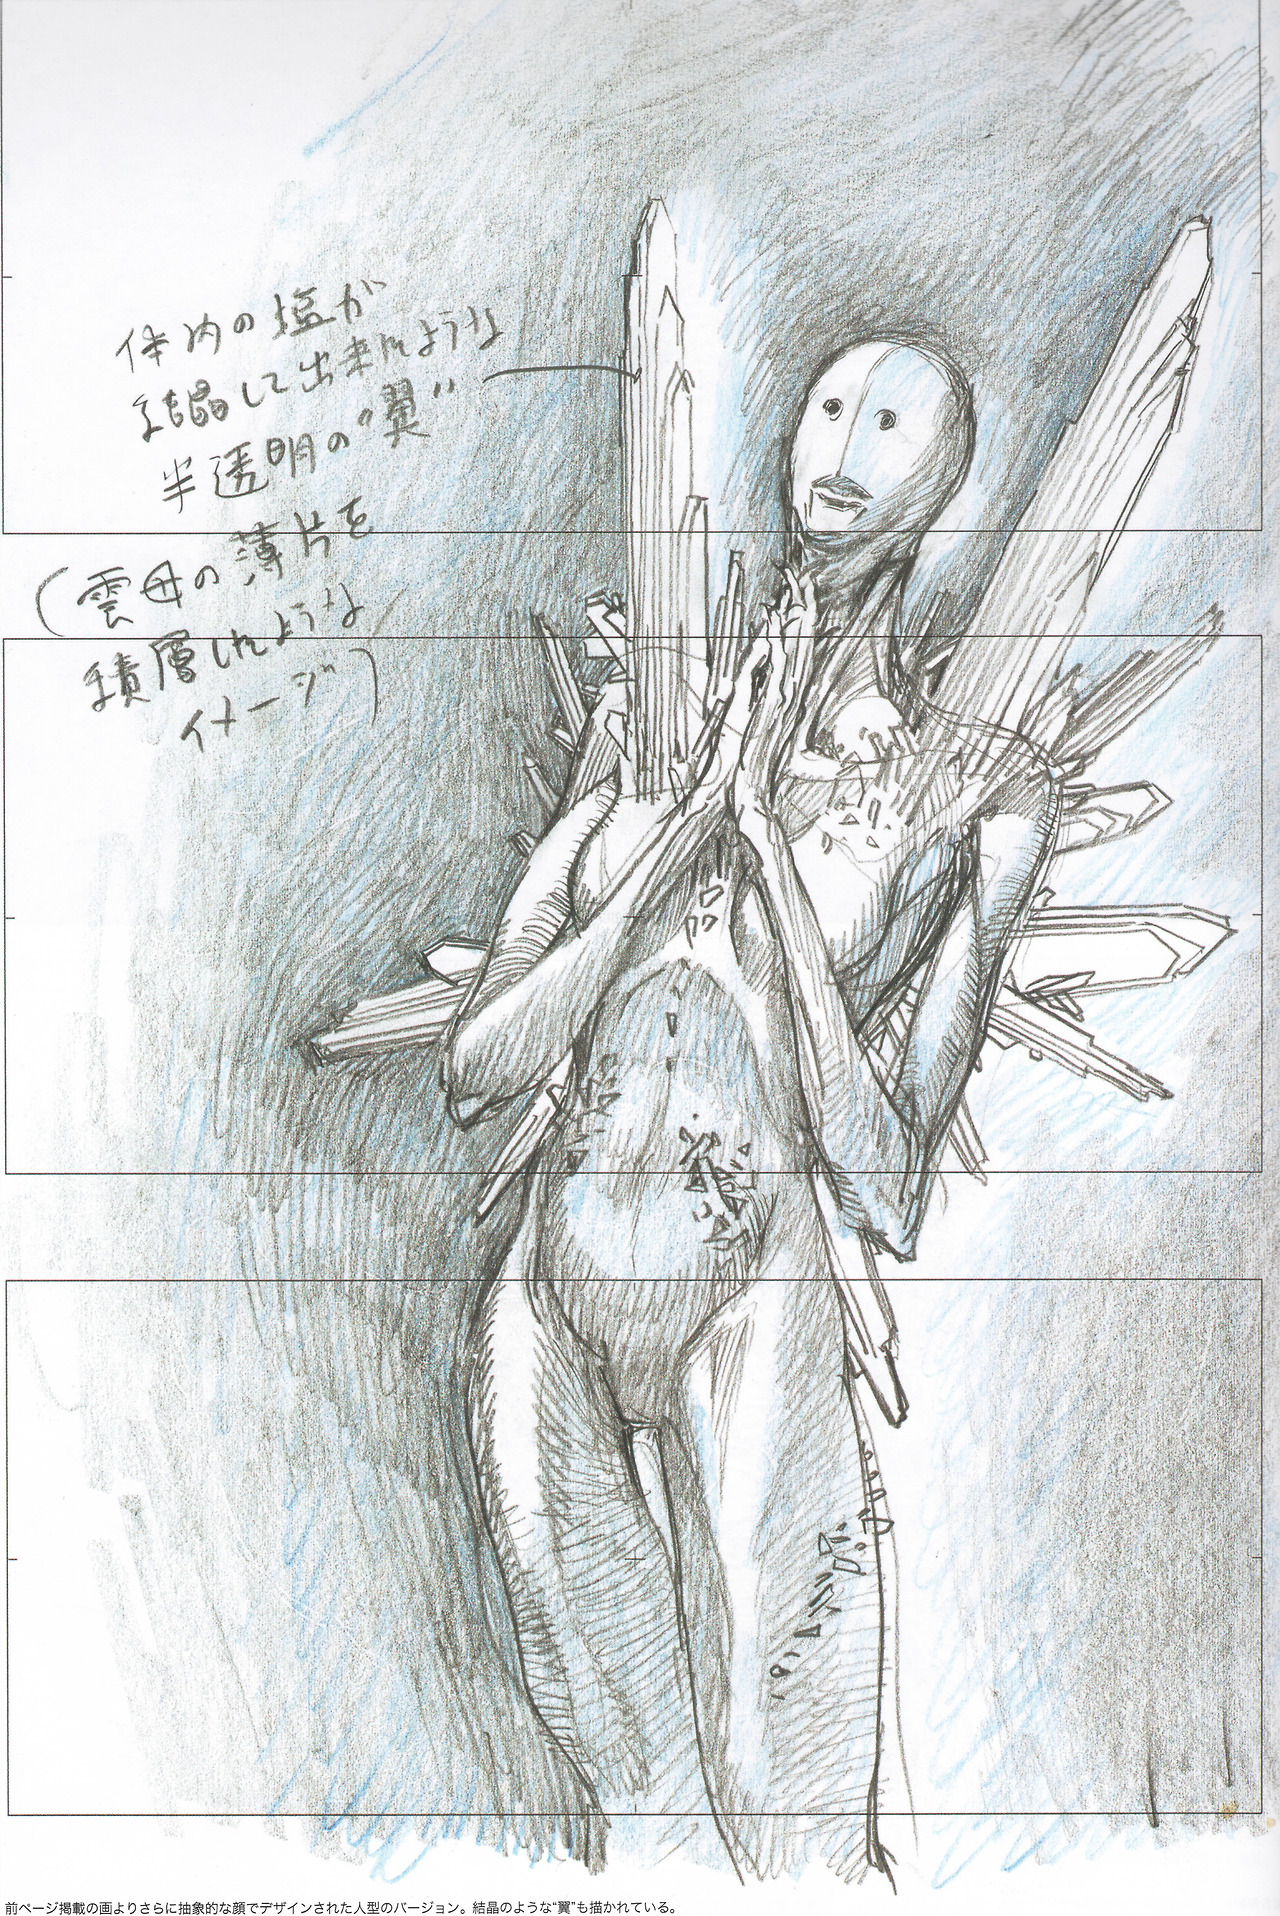
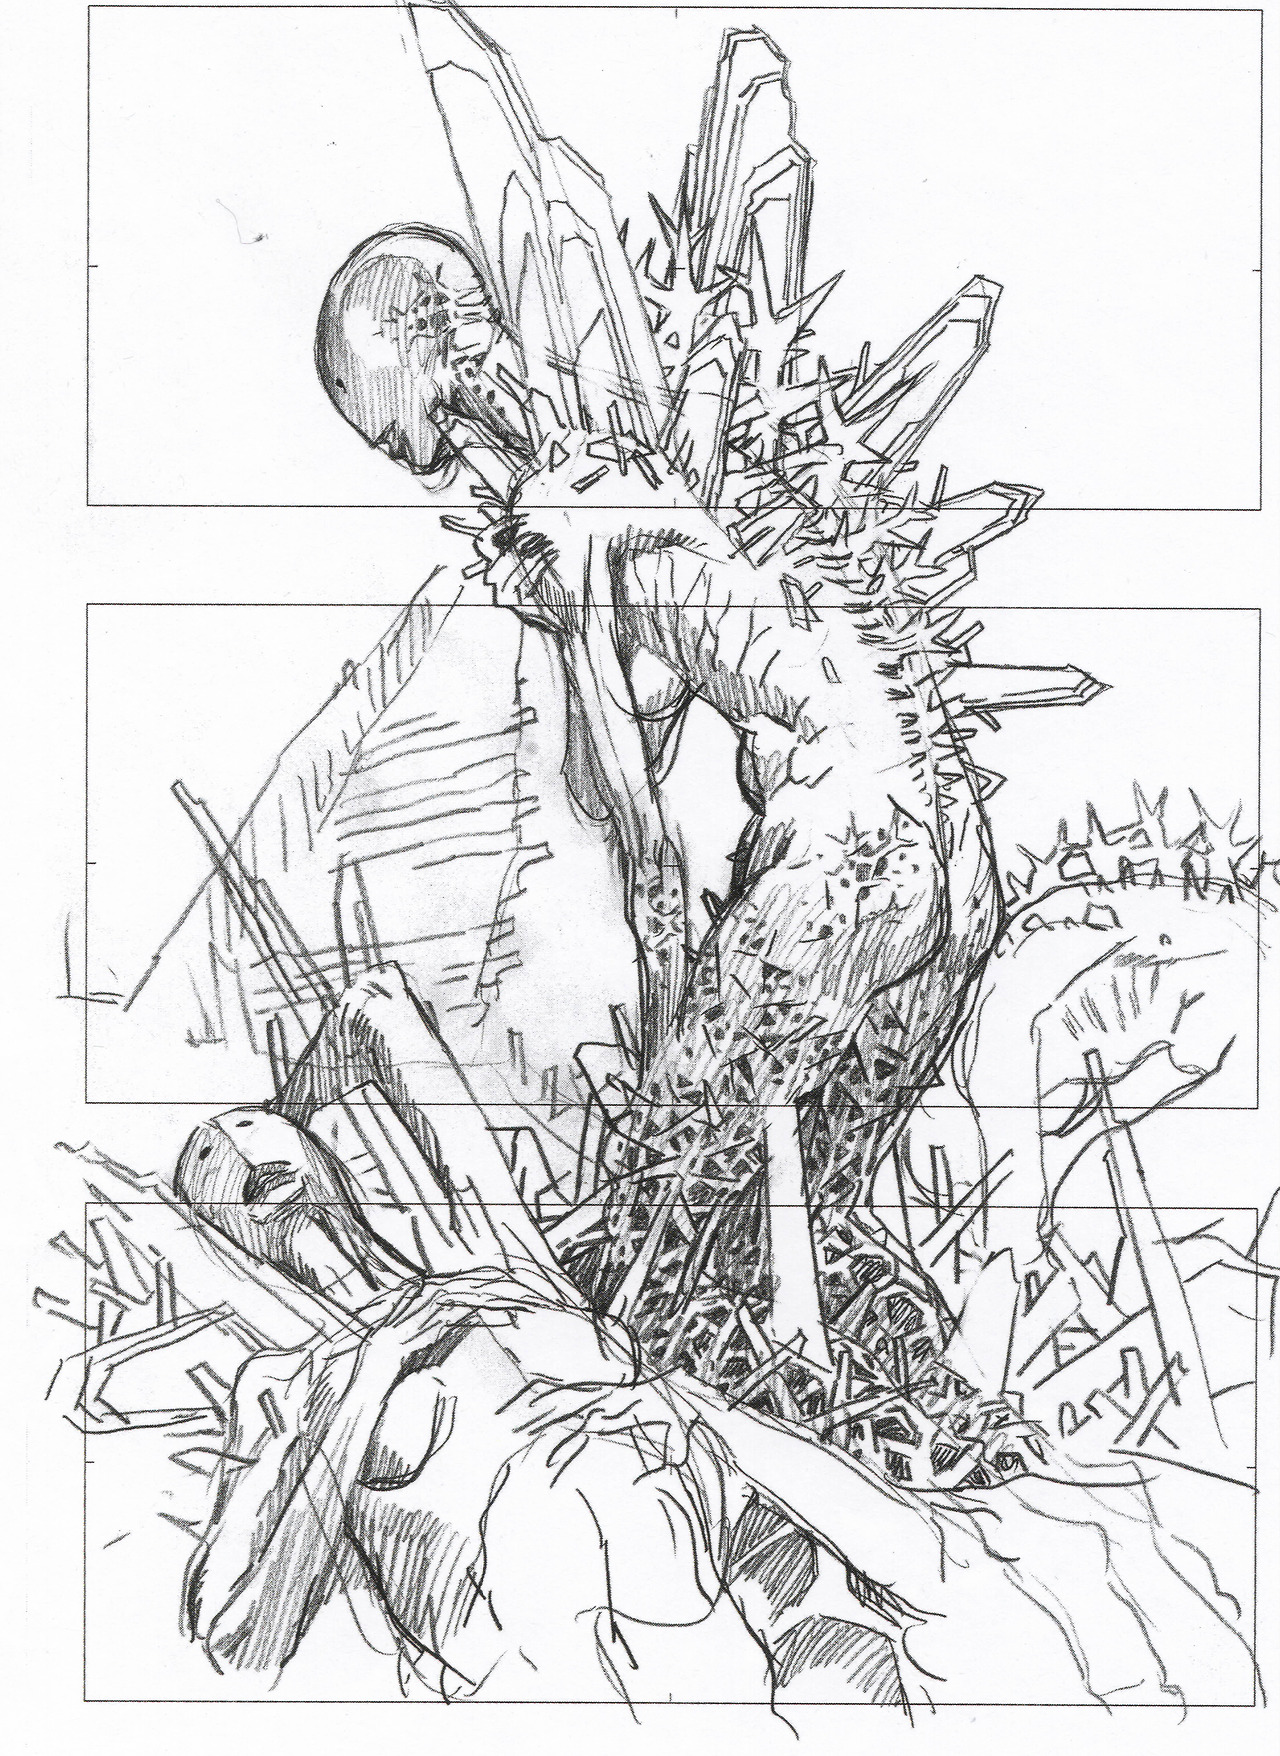
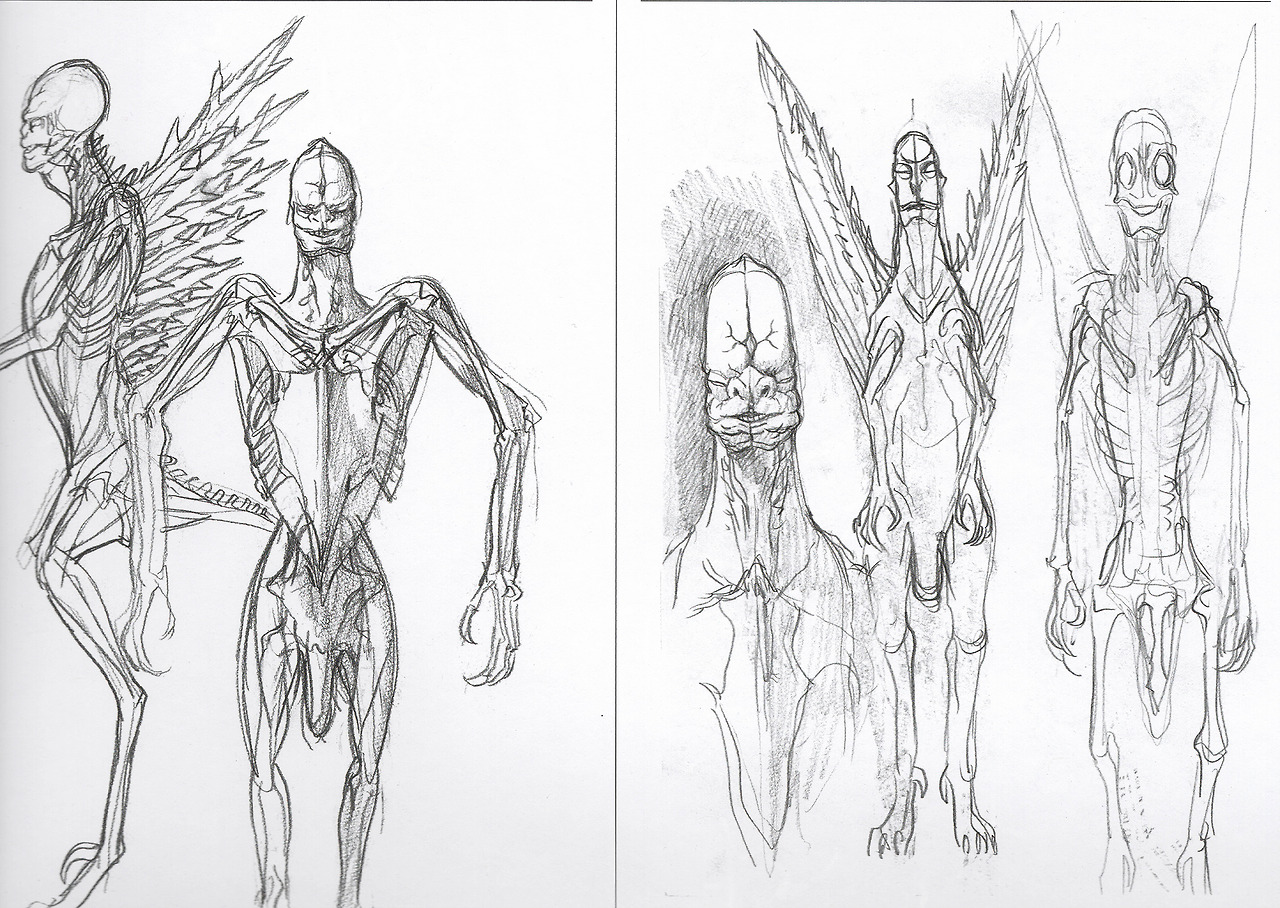
Shin Godzilla
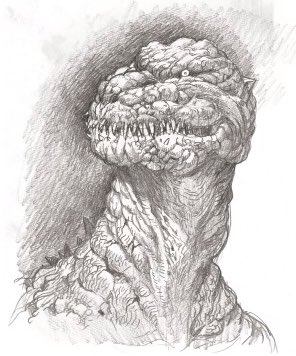
Godzilla second form concept art
Godzilla second form concept art
Godzilla second form concept art
Godzilla second form concept art
Godzilla second form concept art
Godzilla second form concept art
Godzilla second form concept art
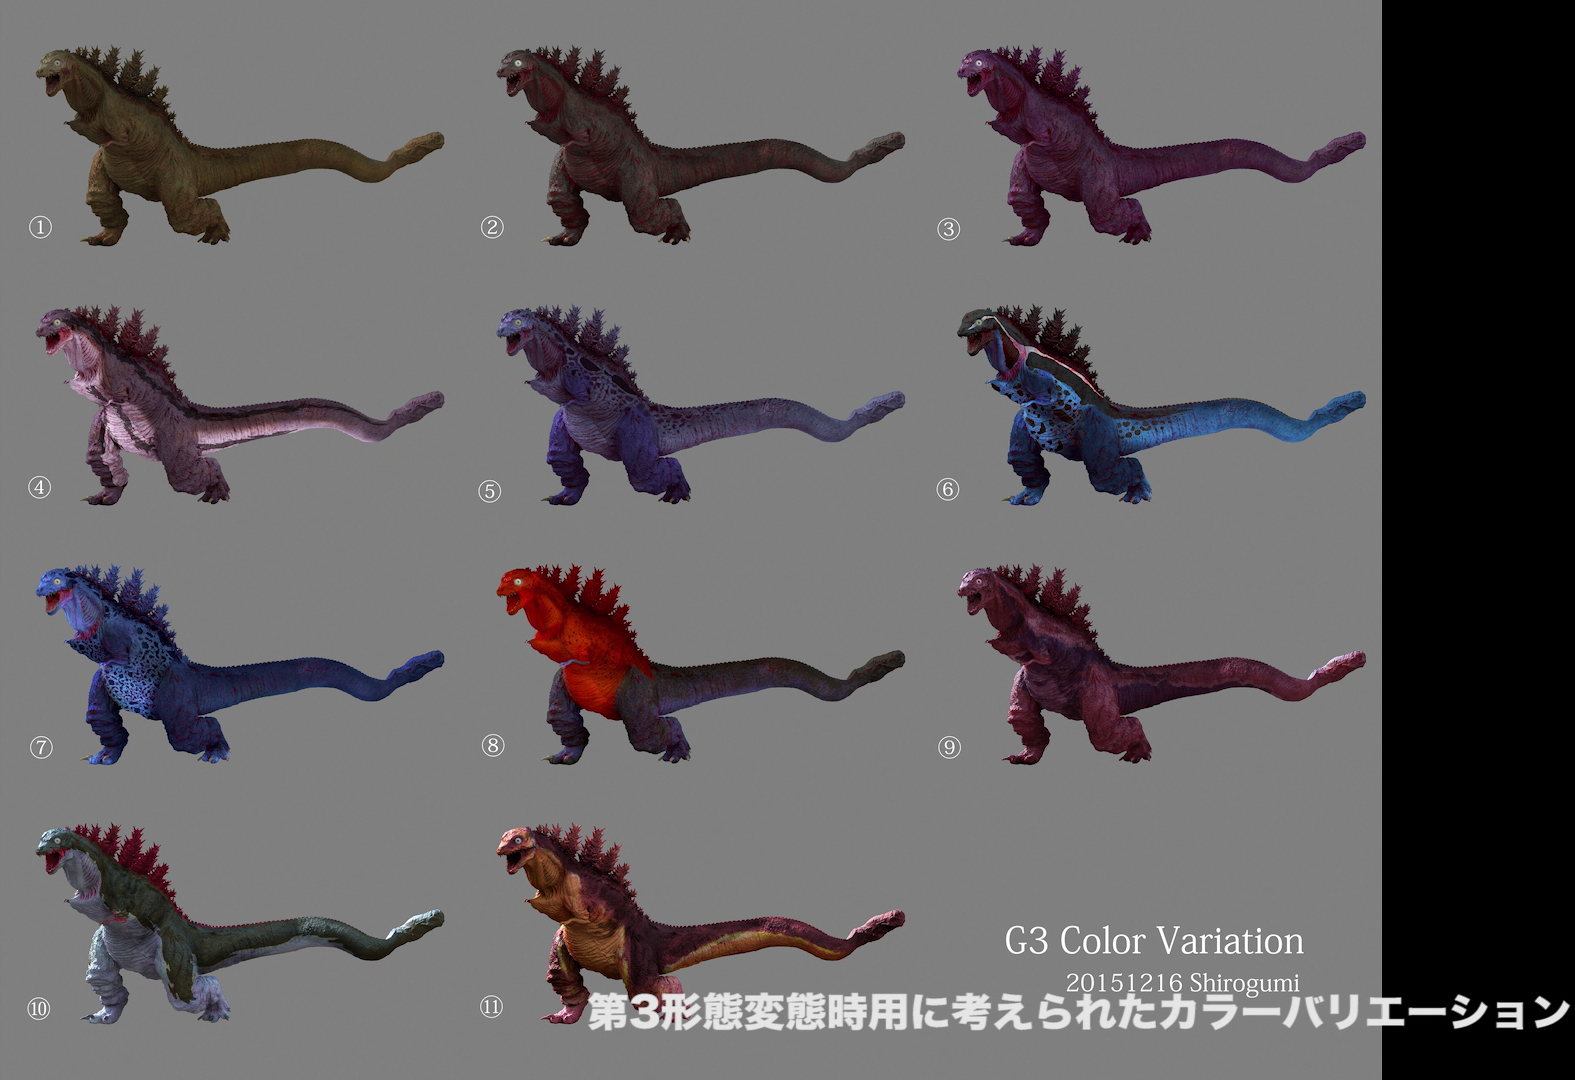
Godzilla third form color variation concept art
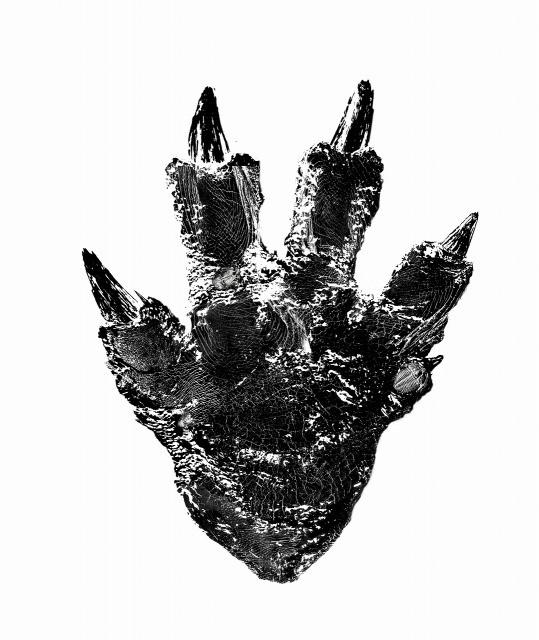
Godzilla fourth form foot concept
Godzilla fourth form head concept art
Godzilla fourth form concept art
Godzilla fourth form concept art
Godzilla fourth form concept art
Godzilla fourth form concept art
Godzilla fourth form concept art
Godzilla fourth form concept art
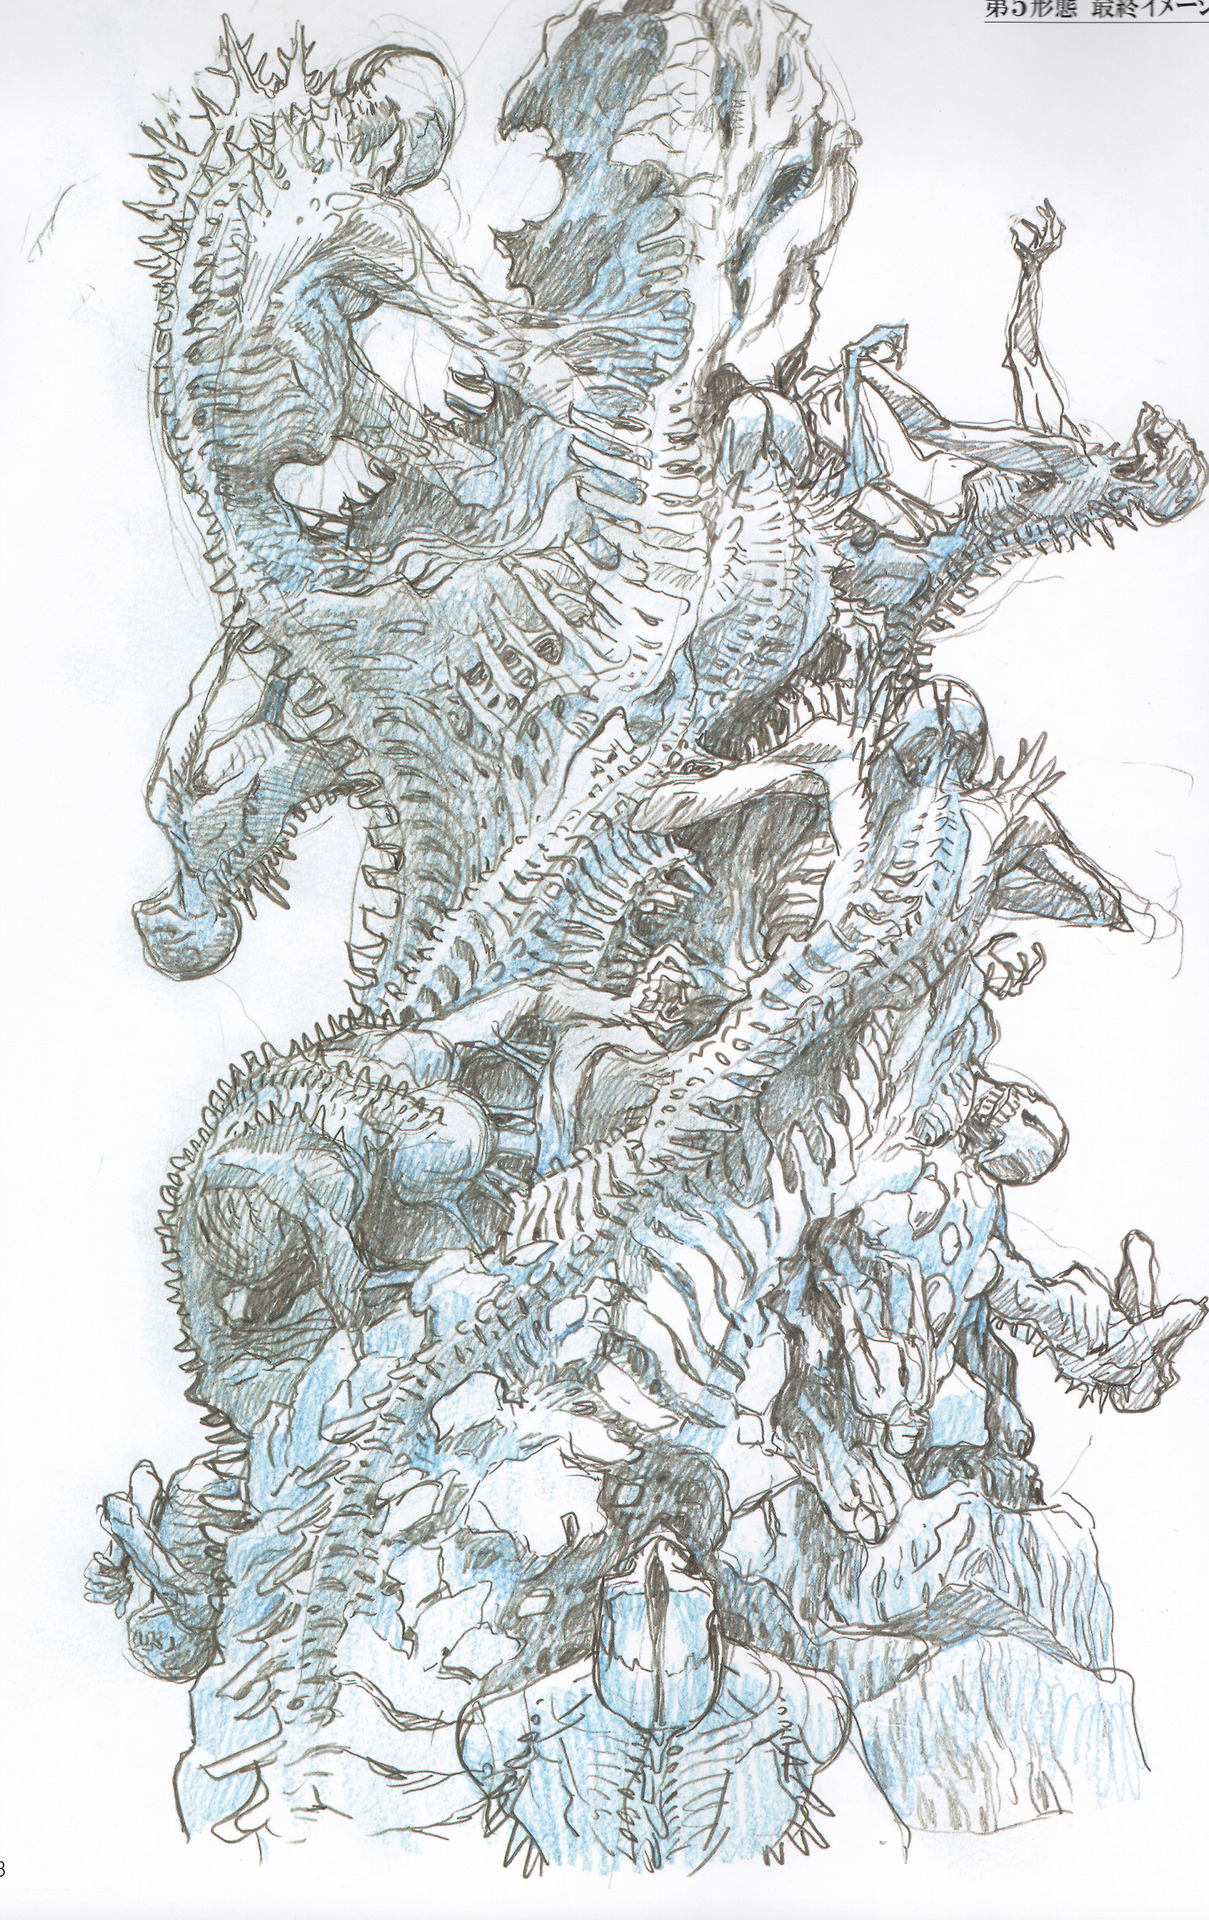
Godzilla fifth form concept art
Godzilla fifth form concept art
Godzilla fifth form concept art
Godzilla fifth form concept art
Godzilla fifth form concept art
Godzilla fifth form concept art
Godzilla fifth form concept art
Godzilla fifth form concept art
Godzilla fifth form concept art
Godzilla fifth form concept art
Godzilla fifth form concept art
Godzilla fifth form concept art
Godzilla fifth form concept art
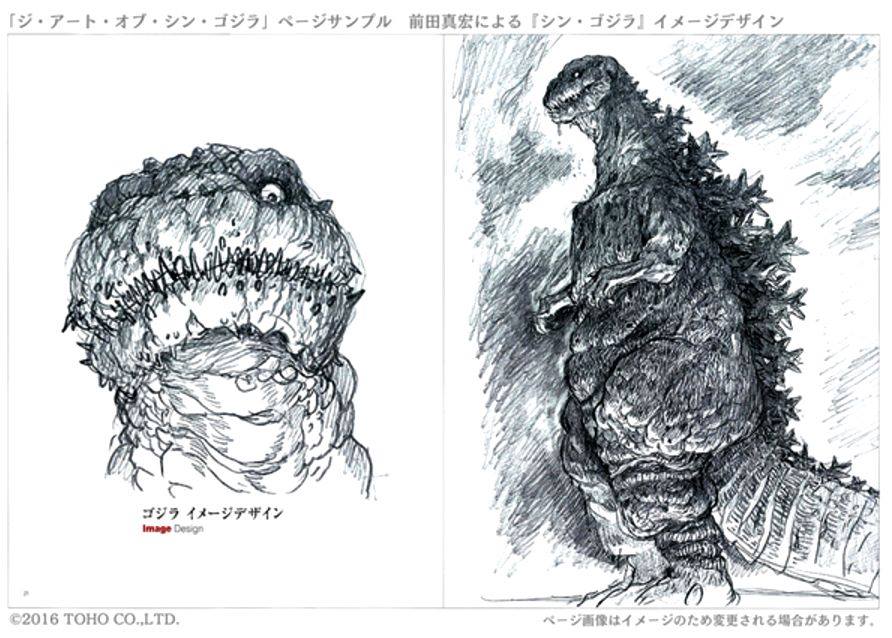
Godzilla evolving concept art
Godzilla evolving concept art
Godzilla evolving concept art
Godzilla evolving concept art
Godzilla evolving concept art
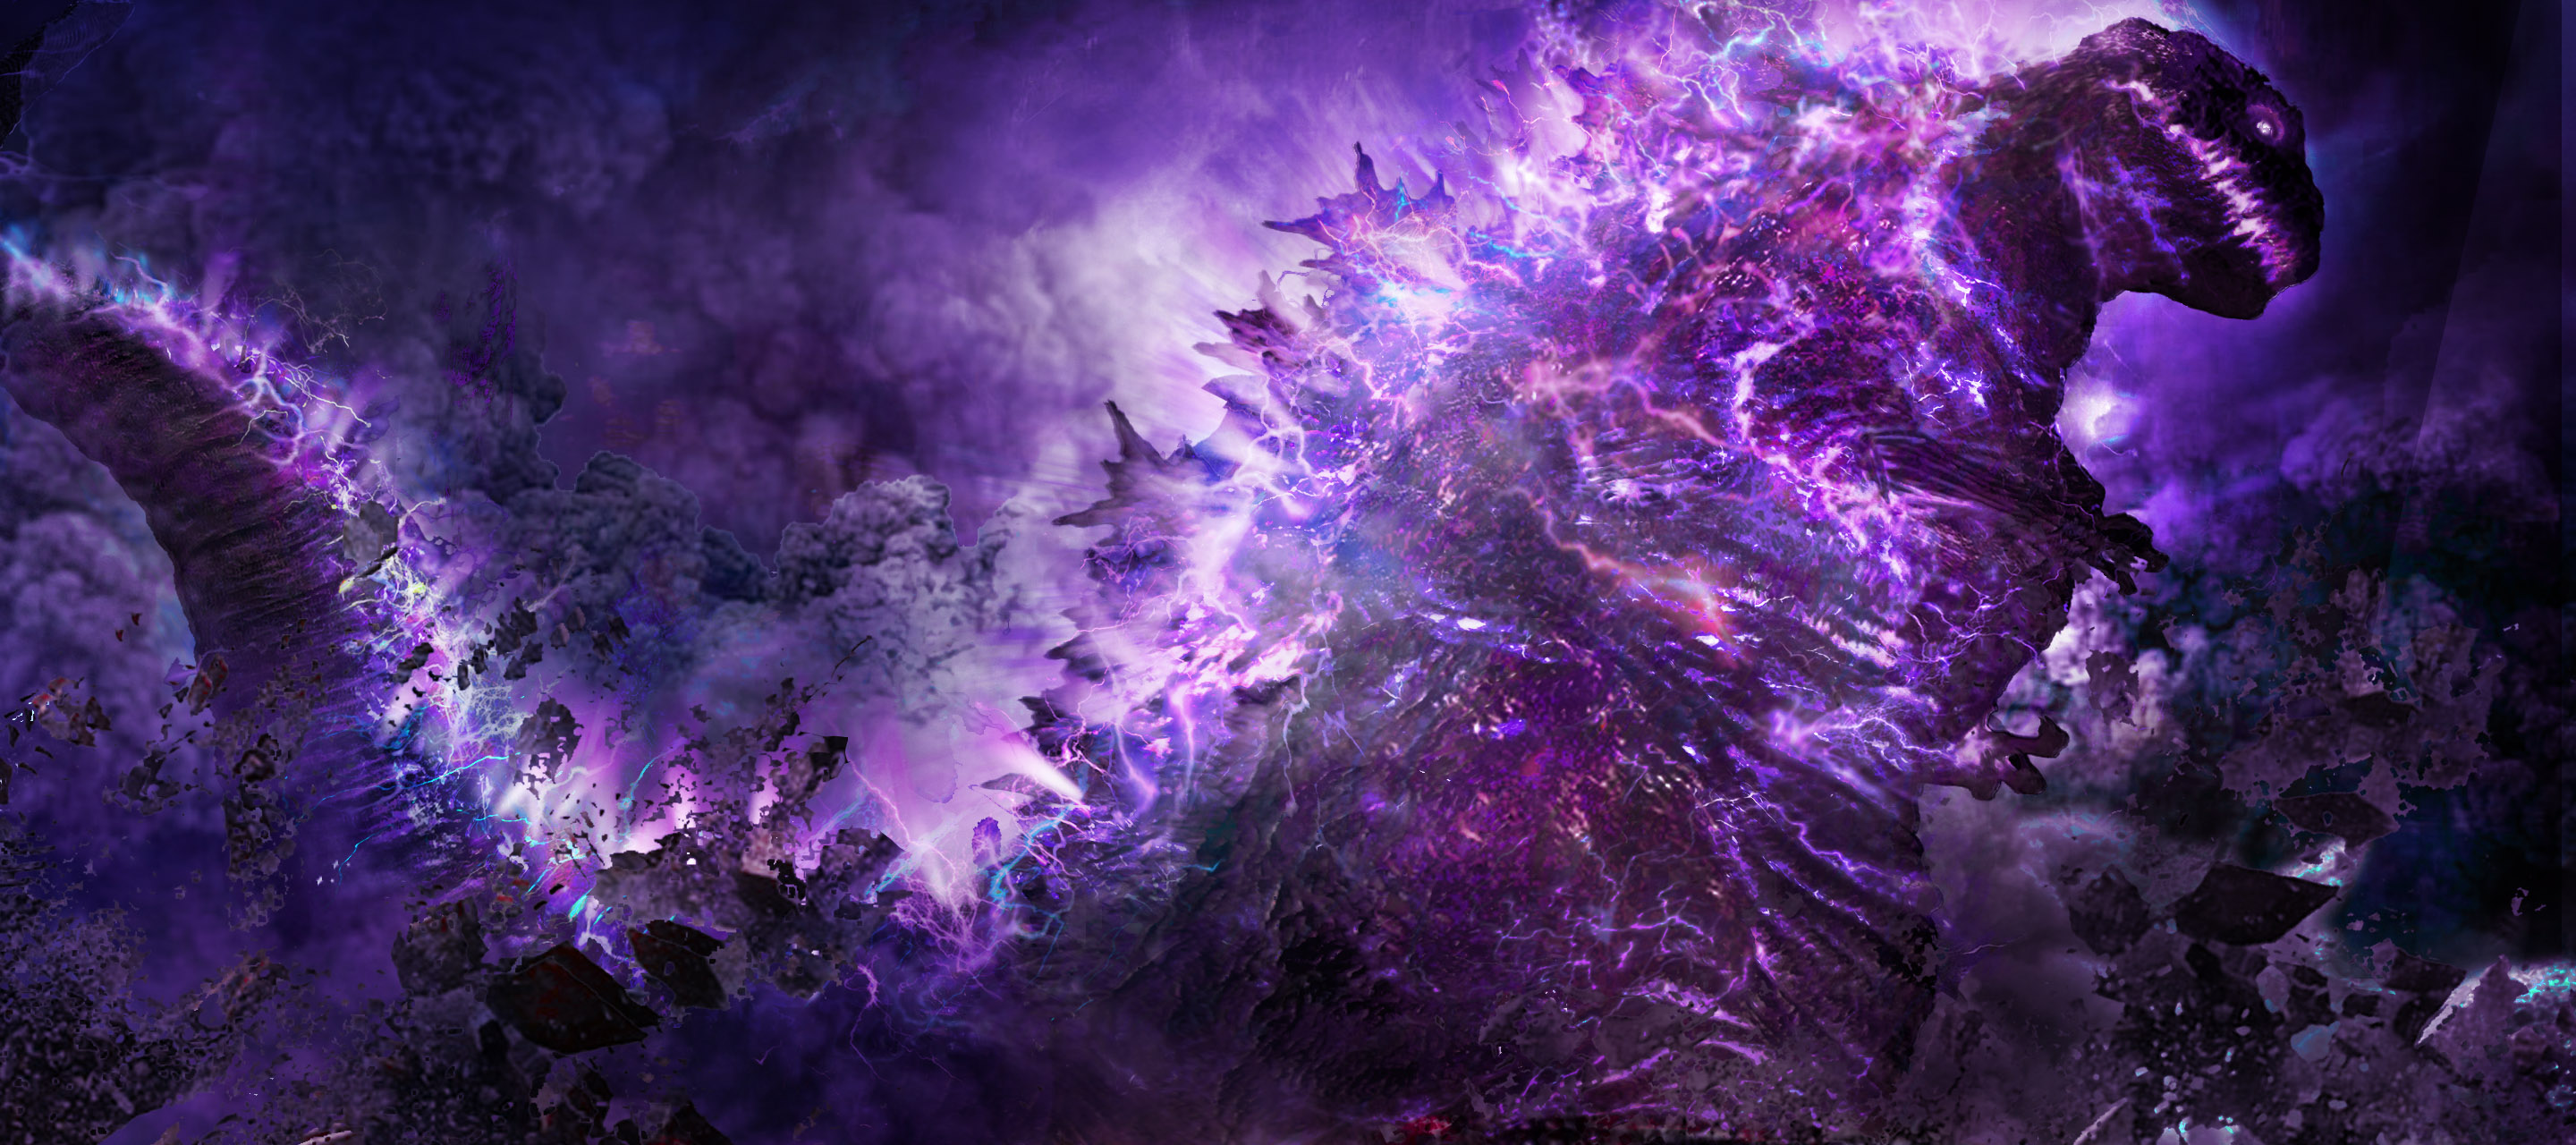
Godzilla's atomic breath concept art
Godzilla's atomic breath concept art
Godzilla cell concept art
Godzilla's footprint concept art
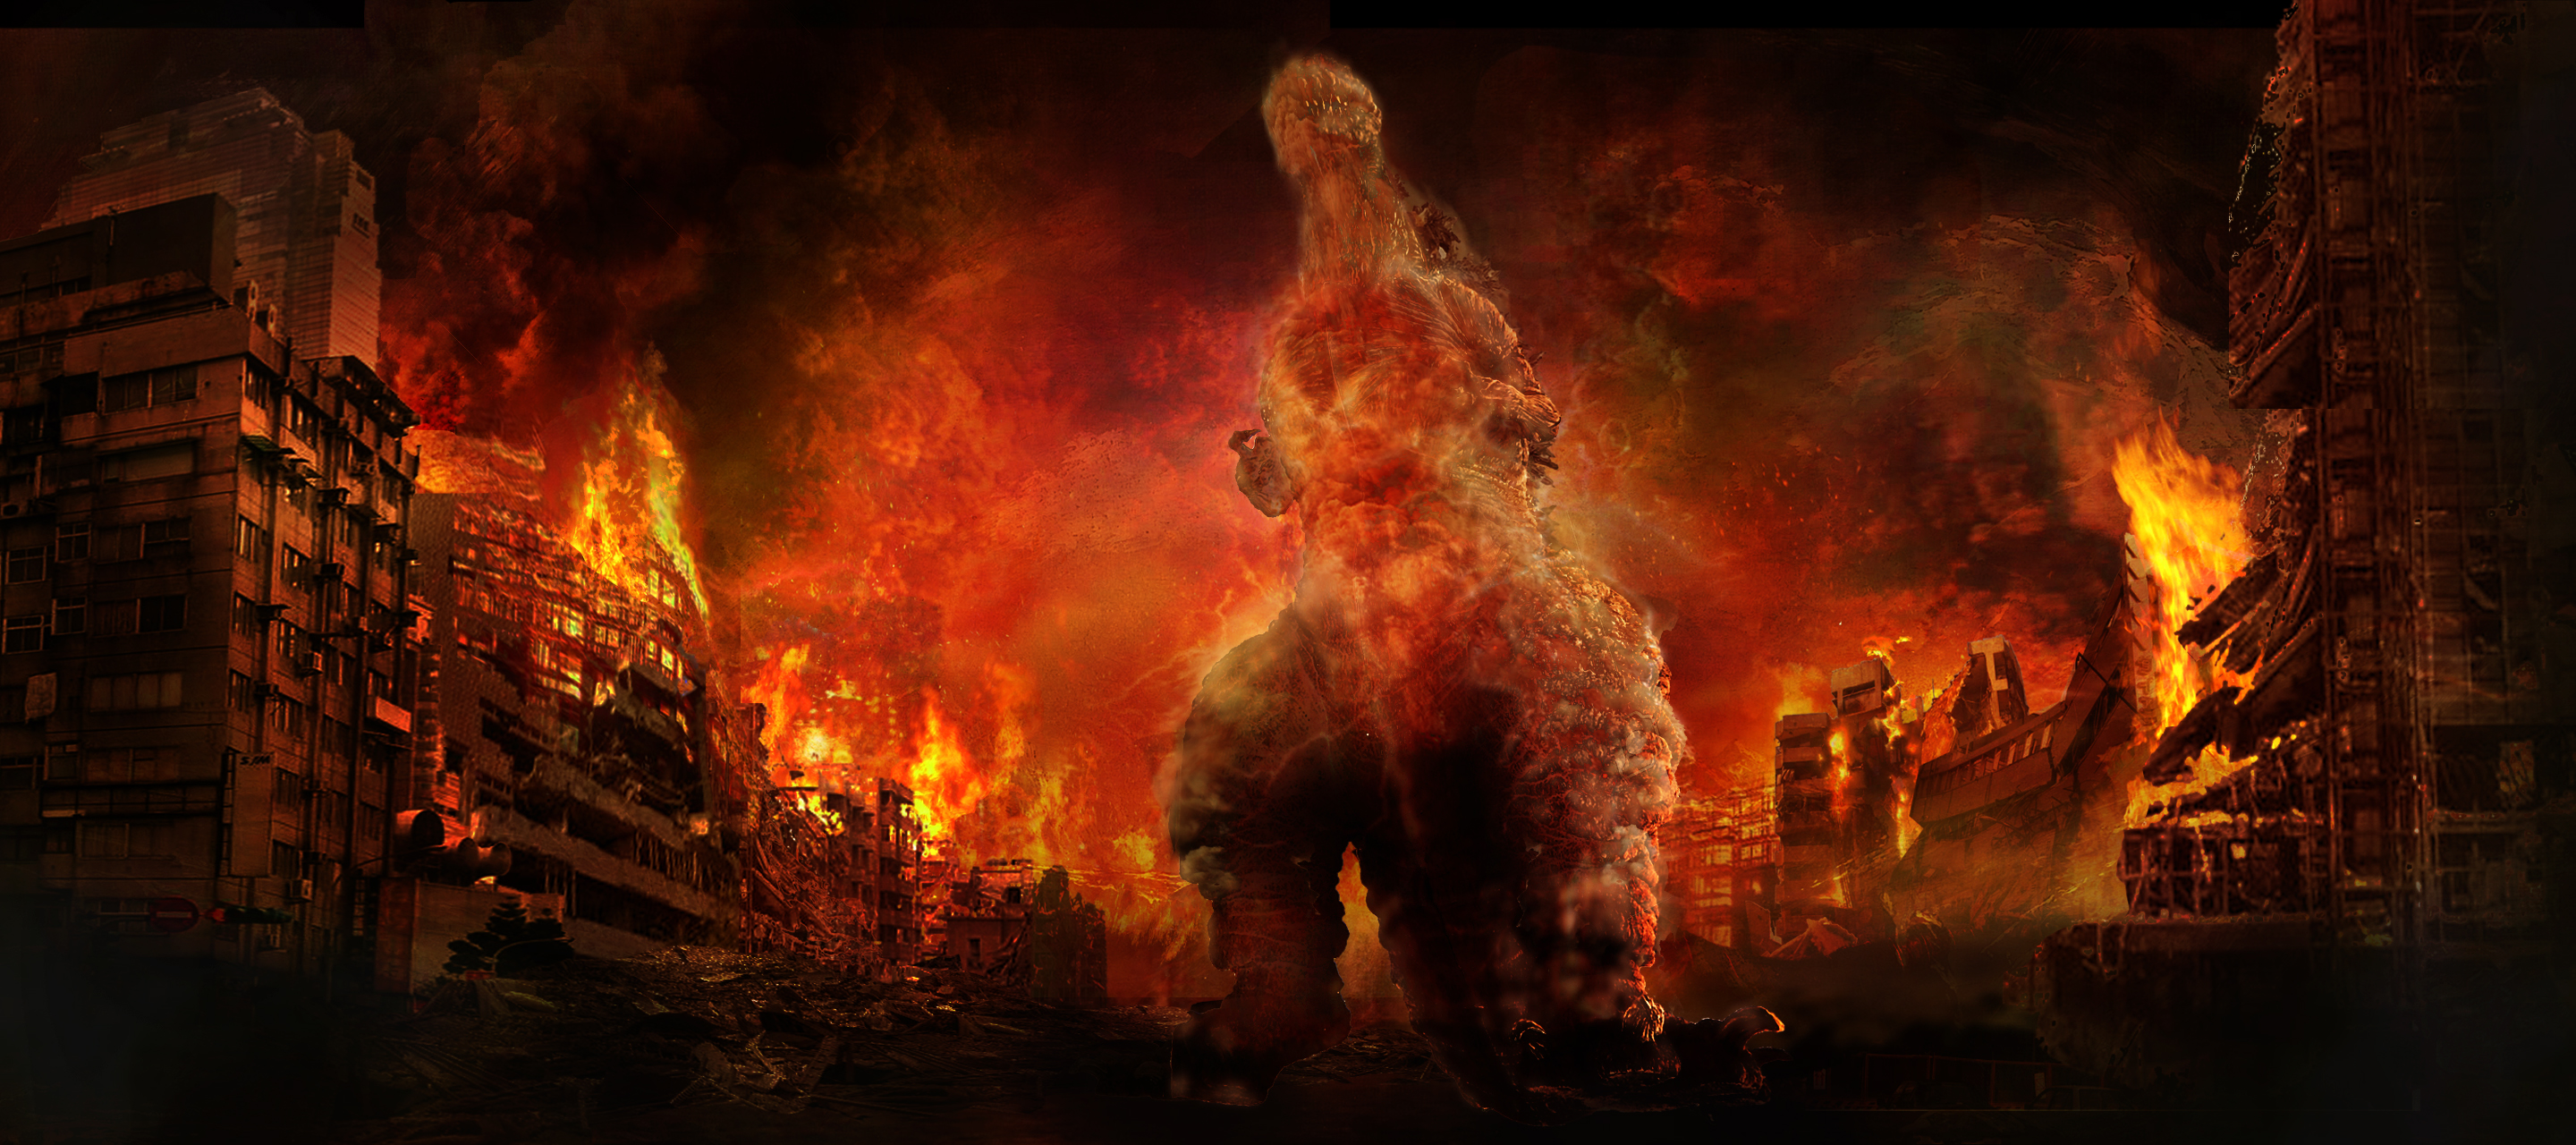
Godzilla's trail of destruction concept art


GODZILLA: Planet of the Monsters
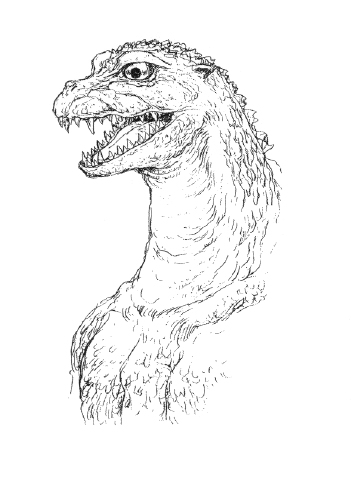
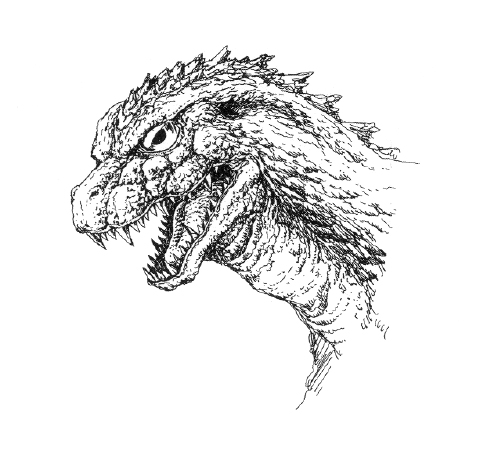
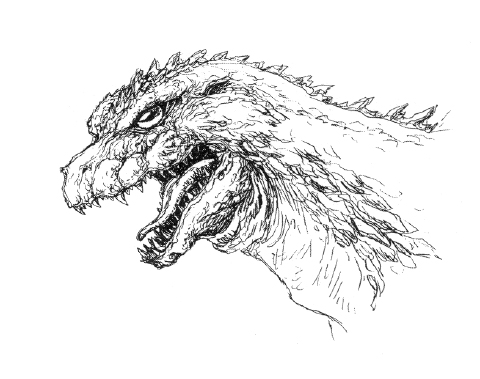
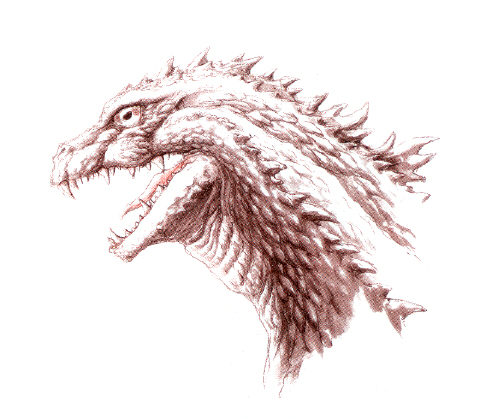
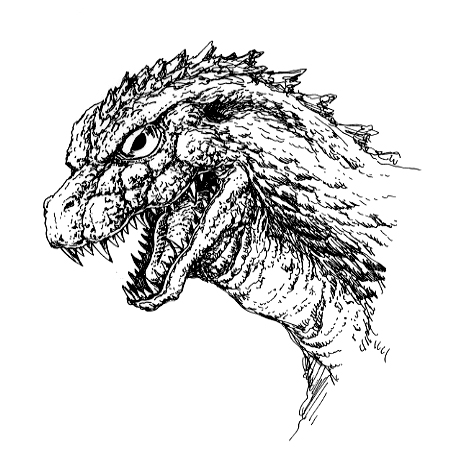
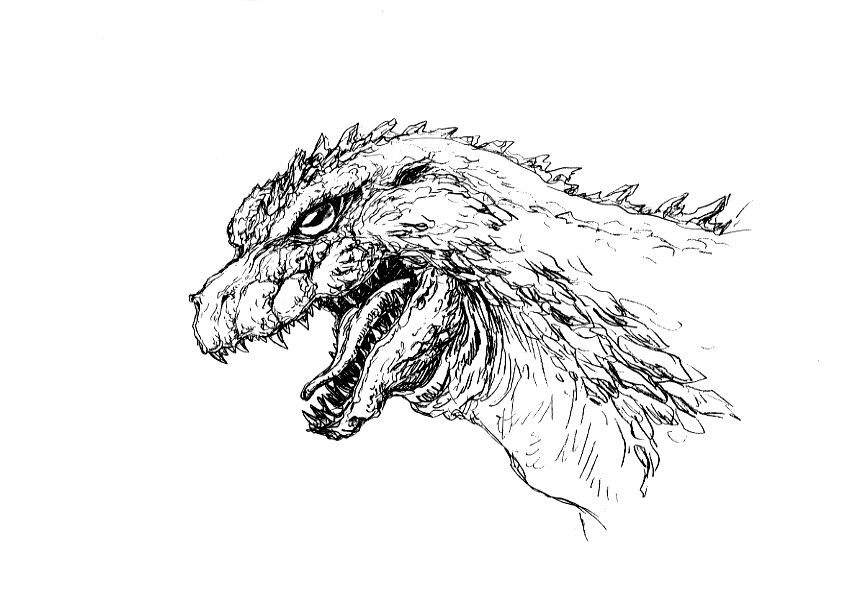
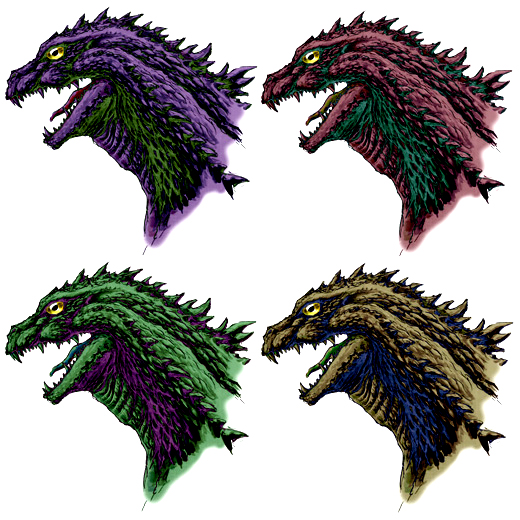
Godzilla head concept art
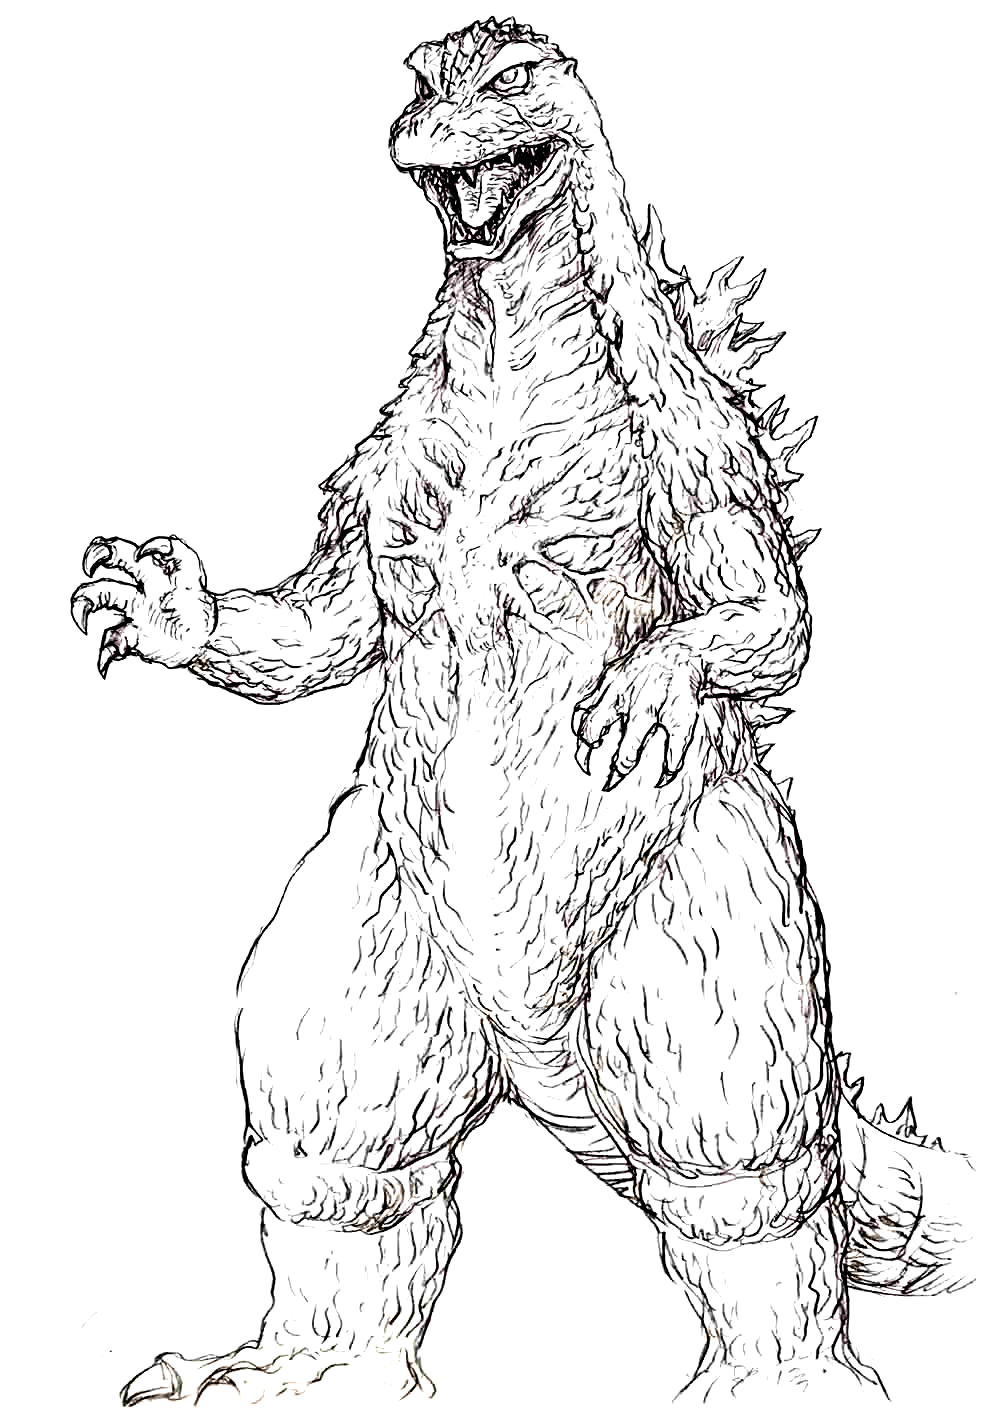
Godzilla concept art
Godzilla concept art
Godzilla concept art
Sculpting a 3D maquette for Godzilla
Sculpting Godzilla's face in a 3D maquette
Texturing the 3D maquette

Godzilla: King of the Monsters


Screenshots
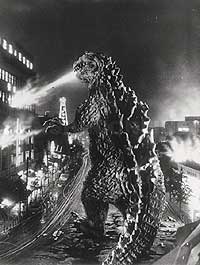
Godzilla (1954)
- Main article: ShodaiGoji.
Godzilla Raids Again
- Main article: GyakushuGoji.
King Kong vs. Godzilla
- Main article: KingGoji.
Mothra vs. Godzilla
- Main article: MosuGoji.
Ghidorah, the Three-Headed Monster
- Main article: MosuGoji.
Invasion of Astro-Monster
- Main article: DaisensoGoji.
Ebirah, Horror of the Deep
- Main article: DaisensoGoji.
Son of Godzilla
- Main article: MusukoGoji.
Destroy All Monsters
- Main article: SoshingekiGoji.
All Monsters Attack
- Main article: SoshingekiGoji.
Godzilla vs. Hedorah
- Main article: SoshingekiGoji.
Godzilla vs. Gigan
- Main article: SoshingekiGoji.
Godzilla vs. Megalon
- Main article: MegaroGoji.
Godzilla vs. Mechagodzilla
- Main article: MegaroGoji.
Terror of Mechagodzilla
- Main article: MegaroGoji.
The Return of Godzilla
- Main article: 84Goji.
Godzilla vs. Biollante
- Main article: BioGoji.
Godzilla vs. King Ghidorah
- Main article: BioGoji.
Godzilla vs. Mothra
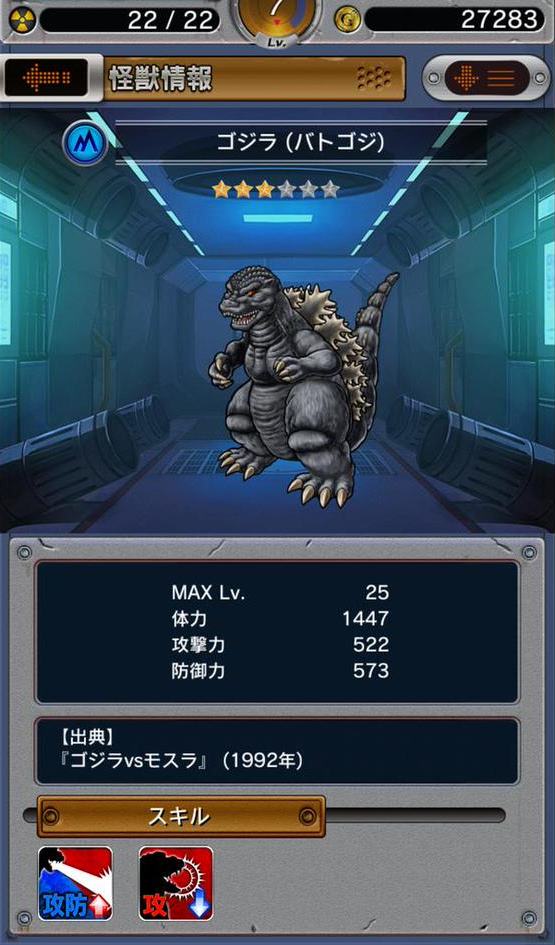
- Main article: BatoGoji.
Godzilla vs. Mechagodzilla II
- Main article: RadoGoji.
Godzilla vs. SpaceGodzilla
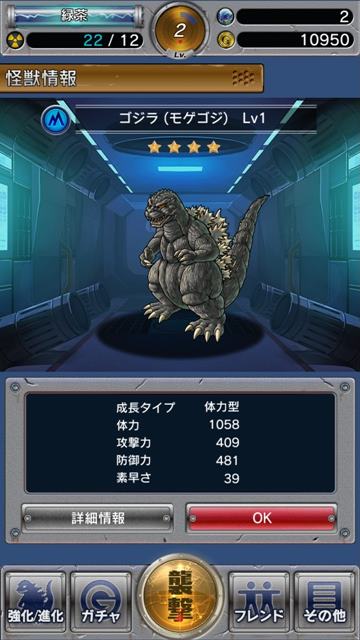
- Main article: MogeGoji.
Godzilla vs. Destoroyah
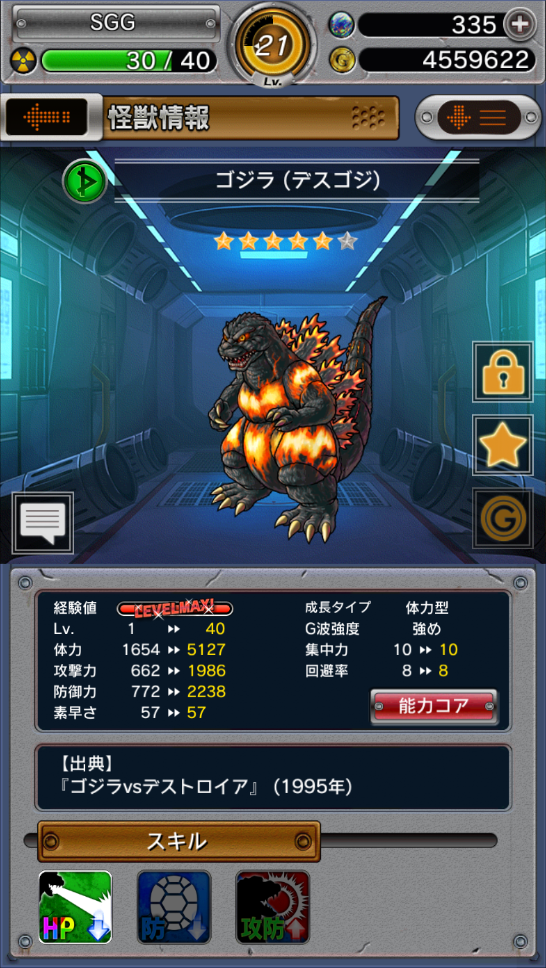
- Main article: MogeGoji.
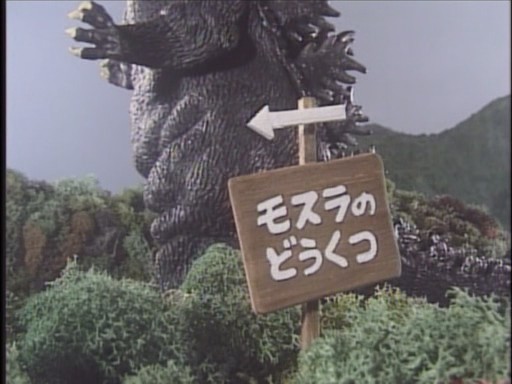
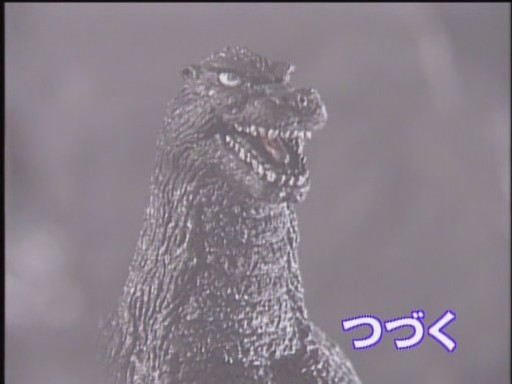
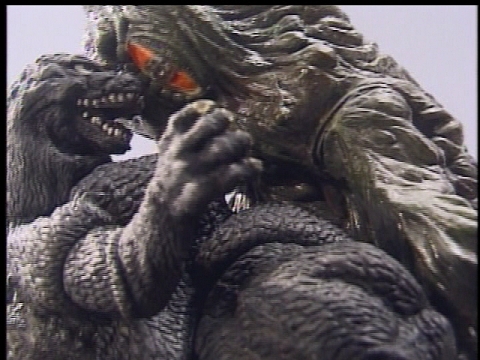
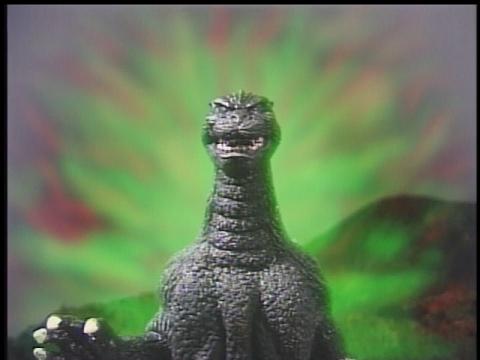
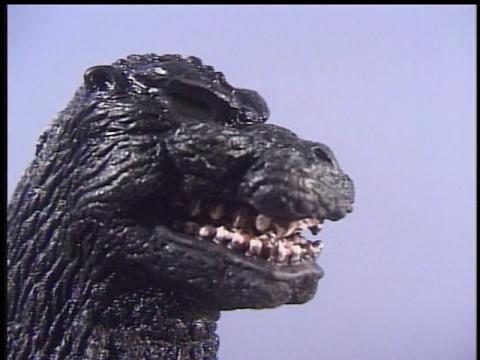
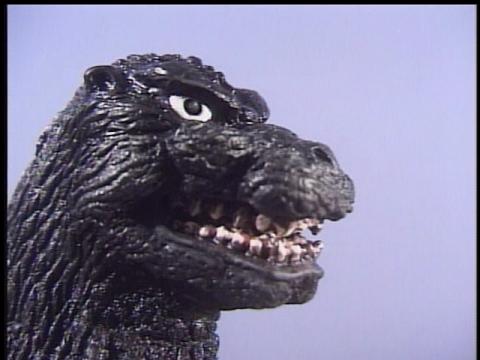
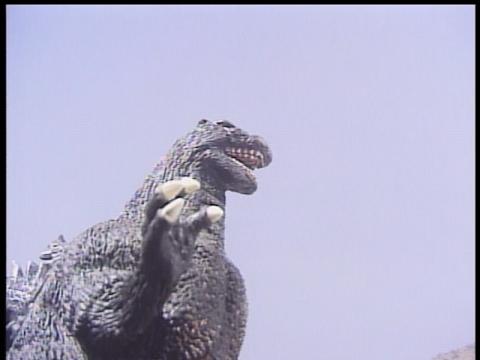
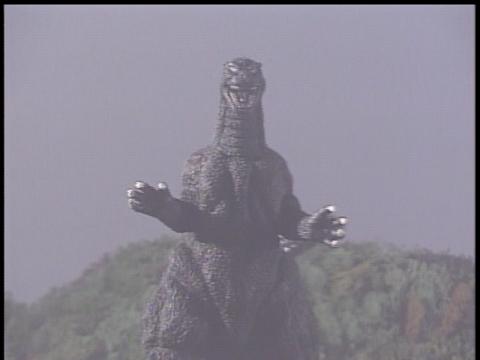
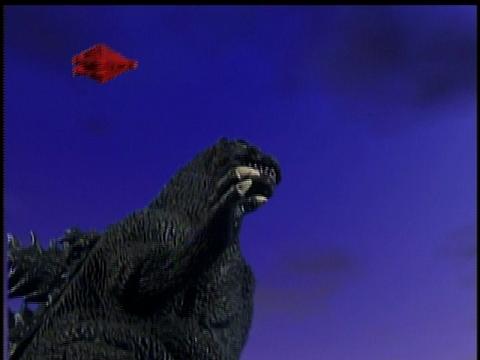
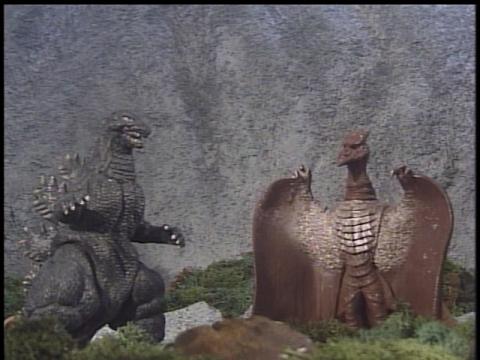
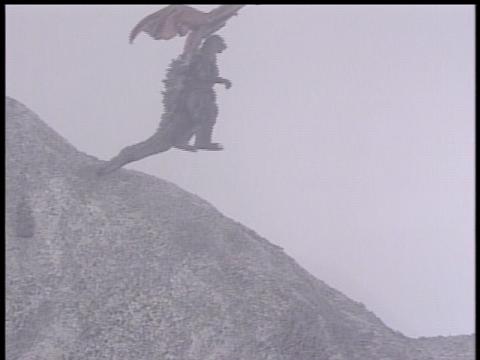
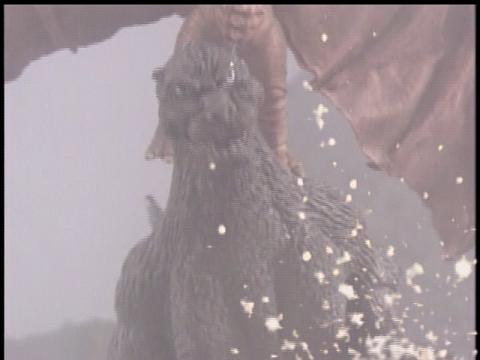
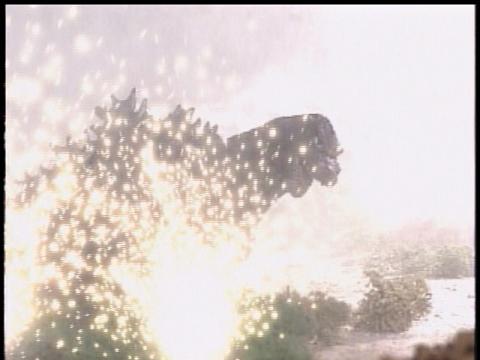
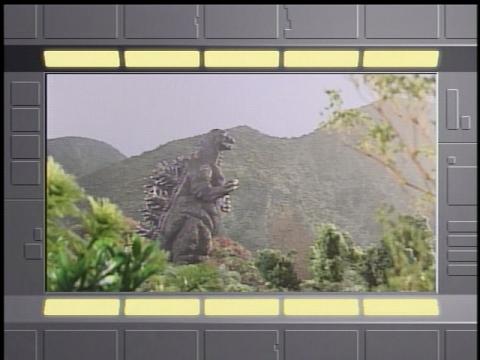
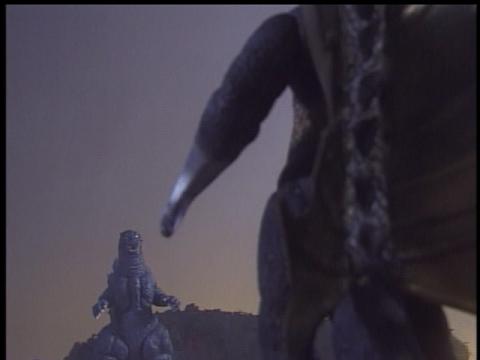
Godzilla Island
Lucas chases Cameron towards Godzilla
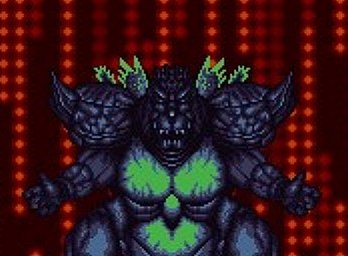
Godzilla & Fire Rodan killing Neo Hedorah
Godzilla getting attacked by Gororin
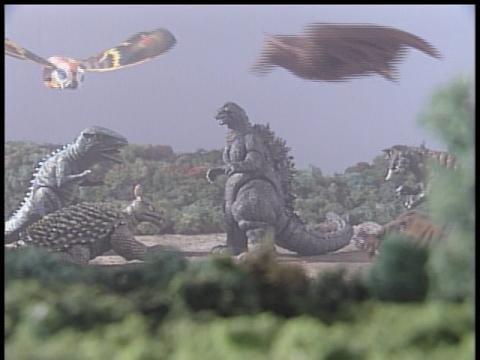
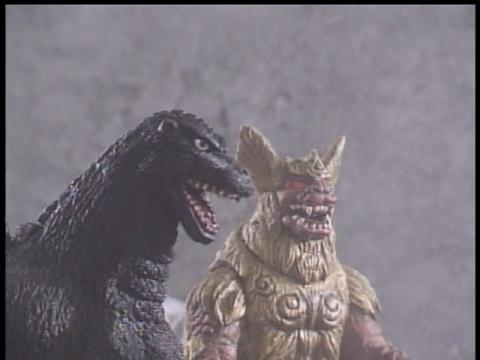
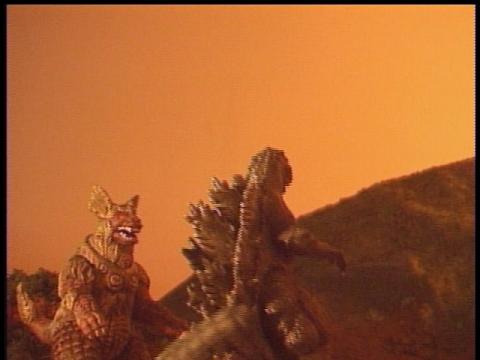
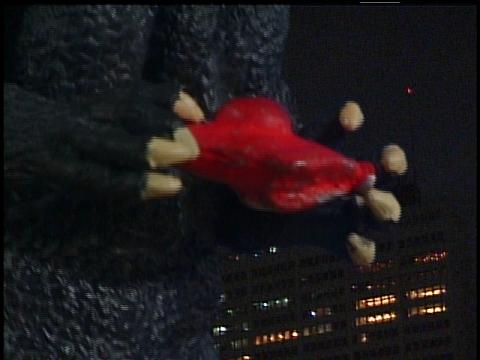
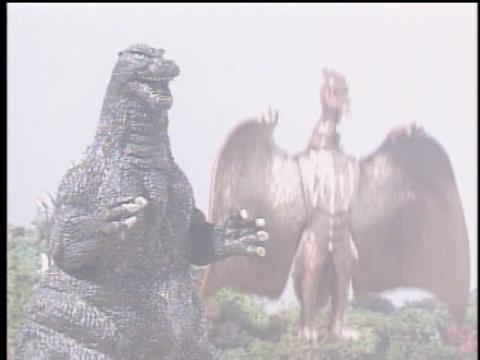
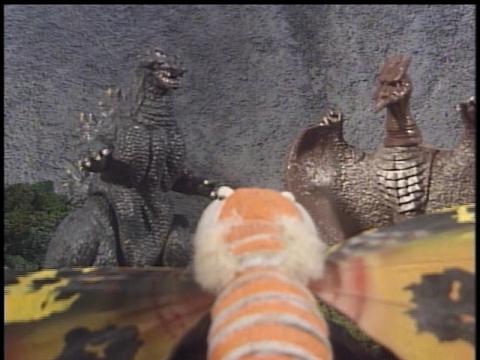
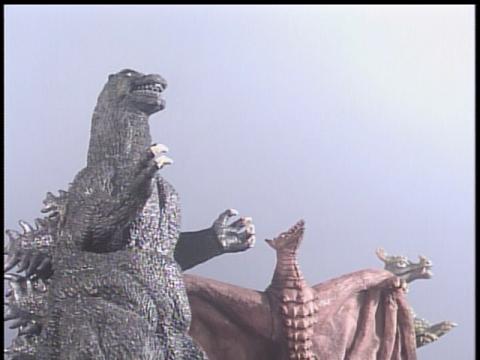
Godzilla & Gigan confront Destoroyah
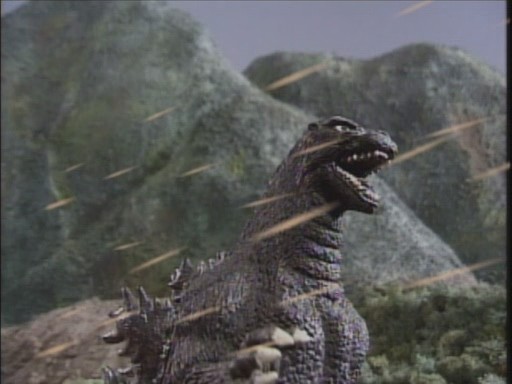
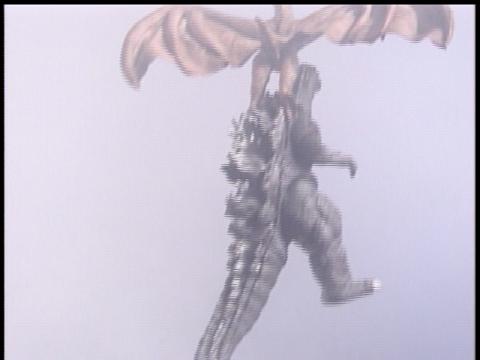
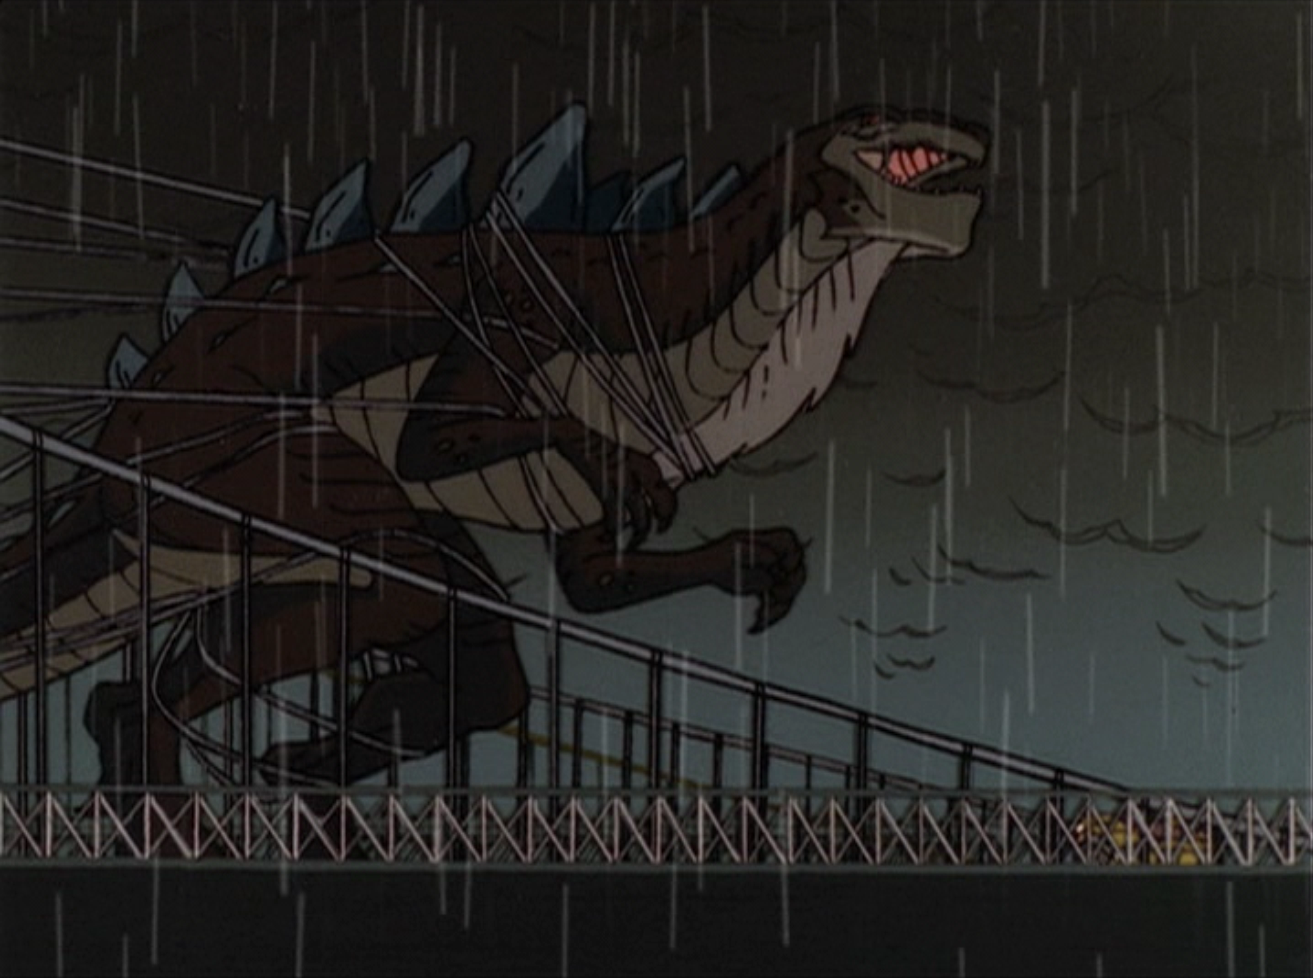
Godzilla & Rodan in the Rain in Victory
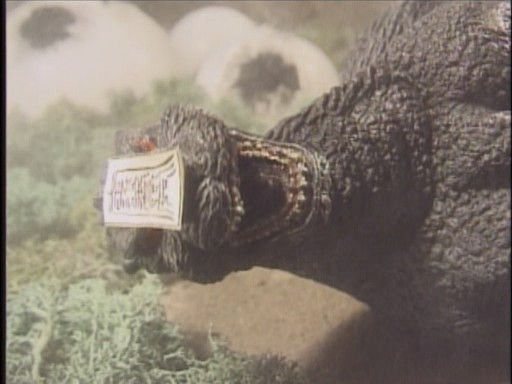
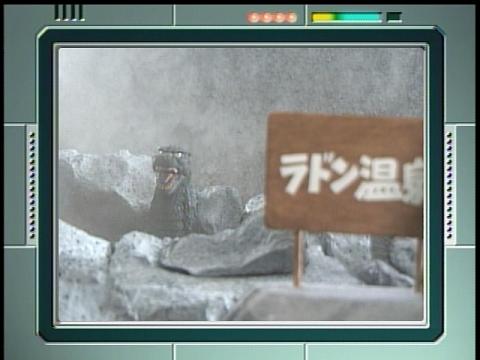
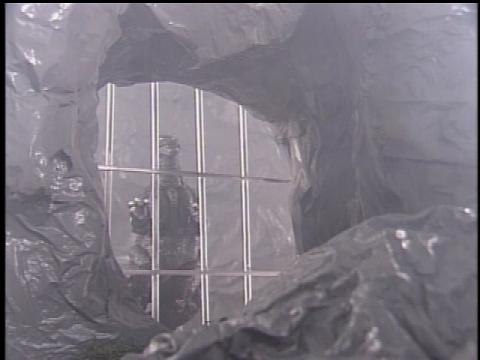
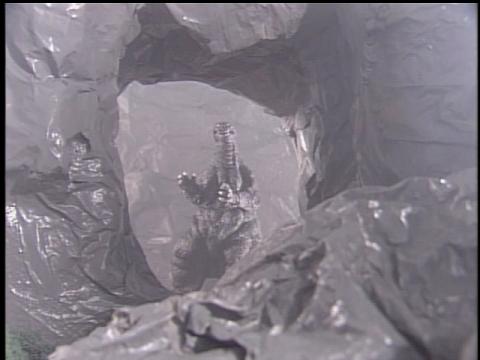
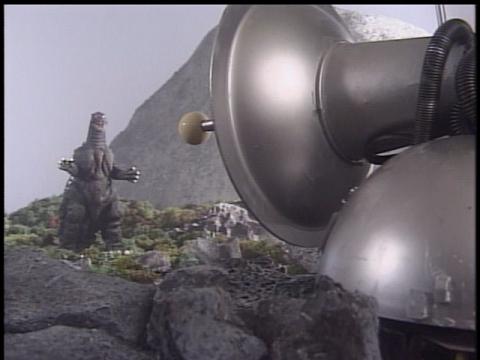
Godzilla is a prisoner
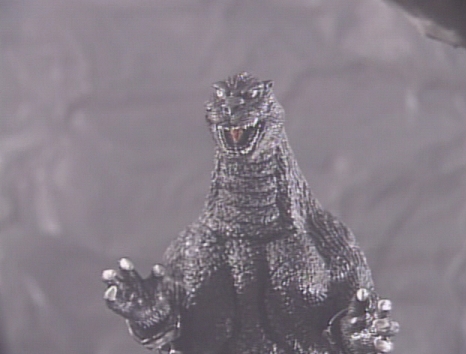
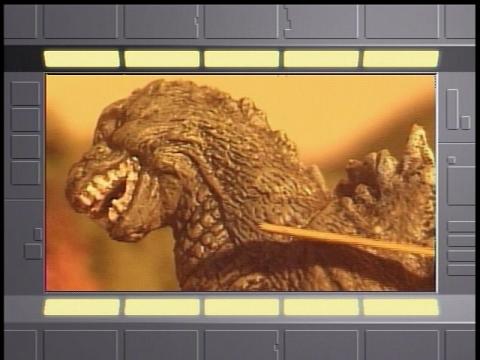
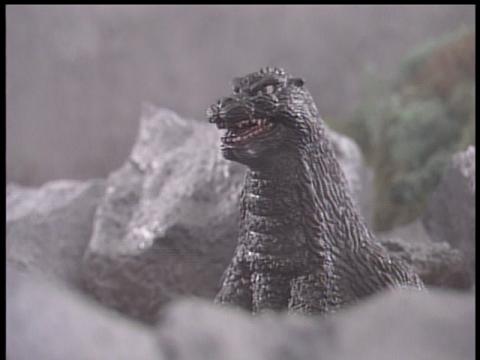
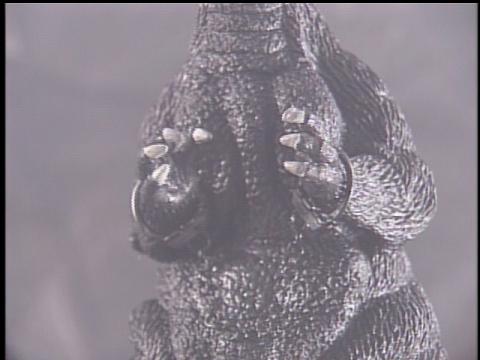
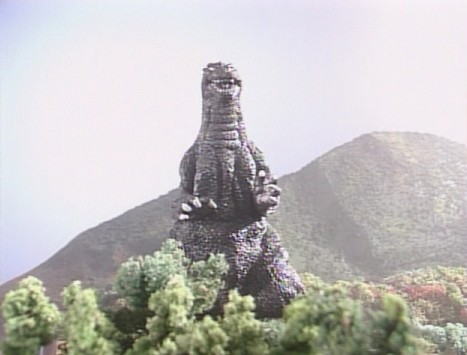
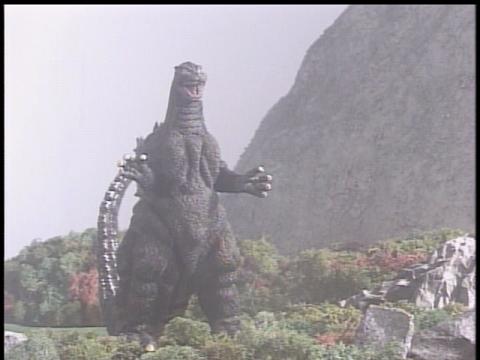
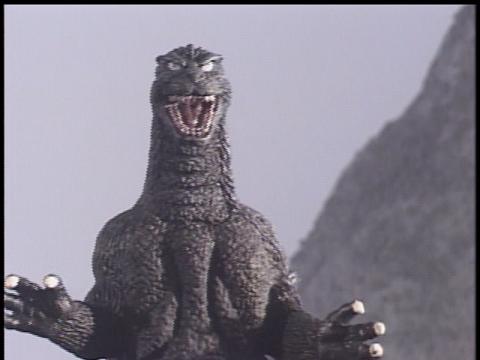
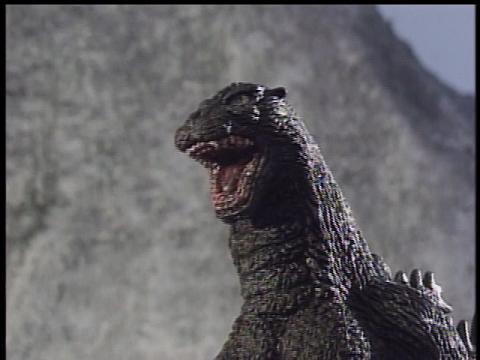
Godzilla
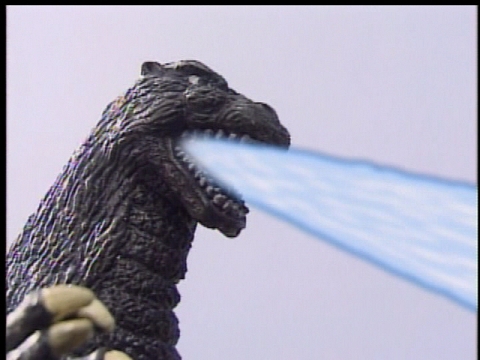
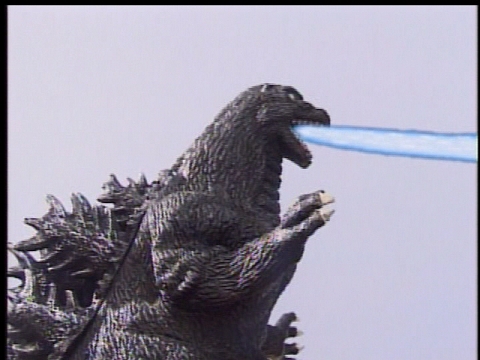
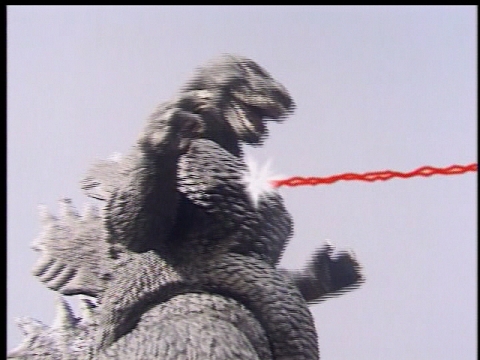
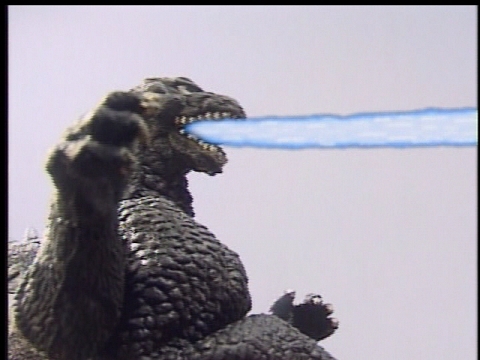
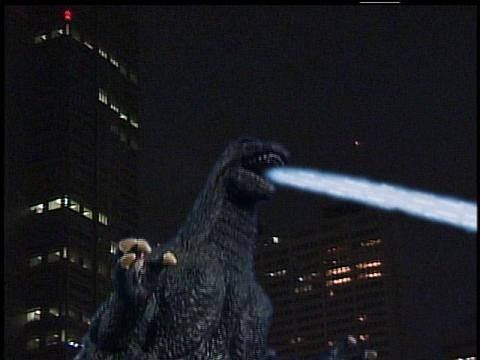
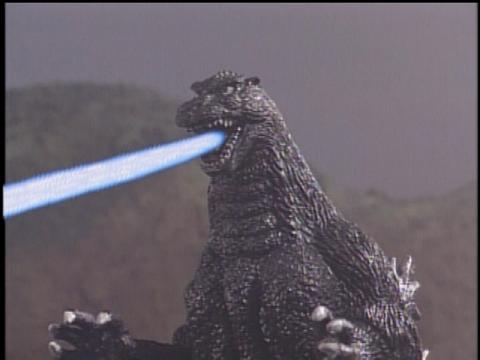
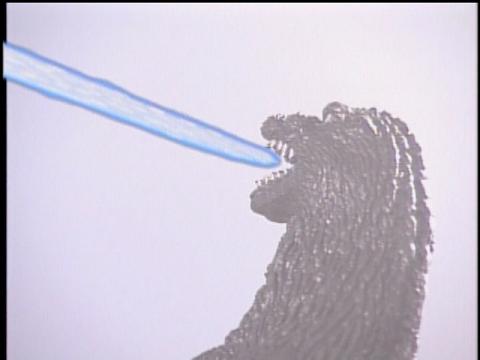
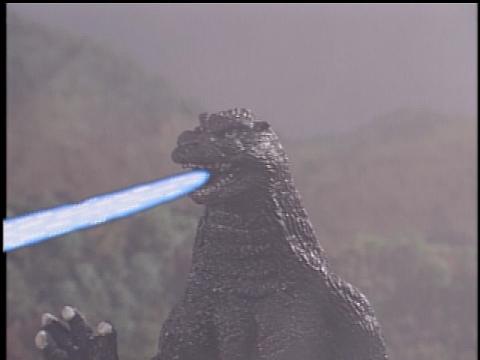
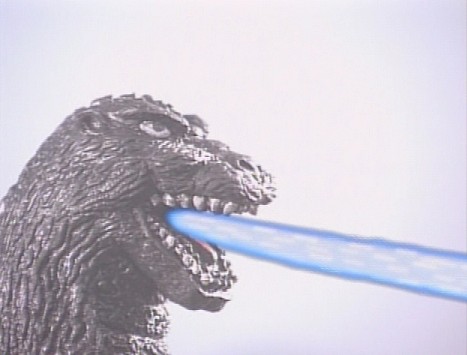
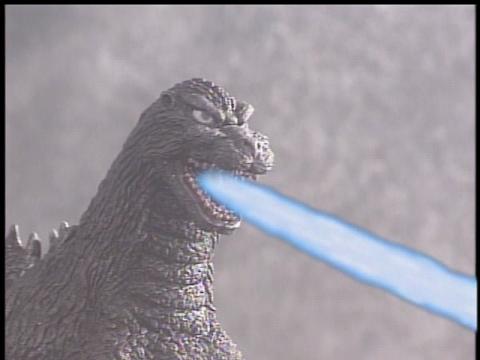
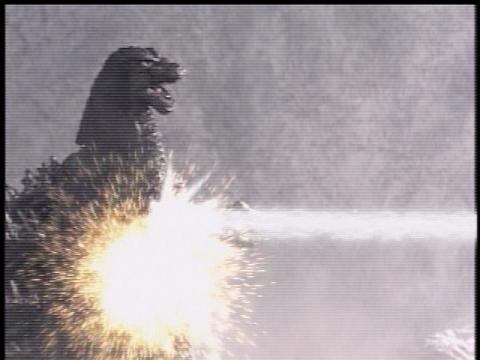
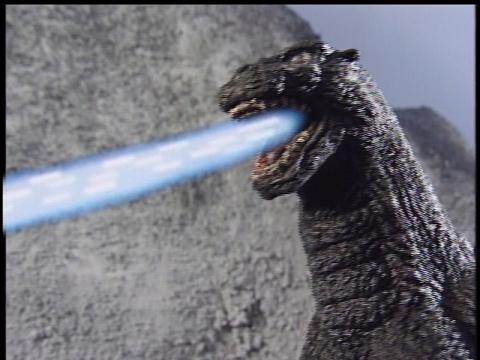
Godzilla continues to fire his ray
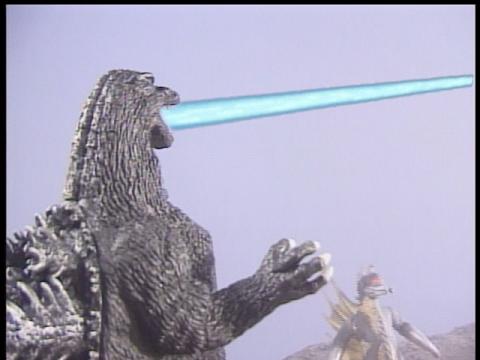
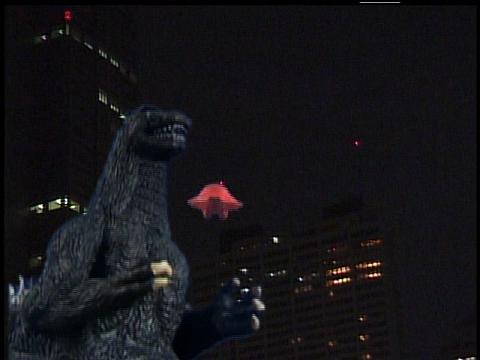
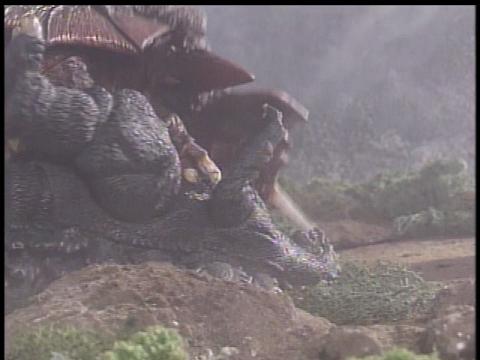
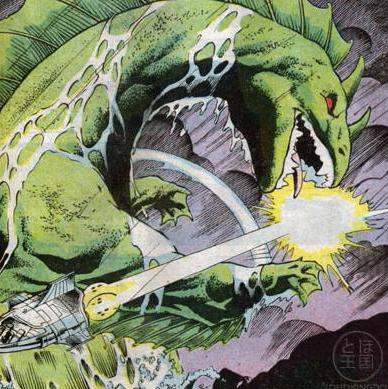
Godzilla fires his ray at Hedorah
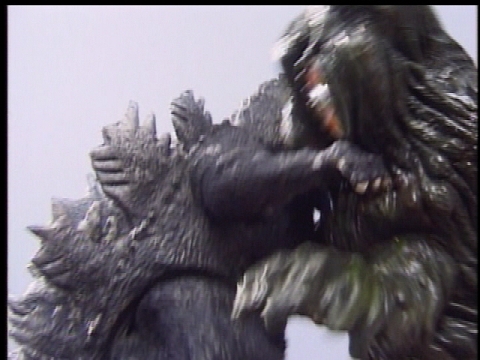
Hedorah dives on Godzilla
Hedorah strikes Godzilla with his own ray
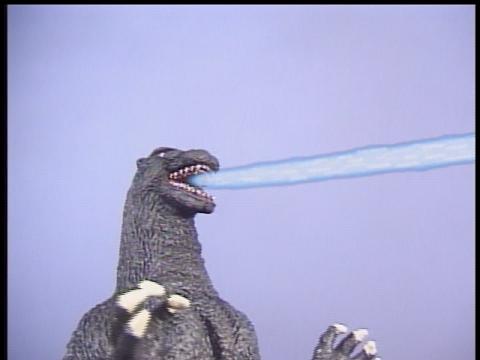
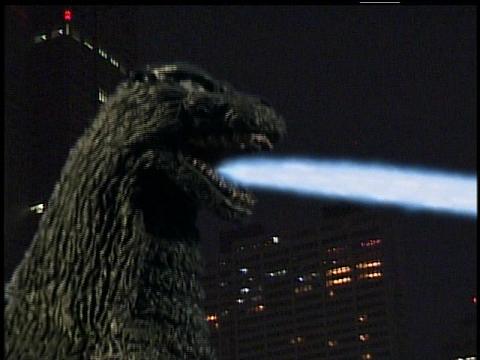
Godzilla fires his ray at Hedorah
Godzilla and Hedorah clash
Godzilla
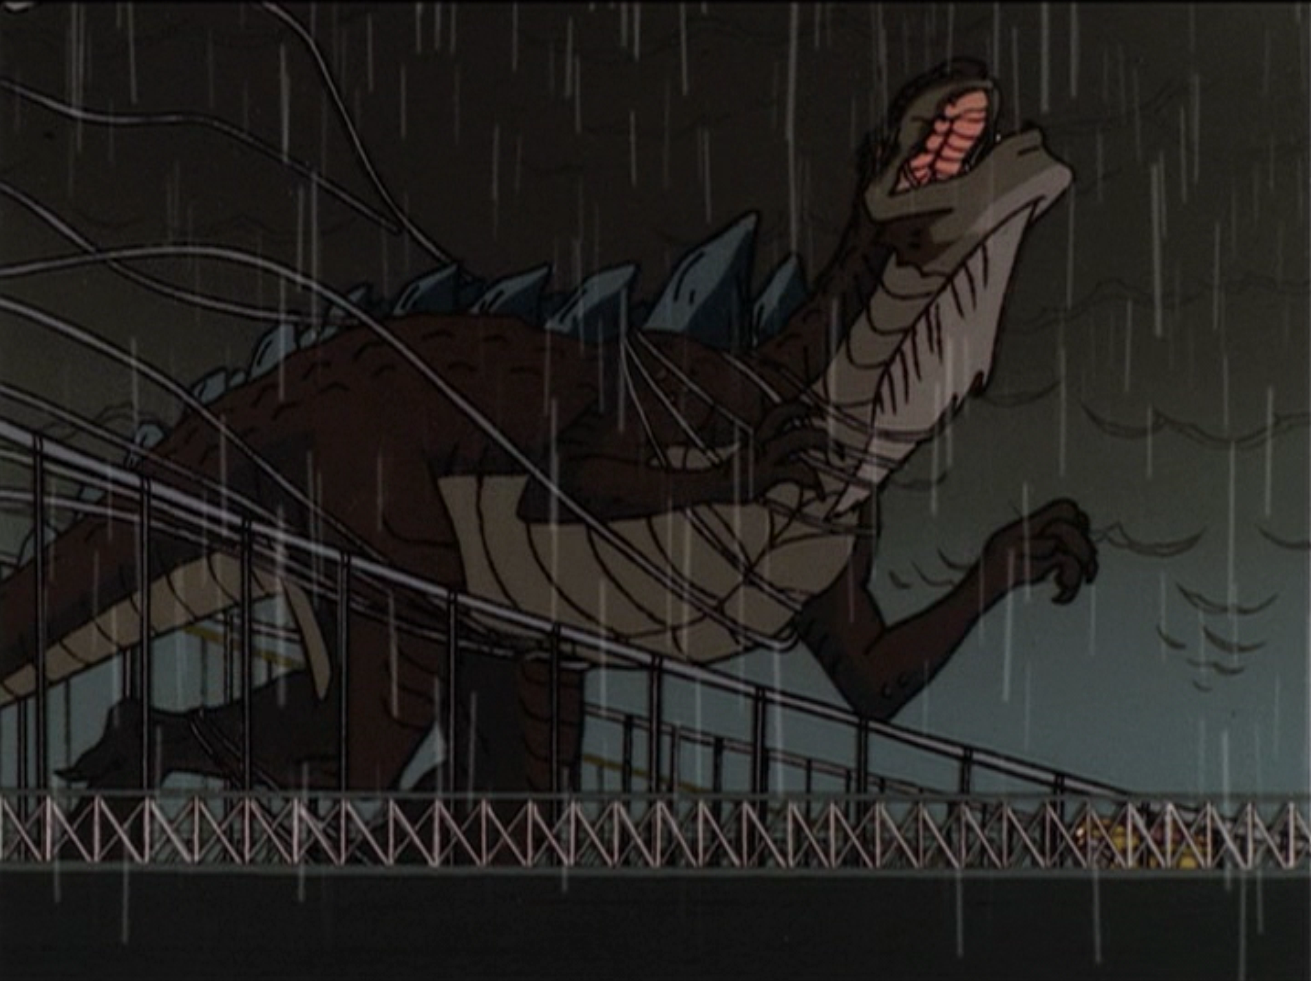
Godzilla is drenched in acid rain
Godzilla covered in poison gas
Godzilla and all the monsters feel the impact of the explosion
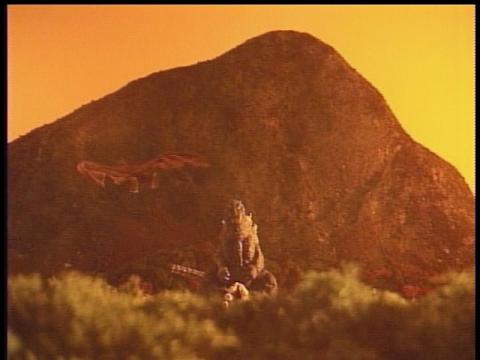
Godzilla and Rodan observe the Meteor
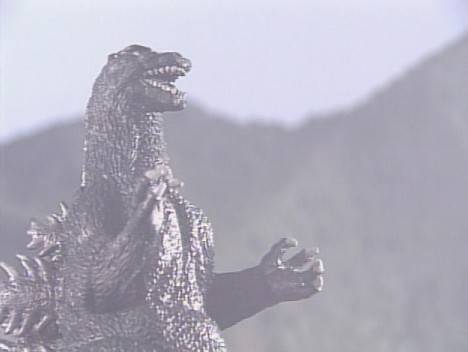
Godzilla shows appreciation
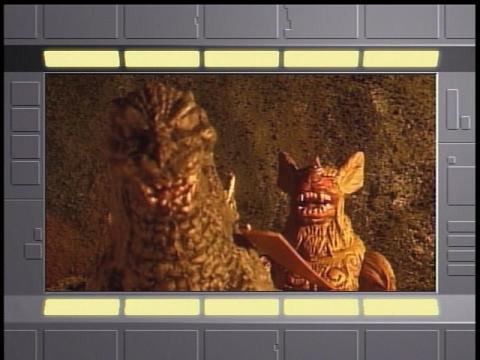
Godzilla looks for King Caesar
All the monsters congratulate Godzilla
Godzilla stands victorious
Godzilla spins in the air
Godzilla's ray does a 180
Gigan sees the ray fires overhead
Godzilla fires his ray aimlessly into the sky
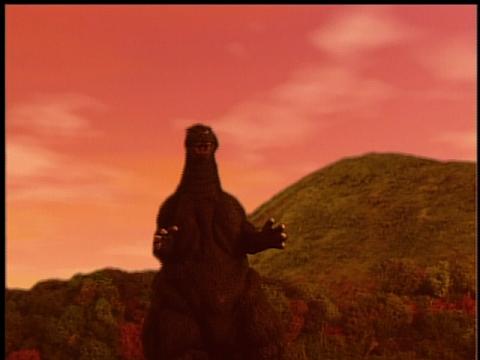
A green aura surrounds Godzilla
Godzilla closes his eyes
Godzilla
Godzilla
Godzilla has arrived
On the Command Center's big screen, King Caesar taps and releases Godzilla's inner power
Godzilla meditates
Godzilla accepts Gigan's challenge
Godzilla realizes something is coming
Godzilla on Torema's screen
Godzilla marches past King Caesar
Godzilla refuses to listen to King Caesar
Godzilla is confronted
Godzilla heads out to battle
Godzilla sees Gigan
Godzilla is being scanned
Rodan flies away with Godzilla
Rodan picks up Godzilla
Godzilla on Torema's screen
Godzilla
Godzilla charges
Godzilla
Godzilla
Godzilla confronts Gigan
Godzilla and Torema head back to Godzilla Island
Torema flies up to Godzilla
Godzilla fires his ray at the cybot
Godzilla lets go of Torema's ship as she flies away
The real Godzilla fires his ray
Godzilla faces the fake Godzilla
Godzilla holding Torema's ship
Godzilla saves Torema
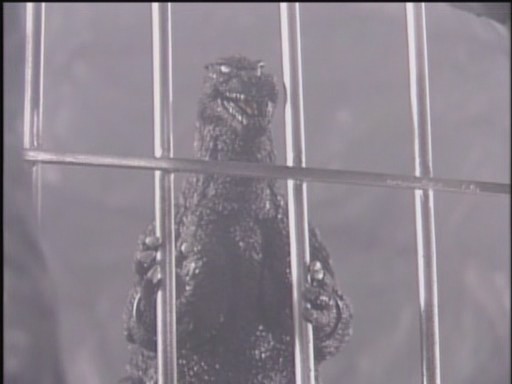
The bars go down on Godzilla
Godzilla in handcuffs
Godzilla confined to his cave
Godzilla and Rodan respond to the General's command
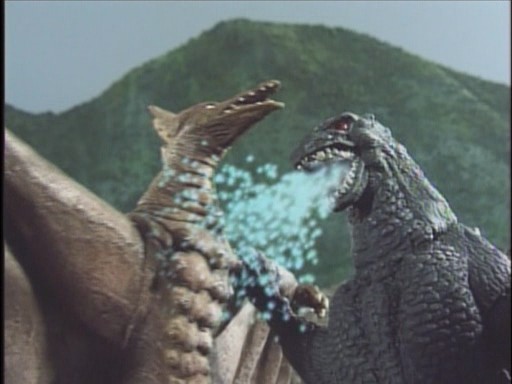
Godzilla fires his ray at King Ghidorah
Godzilla fires his ray at Rodan
Godzilla fires his ray at King Ghidorah
Godzilla fires his ray
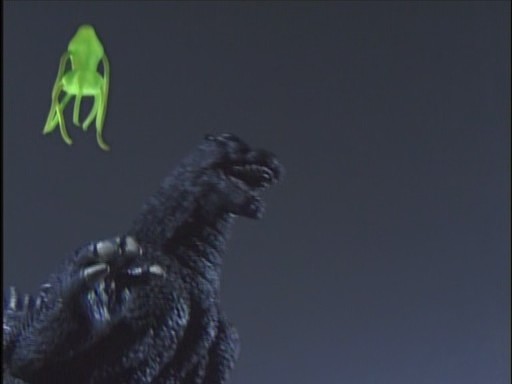
Godzilla calls out SpaceGodzilla
Godzilla looks on
Godzilla calls for Junior
Godzilla fires his ray at the Maser Cannon
Godzilla approaches the Maser Cannon
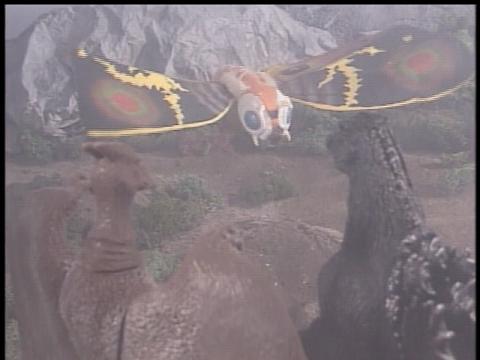
Mothra has a plan
Mothra confronts Godzilla and Rodan
Godzilla and Rodan work on a plan
Rodan flies Godzilla to safety
Rodan picks up Godzilla
Godzilla goes down
Godzilla is hit by the Maser Tank
Godzilla finds Junior
Godzilla approaches the Maser Cannon
Godzilla, Rodan and Anguirus sees Torema with Junior
Godzilla on the big screen looking for Junior
Destoroyah tackles Godzilla
Godzilla fires his ray
Godzilla is hit
Godzilla challenges Destoroyah
Godzilla stares down Gigan
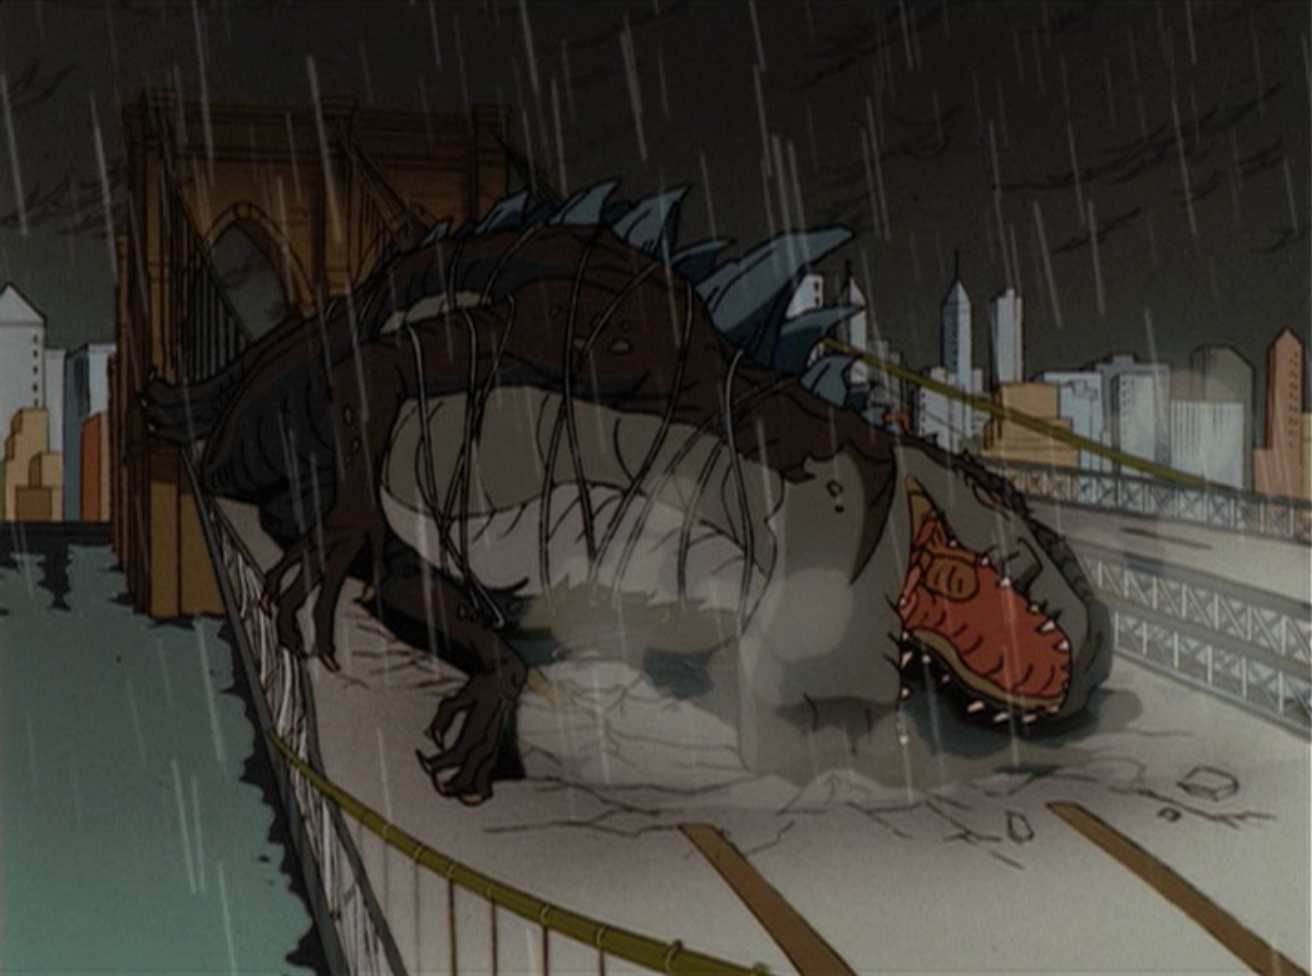
Godzilla is still down from the acid rain
Godzilla finishes off what's left of Hedorah
Godzilla marches forward


GODZILLA (1998)
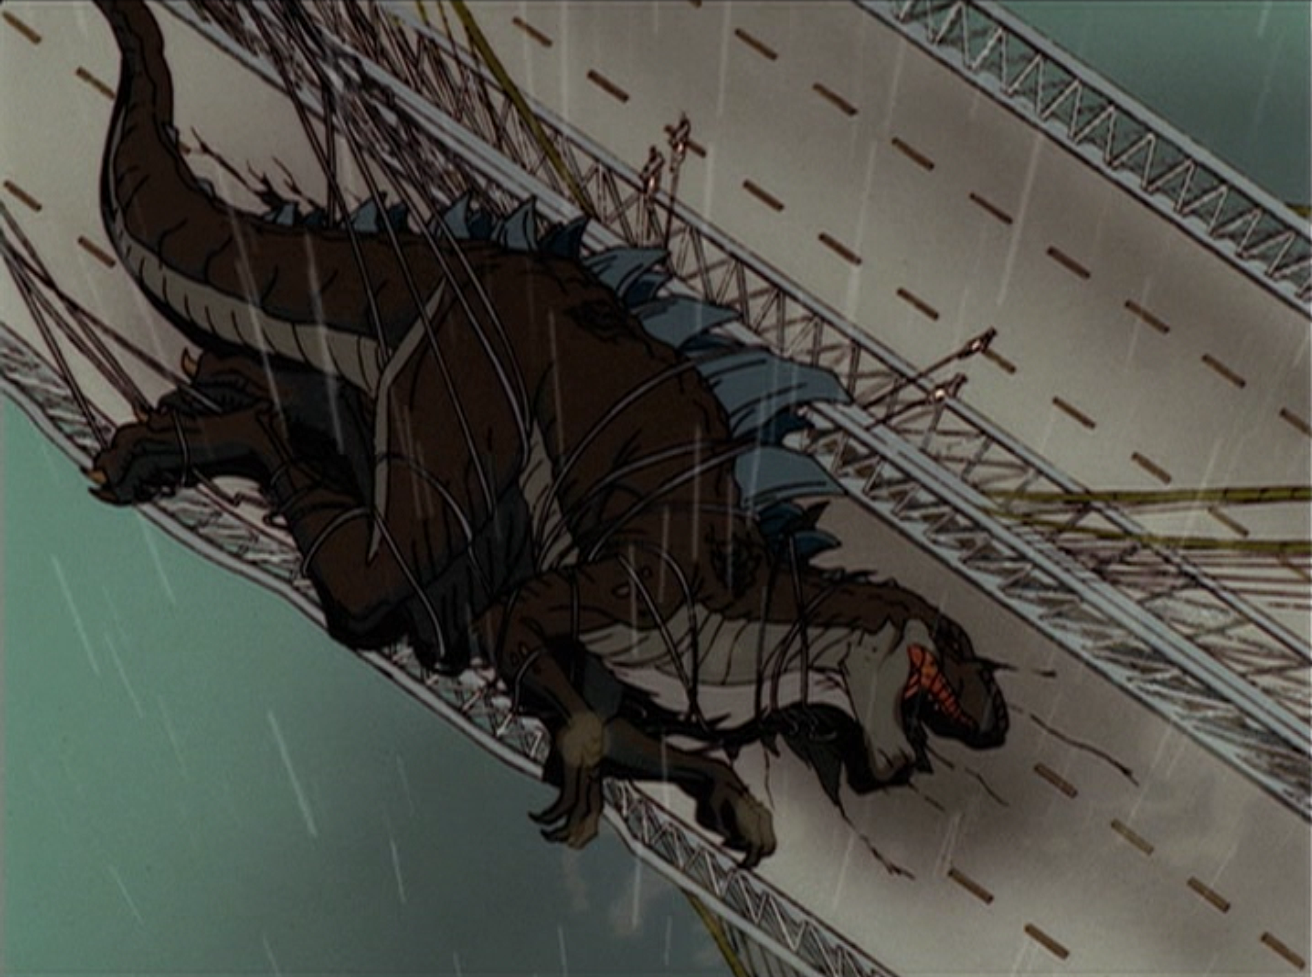
- Main article: ToraGoji.
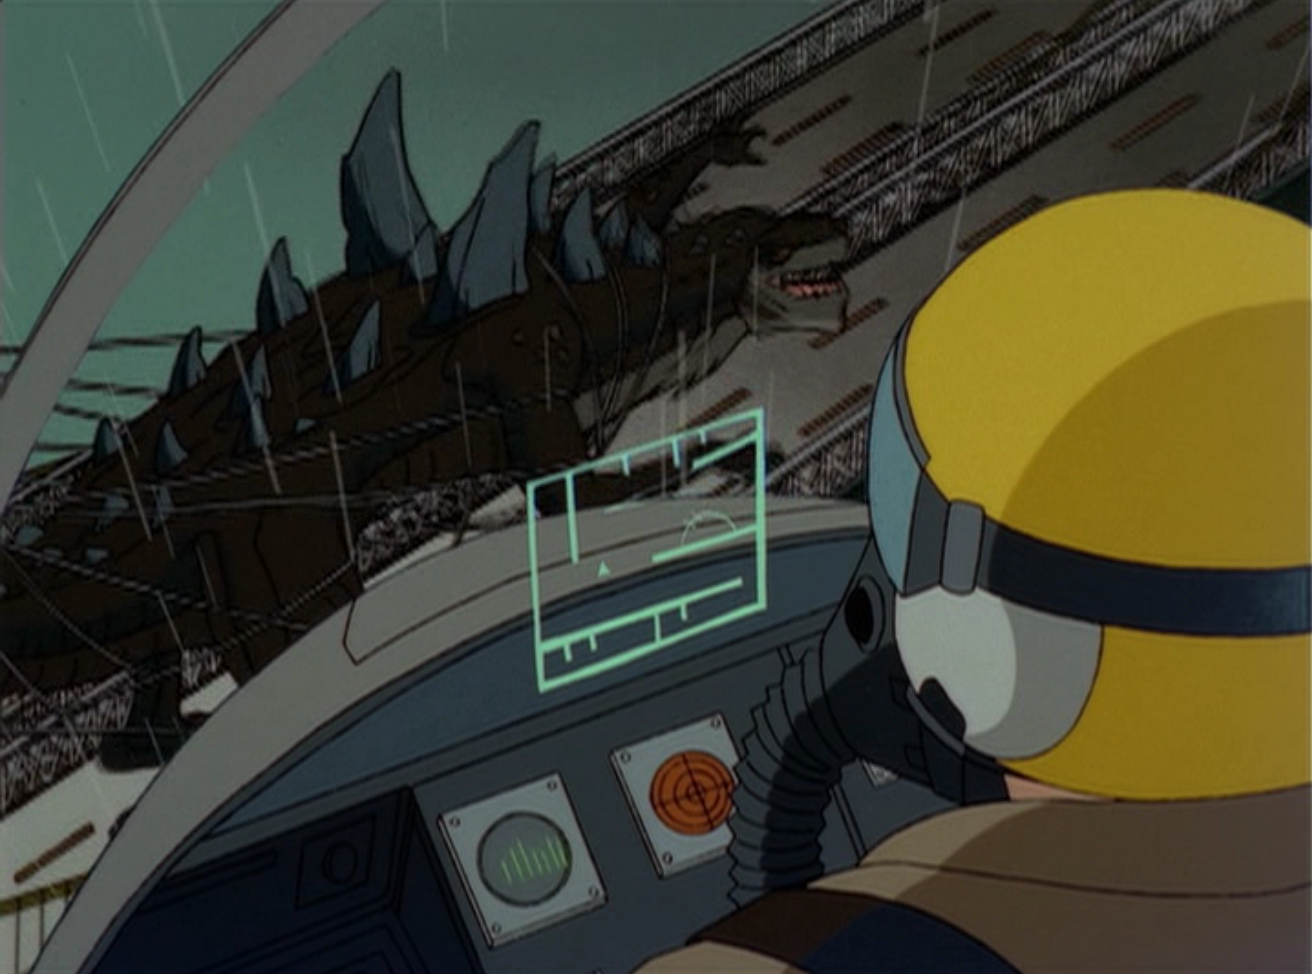
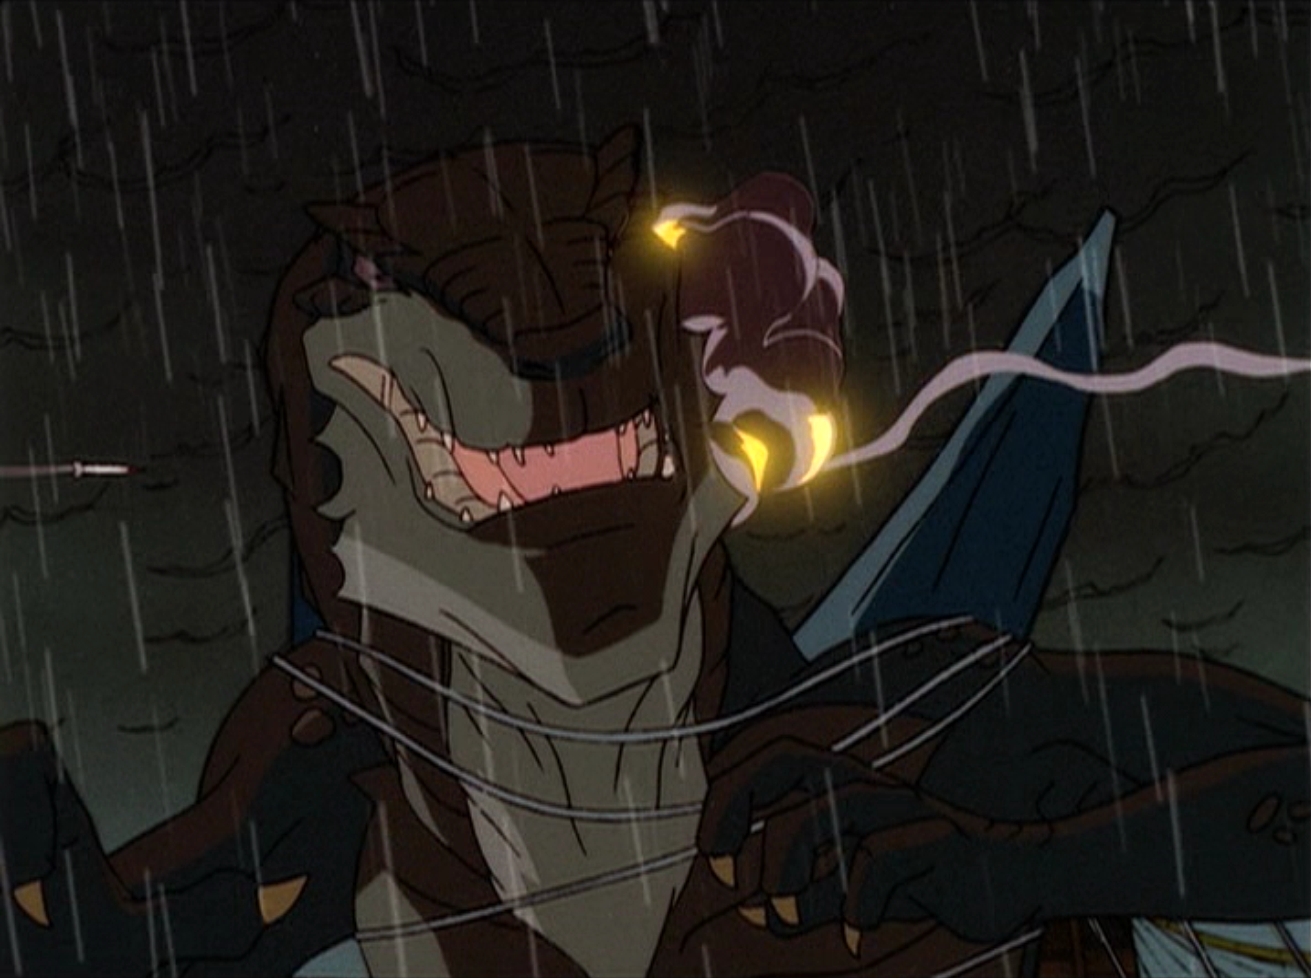
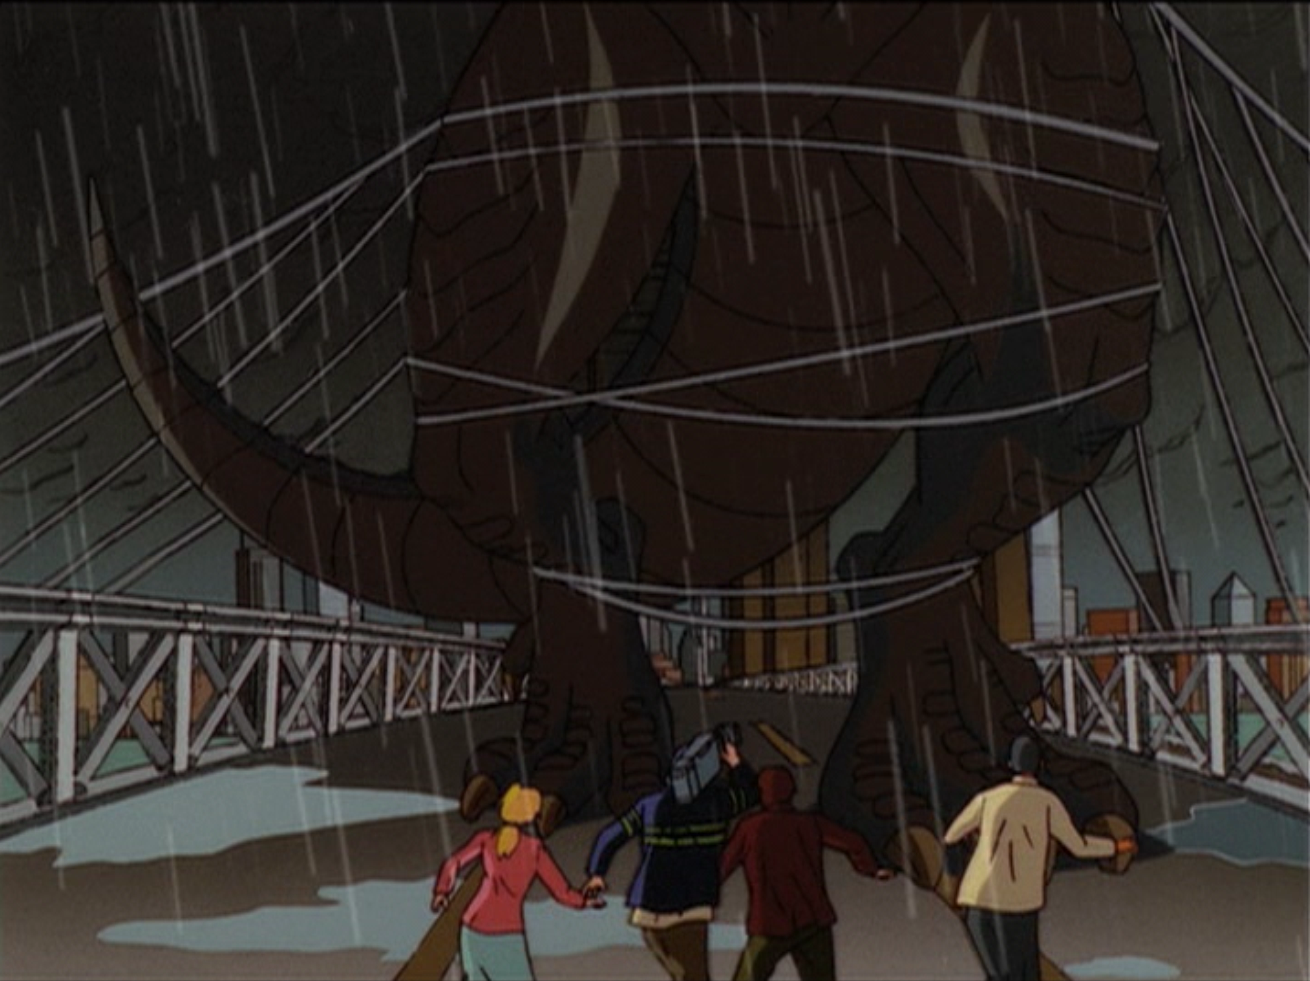
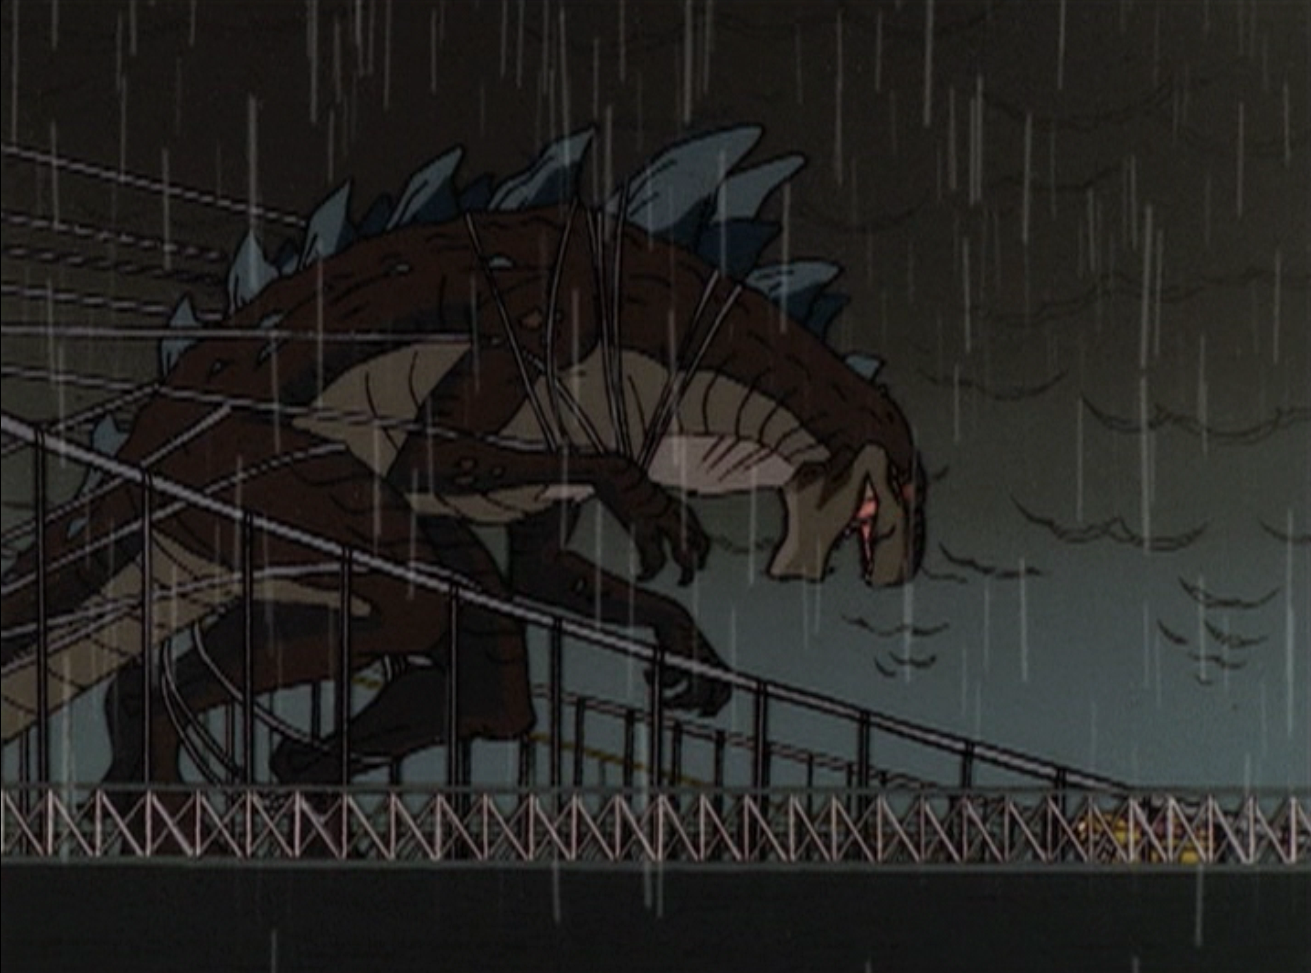
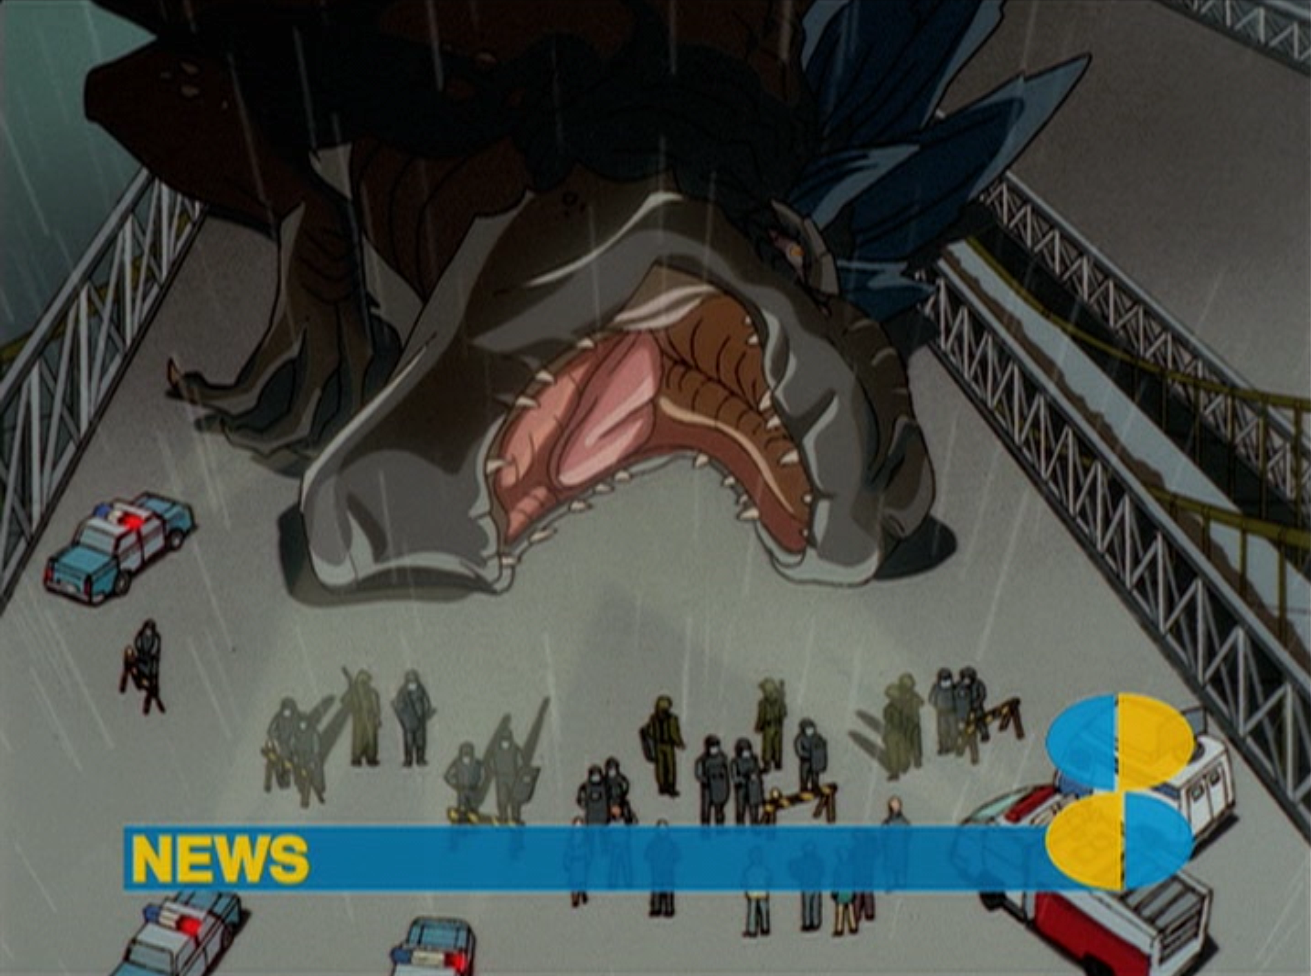
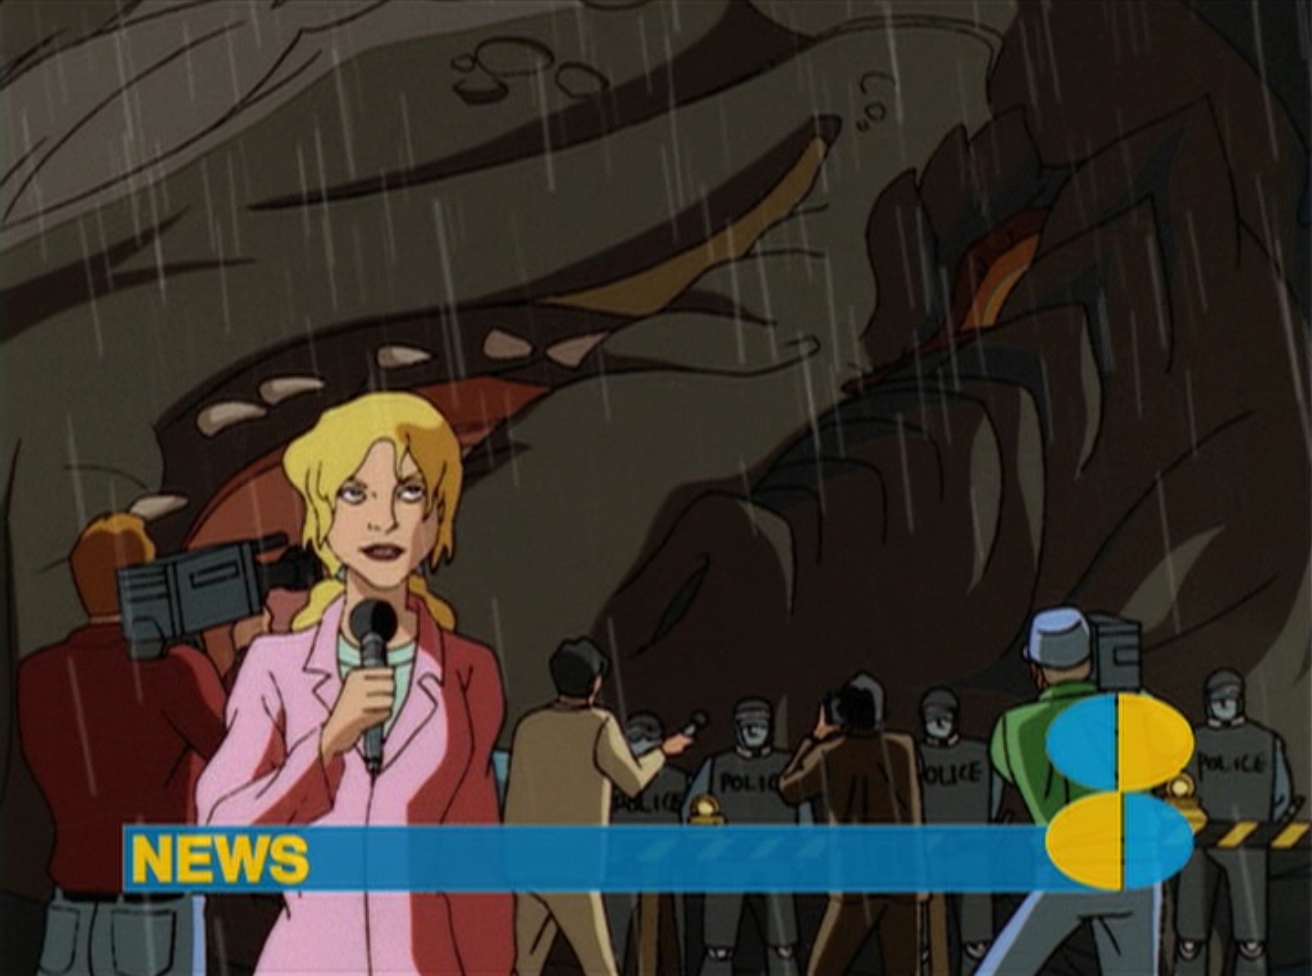
Godzilla: The Series
- Main articles: Godzilla/Godzilla: The Series/Gallery, Cyber Godzilla/Gallery.
Godzilla in the first episode of Godzilla: The Series


Godzilla 2000: Millennium
- Main article: MireGoji.
Godzilla vs. Megaguirus
- Main article: MireGoji.
Godzilla, Mothra and King Ghidorah: Giant Monsters All-Out Attack
- Main article: GMKGoji.
Godzilla Against Mechagodzilla
- Main article: KiryuGoji.
Godzilla: Tokyo S.O.S.
- Main article: KiryuGoji.
Godzilla: Final Wars
- Main article: FinalGoji.
Always: Sunset on Third Street 2
- Main article: Third Street Godzilla.
Godzilla (2014)
- Main article: GareGoji.
Shin Godzilla
- Main article: ShinGoji.
GODZILLA: Planet of the Monsters
- Main article: AniGoji.
GODZILLA: City on the Edge of Battle
- Main article: AniGoji.
GODZILLA: The Planet Eater
- Main article: AniGoji.
Godzilla: King of the Monsters
- Main article: DougheGoji.
Designs
- Click on a specific Godzilla design to go to its article and view pictures associated with that specific suit, like screenshots, behind the scenes pictures, post-production photos, toys, and more.
SanDaikaijuGoji (MosuGoji)
NankaiGoji (DaisensoGoji)
AllKaijuGoji (SoshingekiGoji)
HedoGoji (SoshingekiGoji)
GiganGoji (SoshingekiGoji)
MekaGoji (MegaroGoji)
MekaGyakushuGoji (MegaroGoji)
GhidoGoji (BioGoji)
DesuGoji (MogeGoji)
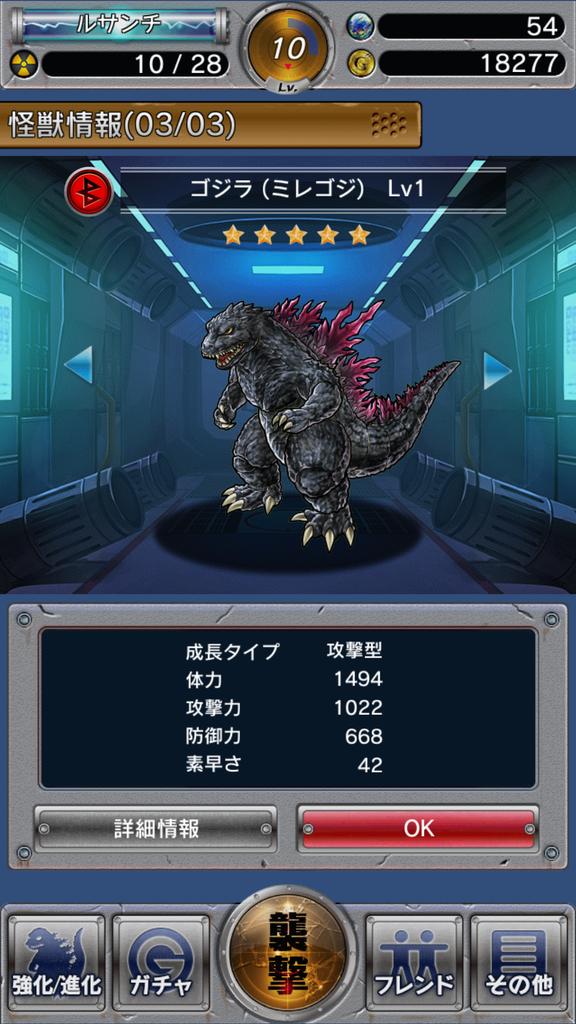
GiraGoji (MireGoji)
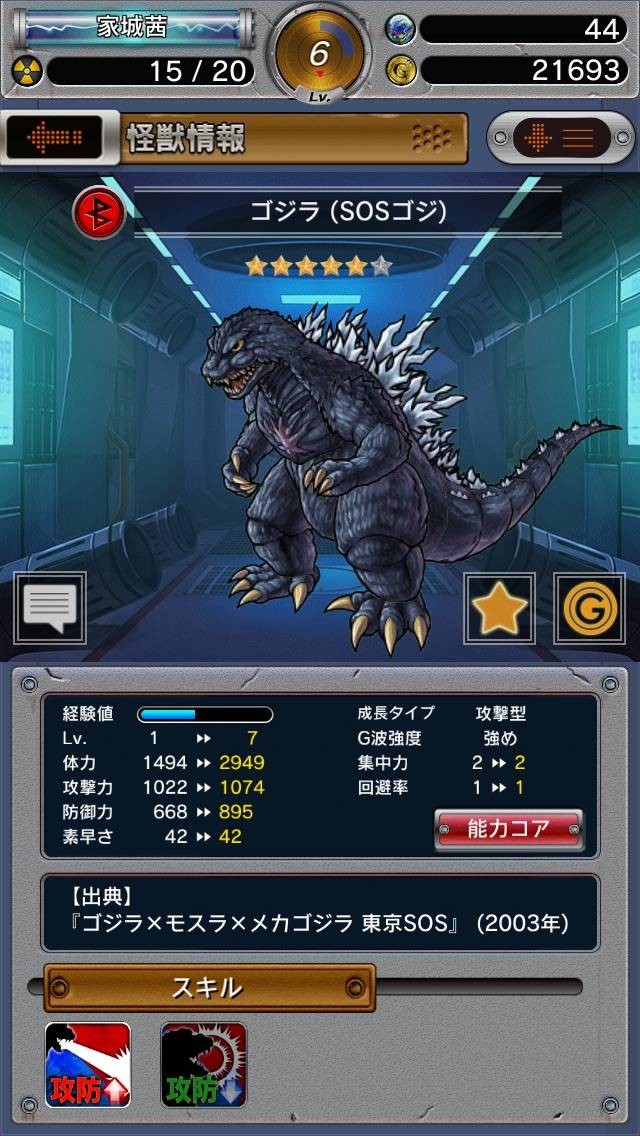
SOSGoji (KiryuGoji)


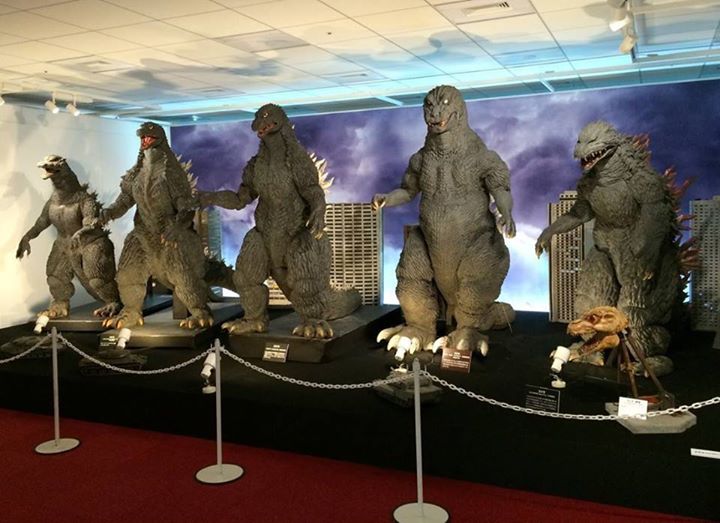
From left to right and top to bottom: 1972 Gigan, Mechani-Kong, SoshingekiGoji, Gorosaurus, MusukoGoji, and King Kong
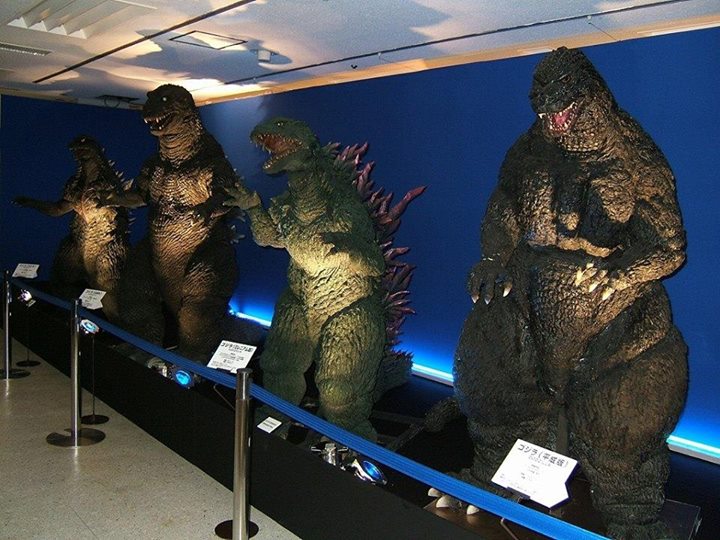
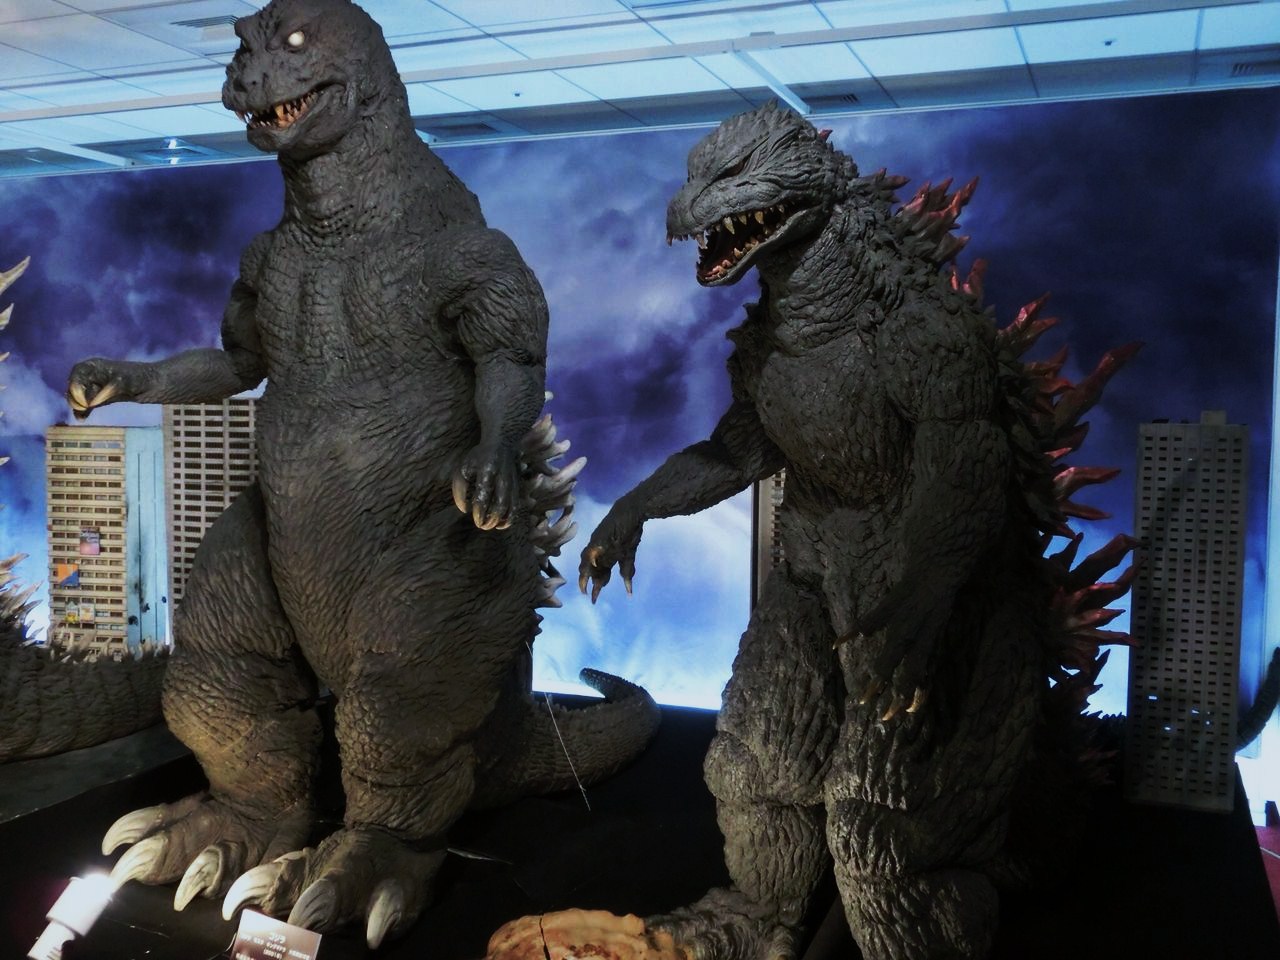
From left to right: FinalGoji, SOSGoji, KiryuGoji, GMKGoji and MireGoji
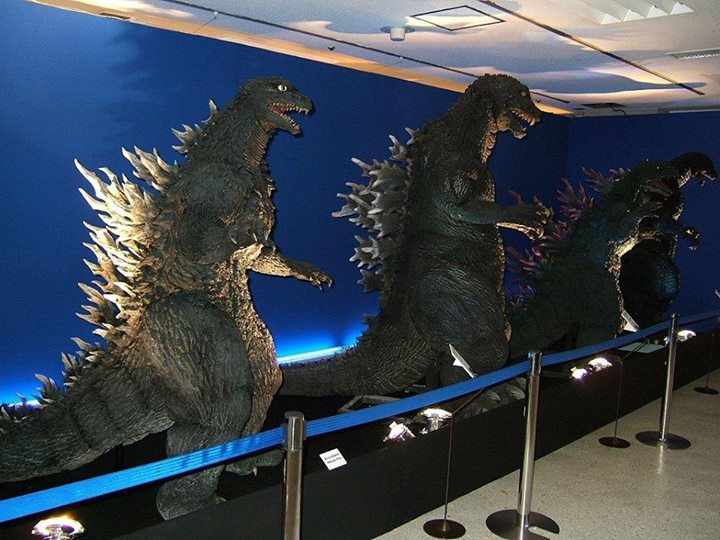
GMKGoji and MireGoji
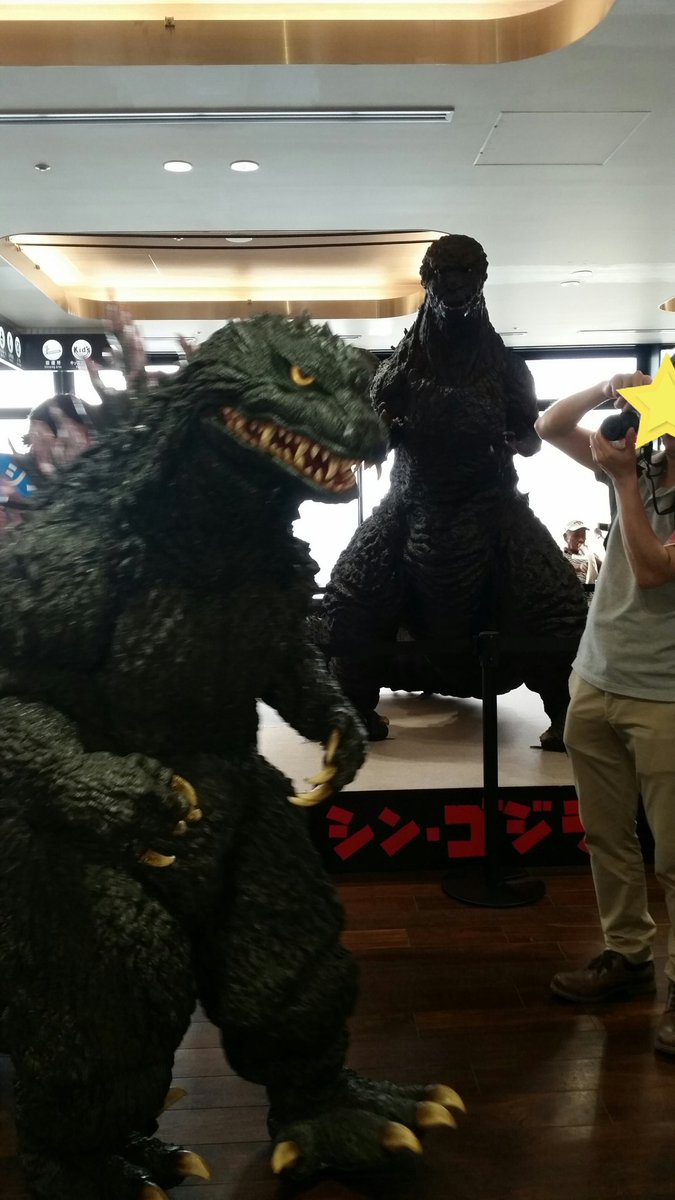
MireGoji standing in front of a statue of ShinGoji
All Toho Monsters Pictorial Book page 230
All Toho Monsters Pictorial Book page 231
All Toho Monsters Pictorial Book page 232

Video games
Godzilla's first ever sprite from the Commodore 64 game
Godzilla in Monster's Fair
Godzilla's Sprite in Gojira-Kun
Godzilla in Godzilla vs. 3 Major Monsters
Godzilla in The Movie Monster Game
Godzilla in Godzilla: Monster of Monsters
Godzilla in Circus Caper
Godzilla in Godzilla 2: War of the Monsters
Godzilla in the Godzilla arcade game
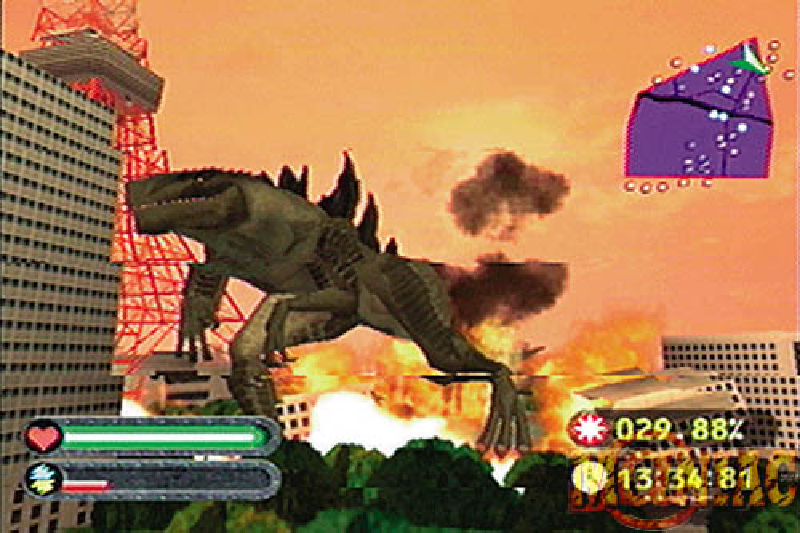
Godzilla-USA in Godzilla Generations
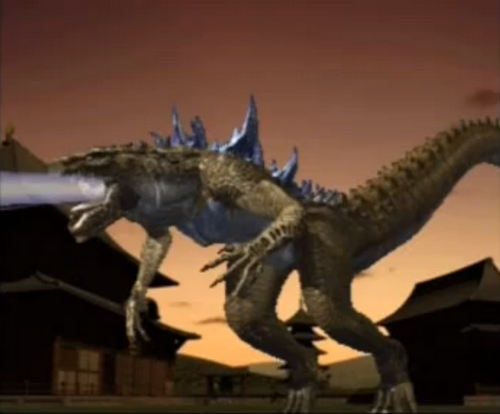
GODZILLA in Godzilla: Trading Battle
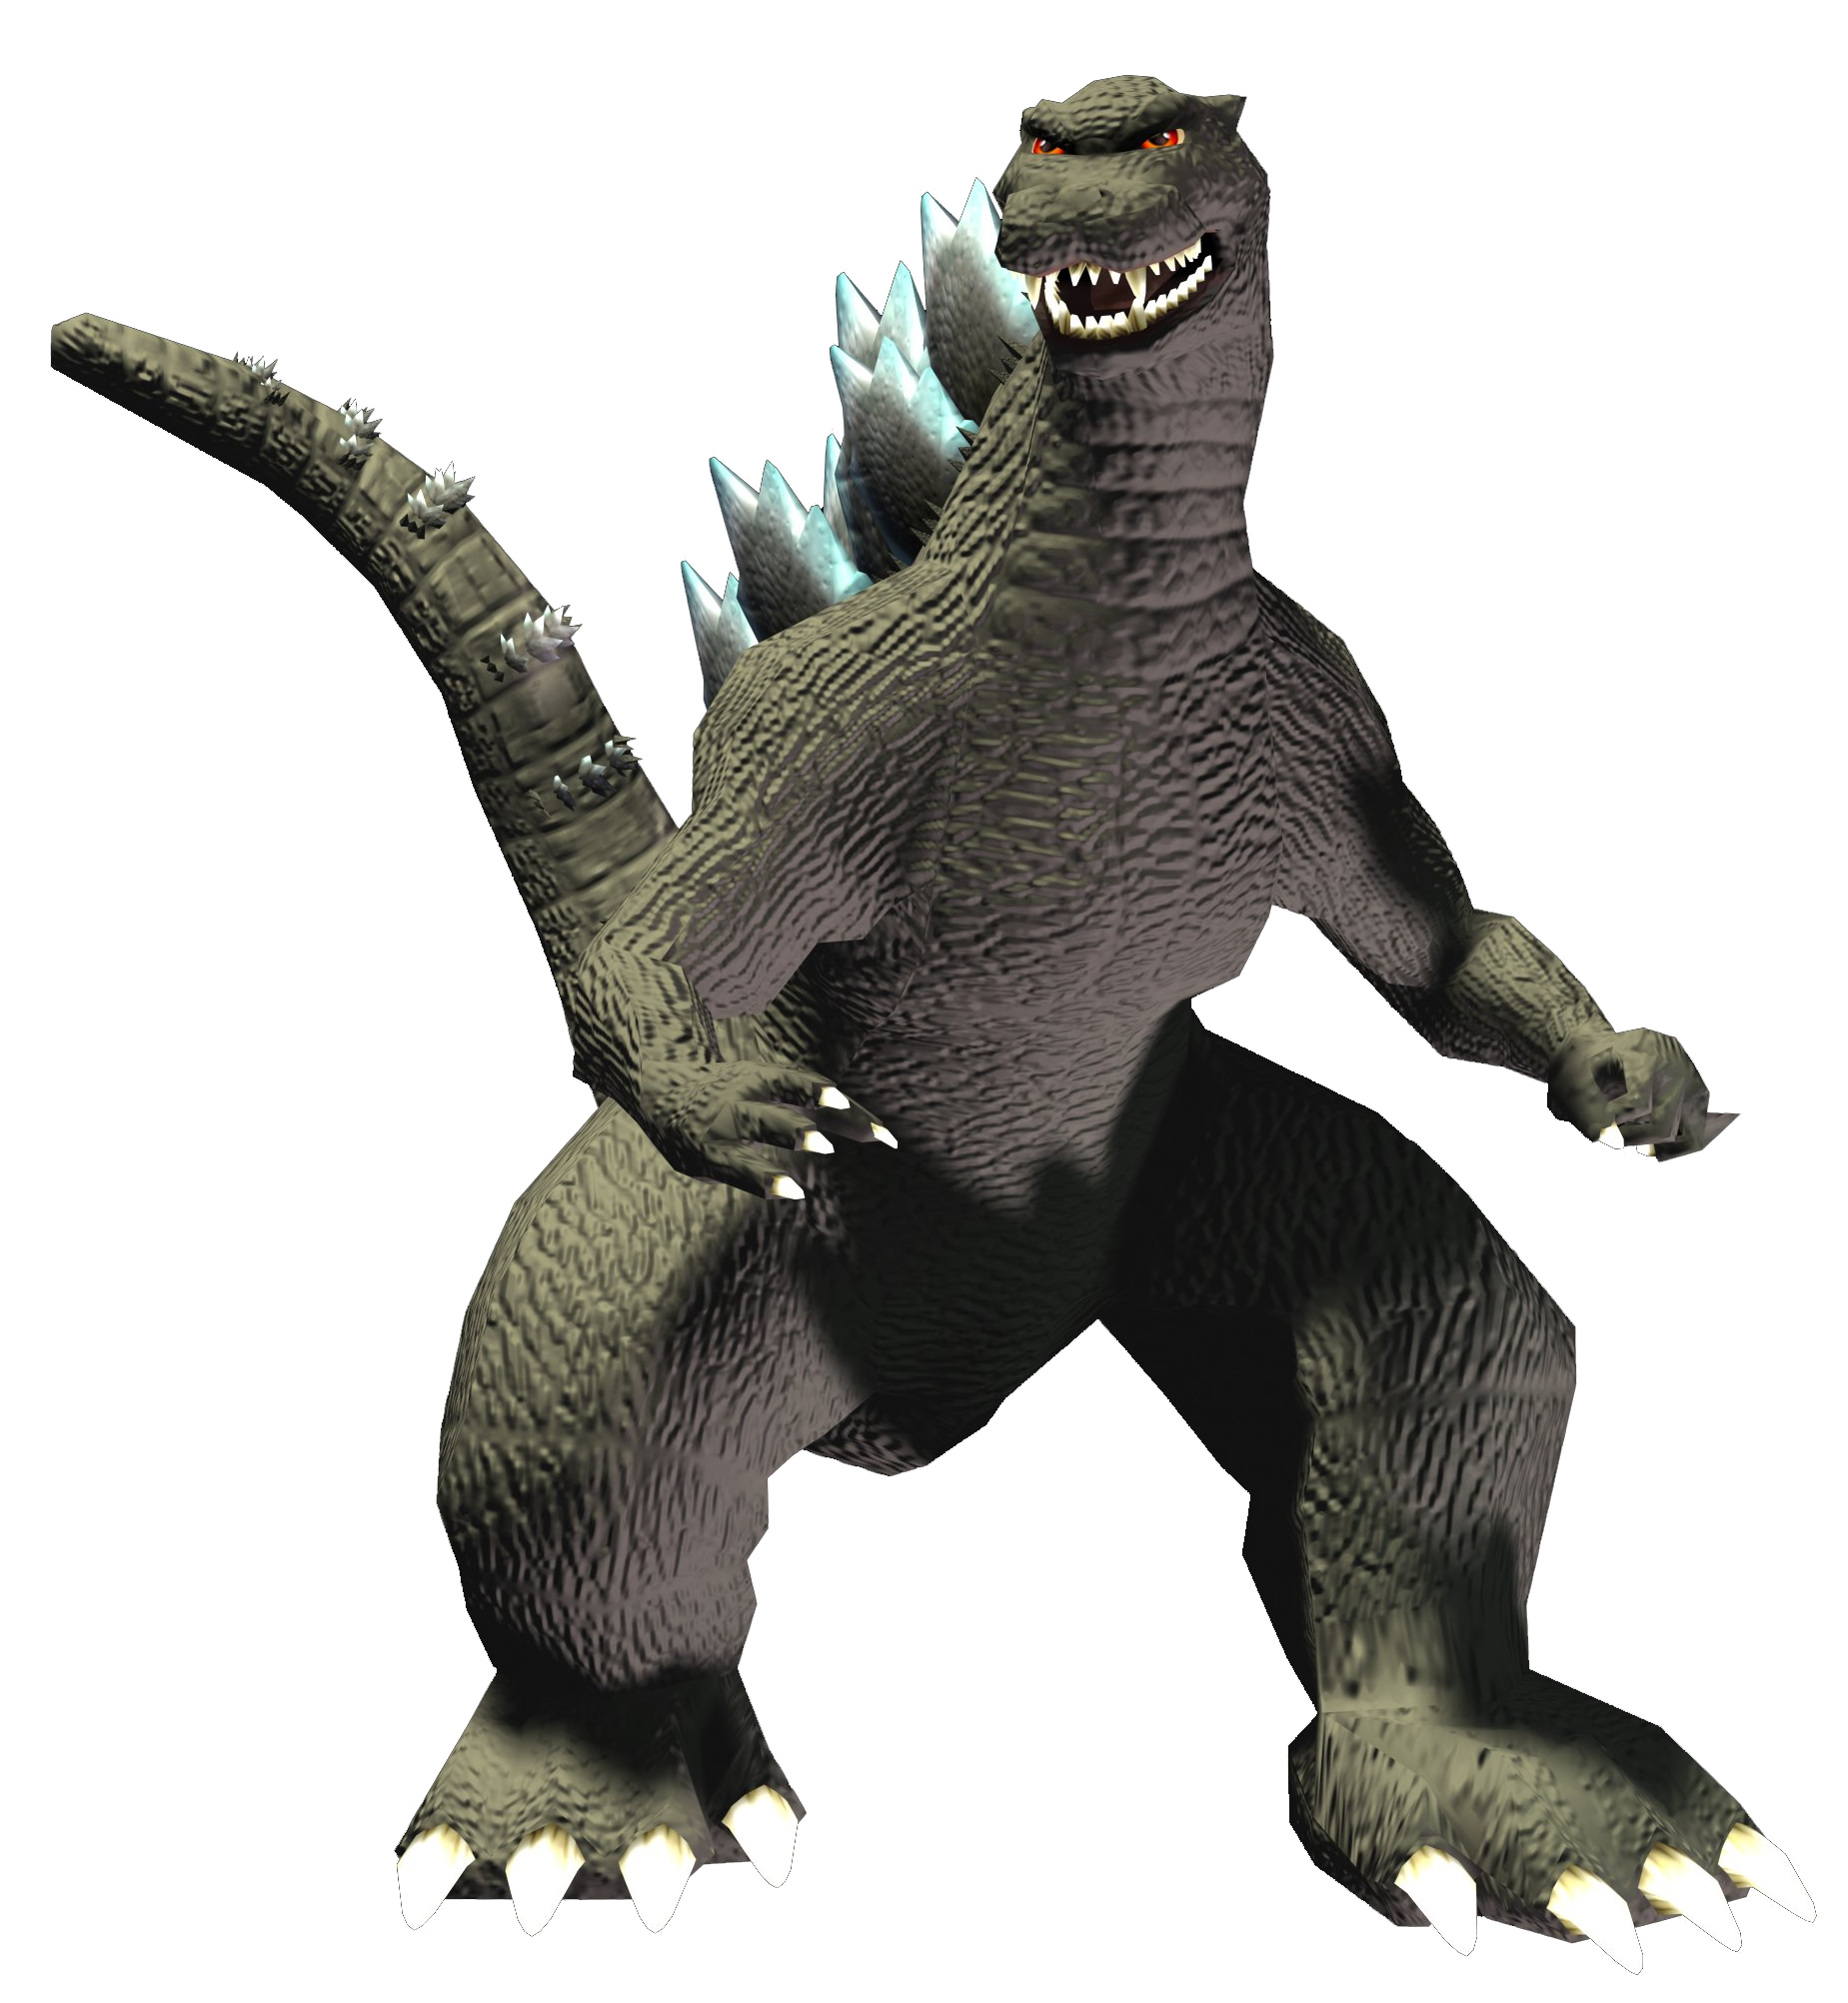
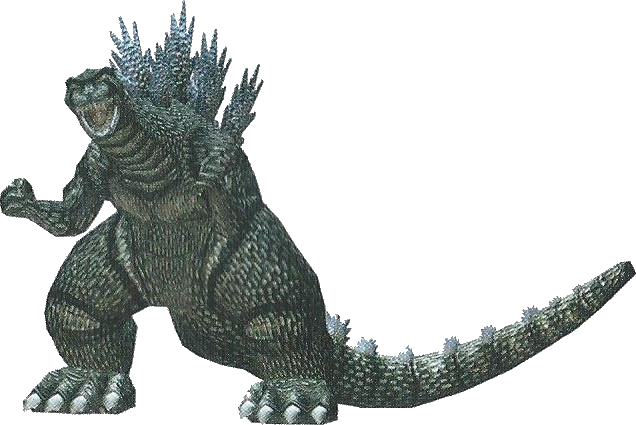
Godzilla 90's in Godzilla: Destroy All Monsters Melee
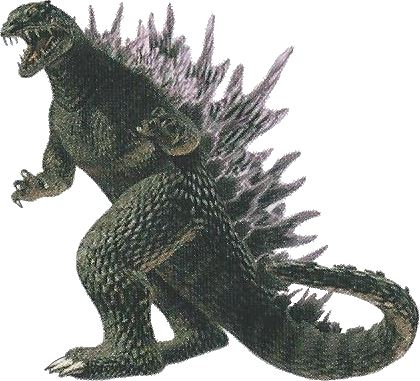
Godzilla 2000 in Godzilla: Destroy All Monsters Melee
Godzilla 2000 in Godzilla: Destroy All Monsters Melee
Godzilla 90's character select screen icon in Godzilla: Destroy All Monsters Melee
Godzilla 2000's character select screen icon in Godzilla: Destroy All Monsters Melee
Godzilla's icon in Godzilla: Domination!
Godzilla's sprite in Godzilla: Domination!
Godzilla's character box from custom mode in Godzilla: Domination!
Godzilla's battle sprite in Godzilla: Domination!
Godzilla's Japanese icon in Godzilla: Domination!
Godzilla's Japanese sprite in Godzilla: Domination!
Godzilla's Japanese character box from versus mode in Godzilla: Domination!
Godzilla's Japanese Battle Sprite in Godzilla: Domination!
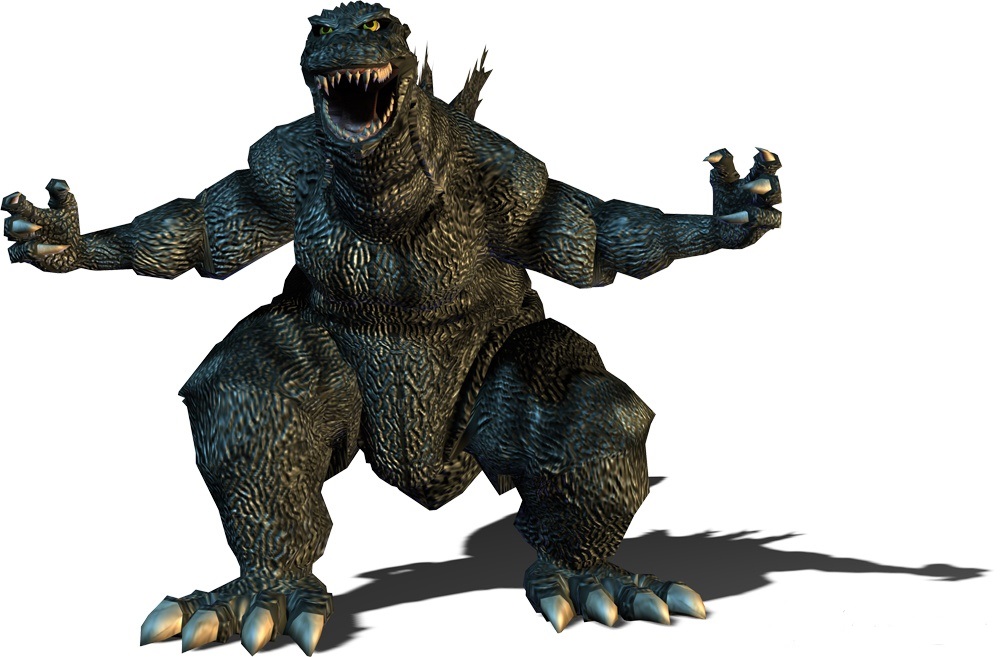
Godzilla 1990's in Godzilla: Save the Earth
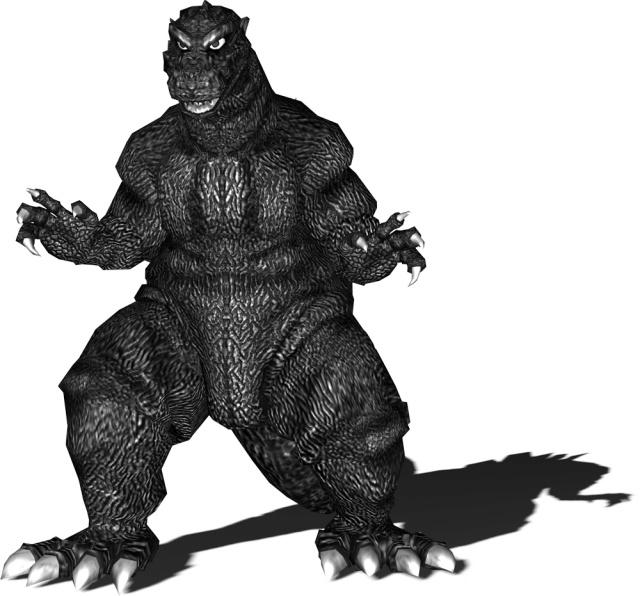
Godzilla 2000 in Godzilla: Save the Earth
Godzilla 1990's in Godzilla: Unleashed
Godzilla 1954 in Godzilla: Unleashed
Godzilla in Godzilla Unleashed: Double Smash
Godzilla slot machine icon from CR Godzilla 3S-T Battle
Godzilla's slot in Godzilla On Monster Island
Godzilla in Godzilla On Monster Island
Godzilla in Godzilla: Smash3
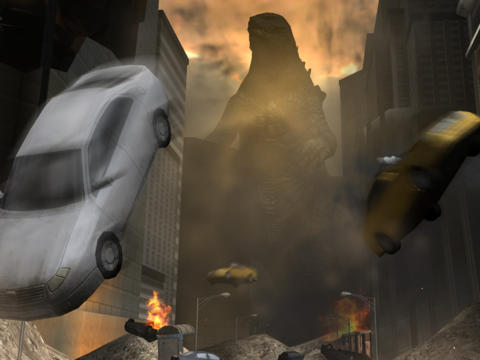
Godzilla in Godzilla: Strike Zone
Godzilla in City Shrouded in Shadow
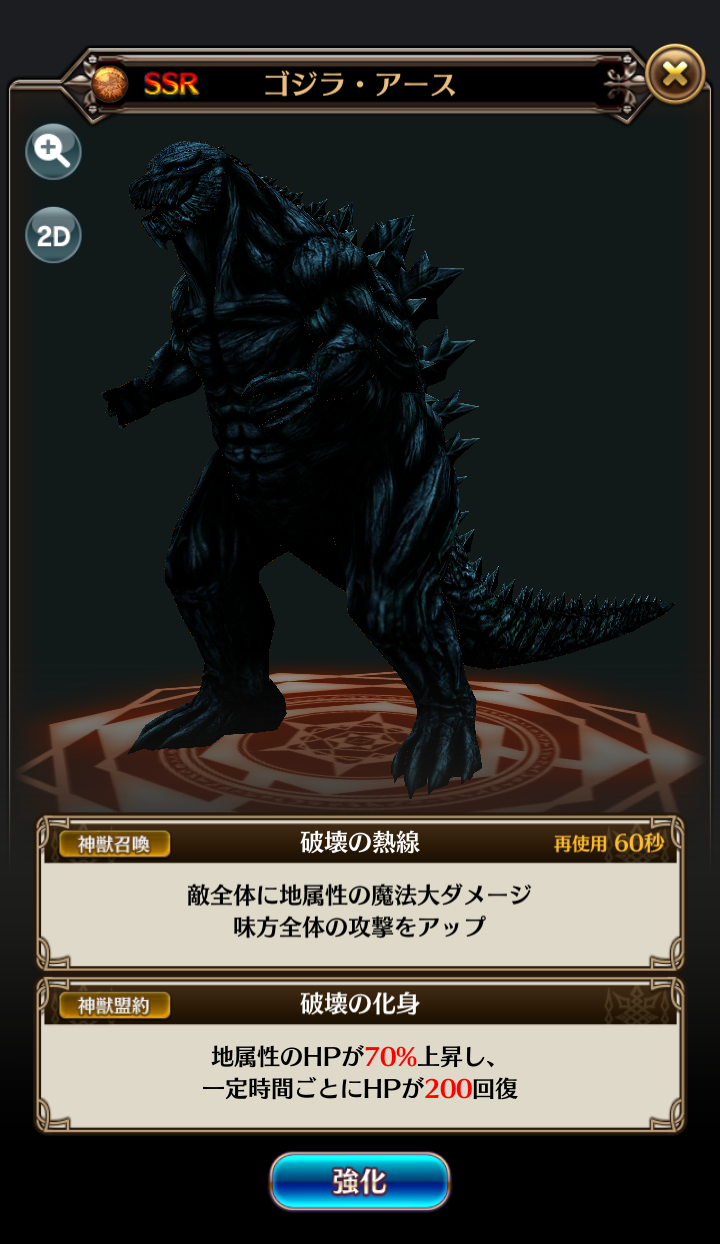
Godzilla Filius in Eternal Linkage
Godzilla Earth in Eternal Linkage
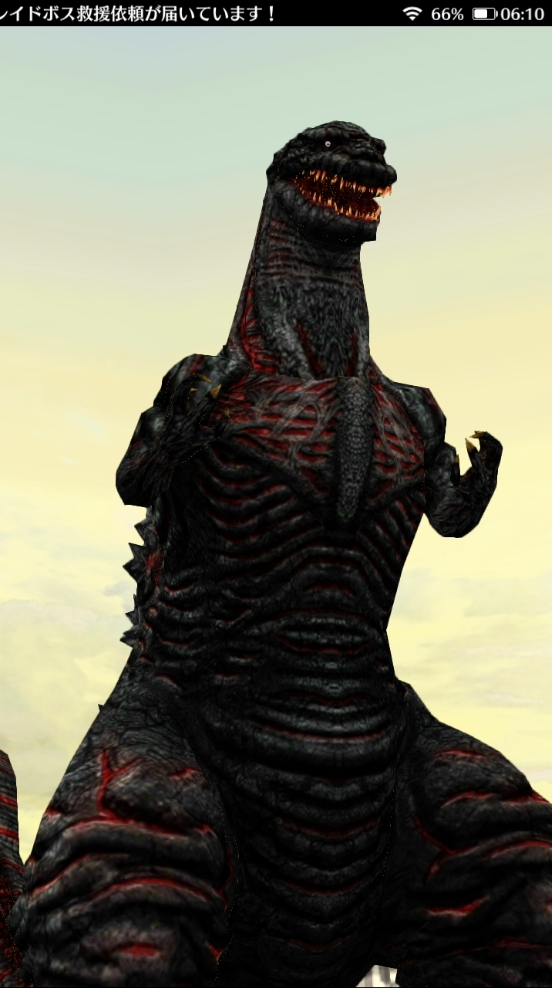
Shin Godzilla in Eternal Linkage


Comics
Marvel Comics
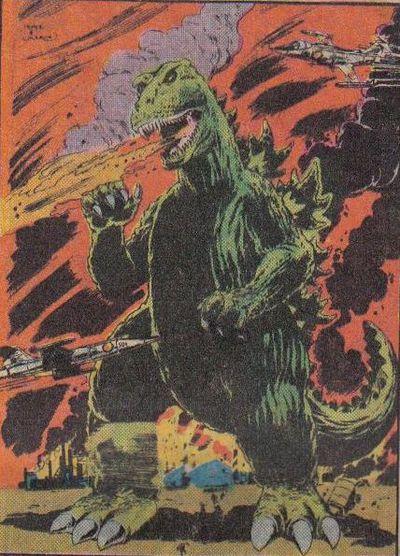
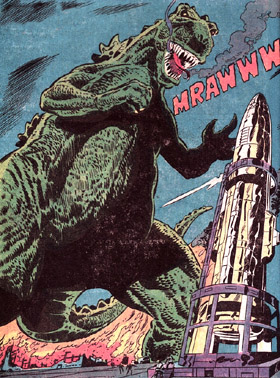
Godzilla in Marvel's Godzilla, King of the Monsters
Godzilla mutation
Godzilla mutation returns in The Thing #31
Marvel Godzilla in Mighty Avengers #1, now reverted to his original form
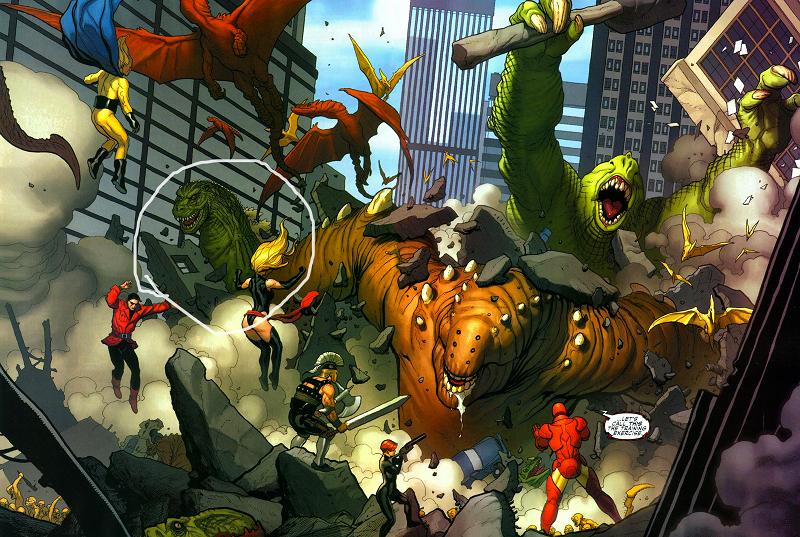
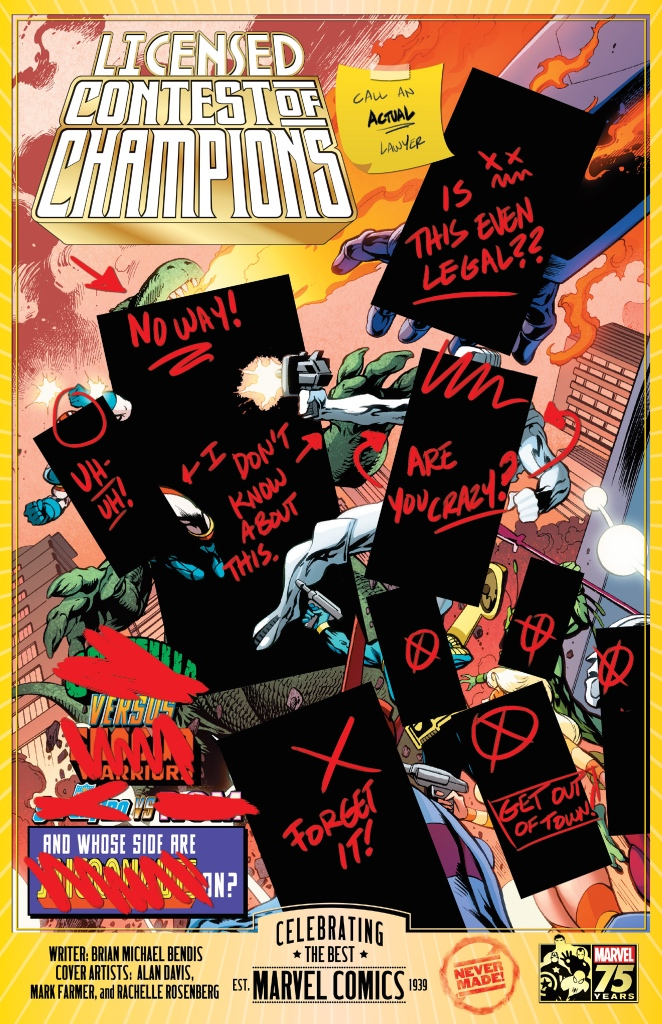
Godzilla fights the Shogun Warriors in Marvel 75th Anniversary Celebration #1

Dark Horse Comics
IDW Comics
Godzilla: Kingdom of Monsters
Godzilla: Rulers of Earth
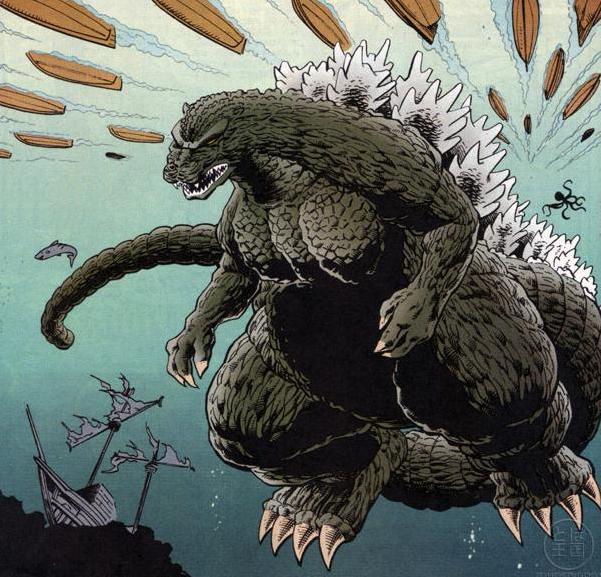
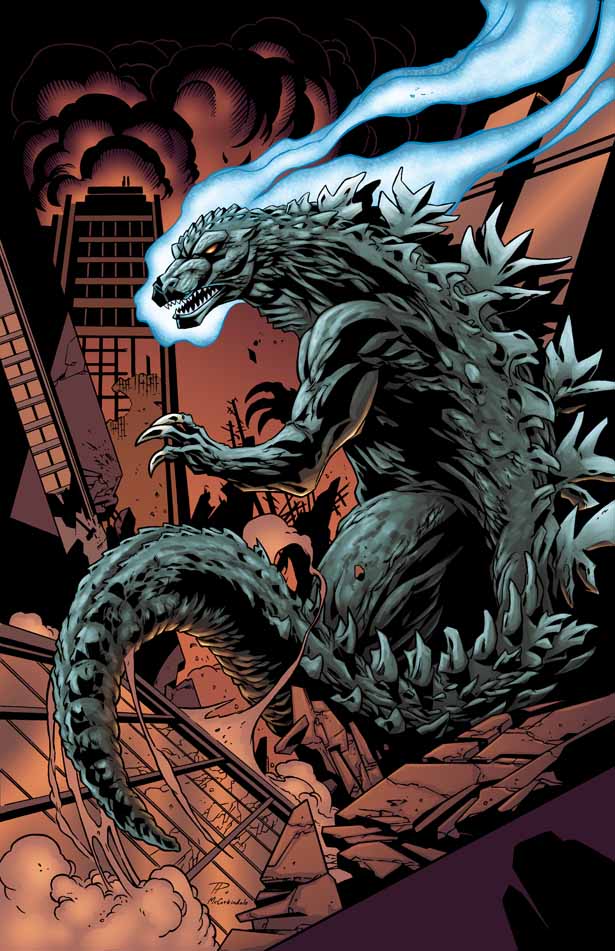
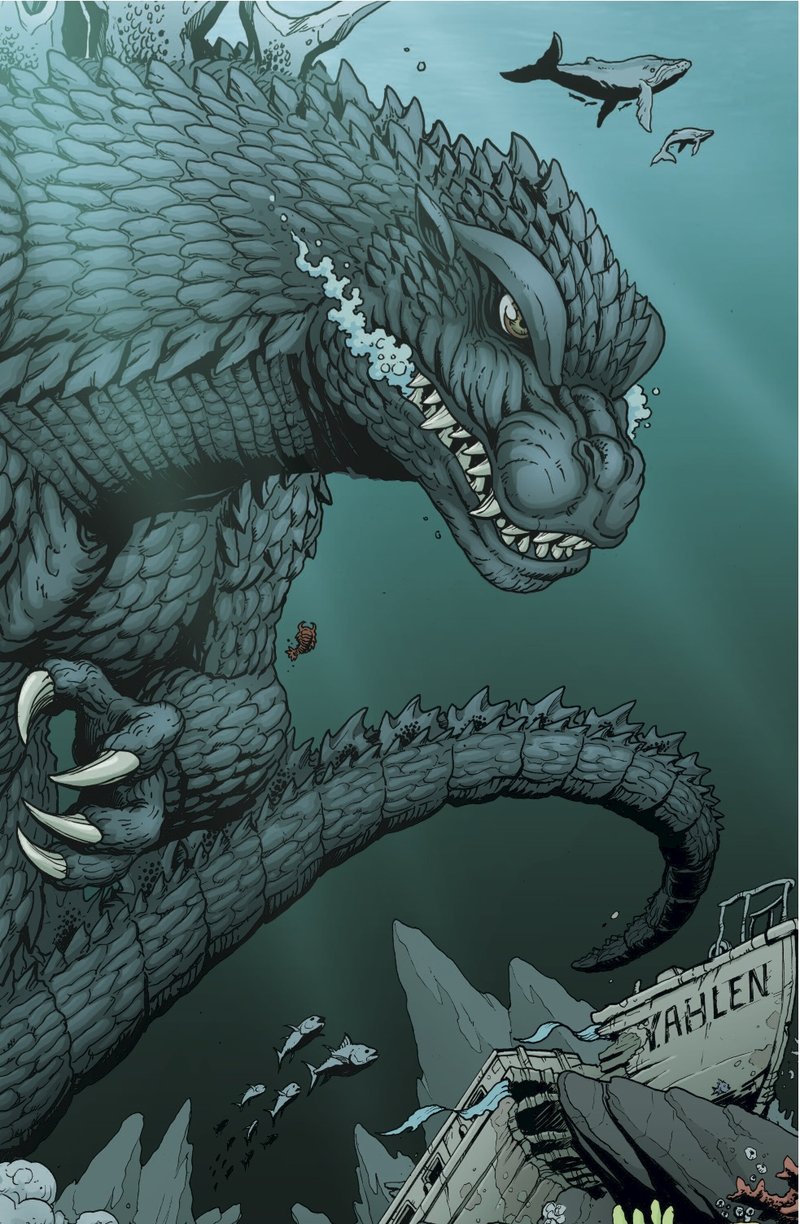
Godzilla in Godzilla: Rulers of Earth #1
Godzilla in Godzilla: Rulers of Earth #1
Godzilla: Cataclysm
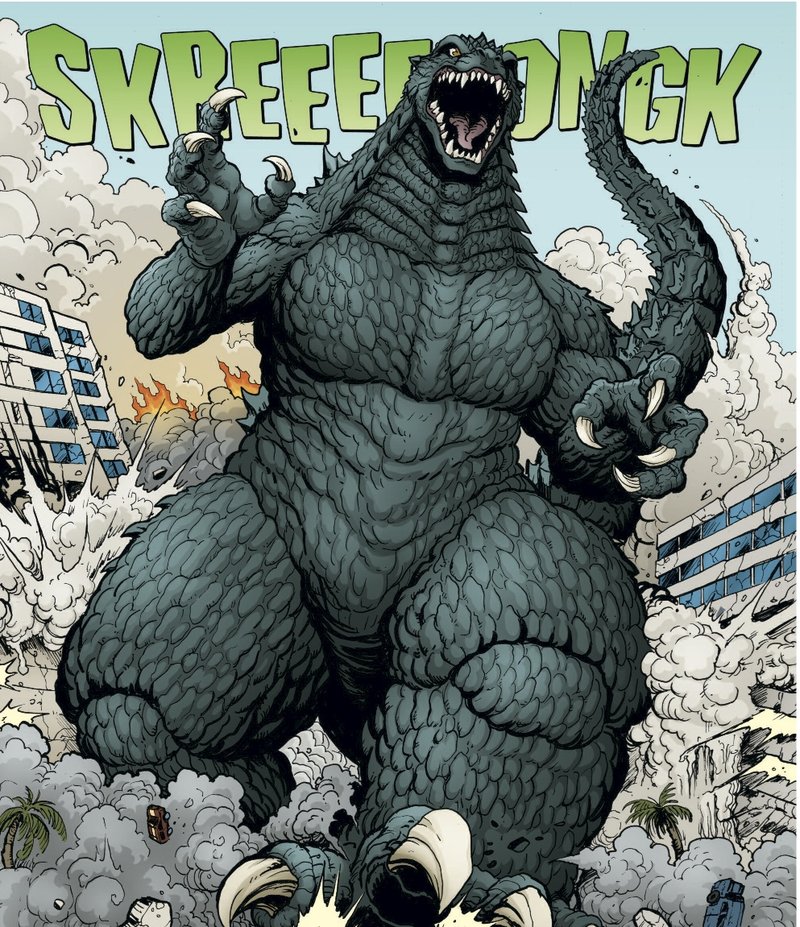
Godzilla in Godzilla: Cataclysm #1
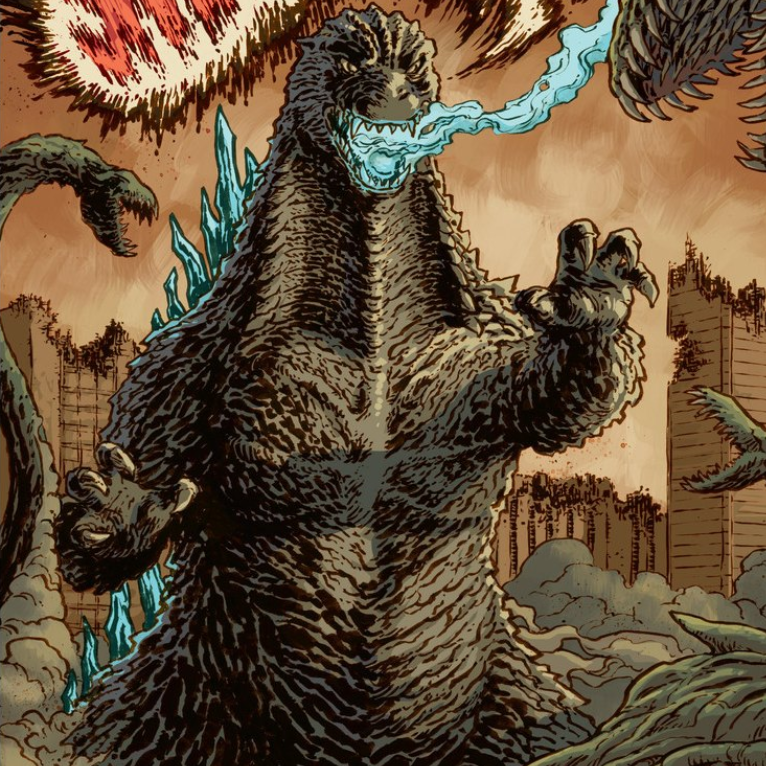
Godzilla: Awakening
Anatomy
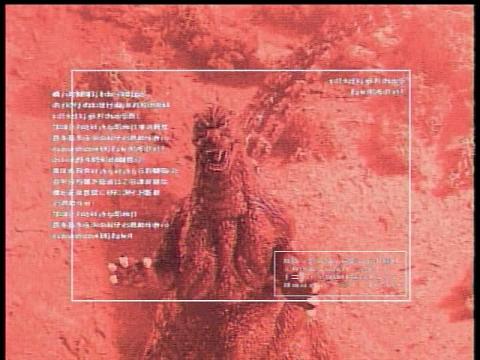
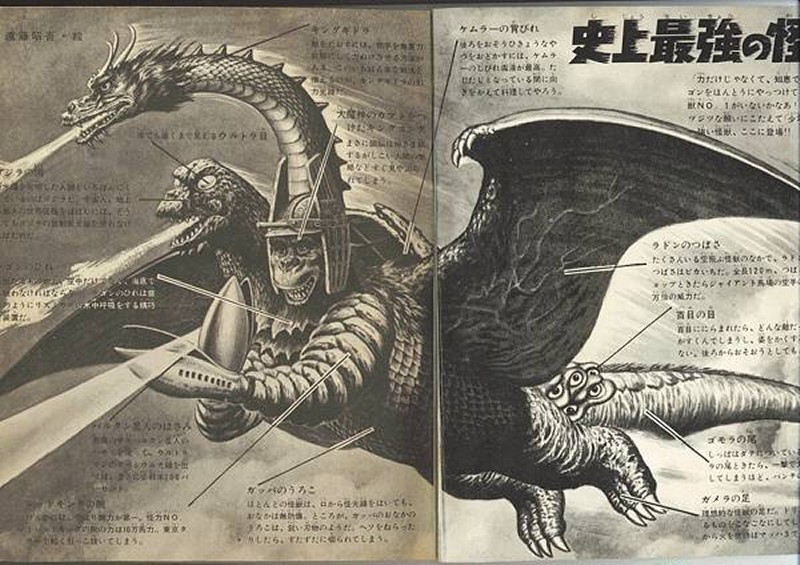
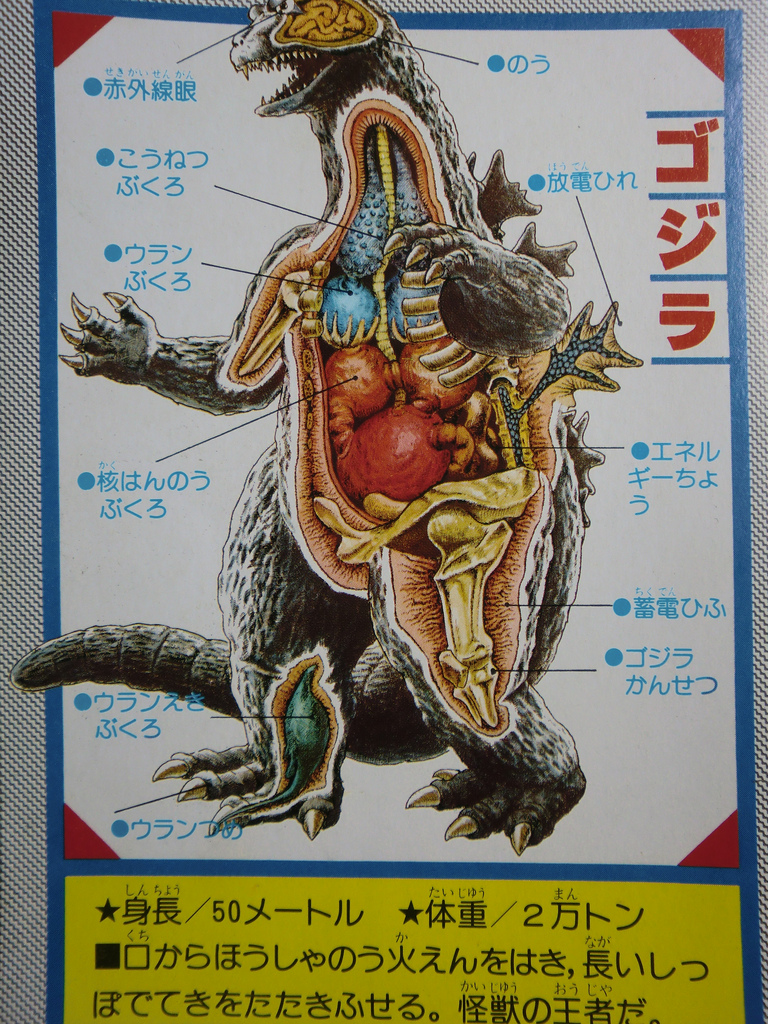
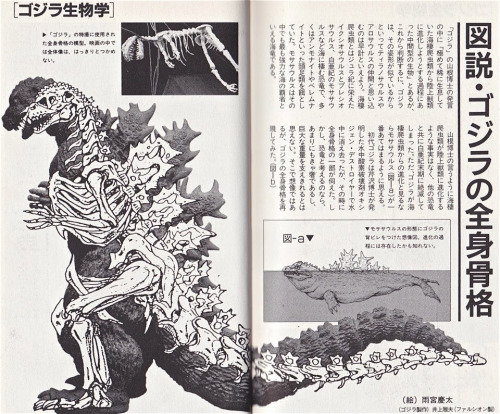
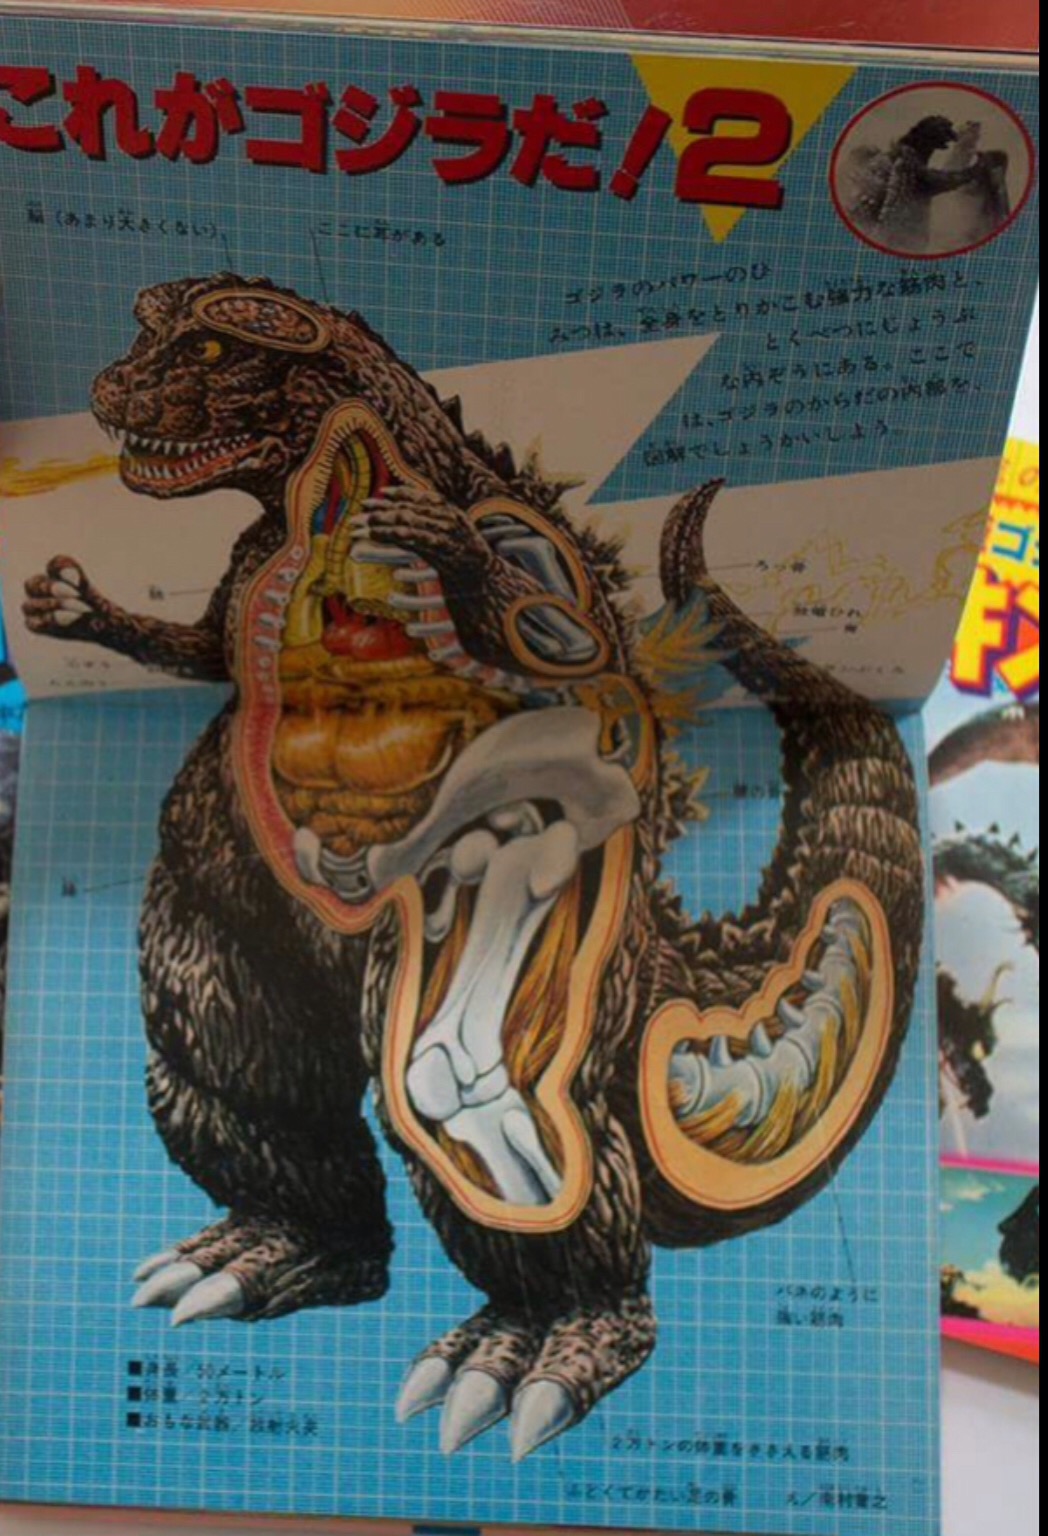
史上最強の怪獣
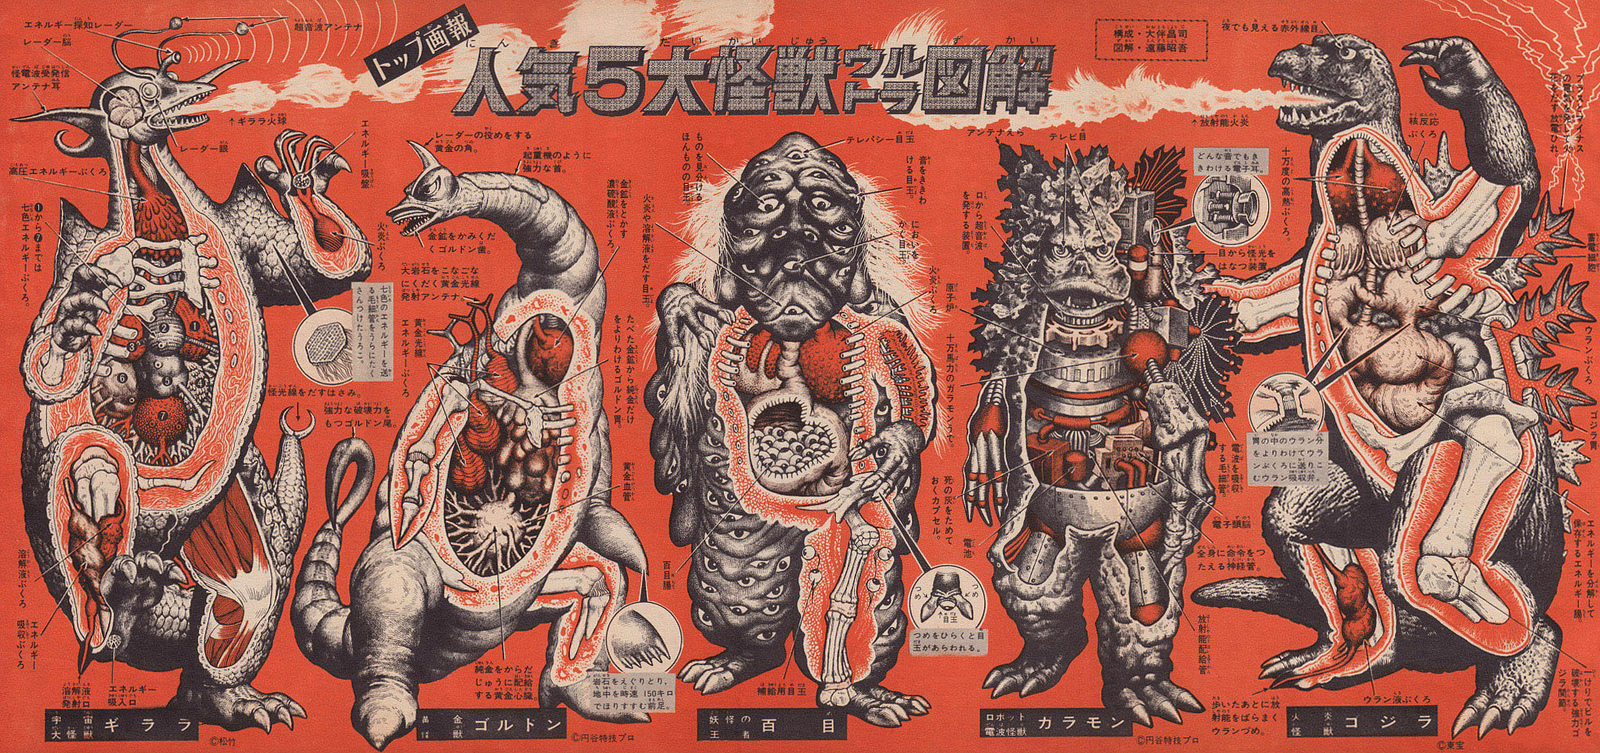
Godzilla's anatomy with other monsters
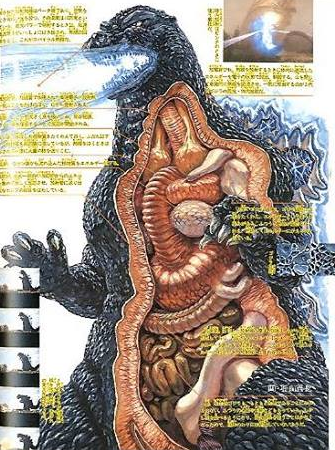
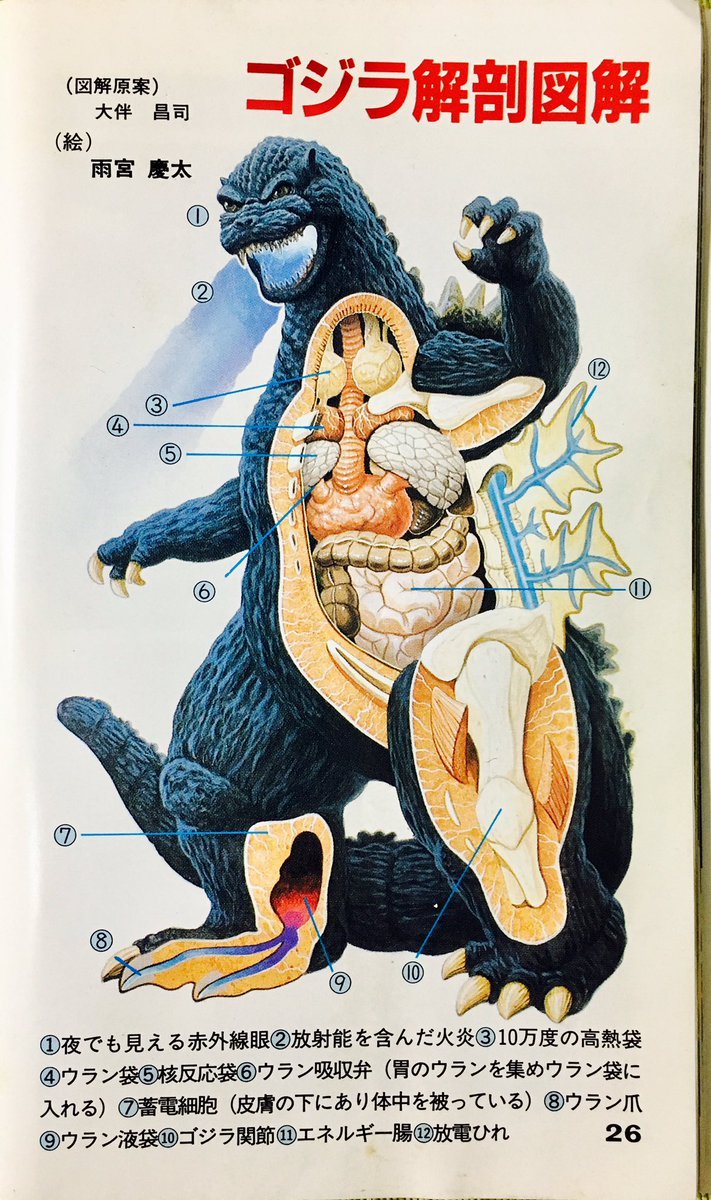
Anatomy of Godzilla from Godzilla Monsters Anatomical Encyclopedia
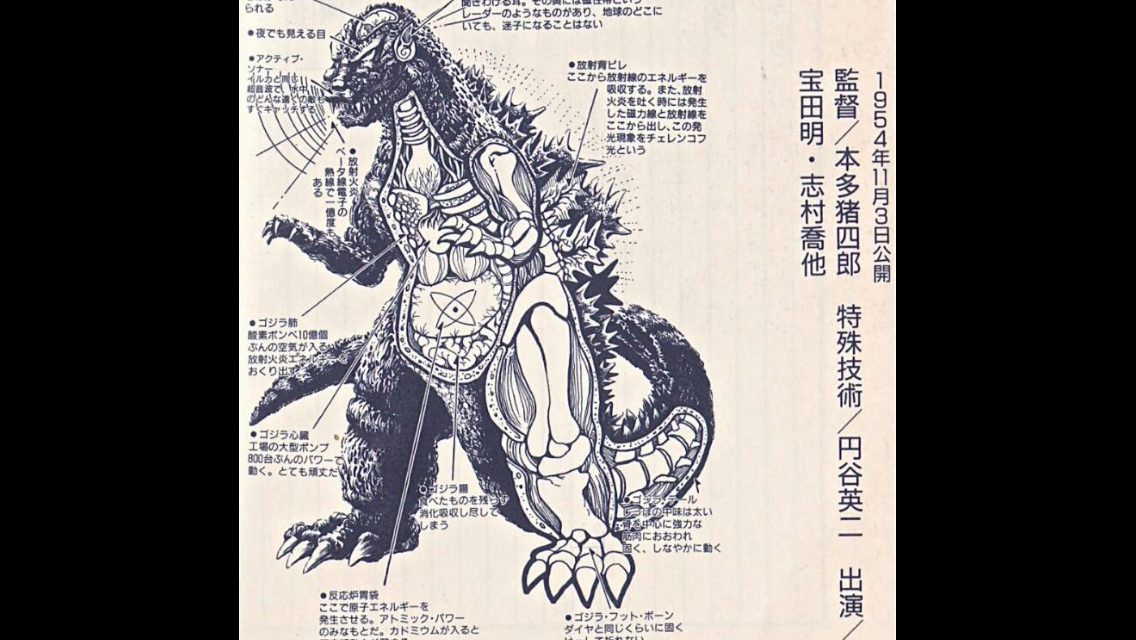
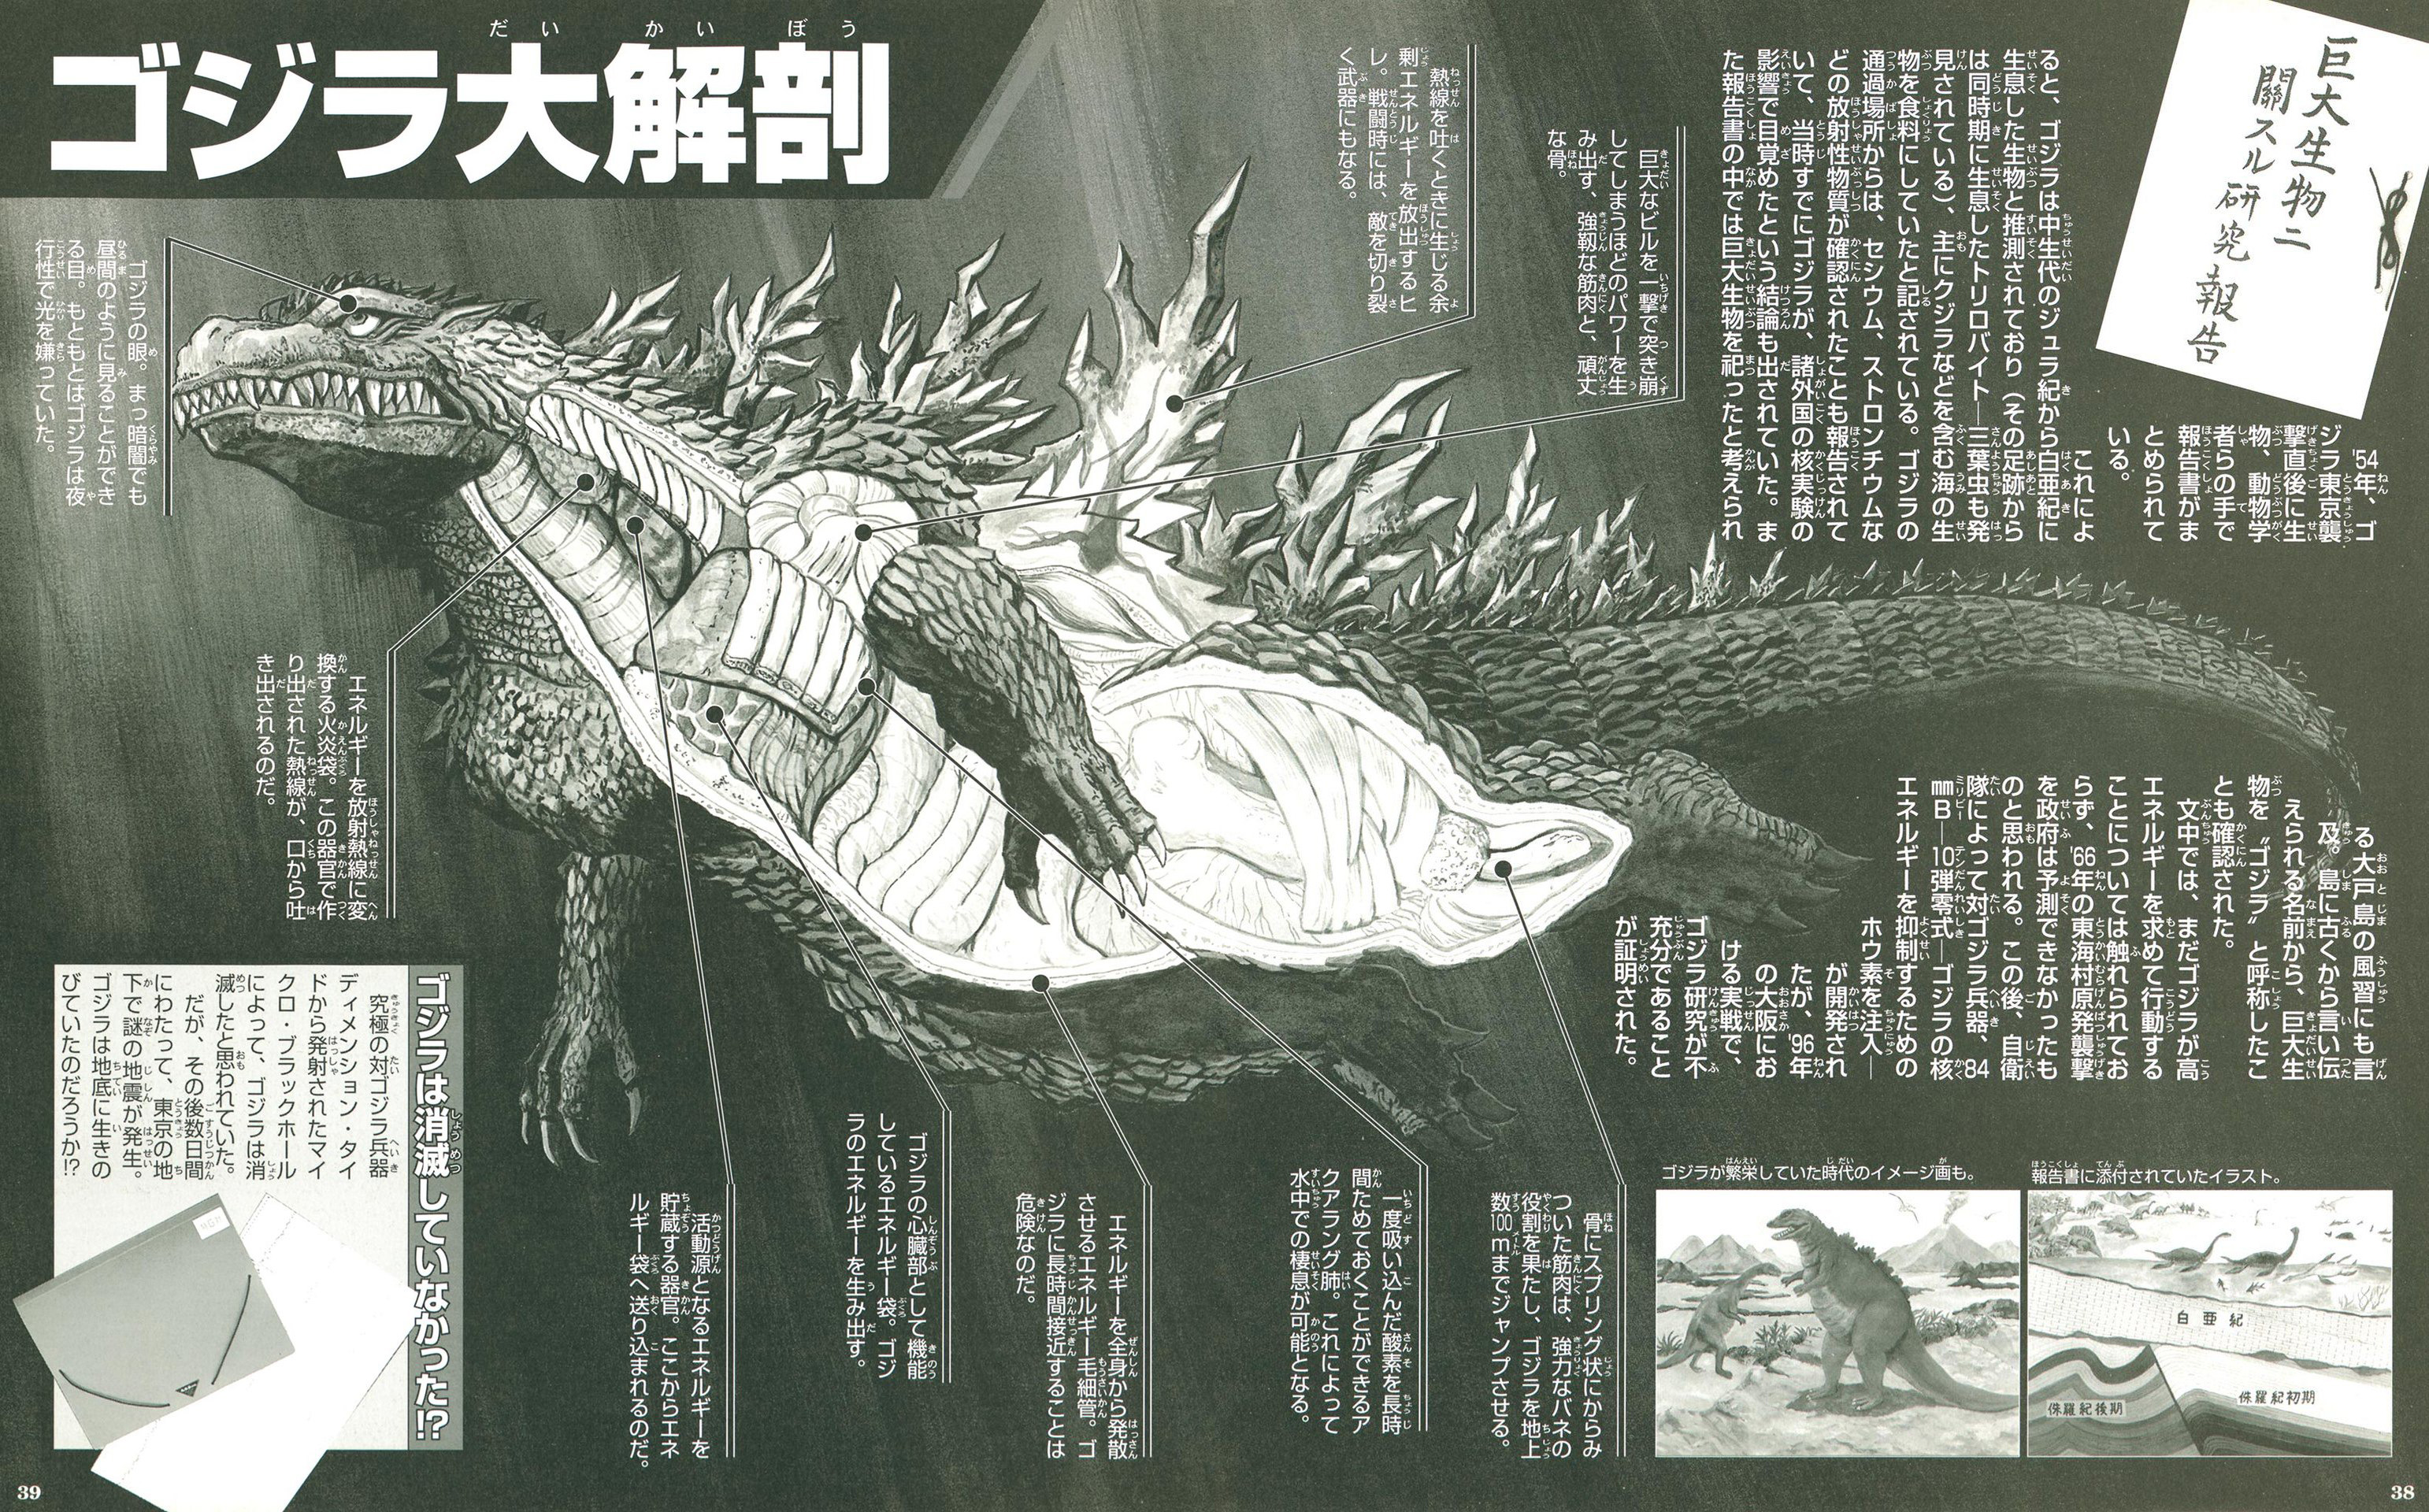
Anatomy of Godzilla
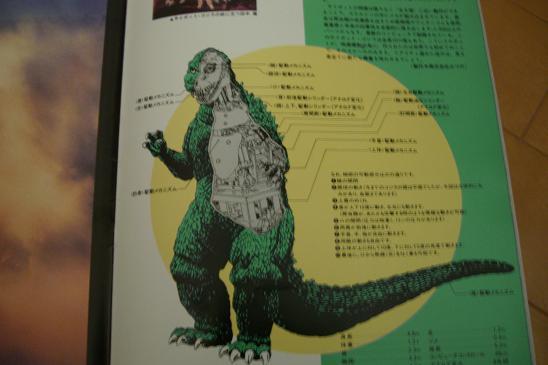
Cutaway of the 84Goji Cybot
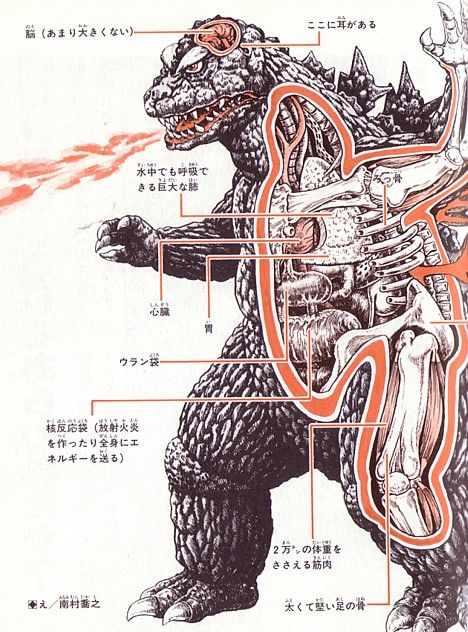
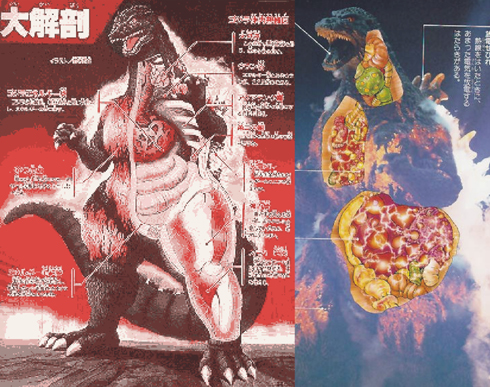
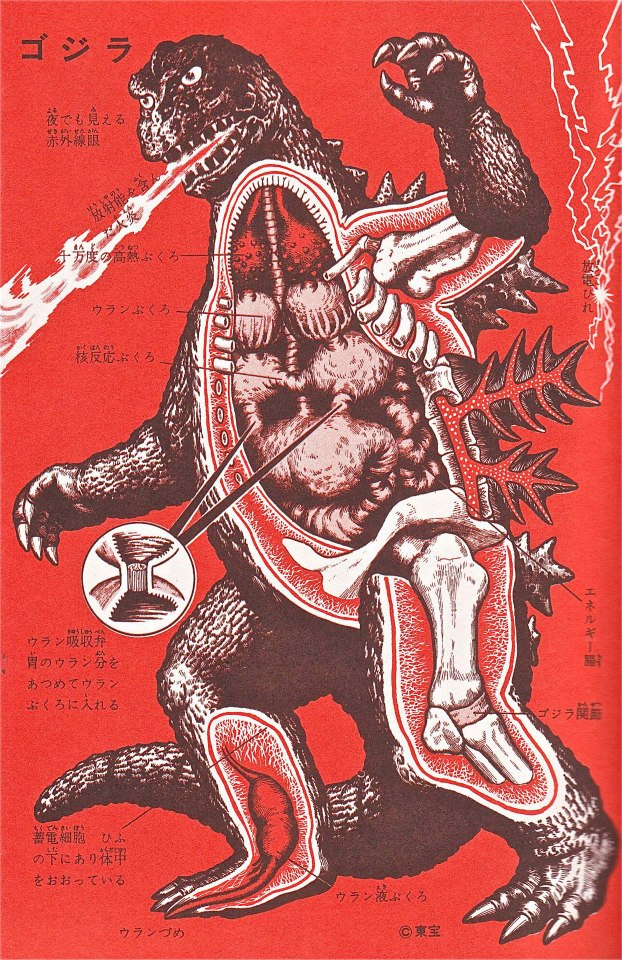
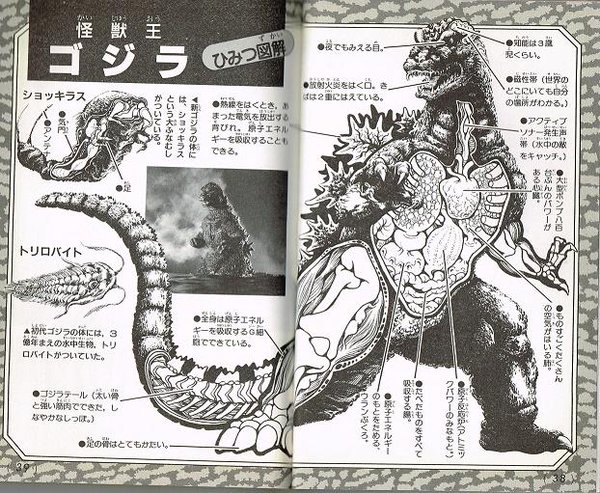
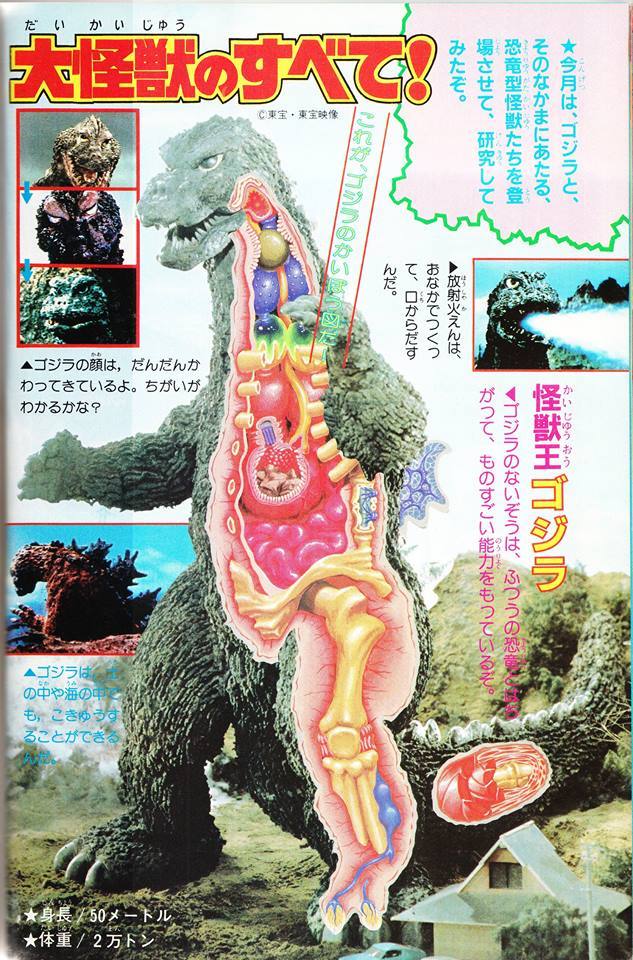
Anatomy of the Showa Godzilla from Definitive Edition Godzilla Introduction
Anatomy of the Heisei Godzilla
Anatomy of Burning Godzilla
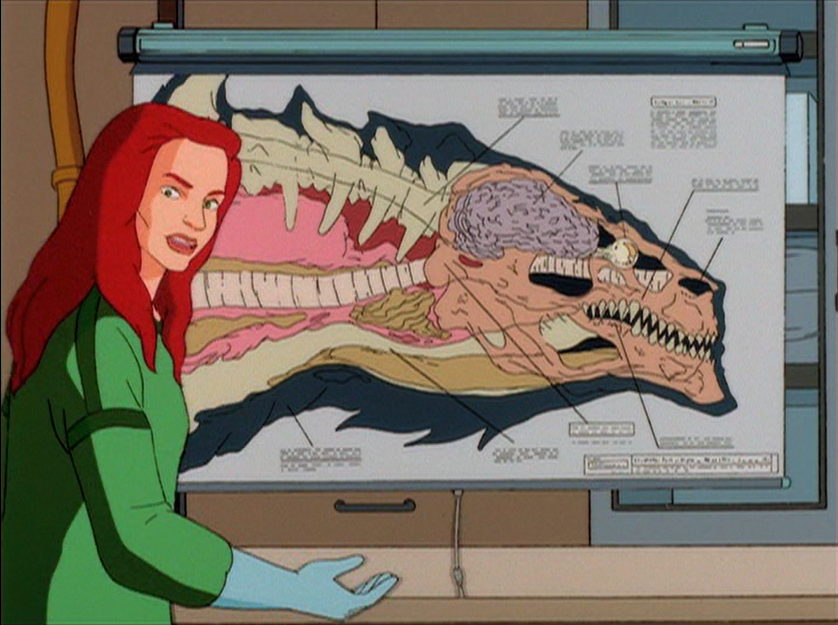
Antomy of the Godzilla: The Series Godzilla's head
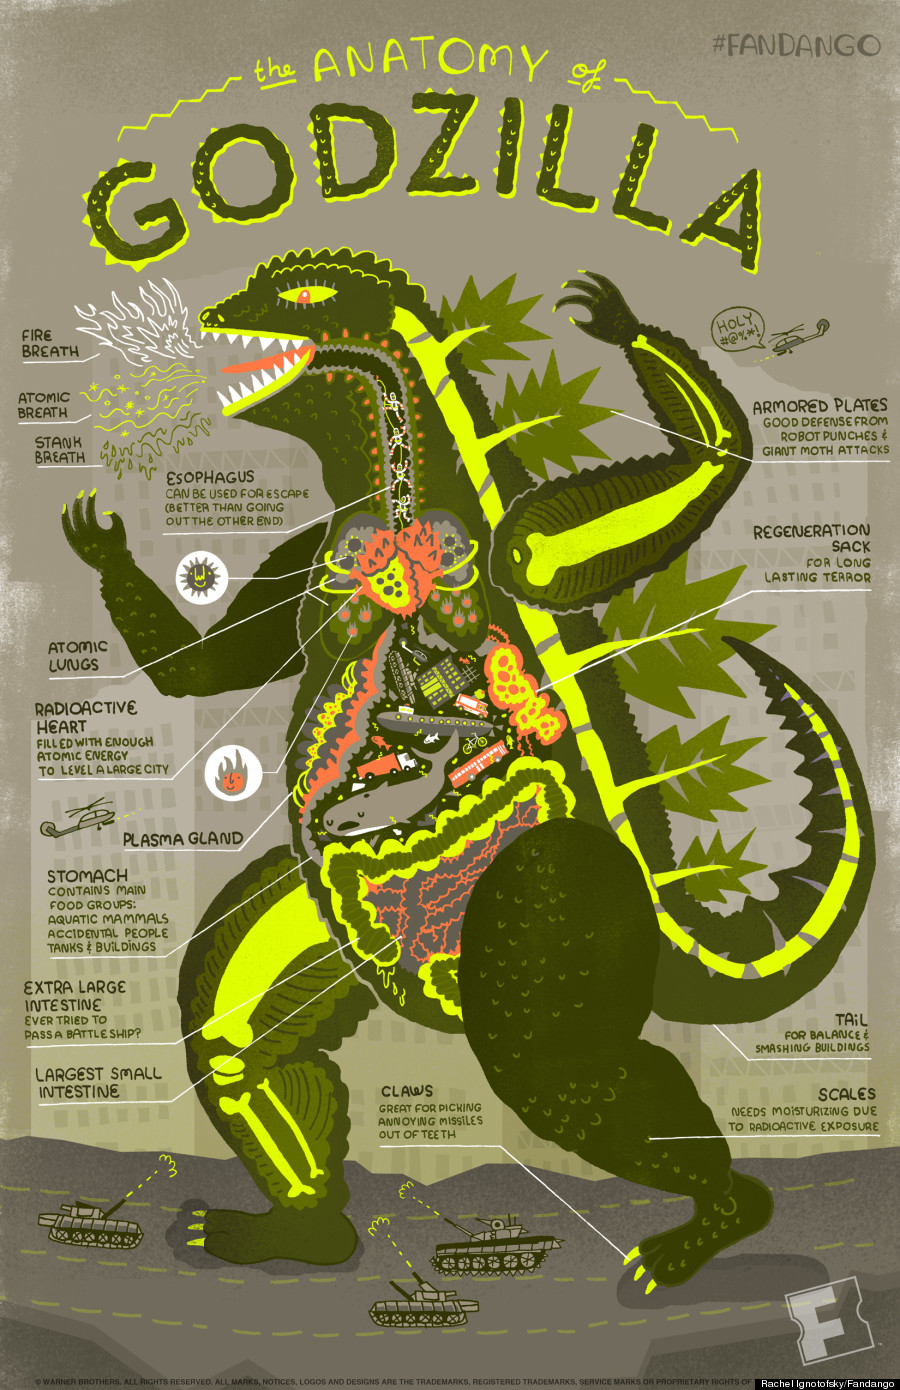
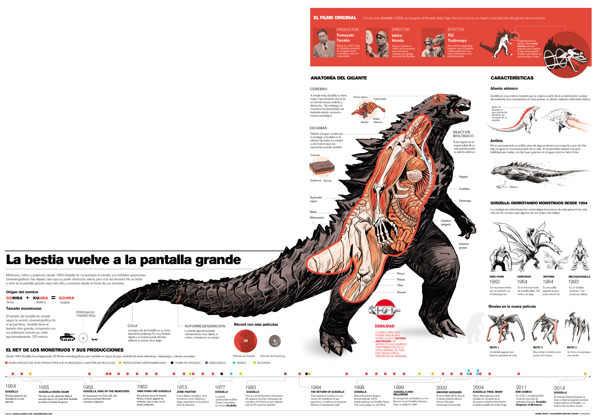
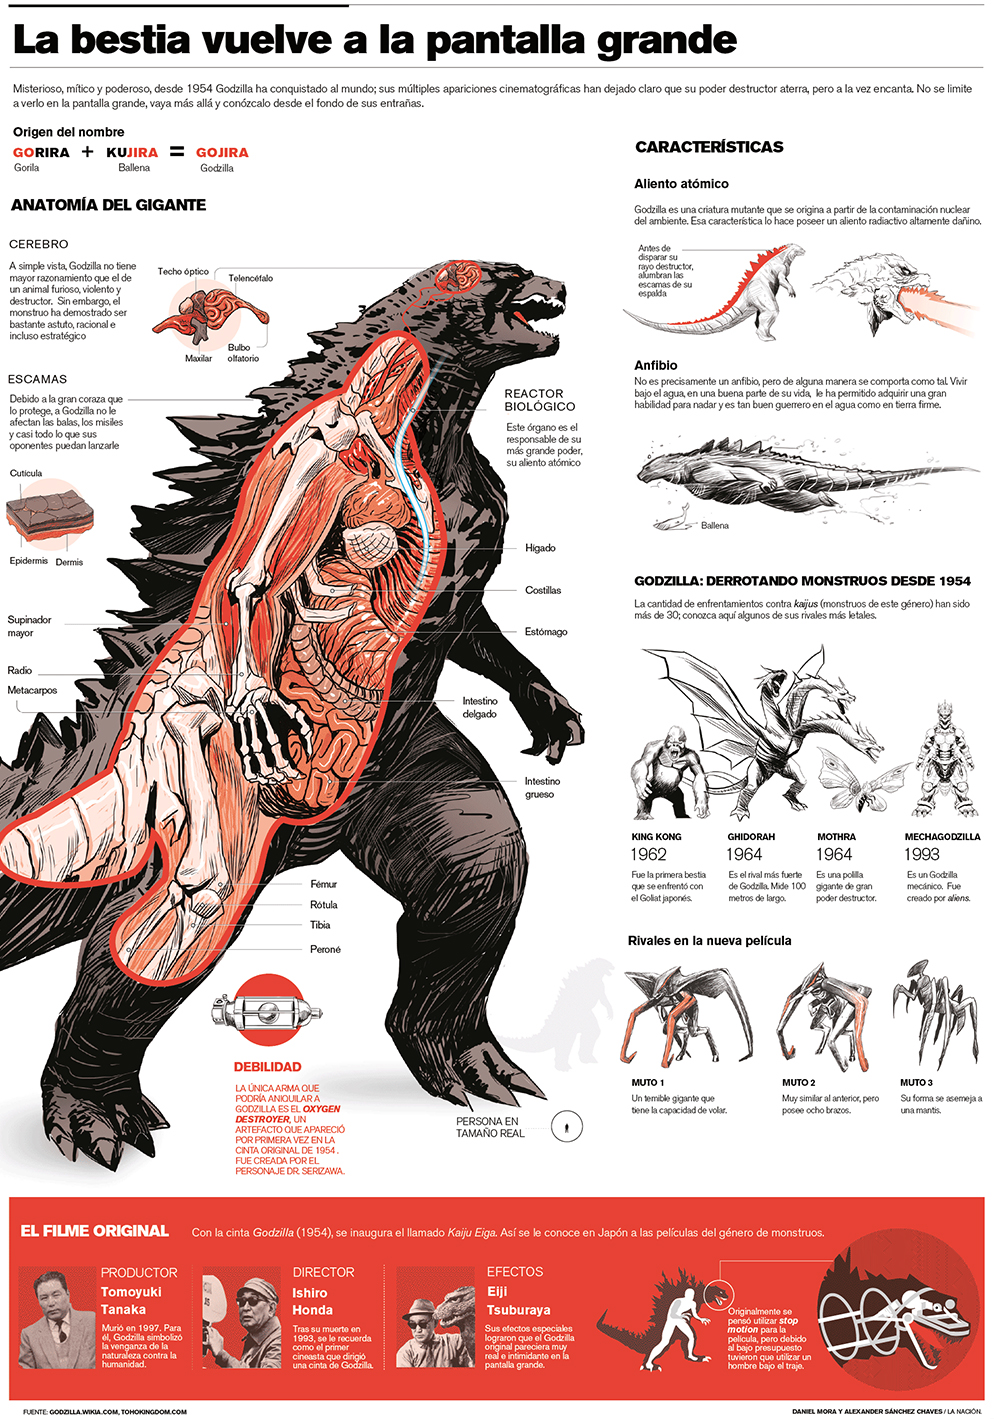
Fandango's Godzilla anatomy infographic
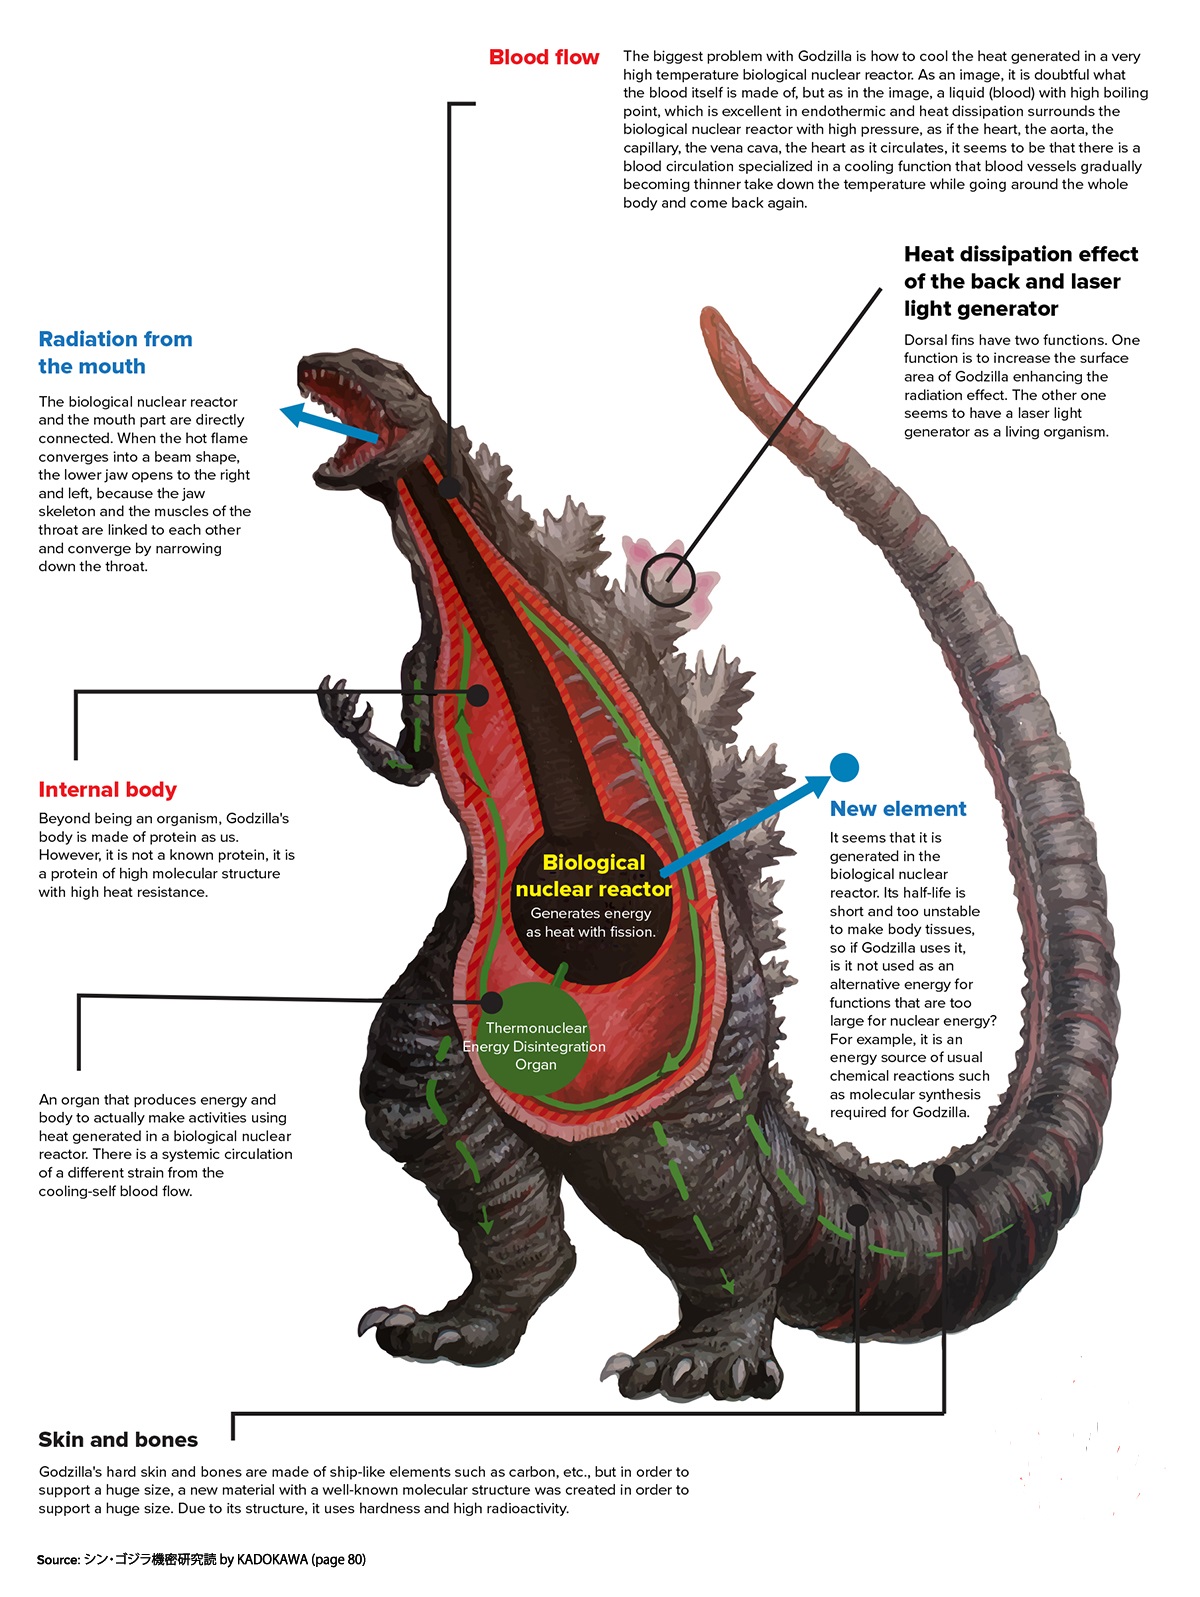
Anatomy of Shin Godzilla
Anatomy of Shin Godzilla (translated into English)
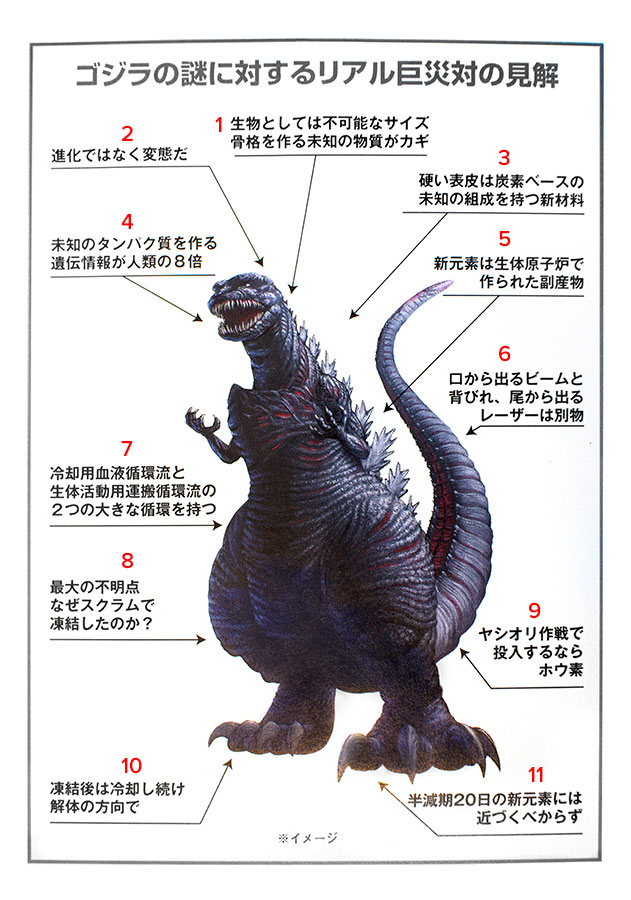
Diagram of Shin Godzilla
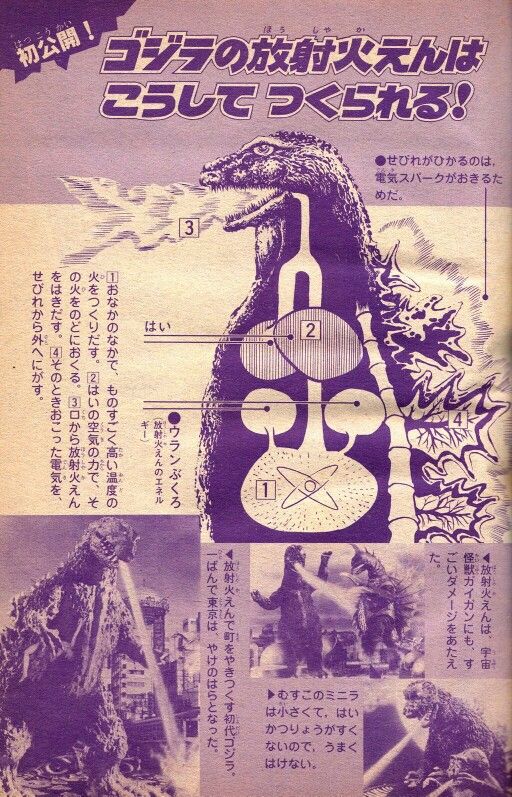
Anatomy of Godzilla's atomic breath
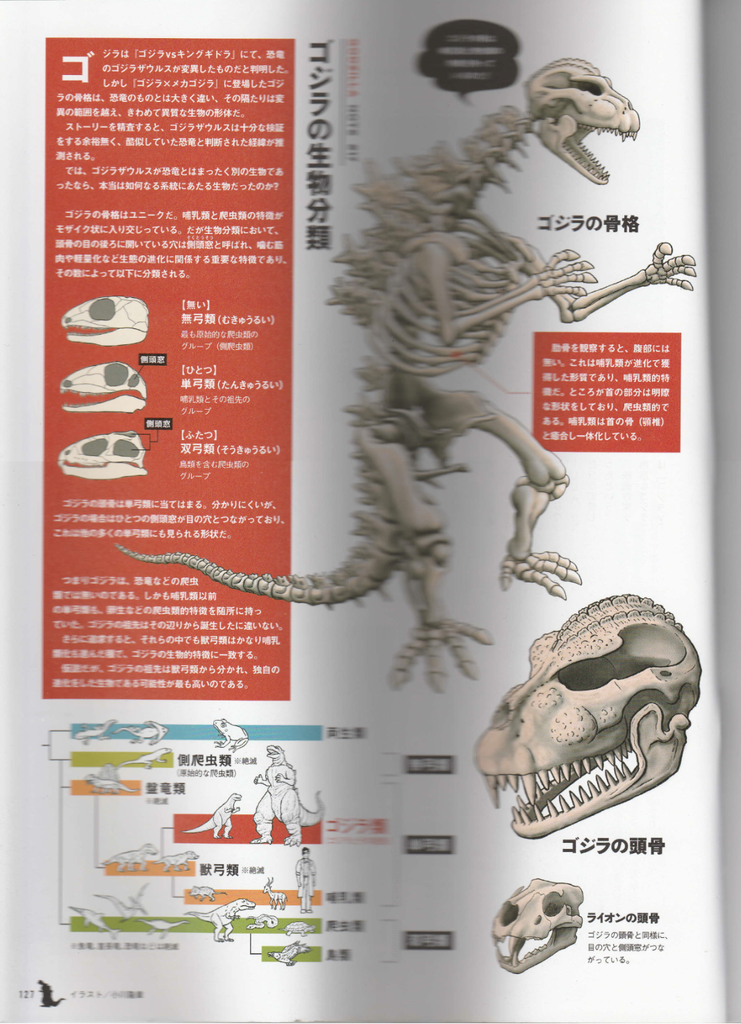
Diagram of the Showa Godzilla detailing his traits, including his gills, from Definitive Edition Godzilla Introduction


Size Comparisons
Size comparison of Godzilla and other monsters from The Official Godzilla Compendium
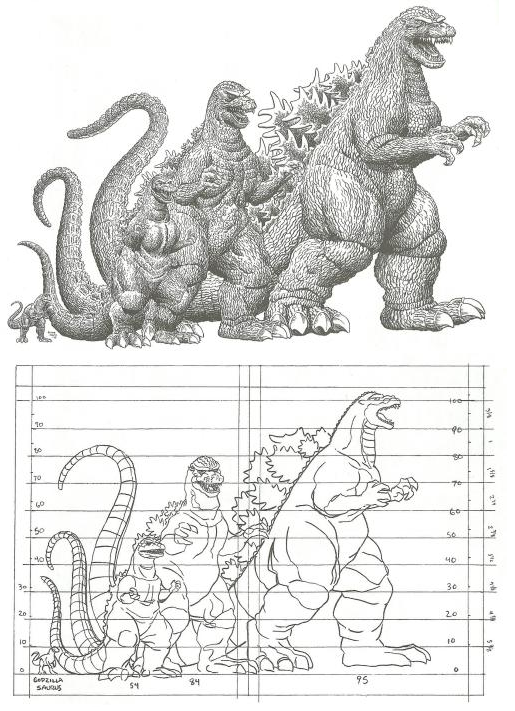
Godzillas of various eras, with Godzillasaurus and human for comparison
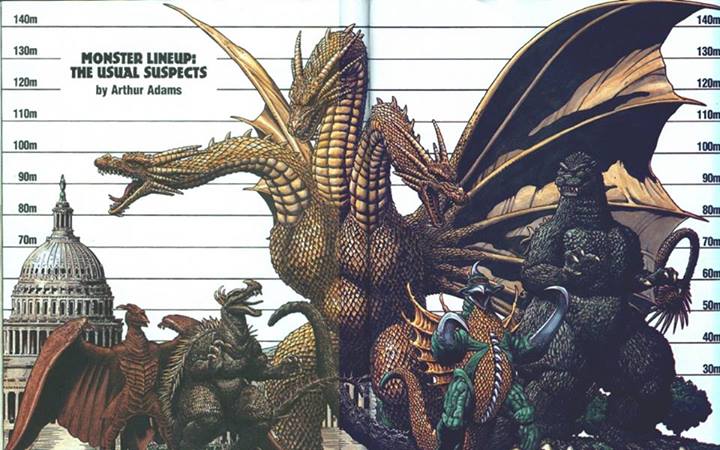
Several versions of Godzilla along with several Godzilla kaiju
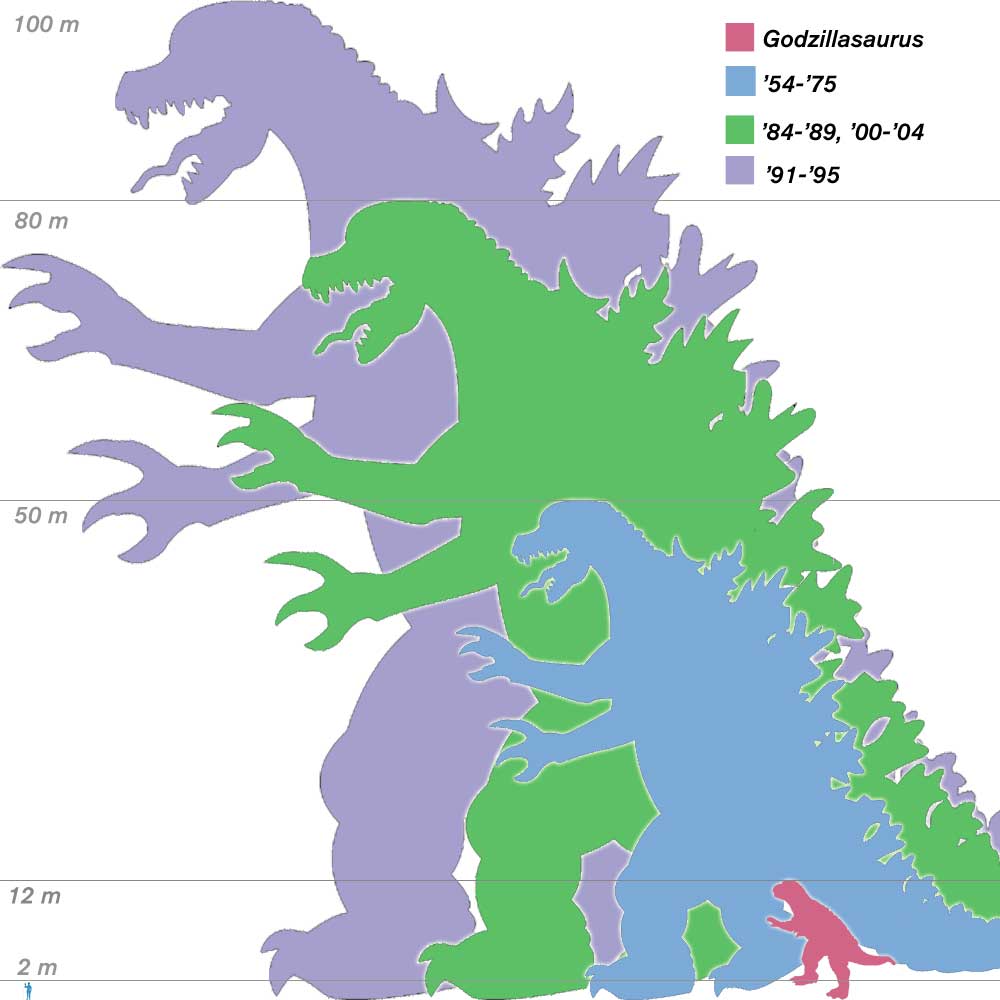
Showa, Millennium, Sony 'Zilla' 1998, Hanna-Barbera (incorrect height - the Hanna-Barbera Godzilla is actually 122 meters), Heisei, and Legendary Godzillas

Alternate Forms
Godzilla Mutation from Marvel comics after Godzilla, King of the Monsters
Power Up Godzilla from the Trendmasters Toy Line
The Original Godzilla's Skeleton from Godzilla Against Mechagodzilla
Critical Mass Godzilla from Godzilla: Unleashed
Godzilla's first form from Shin Godzilla
Godzilla's second form from Shin Godzilla
Godzilla's third form from Shin Godzilla
Godzilla's fourth form from Shin Godzilla
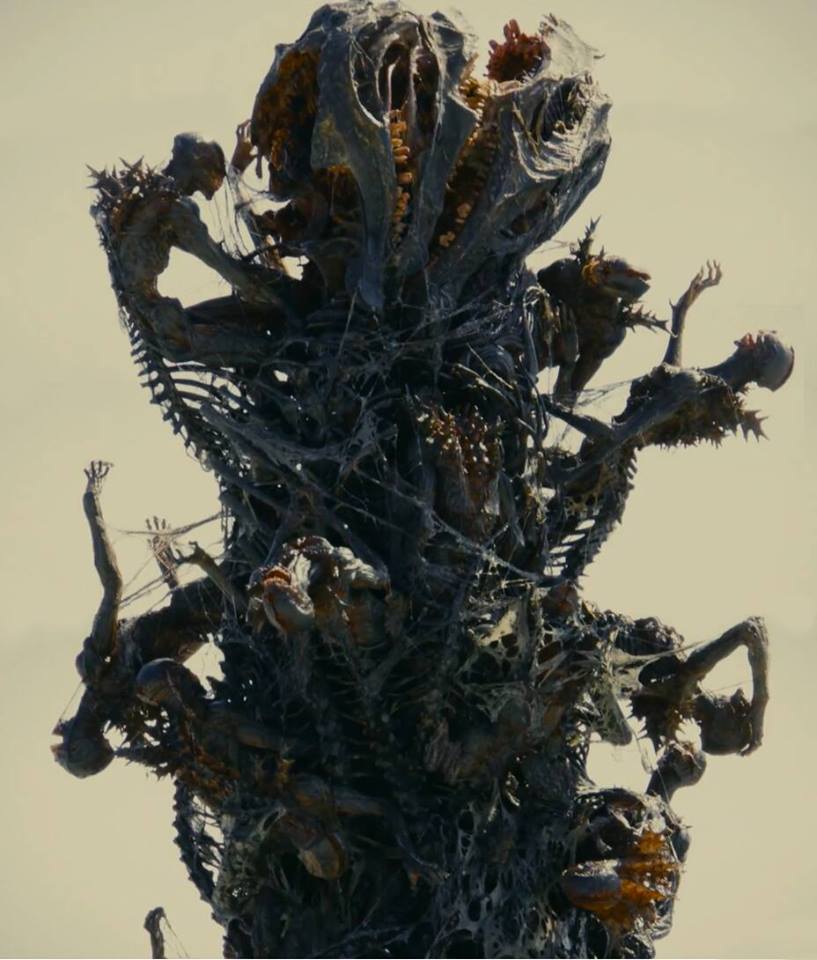
Godzilla's fifth form from Shin Godzilla
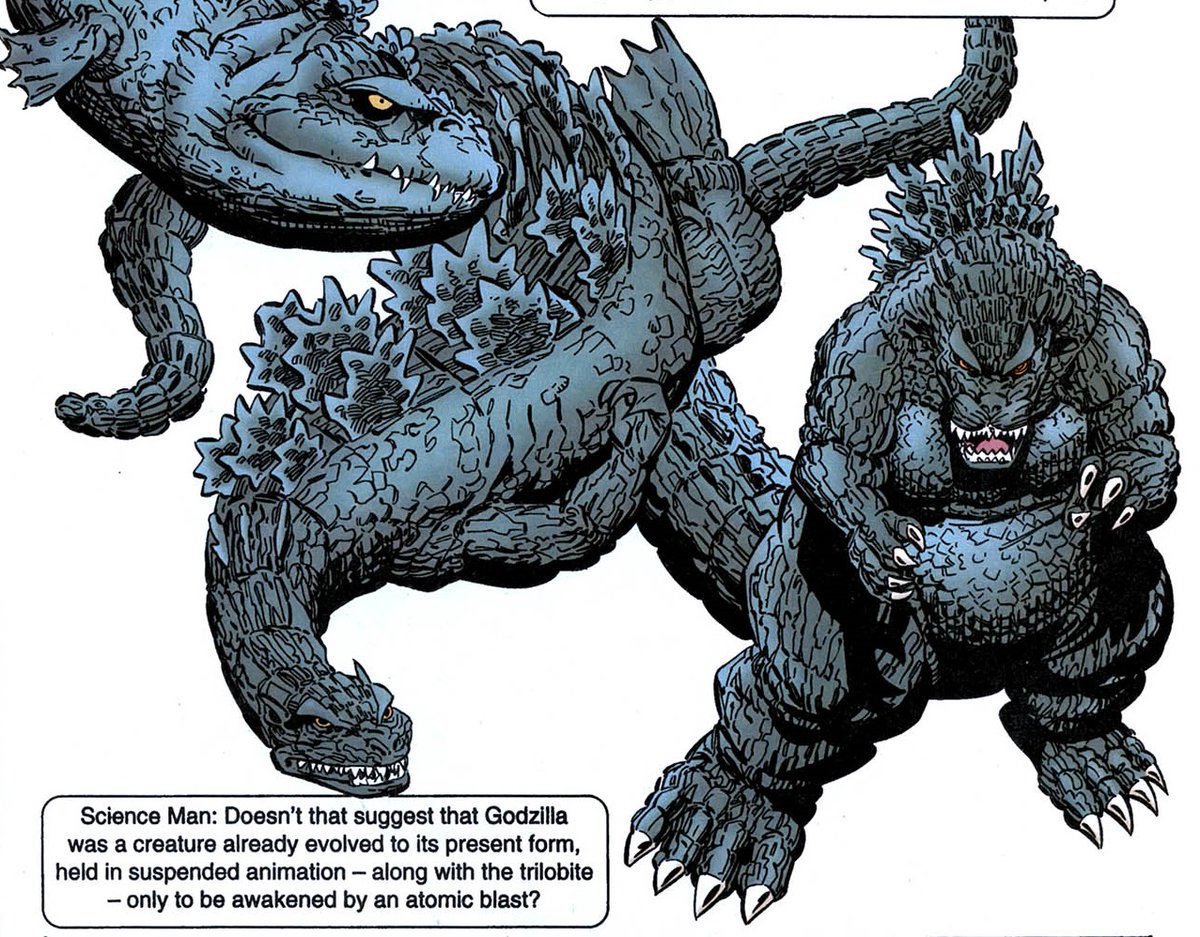
Godzilla's evolution in Dark Horse Comics

Merchandise
Toys
- To see toys of specific designs, please visit the Godzilla designs articles.
Trademarks
Old Godzilla copyright icon used in Japanese products before the current icon became standard
Marvel Godzilla copyright icon
Godzilla's copyright icon in color, from Marvel's Essential Series: Godzilla
Godzilla's current copyright icon
2001 icon
2003 icon
2005 icon
New Godzilla copyright icon used in Japanese media, using an image of Godzilla 1962
2014 icon
2015 icon
2016 icon
Artwork for the abandoned Godzilla 1998 copyright icon
Artwork for the abandoned Godzilla 1998 copyright icon
Abandoned Godzilla 1998 copyright icon
Godzilland copyright icon
Godzilla vs. Evangelion copyright icon


Comments
Showing 5 comments. When commenting, please remain respectful of other users, stay on topic, and avoid role-playing and excessive punctuation. Comments which violate these guidelines may be removed by administrators.